First Ledge:
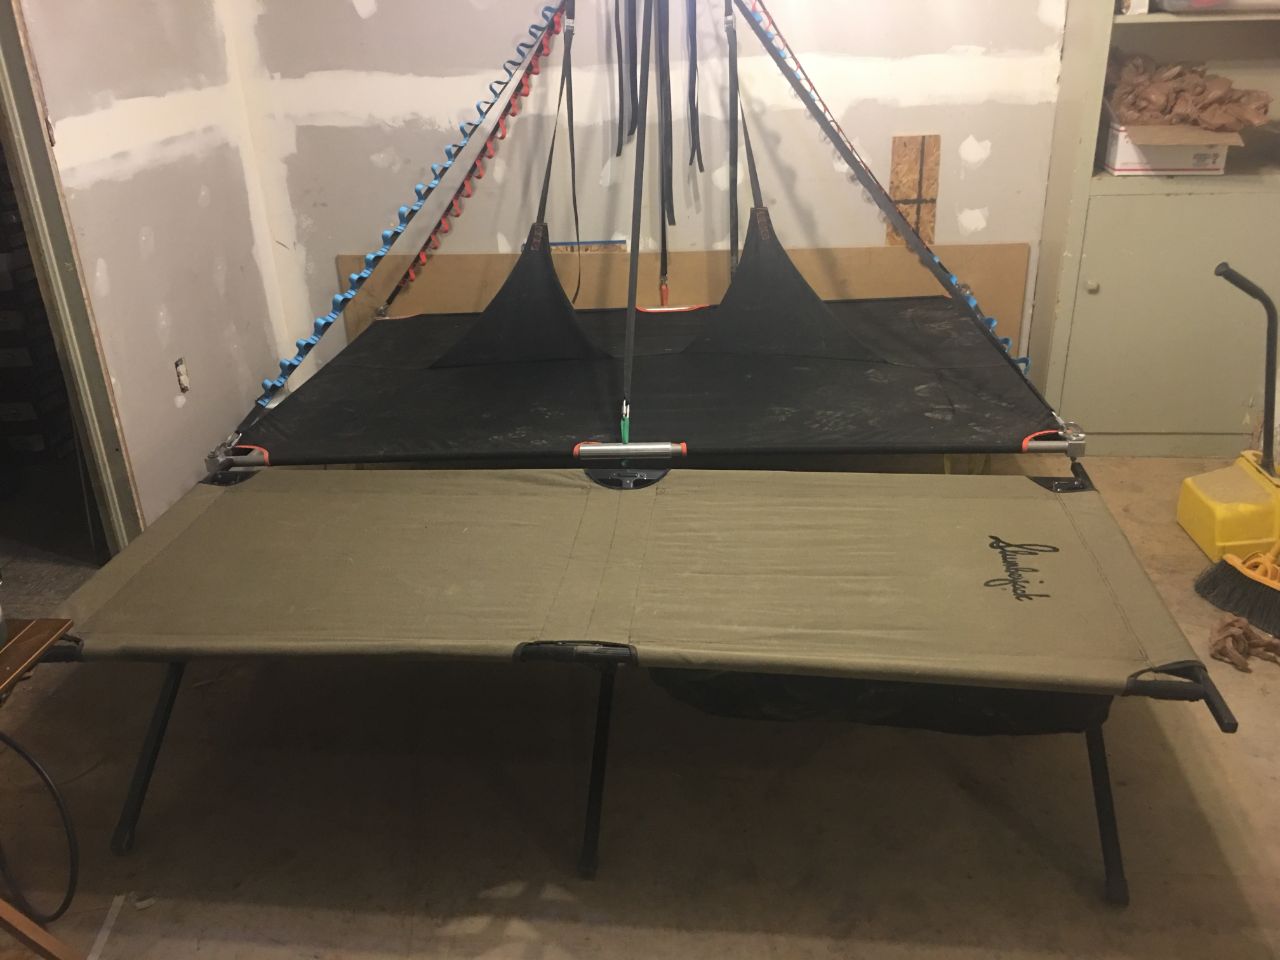
I started putting together my first portaledge several years ago. It was long enough ago that I don’t really remember exactly when but the pictures I have say they were created in April of 09, I’m pretty sure I took them a while after it was built. I was working as a welder at the time so all of the metal work was easy but I didn’t know how to sew, so the fabric was more difficult. To overcome this, I went out and bought a cot from Sportsman’s Warehouse and used the fabric from that for the bed. It was hard to set up and clunky but functional. The metal for the ledge has been lost in one of my moves over the years, fortunately I still have a few pictures. I have reassembled the fabric as a cot once again and still use it as such to this day.


The frame was made from 6061 T6 aluminum tube, 1.125” OD, .058” wall. The shop I worked at, at the time, stocked a pretty good selection of this tube in different diameters so I was able to get whatever I needed at an employee rate. The corners and splices were made from 6061 aluminum pipe. I had them machined to fit and seat the 1.125″ tube. With the corners I cut a miter and welded it with a piece of .5″, .058 tube through the center of the weld. This was for webbing to run through for the suspension of the ledge and for the shock cord to tie to. For the spreader bar, I took the same 1.125 tube and flattened it in the press break with flattening dies. This was to give it more strength in the vertical plane. I then cut a piece of pipe in half long ways, and welded it to the ends to make a cradle to cup the sides. The spreader bar was low enough I never felt it and it worked out pretty well.
The ledge measured 83”X31” and was quite comfortable to sleep in. To suspend it I used NRS cam straps and tied water knots for the loops. I never made a fly for it, and never used it on a wall. I slept a couple nights hanging from the walls in the climbing gym when I owned it, but other than that it just sat in the corner in the lobby as a talking piece. This first attempt was rudimentary and based off of the tooling and knowledge I had access to at the time. I know I took more pictures but I can’t find them, maybe on an old computer somewhere but at least I have these.
New Ledge:
In 2012 I started to take a second swing at making a ledge. I wanted to make a double and I wanted to make more of it including the actual bed. I needed a sewing machine and I needed to learn how to use it. I bought all of the metal and a sewing machine but then got supper busy running the climbing gym and didn’t take the time to learn how to use the machine. The project sat in a box for many years till winter 18/19 when I finally brushed the dust off the machine and started watching YouTube videos.
When I was designing this ledge, I found a lot of info online but the main resource was from John Middendorf, creator of the old A5 ledge as well as the new D4 ledge. At the time he had all of the specs up on his Big Walls website and was openly sharing his old design. Not wanting to reinvent the wheel I copied a lot of the design, changing a few things like the size, but for all intents and purposes this is a copy of the old A5 ledge. Middendorf is an awesome guy, I’ve never met him other than on Facebook but when I posted questions about my ledge on FB, he helped me work through some design issues openly, even though he once again is in the business of building and selling ledges. If imitation is the ultimate form of flattery, I hope that the designs I used from the old A5 ledge show my respect for the master, Thanks for all the help John.
So, flash forward to winter 2018/19, I finally pulled the sewing machine out of storage, wiped the dust off, lubed the parts and learned how to sew. I have long believed you can learn anything from YouTube so I set out to watching and tinkering. I made several small projects to learn skills and consulted a couple of friends that work in the outdoor industry sewing and designing outdoor gear professionally. I started researching fabric and thread. The local fabric shop brought in a lot of surplus materials and one day they had a roll of black and a roll of maroon polyester canvas though they didn’t know what thickness it was or have any other specs on it. It was super cheep however so I bought a bunch of each and I’ve used them on a few different projects. For the price it was hard to pass up but I also felt that as this was my first real attempt, why spend more money, if it breaks down faster I can always rebuild it a little nicer next time. That said this fabric is pretty stout.
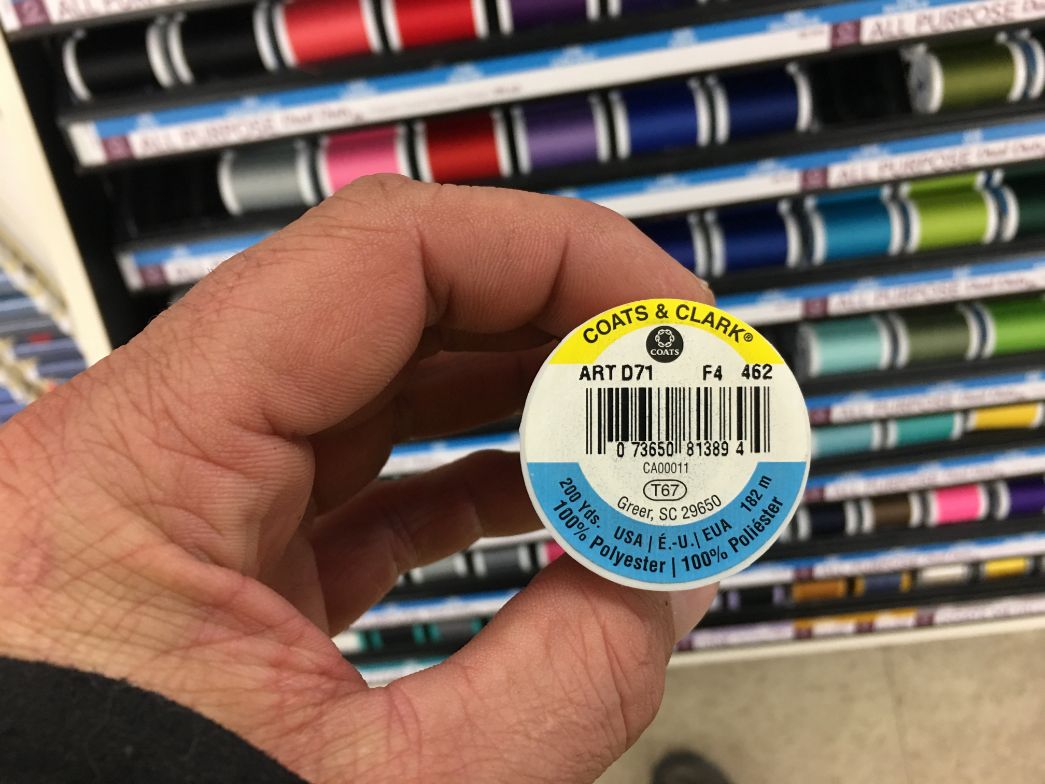
For thread, they carried an upholstery thread in a few different colors but strangely didn’t have any specs on that either. Even the website from the company that made it didn’t have any specs. Maybe this is normal in the sewing world but as a welder it seemed odd to me. In my career I never once bought “aluminum” or “stainless steel” it was always 6061 or 5052 or 304 or 316, it was always a specific alloy that had specks on strength and attributes so it was a little weird to be offered simply “upholstery thread” with no specs, I thought I’d at least find a tensile strength. This stuff is pretty strong and I feel comfortable using it, I just thought it was weird.
For the webbing I searched the web and ordered a bunch of different samples of flat webbing. I decided to use a few different webbings because of different attributes. The black webbing for the suspension is Mil-spec, Resign Treated, 4088 Nylon chosen for it’s abrasion resistance and strength. The yellow webbing on the bed tensioners is polypropylene which has a much lower tensile strength but it is more flexible and the cam strap buckles bight it a little better which reduces slipping. The Red and Blue webbing on the daisies is polyester that was left over from another project. Pictures of the webbing will be in part two.
When designing the ledge I had a few things to consider. I’m 6’3” and weigh about 240 lbs and I would like to sleep comfortably after a long day of climbing. I made the ledge a little wider and a little longer which made the ledge a little heavier but given my weight I don’t think it will be a big deal. I haven’t used the ledge outdoors yet but I did set it up in the house I was working on and slept a couple nights in it, it was quite comfy. Also, sitting with my legs over the sky side and my back against the center gusset is really comfy, whatever cursing I do while hauling should be made up for when I’m sleeping on it, I hope. I’ve never been the every once counts type anyways.
The cost was spread out over too many years to remember but if I had to guess I’d say somewhere around $200-$250 plus a few 30 racks of PBR, some home remodel work and few other bartering deals. Employee discounts, bargain shopping, and friends made that price possible. I never count tools in the cost of a project, as I’ve always used the tool for some other project. But, I bought a Singer HD machine which is still a home machine, not industrial, but it has kept up with everything I’m doing so far. They advertised that it will sew up to 10 layers of denim which apparently is a lot. I can’t remember exactly how much I paid for it but it was around $250.
Specs:
Size: 85”X56”
Weight: 22 lbs


Corner Blocks and Splices:
I was a machinist years ago but as I didn’t have access to a machine shop I had to send out the parts to be made. In 2012 I hit up a friend of my dad’s to do the corner blocks, for the original splices I was going to use the ones off the first ledge. I sent him a drawing asking for one slotted block and three socketed blocks but what he sent me was 8 slotted blocks haha. He worked for beer and I was grateful so I gave it a shot. Or more acutely, I put them in a box for 7 years, then gave it a shot.
When I picked up the project again, I started to re think some of my plans. I wanted to eliminate the spreader bar so I drew up a new longer, thicker splice that would beef it up. I had a buddy of mine machine them for me and I think they will work great, I might even have him turn them down a little thinner to lighten them up a little more. When I drew it up I didn’t think about the shock cord running through it so I drew it solid in the middle and had to hand drill the hole through after, which really sucked.
I had my concerns about having all 4 corner blocks being slotted from the beginning and after I got it all assembled it was clear it wouldn’t work. The ledge would lay flat while hanging but it would twist up if I lifted one side racking it and it would start to come apart. I went back to my friend that did my new splices and had him machine me three socketed corner blocks. Works great now and my buddy worked in trade making it not cost too much more.
Center Gussets:
To hold up the center of the ledge, so the two people sleeping in it didn’t roll into each other, I made two gusseted tie ins down the center of the ledge. I laid out the design on cardboard then traced out 4 parts and cut them. I put the faces, or right sides, together and sewed down the curved sides leaving both ends open. I then turned it right side out and ironed it flat. I laid the two gussets in the frame where they would end up then strung the webbing up to get the right angles. I used 3 “X” bar tacks to stitch the webbing to the gussets.


Center Seam:
With the width of the ledge I had to have a seam down the center of the bed. I cut my two strips and laid them right sides in again with the gussets in between. I ran a stitch about an 1 1/2″ in from the edge, then opened it up, folded the flap over and ran a few more stitches so it would be flat on the bottom. This was an interesting experience getting it all through the machine. I put together a makeshift table with a sawhorse and some plywood, rolled the fabric up, and ran it through. I wouldn’t claim to have the straitest lines but it should be strong enough.
I think I’m going to break this up into two posts. This was a big project and I want to do it justice. I have spent most of my life learning the skills I need to be able to build the things I imagine. From woodwork, to welding, machining, fiberglass, mold making, to countless other skills I have been cultivating over the 40+ years I’ve been on this planet. It was so exciting to have to learn an entirely new skill to be able to complete this project and it means so much more to me because of it. Look for part two next month.
Writing this post was pretty hard for me. My dog, Aukie, passed away a couple of weeks ago after 13 amazing years together. I took him everywhere with me and he was a big part of all of my projects, even if it was just him laying on whatever I was working on. As I started sorting through the photos for this post it brought back so many memories. I didn’t want to leave him out of the story. I’m gonna miss you buddy


0 Comments