
This is part two of this series, for part one go here.
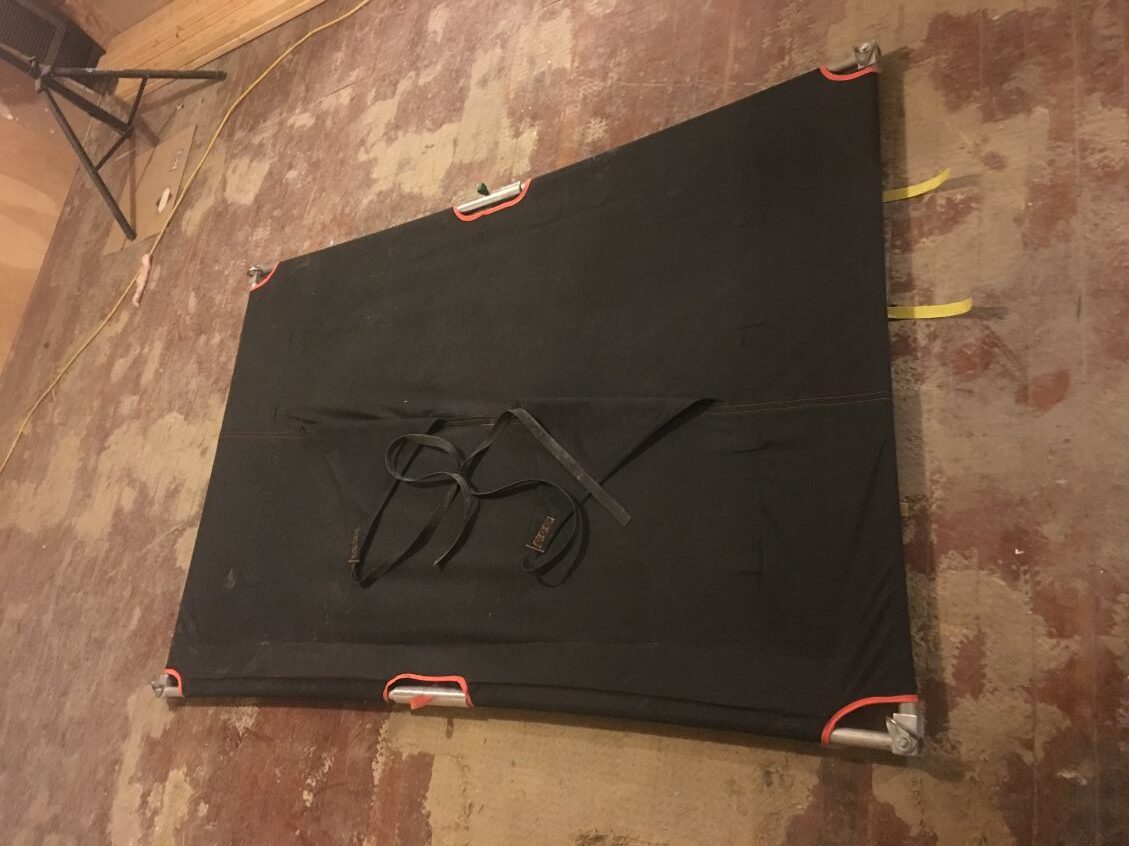
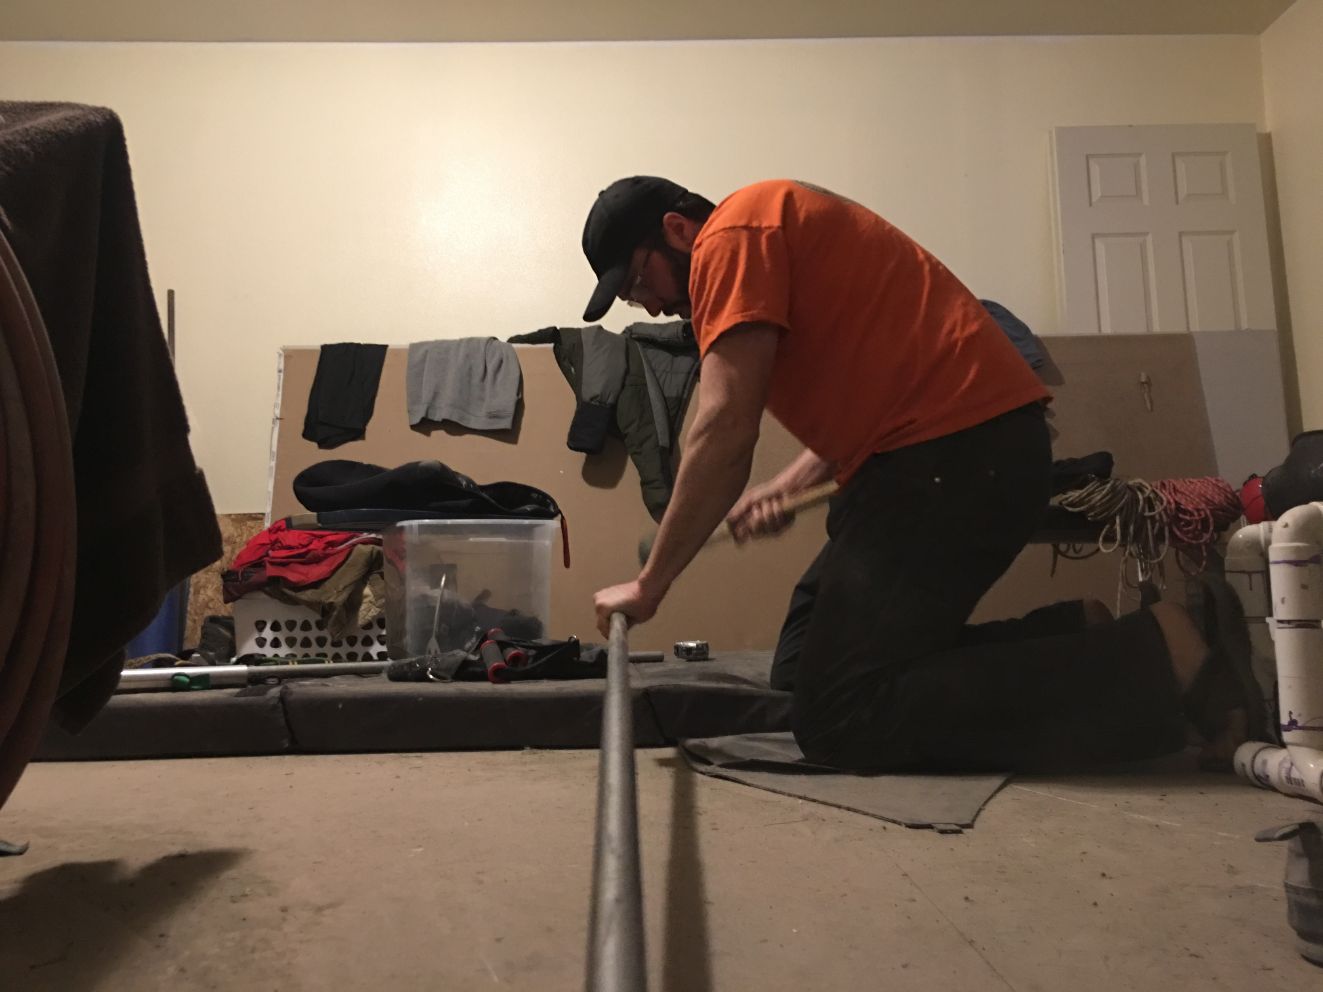
Once I picked this project up again and started putting it all together it took me about a month and a half to get it to where I could sleep on it. I had a couple of learning curve moments but everything came together pretty well. I made this while I was working on that home remodle and that allowed me to hang it from the walls without damaging a finished wall but it made for some ugly background in the photos haha.
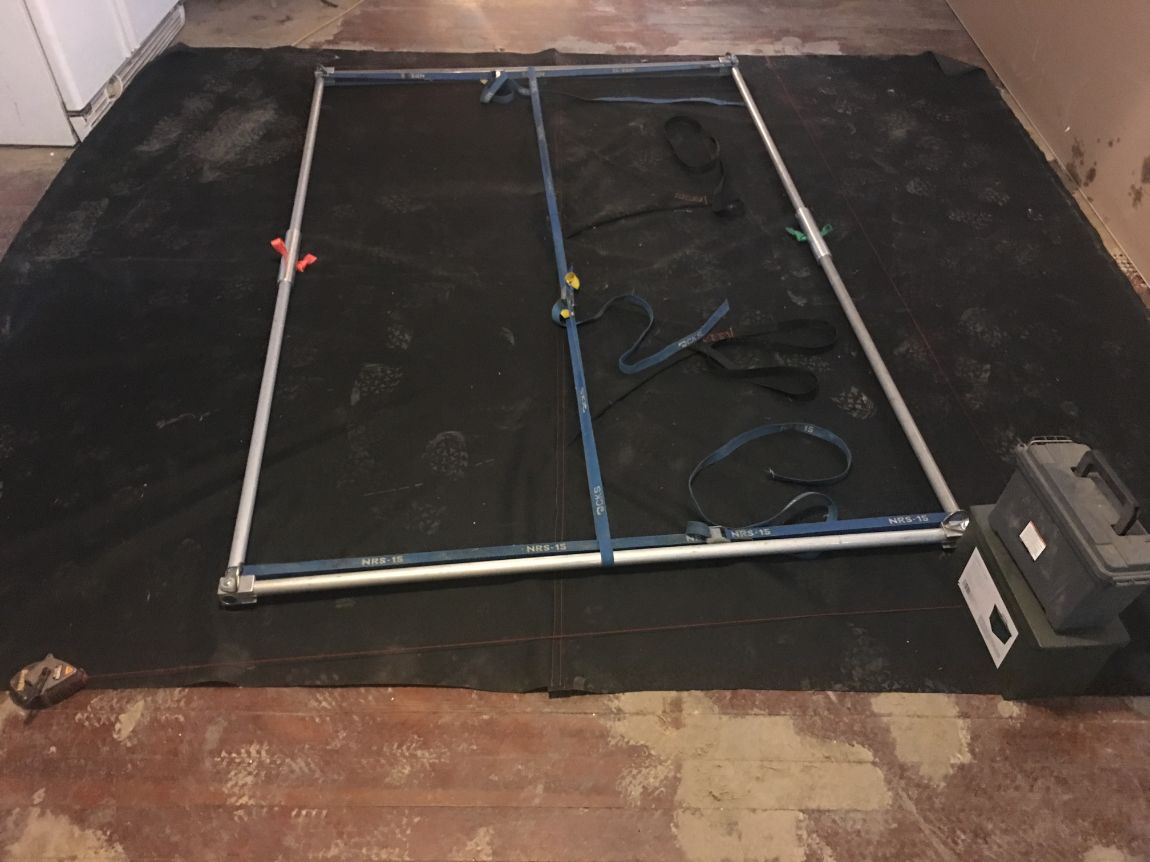
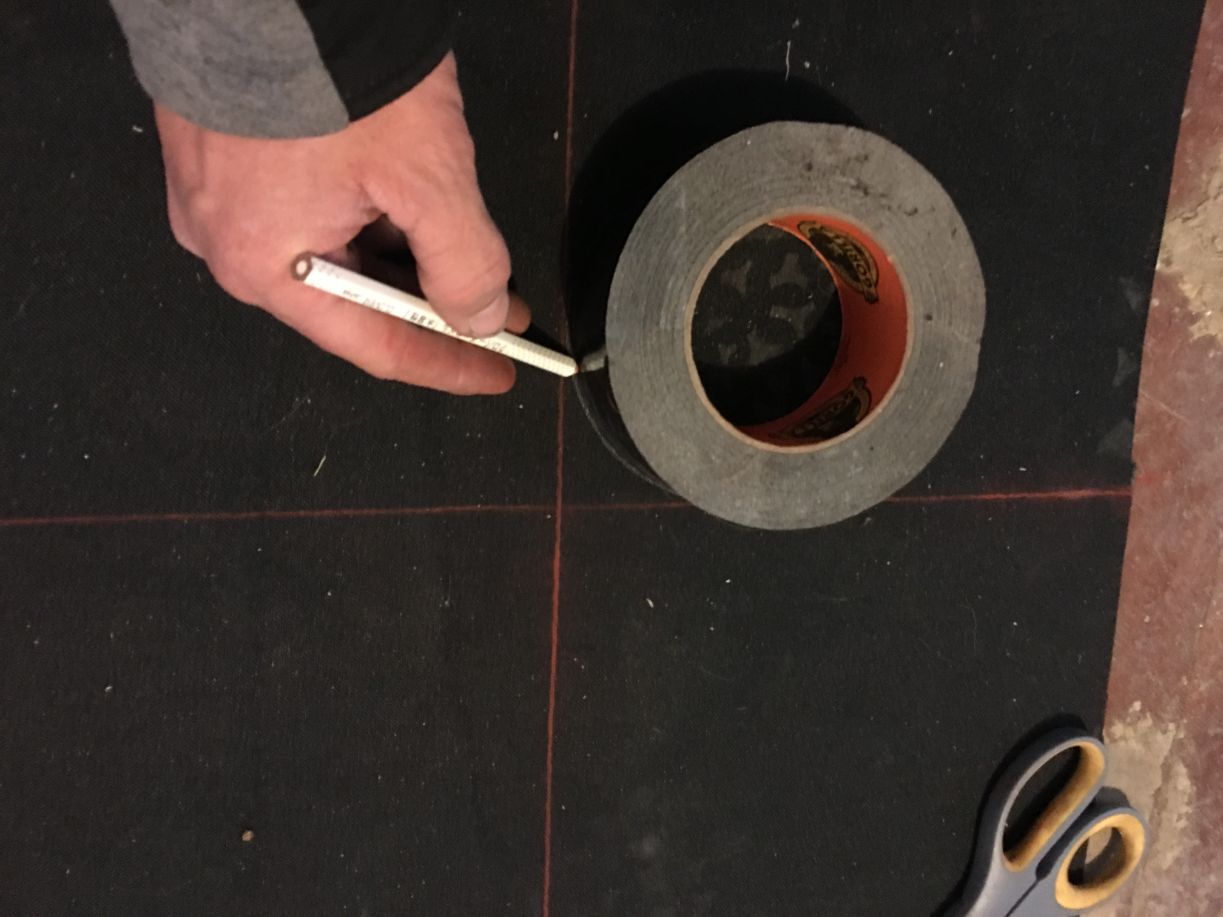
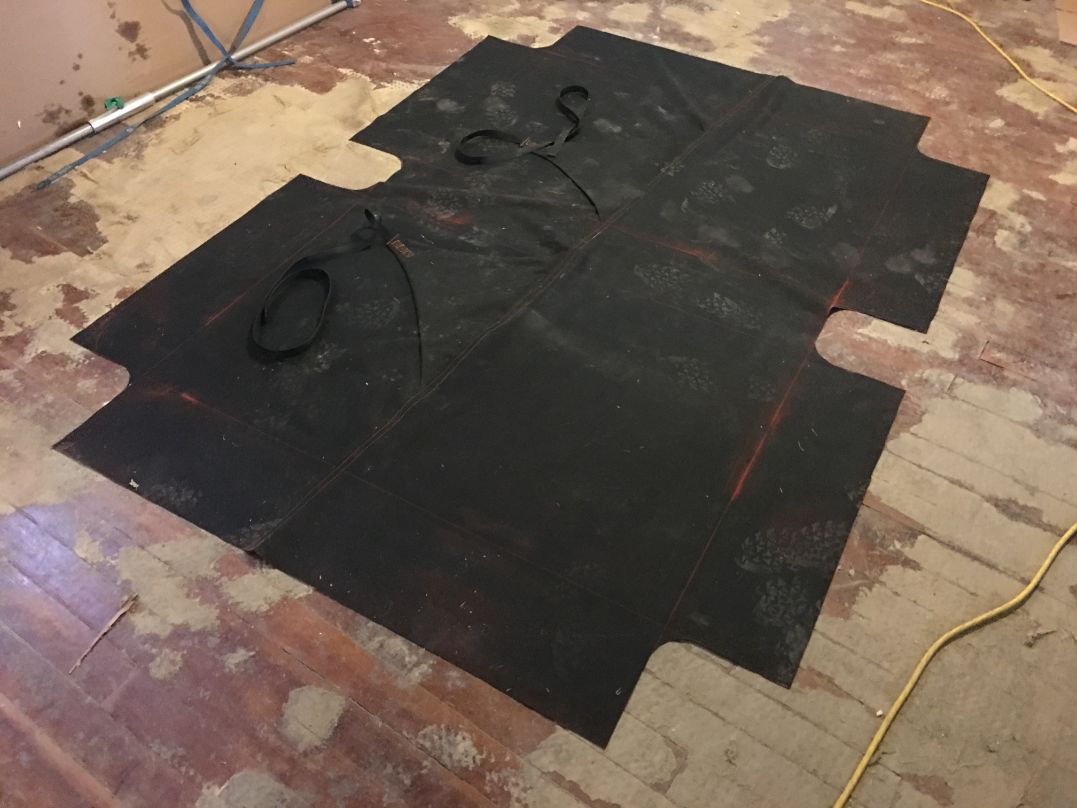
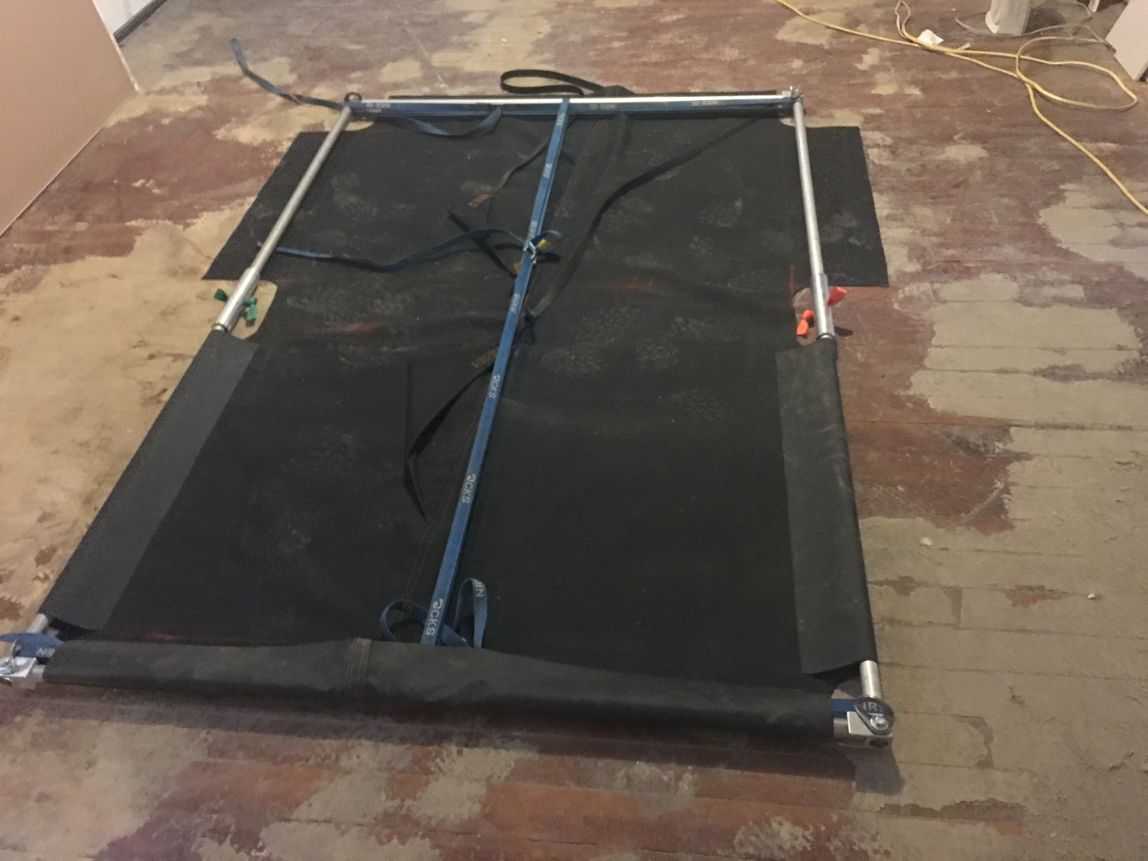
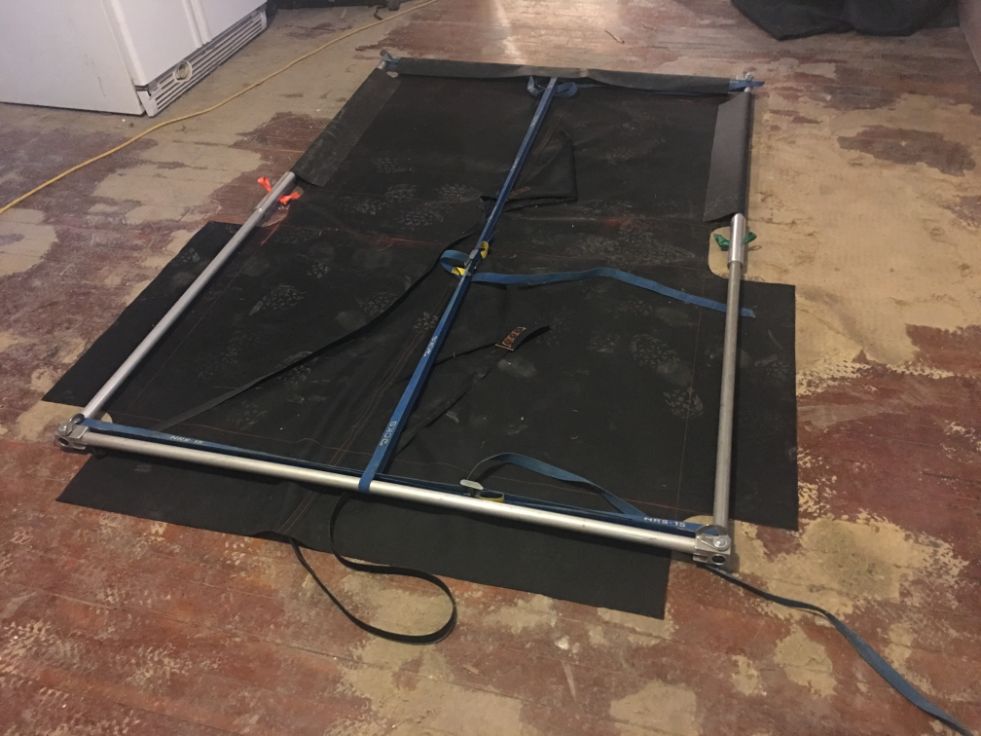
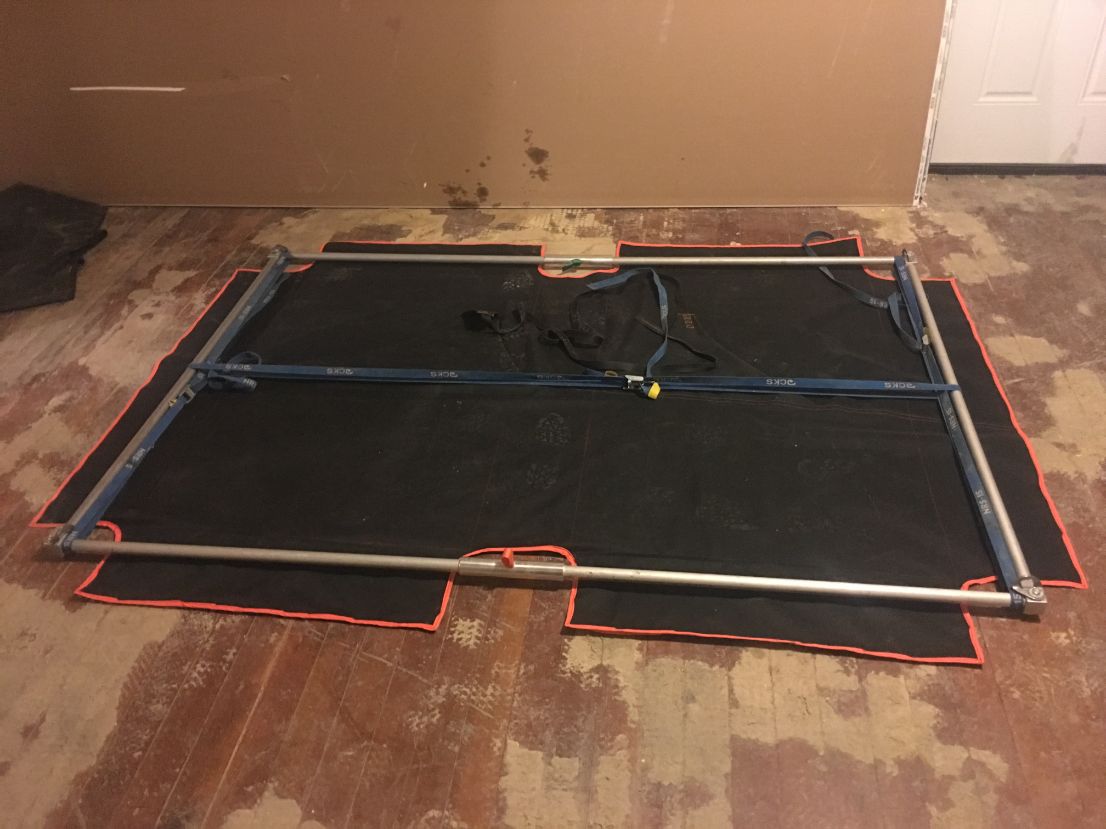
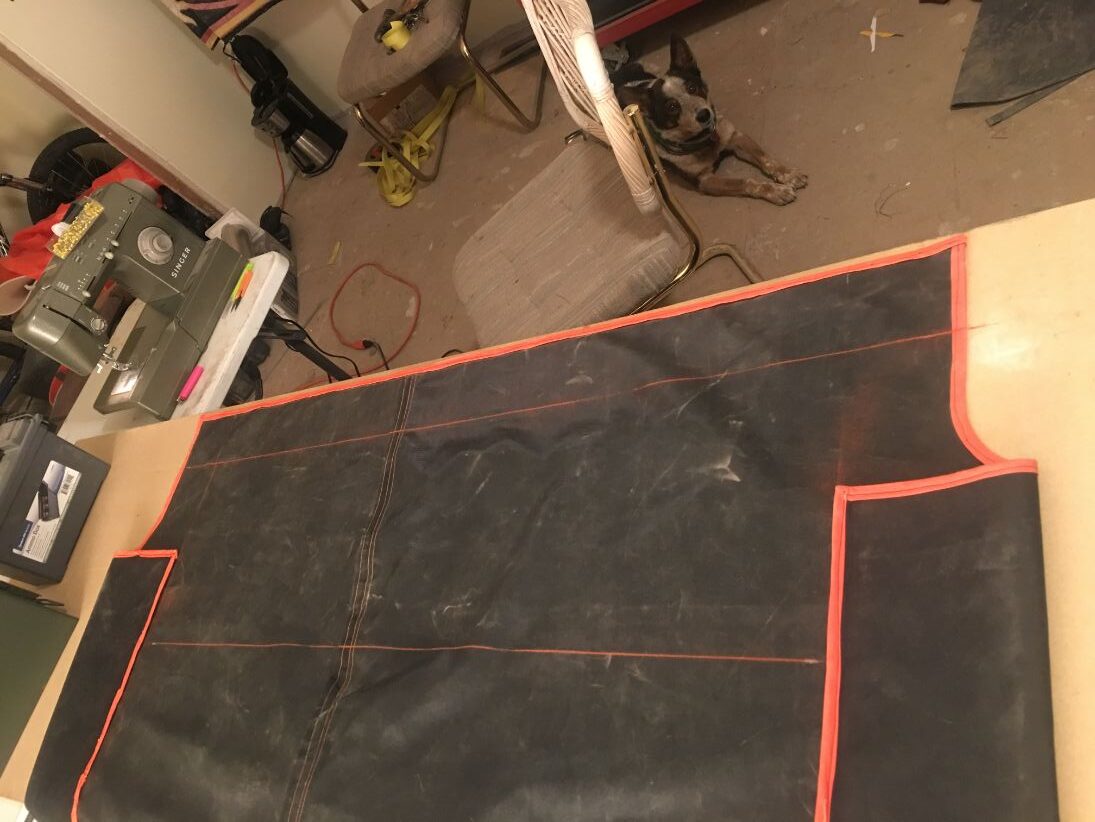
After sewing the seam down the center with the gussets, I laid the bed out on the floor and set the frame on top of it. I cocked the frame on an angle from the center seam so that when two people are sleeping in it they sleep head to feet and have more room in the in the upper body area. After the frame was lined up, I measured out 6″ all the way around the frame and used a chalk line to snap lines. I cut the fabric to size then stated laying out the notches for the corners and splices. I used a big roll of duct tape to draw the radiused corners. Running a chalk line by yourself can be a real bitch, fortunately I had these boxes of lead and brass to hold down the other end.
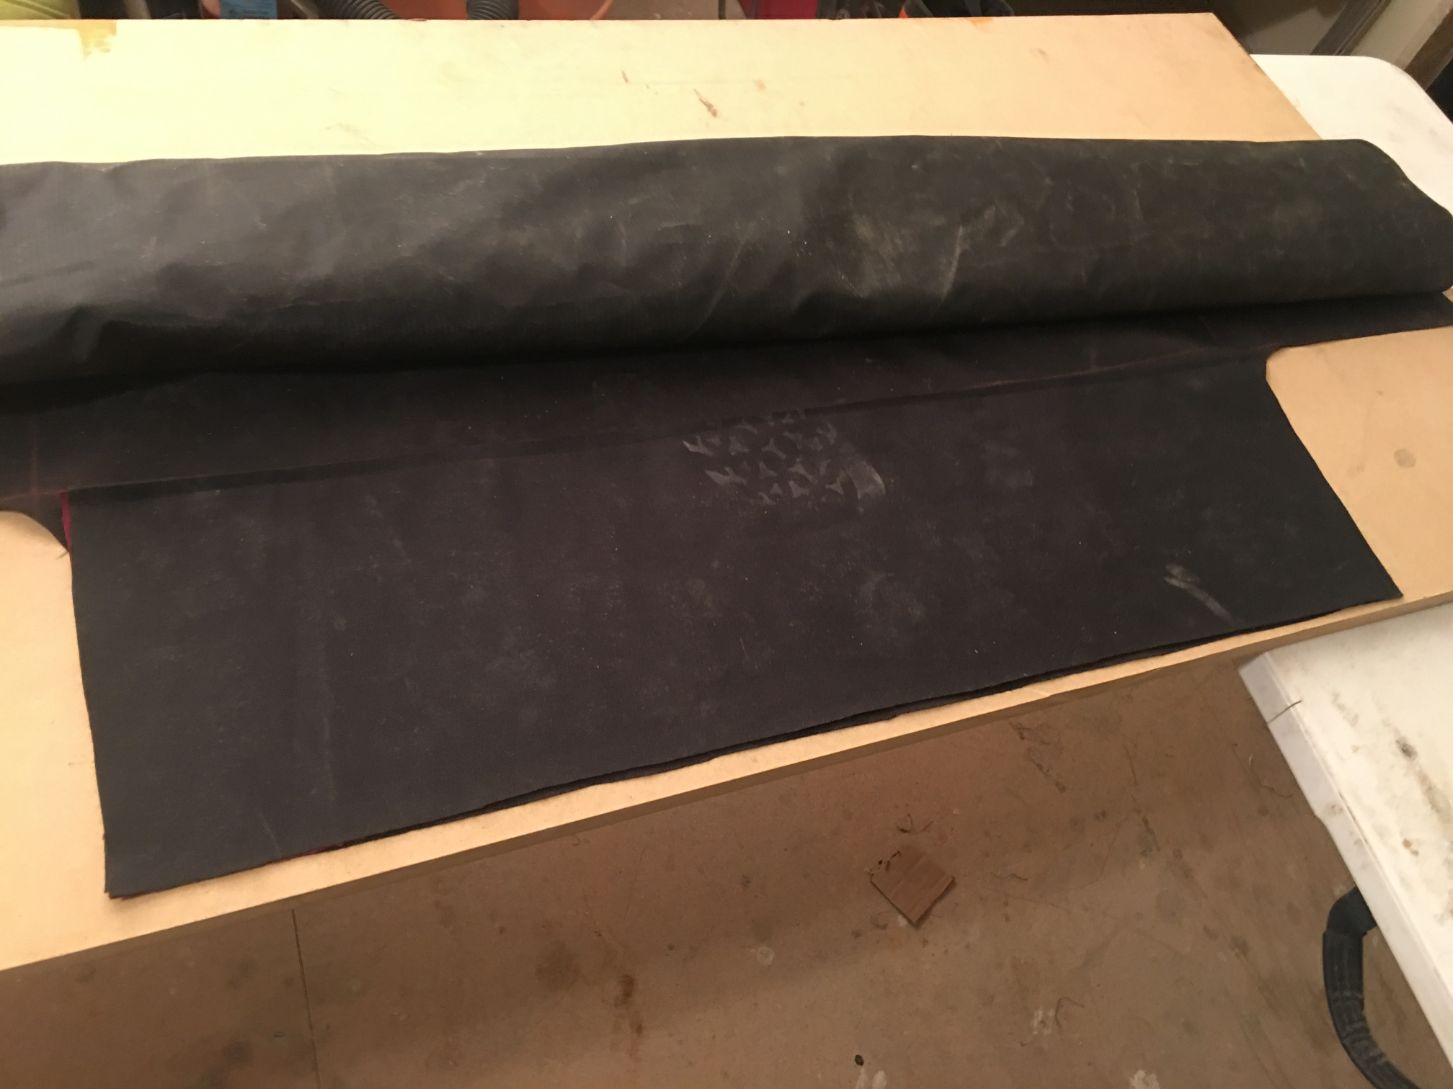
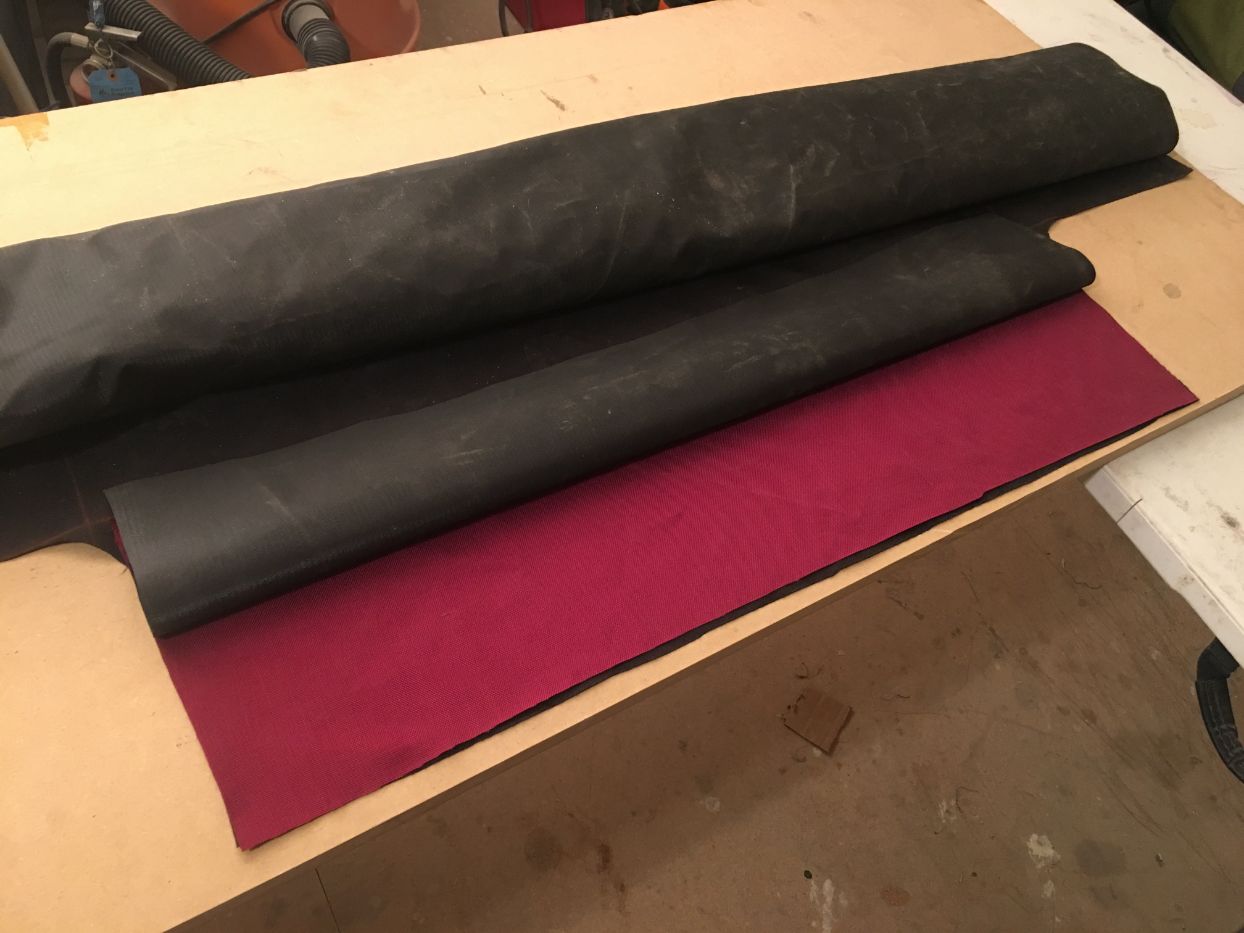
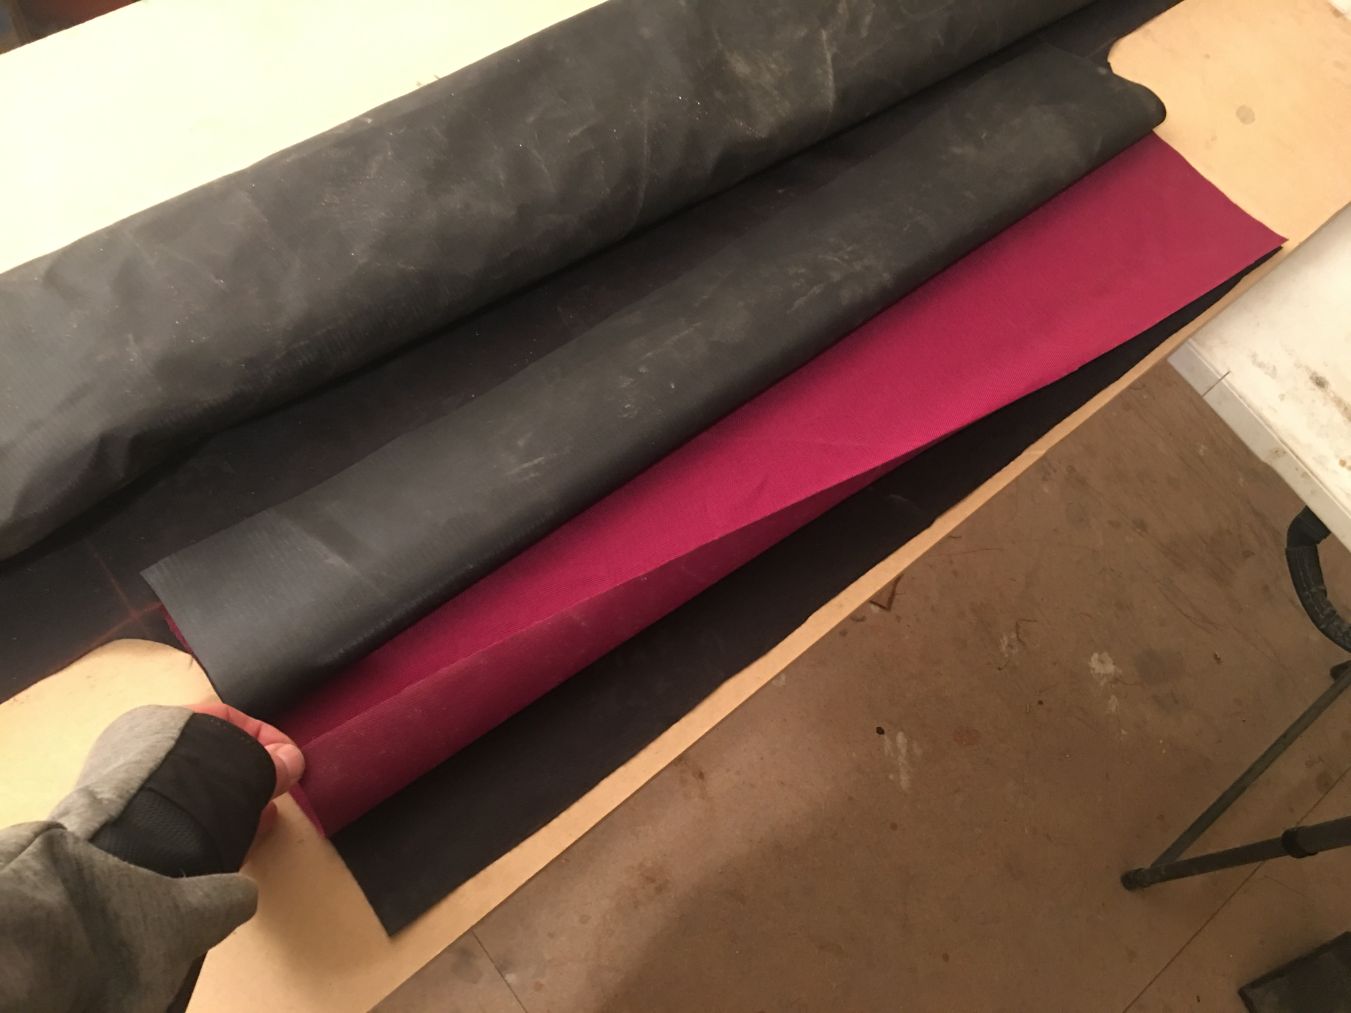
For the side of the ledge that will be rubbing on the wall I decided to triple up the fabric as it wraps around the frame. I used the Maroon fabric for the center layer so it would stand out if it started to wear through.
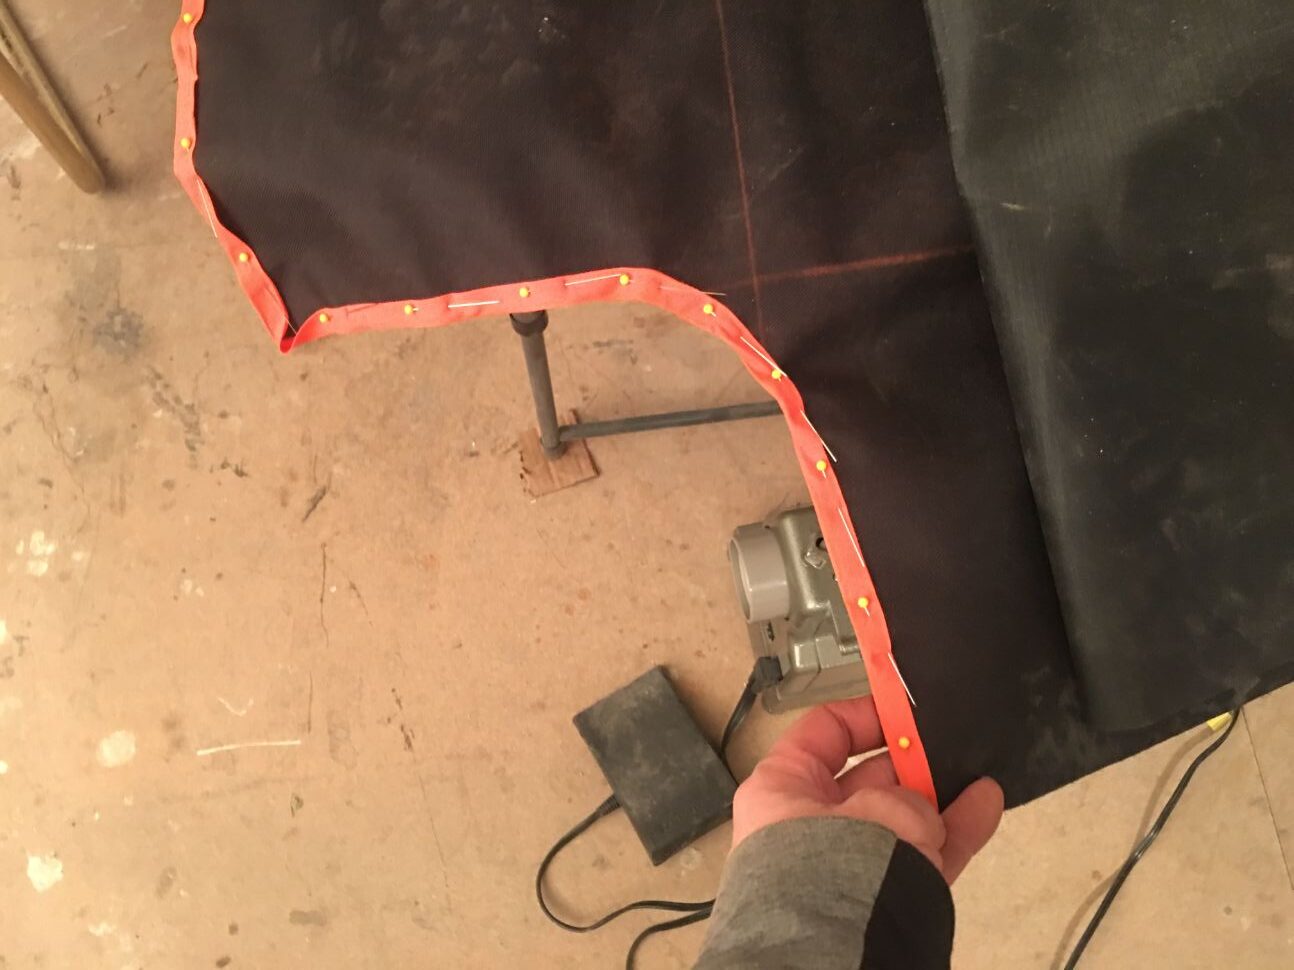
I then seam taped the entire outer edge. This was a P.I.T.A. but I think it will be worth it in the long run. I used orange seam tape because it was in the clearance bin.
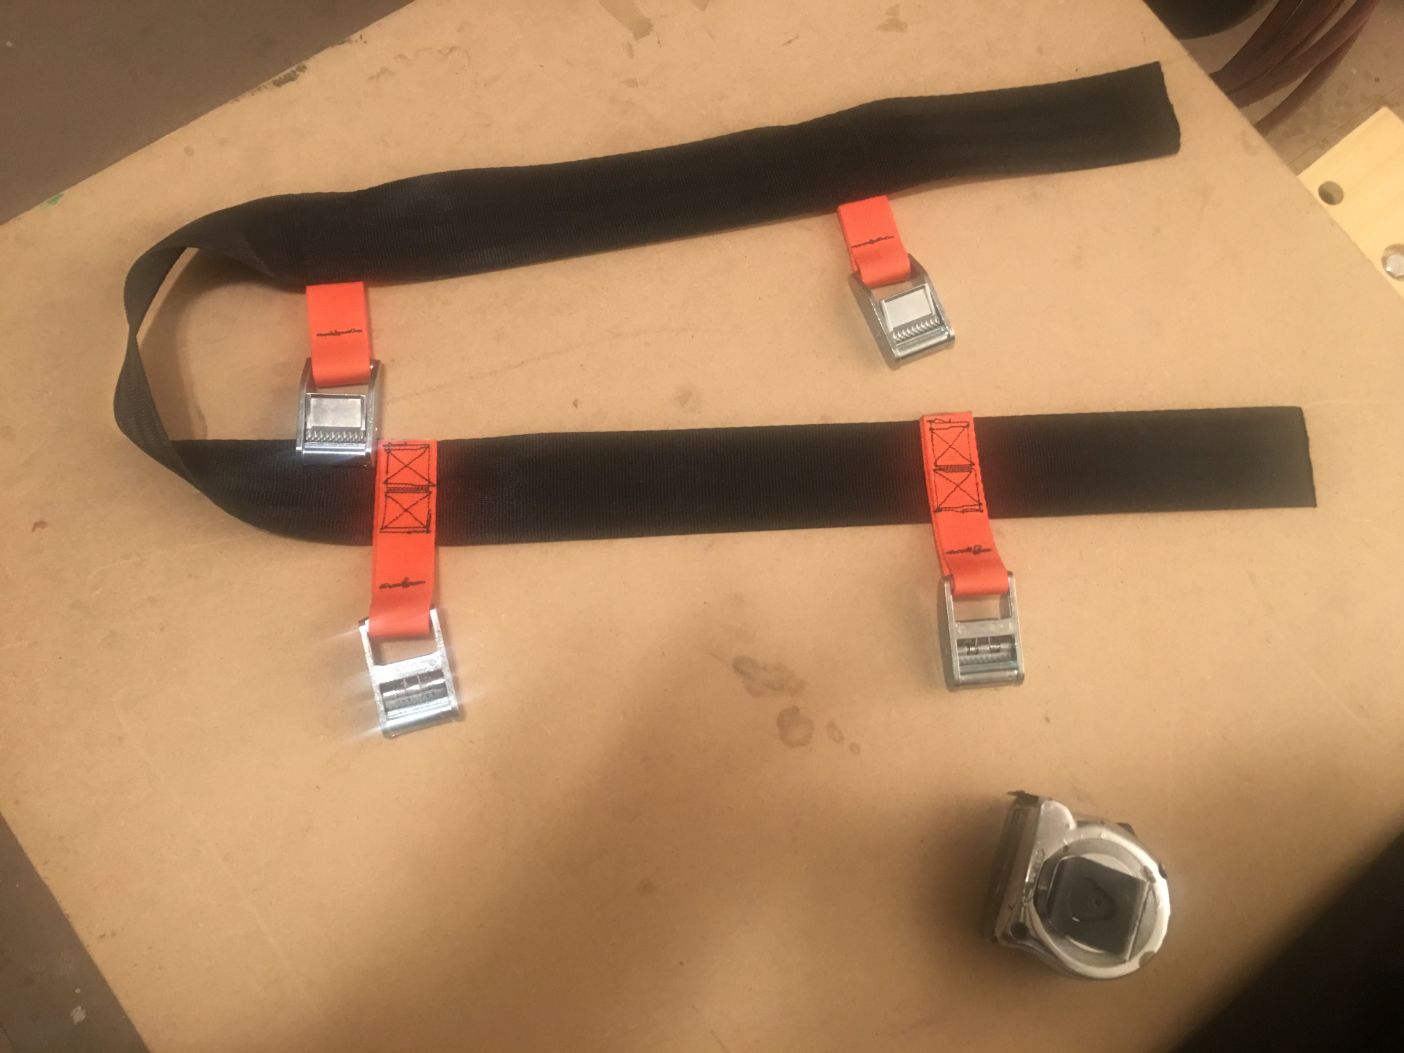

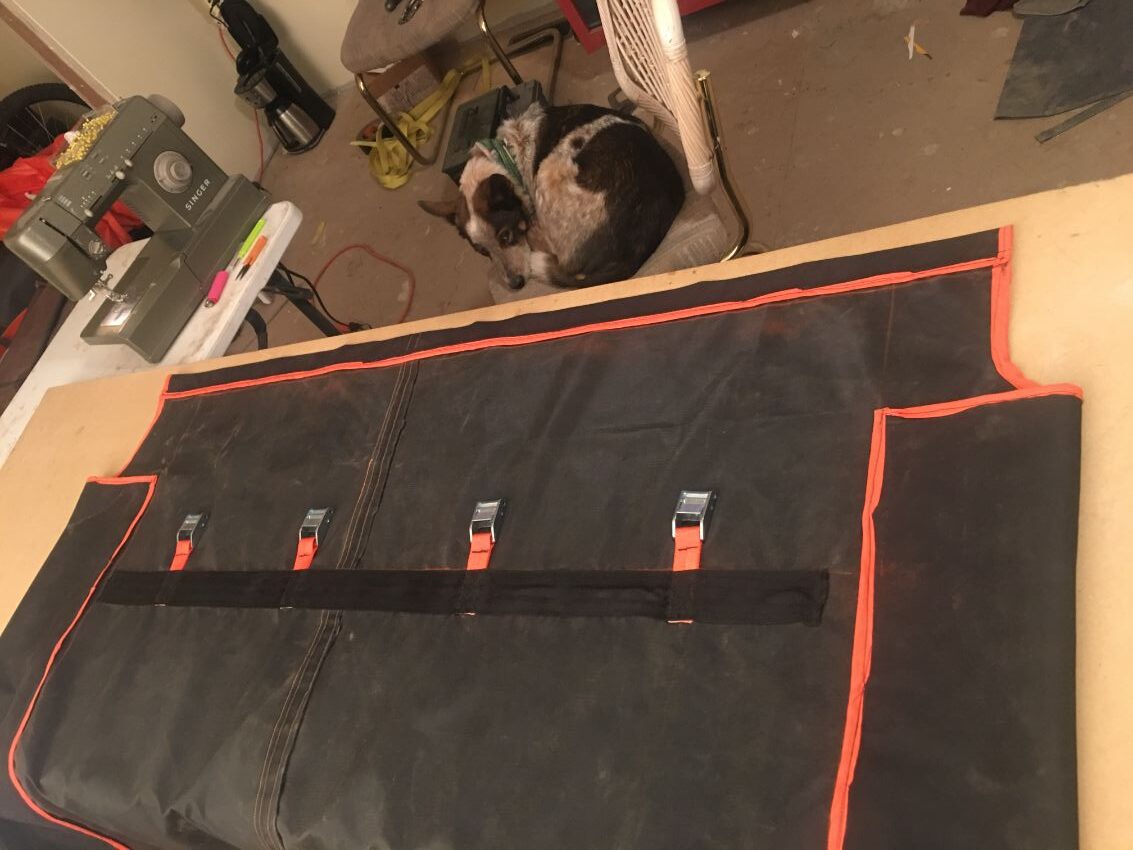
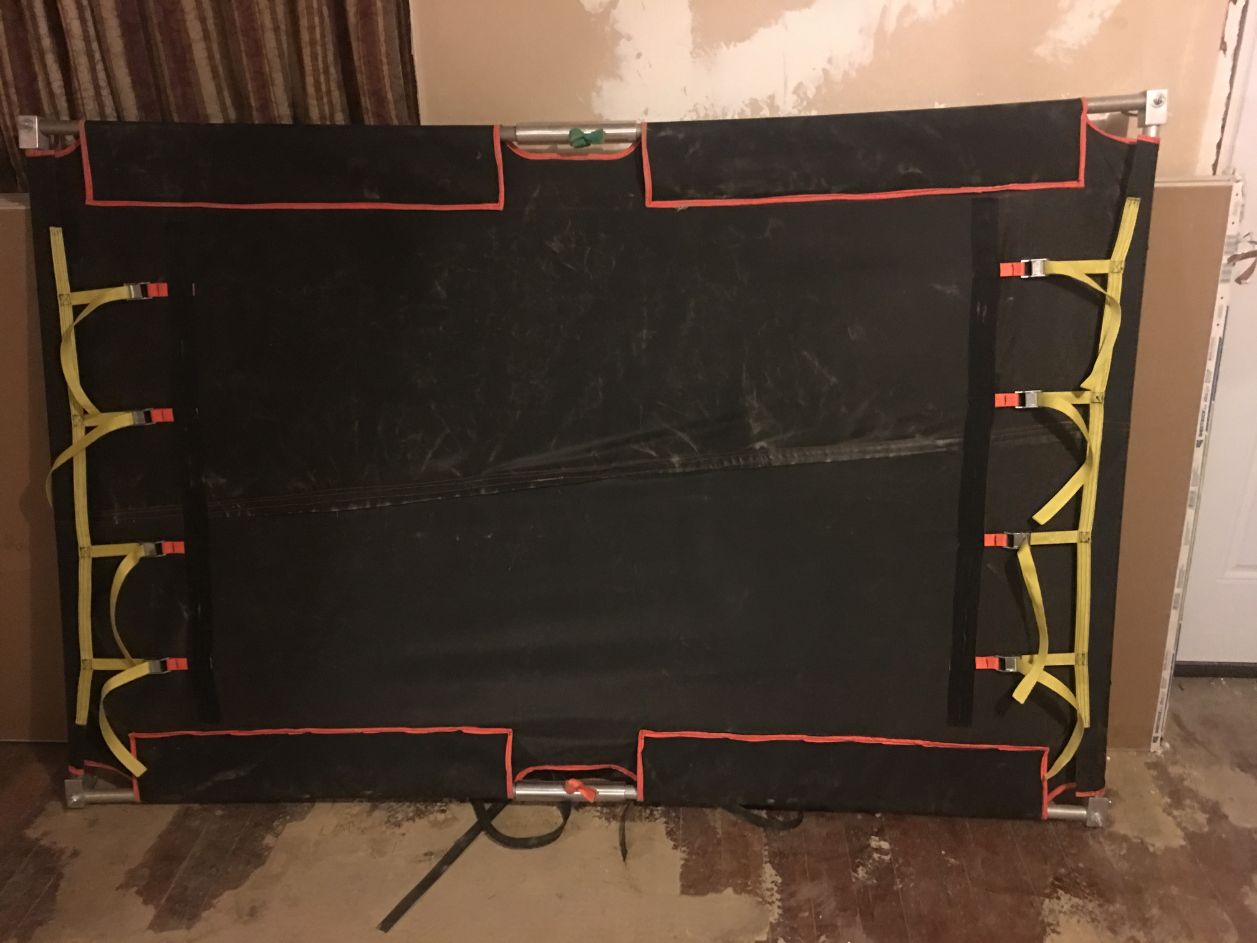
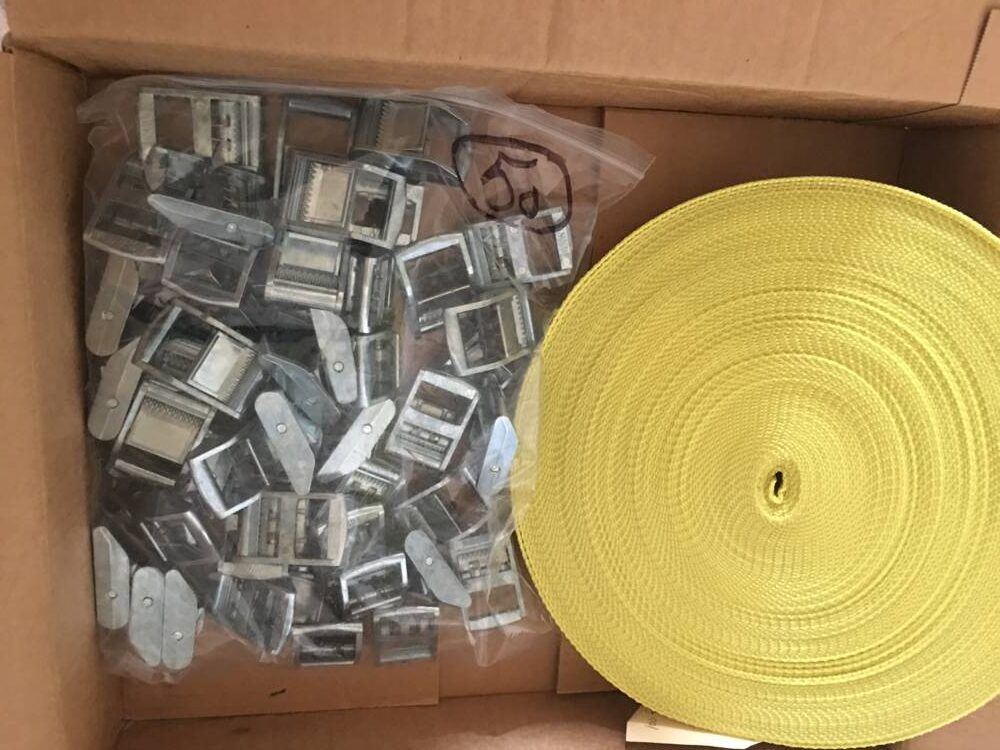
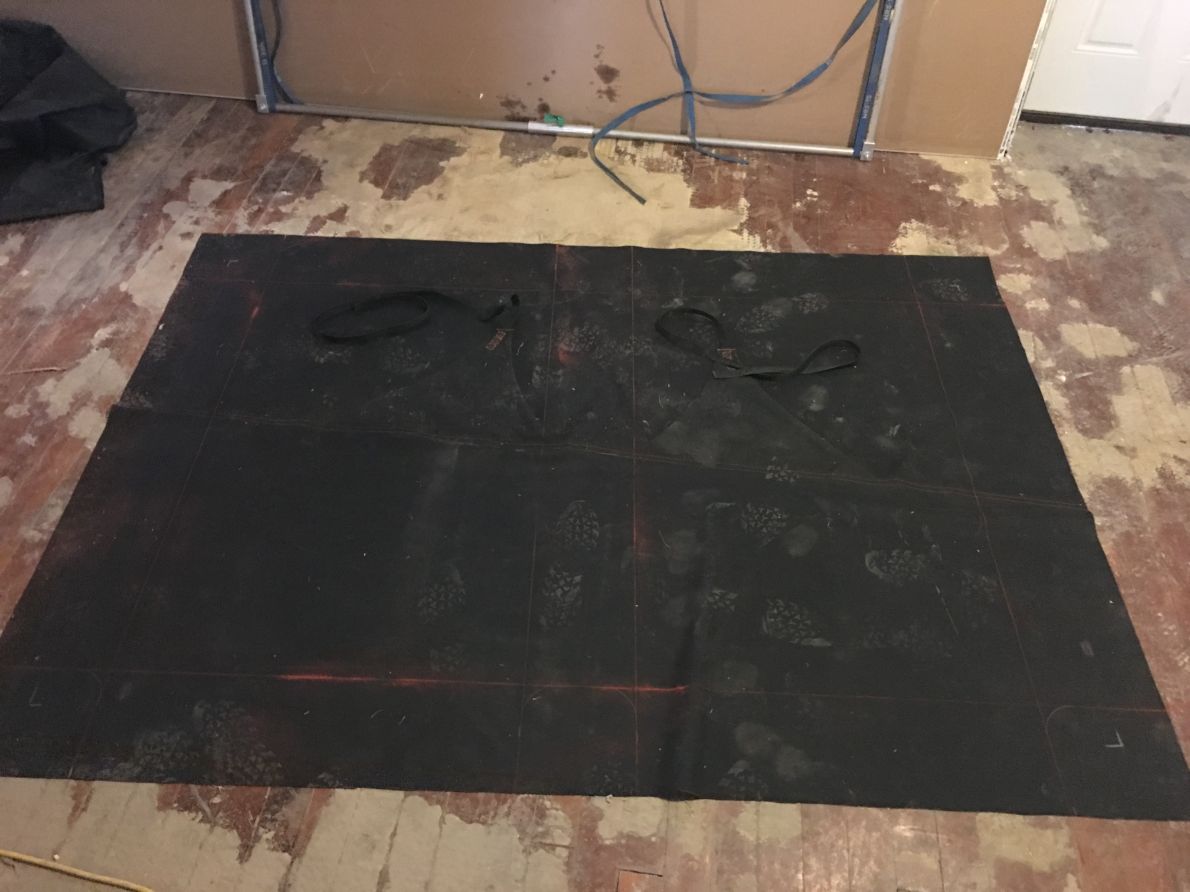
I hemmed and hawed for a while on the tensioning straps, whether to put them on the top or bottom. I decided to put them on the bottom but I’ll probably regret that. I mostly didn’t want to lay on one of the buckles in the middle of the night. The buckles are NRS cam strap buckles which are a bit heavier than the traditional buckle used comercially but I had bought a bag of them from NRS a while back for another project (5150 Hooks) and still had a bunch left. I bar tacked the buckles onto some 2″ flat webbing I had left over and then sewed the 2″ to the bed, multiple stitches in zigzags and other random patterns. I then attached the 1″ polypro webbing to the end of the bed that goes over the frame and tensions the bed down.
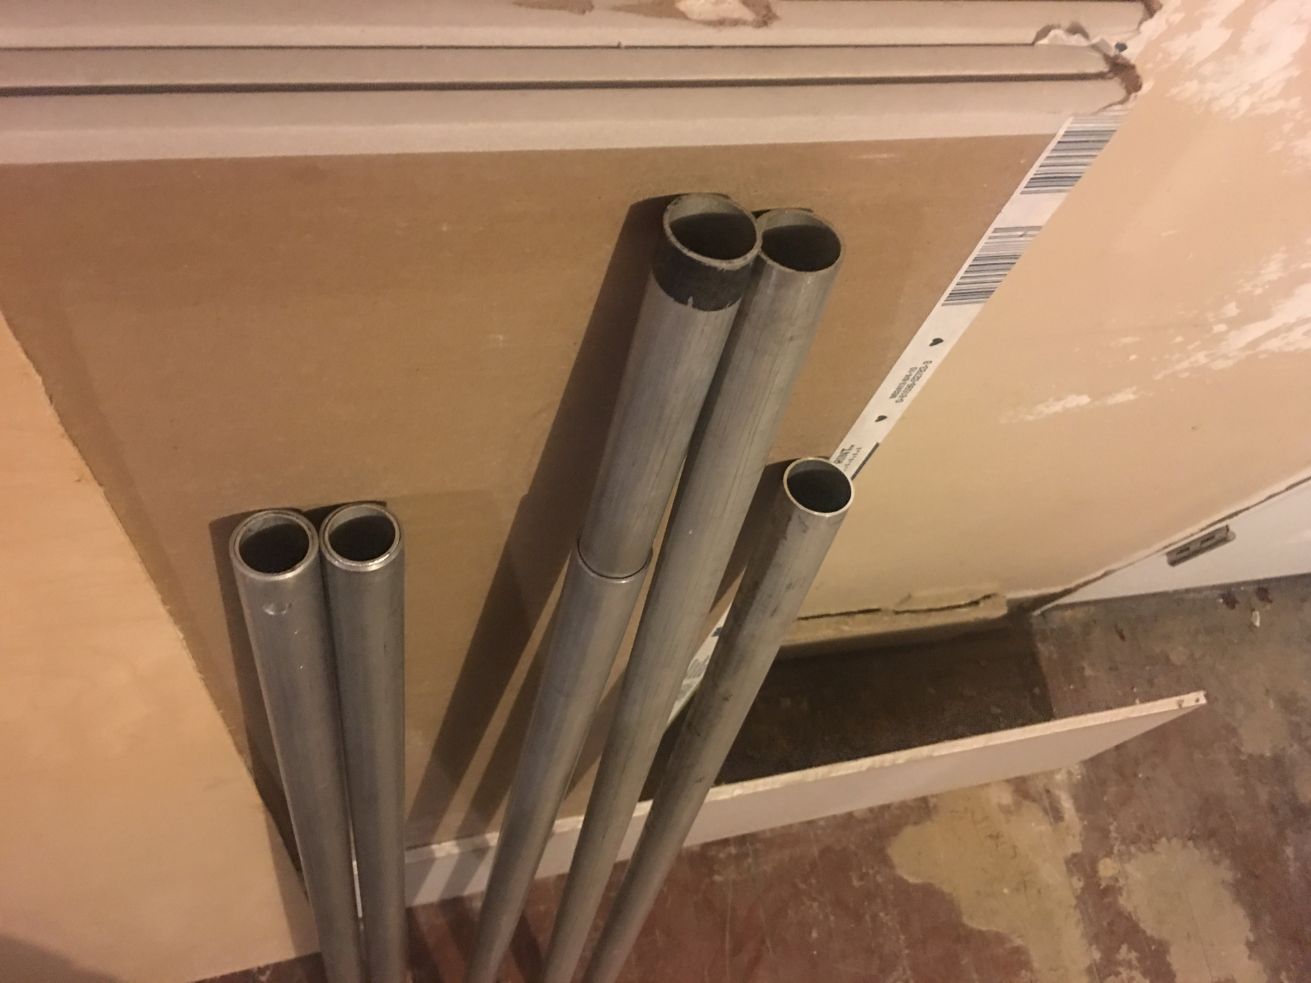
When I made the ledge longer I didn’t take into account the extra force on the tubes from the extra leverage. This is where Middendorf really helped me out. His first suggestion was to go to a bigger diameter tube but as I already had the materials and a bunch of stuff machined I decided to sleeve the tubes instead, effectively doubling the wall thickness. I’m using 1.125″ OD 6061, .058 wall tube so I ordered 1″ OD 6061, .058 wall tube to slide inside of it. The first one had to be driven in with a rubber mallet but the rest of them slid right in, aluminum doesn’t like to rub on itself and there must have been a small bur. This increased the weight of the ledge a little but with this and the bigger splices I don’t need a spreader bar so it only increases it a little compaired to a having a spreader.

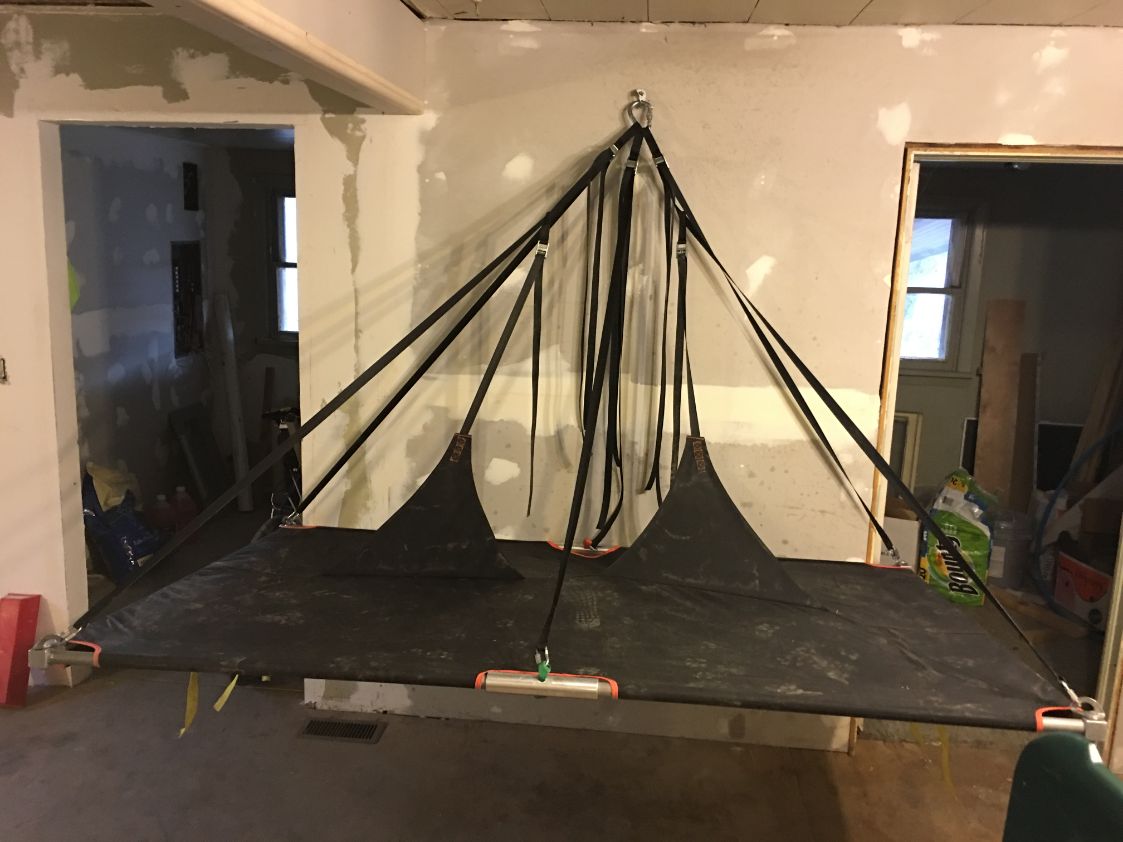
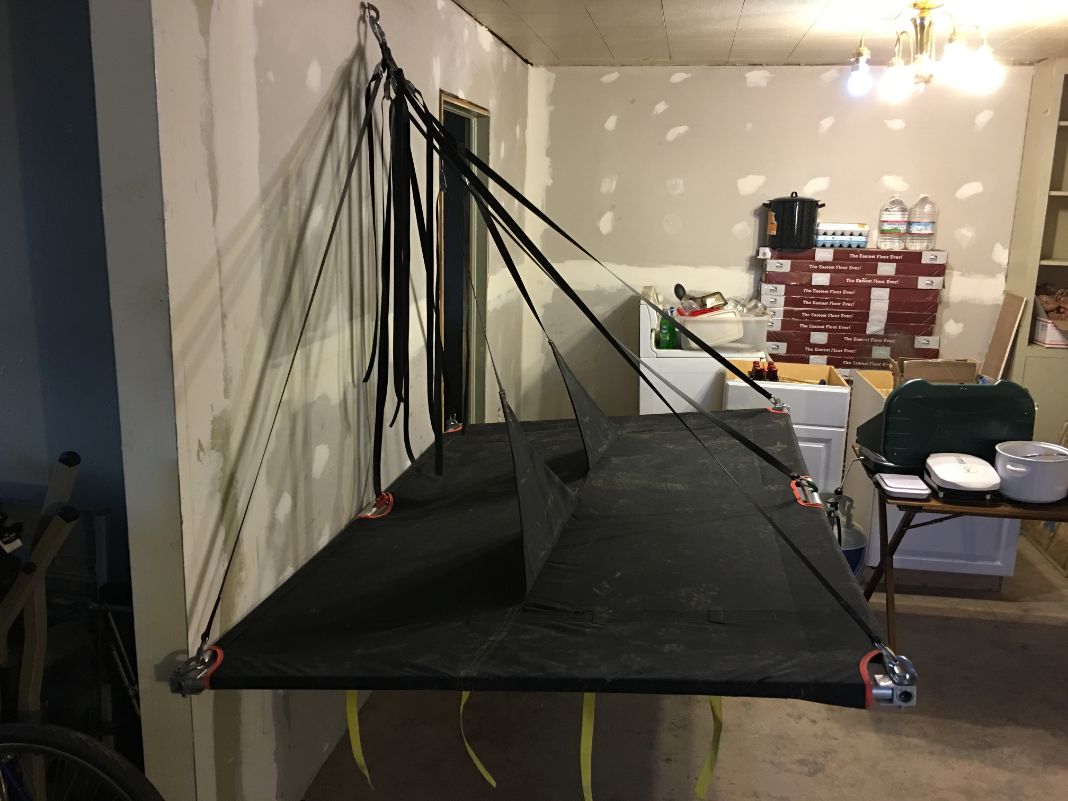
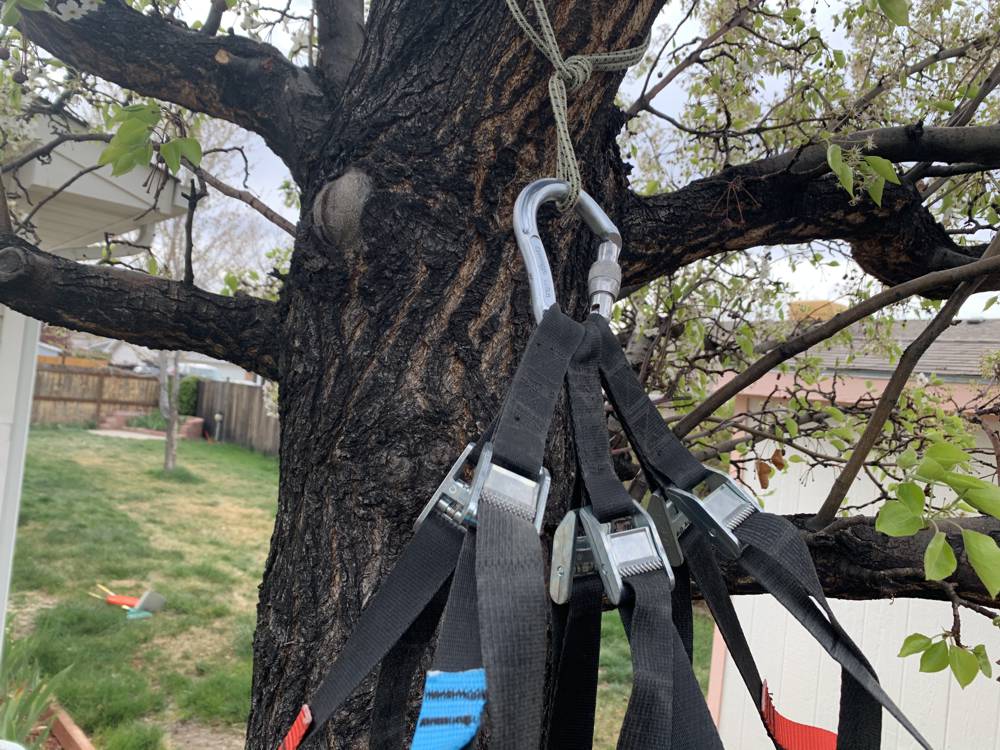
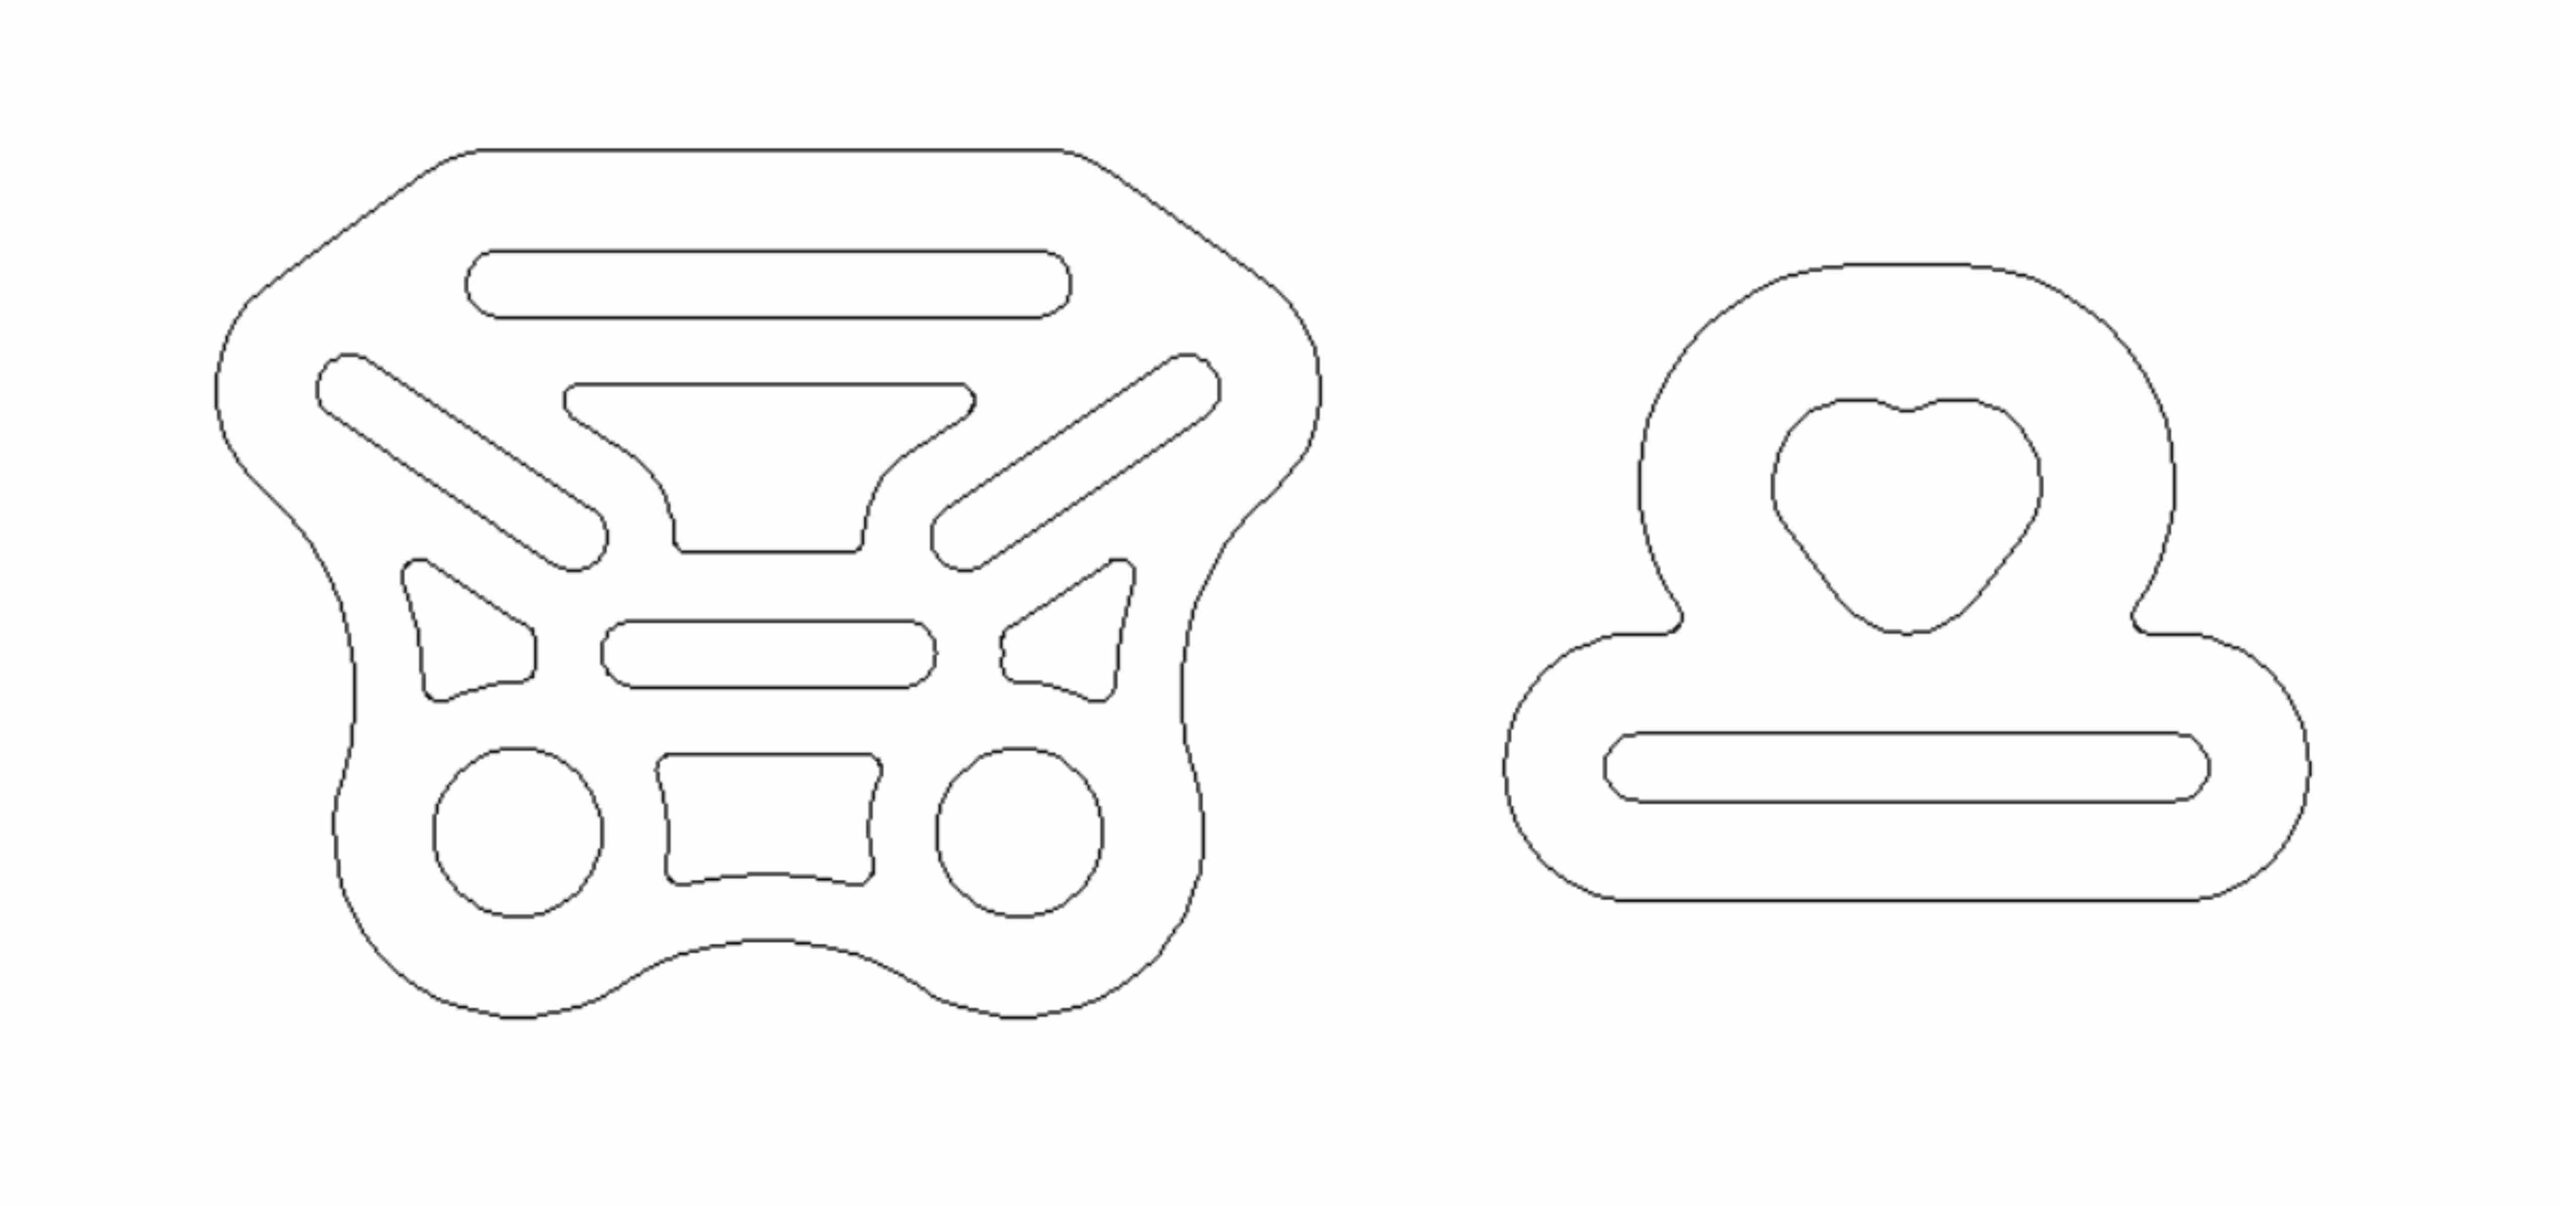
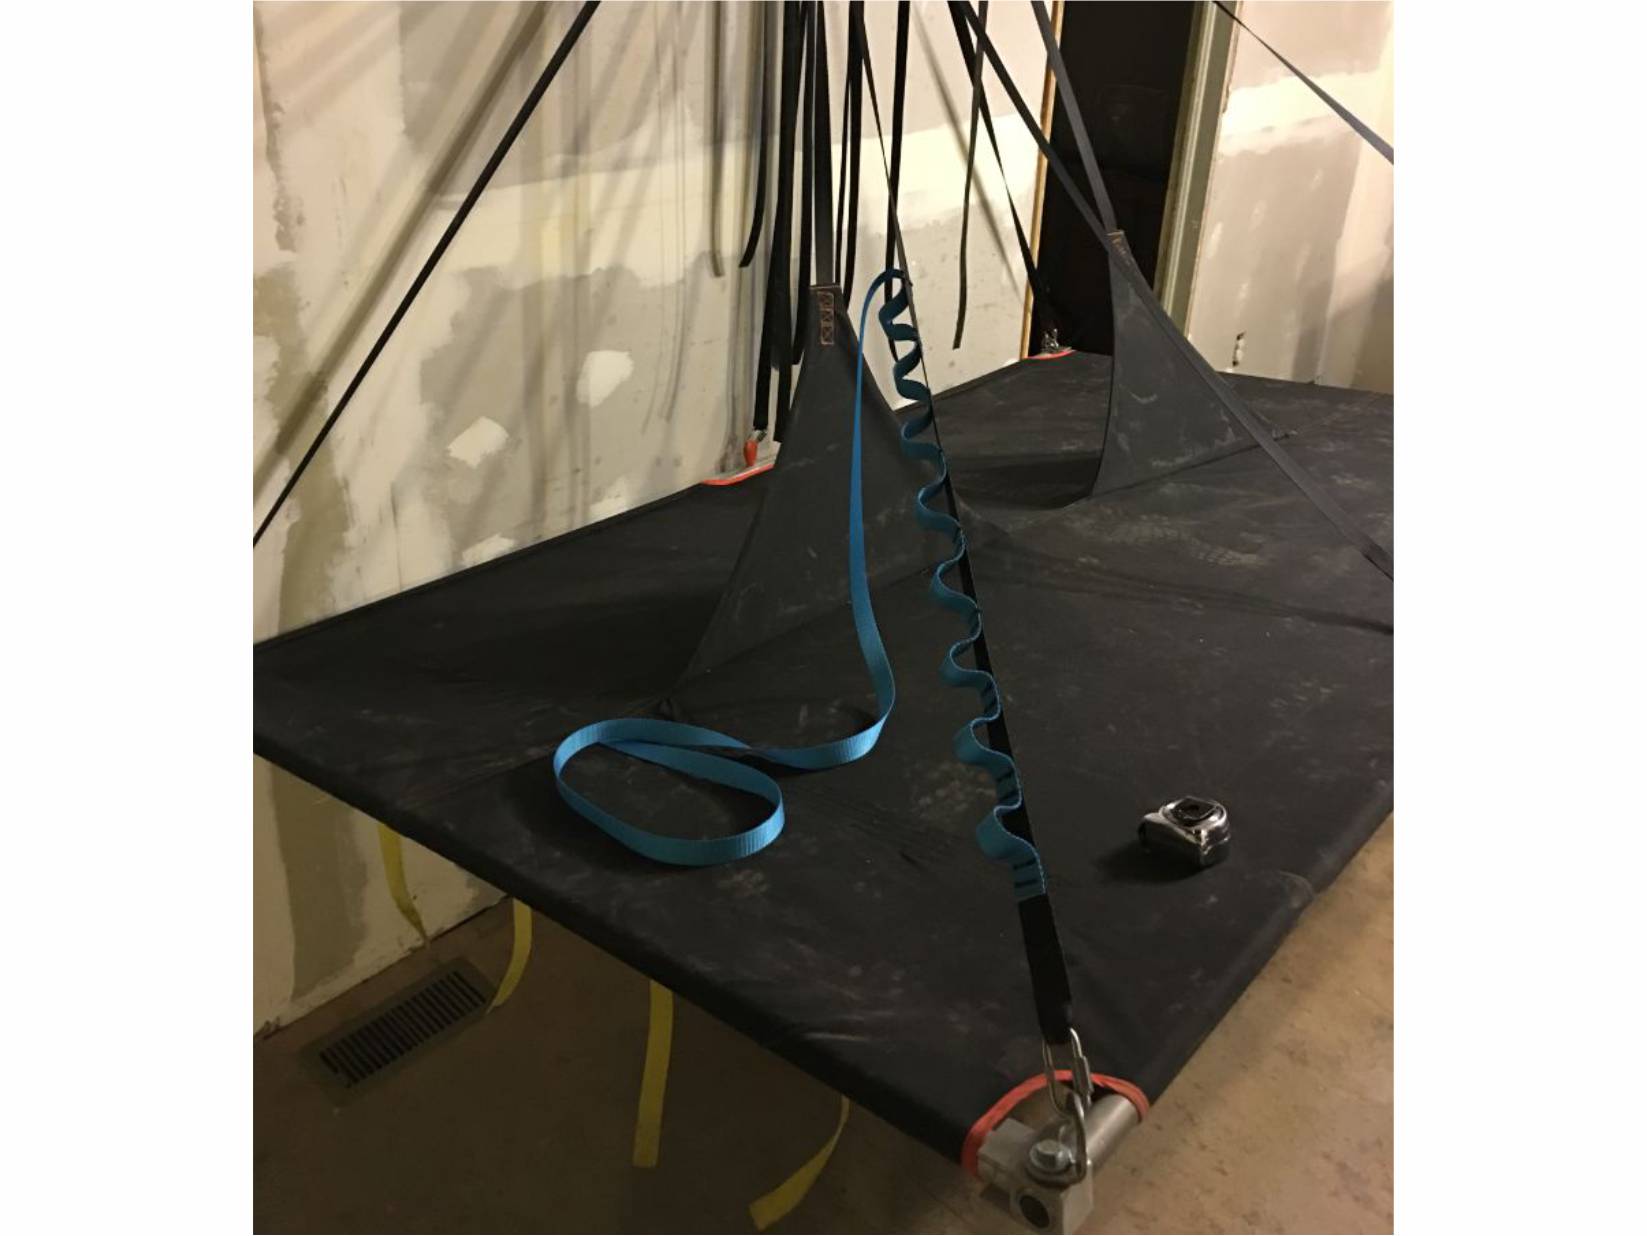
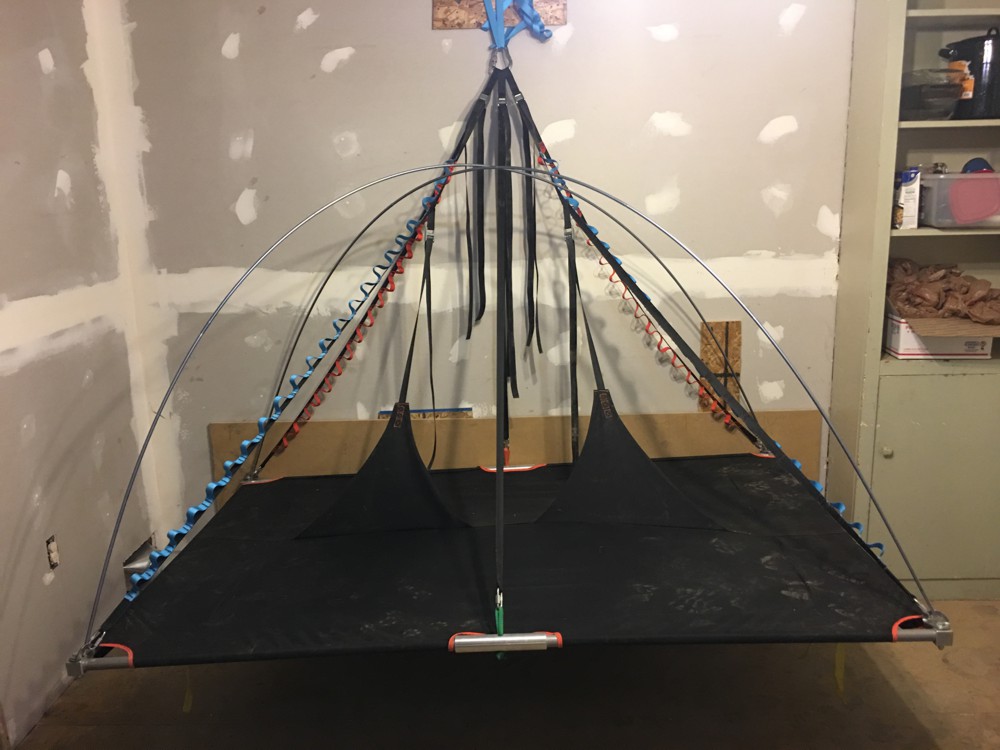
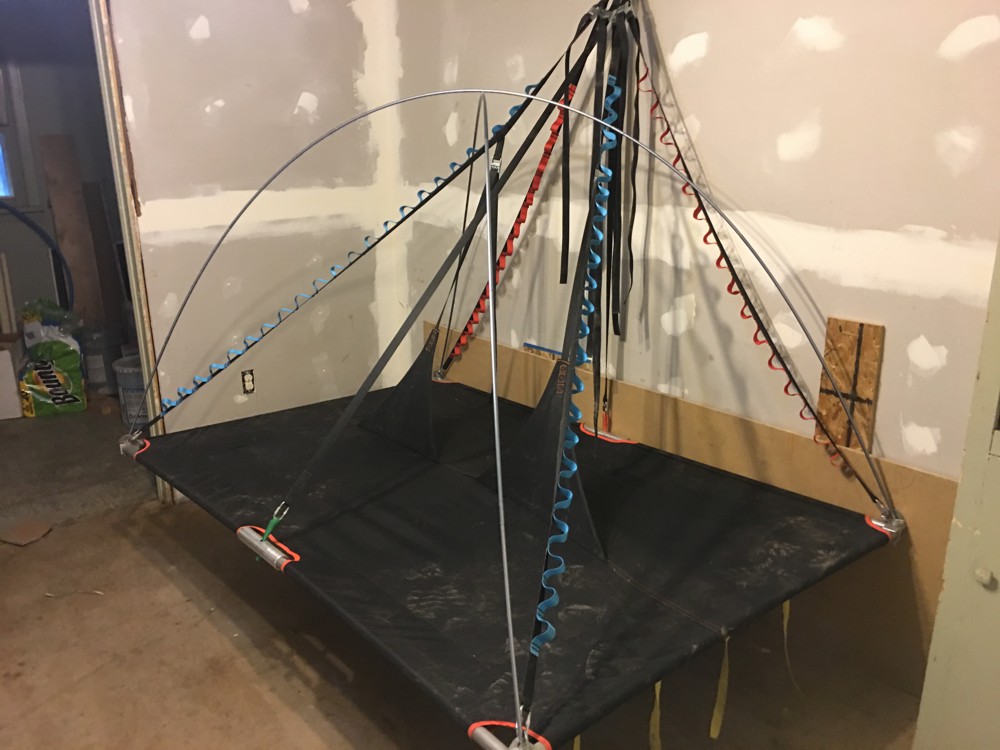
To hang the ledge I used that 1″ resin coated nylon webbing I talked about in the first post. I used the NRS cam strap buckles again and this makes it super easy to level even while you’re sitting on it. I designed a plate system that I’ll get water jet cut out of 3/8″ 6061 aluminum when the time comes to make the fly. The smaller plate is the top and it is designed for 2 carabiners to attach to the anchor. I’ll attach the two plates to each other with 2″ webbing and sew the rain fly around that to waterproof the anchor point. The bottom plate has three slots that I will run the 1″ webbing for the suspension and the two eye holes at the bottom of the plate are attachment points for the people in the ledge or whatever. For now I’m just using a big fat carbine to attach to the anchor.
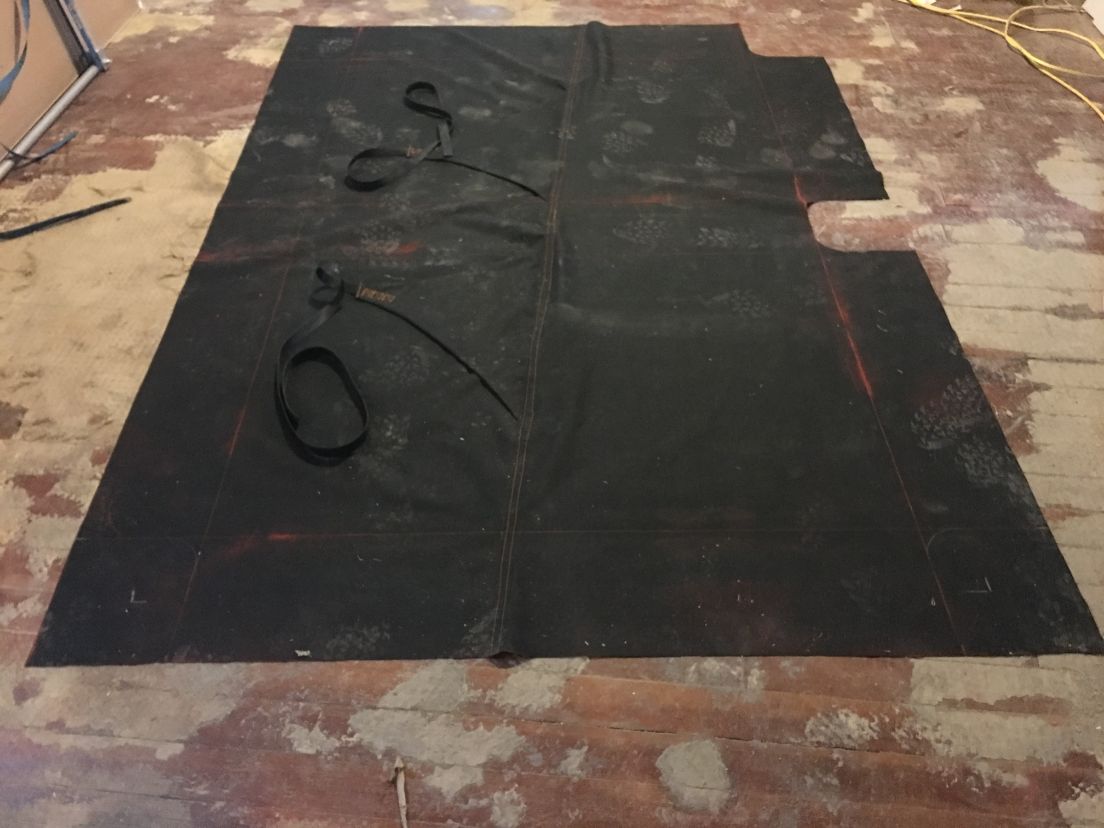
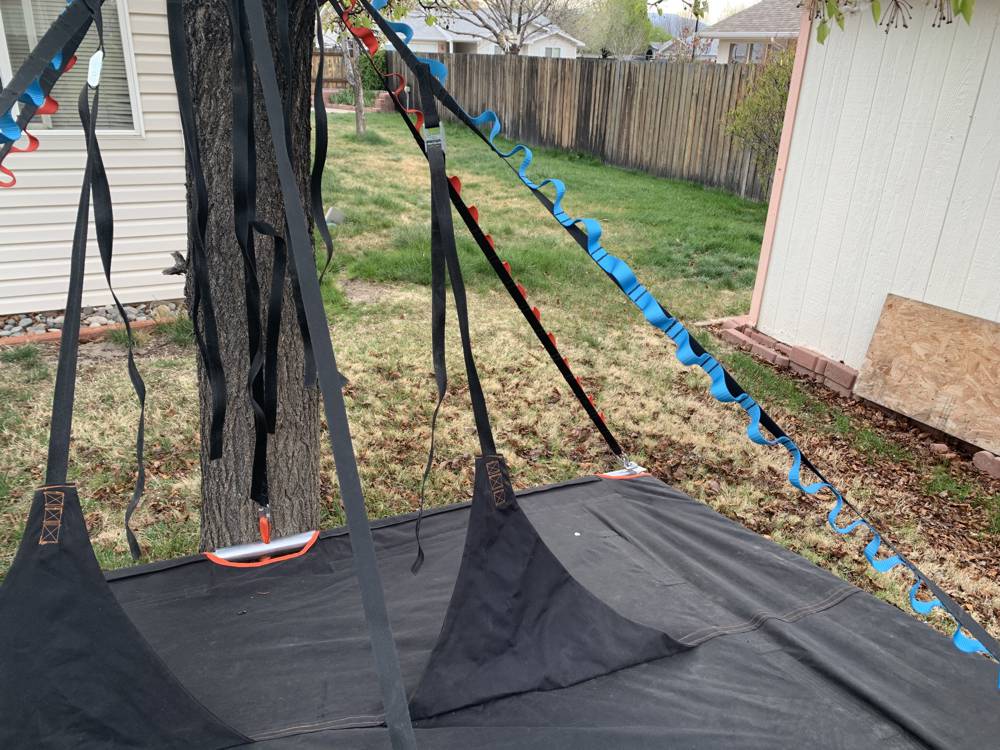
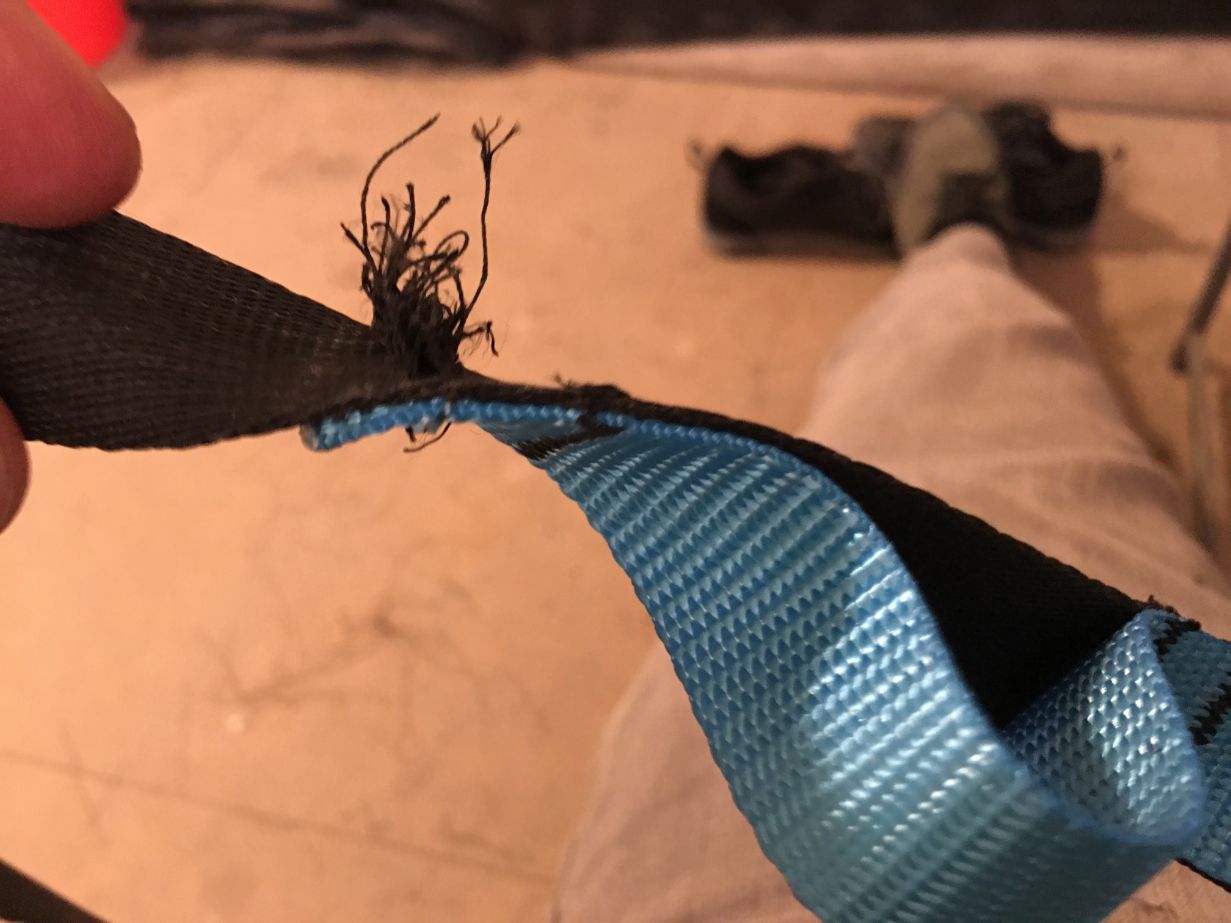
I used some leftover polyester webbing I had from another project to sew some daisies on the suspension straps. I used red for the wall side and blue for the ski side so it would be easier to recognize when pulling it out of the haulbag. I had a few issues with the zigzag bar tack I was using for this, I’m not sure if it was the feeder or the thickness of the material but I had a couple of balled messes to deal with before it was all done.
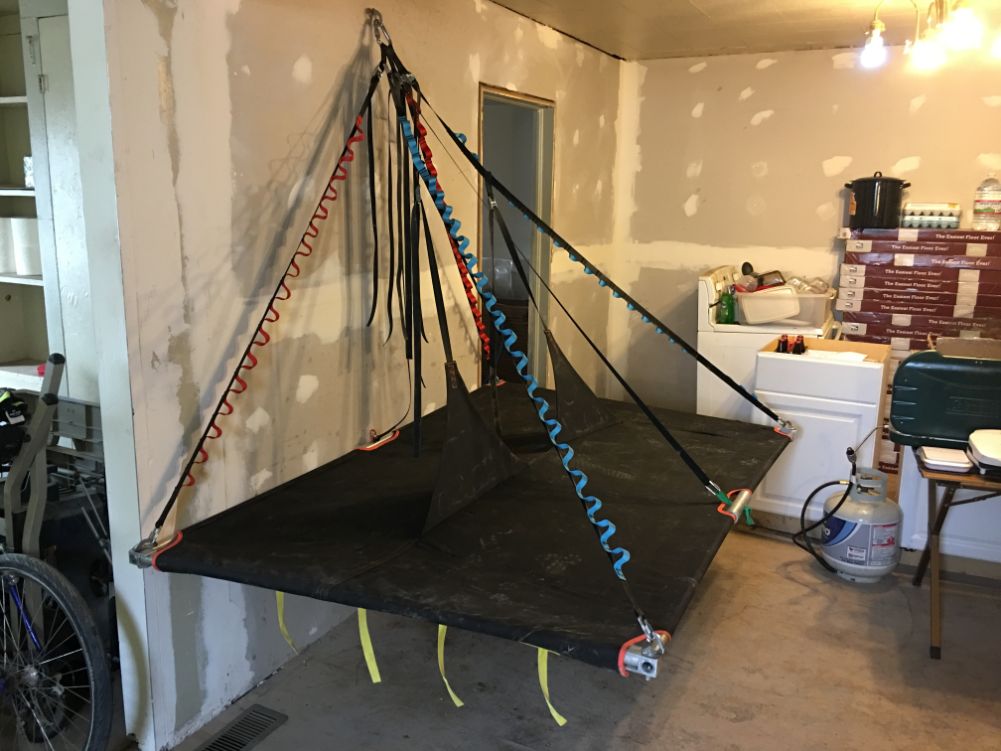
This is as far as I’ve gotten on the ledge for now. I have been playing around with different design ideas for the fly but haven’t started seriously designing it yet. I was playing with the idea of a dome tent design and a couple of other ideas. As soon as I decide on which way I’m going to go I’ll get started on it. I did reach out to friends and got a few old, beat up tents given to me. I’ll be using the poles and I’ll use the fabric to do my prototypes before spending money on the materials for the final fly. I’ve been looking at different materials and so far Xpac is high on my list. It’s $20 a yard and not breathable so I may just use it on the wall side and find something breathable for the outer walls.
I hope you enjoyed the articles so far, this has been one of my favorite projects to date. I have too many hobbies to do all of them all the time and last year was all about rafting which means a lot of drinking haha. I’m out of shape for climbing right now but I feel this year is going to be about climbing more than rafting. I found a new crag that I will be developing with a friend of mine so the psych is high. Once I’m back in climbing shape I’ve got my eyes on a big wall close by that I will be testing the ledge on. This cliff is at 8,000 ft so I may have to make the fly before heading out. I’ll post more as I get more done. Thanks for reading…
Hey thanks man for posting all of this! It’s been a huge help to look at some more high resolution photos of someone else who has been where you want to go. I’m working on version 3 of the portaledge, this time a double one like you but I’m trying to modify my design to use curved ends, we’ll see how it goes.
Right on, good luck! Please send me some pictures when you’re done. I may do another ledge with the curved corners someday but right now I have too many other projects going.