I have recently made some more modifications to my trailer you may remember from a previous post. As I’ve been traveling and using the trailer I started to think of little tweaks to make the trailer more functional for my purposes. I have recently been house sitting for some friends that have a shop that has allowed me the time and space to start making the modifications. I still have a few more things I’d like to do but I am also starting to work on the interior cabinets of the camper so I am pausing progress on the trailer for a bit.
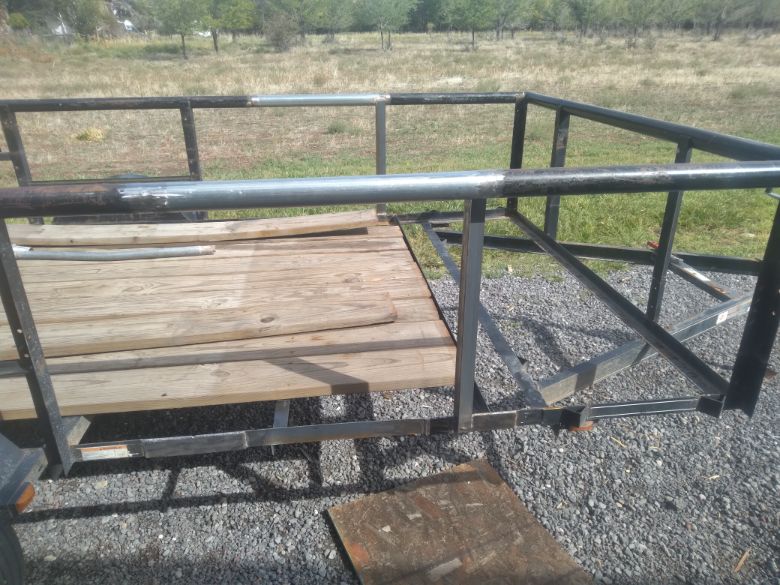
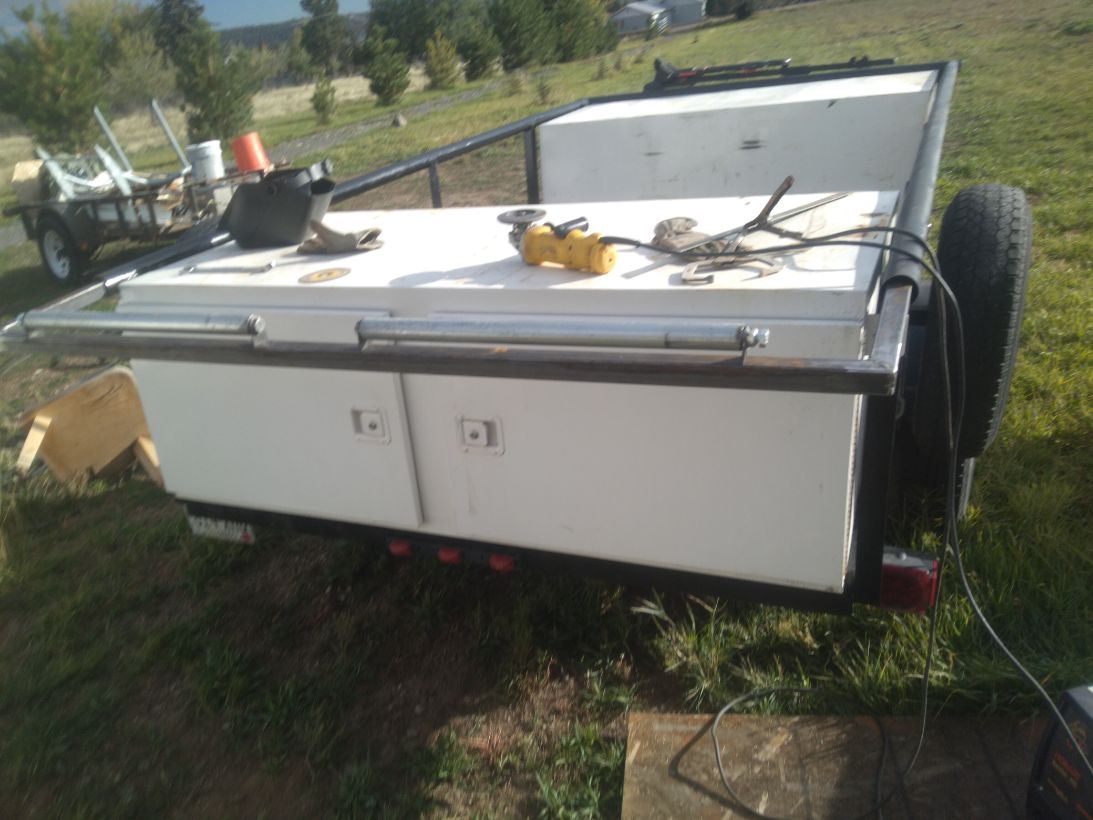
When I built the two steel boxes for the trailer I left an open space between them that proved to not be very functional when I had the raft loaded on top. There was no good way to access this space to load or unload and it required lifting up and over which was challenging with heavy items like coolers, dry boxes, or the raft when it is rolled up.
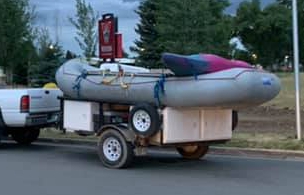
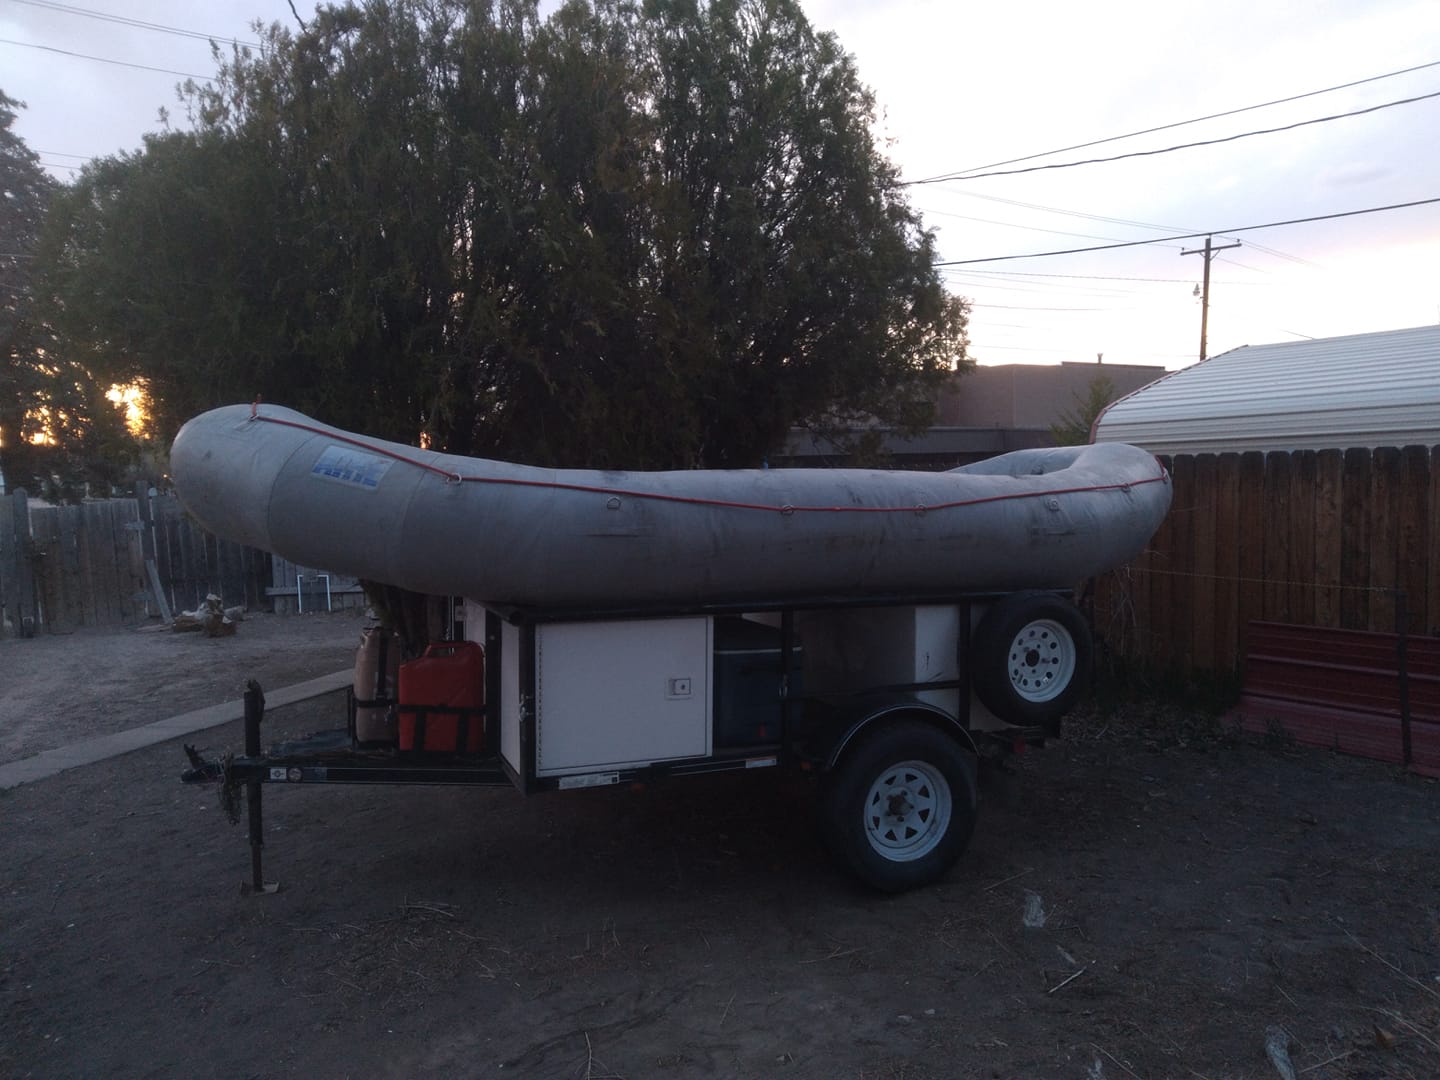
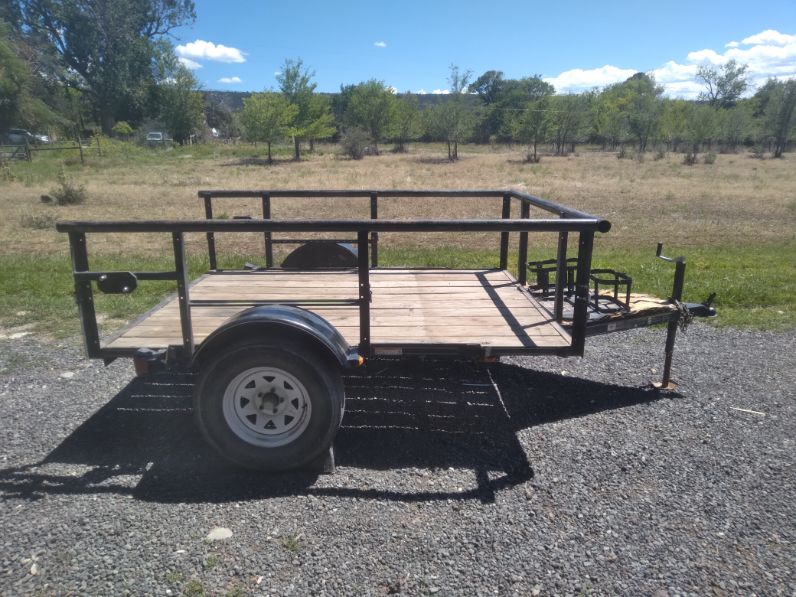
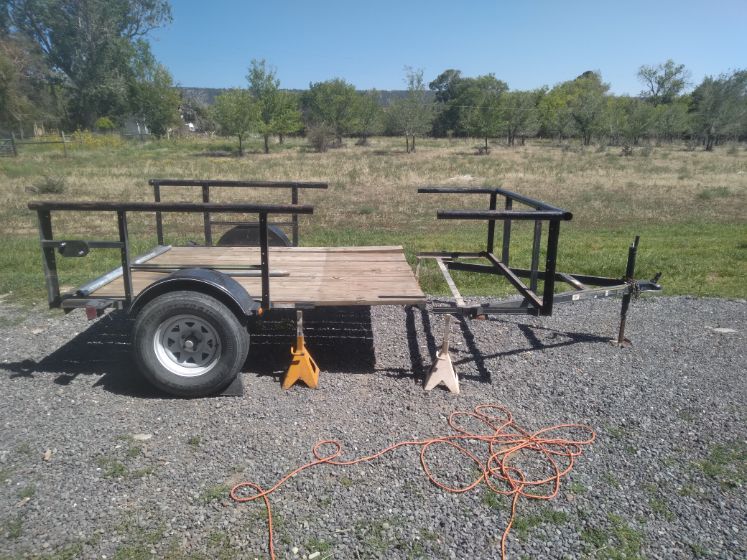
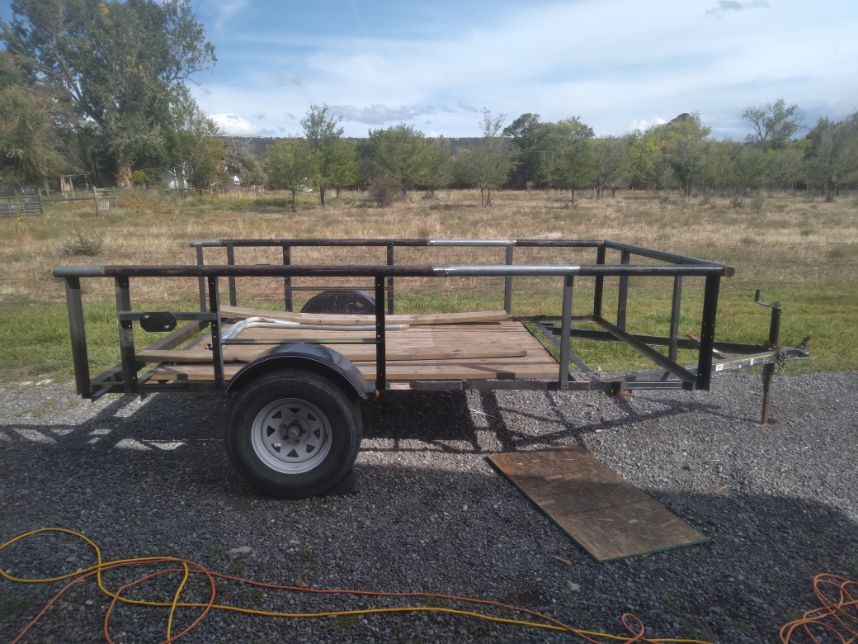
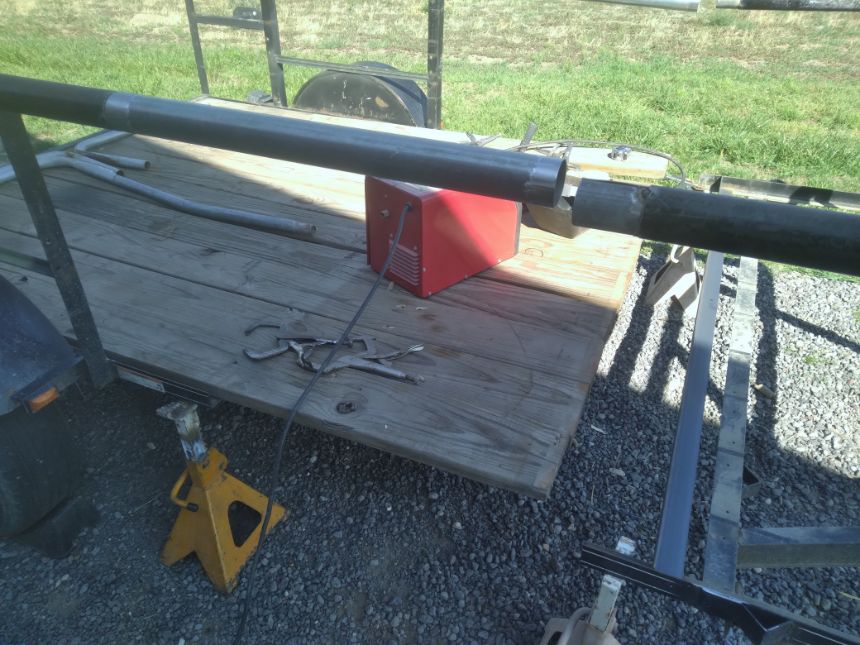
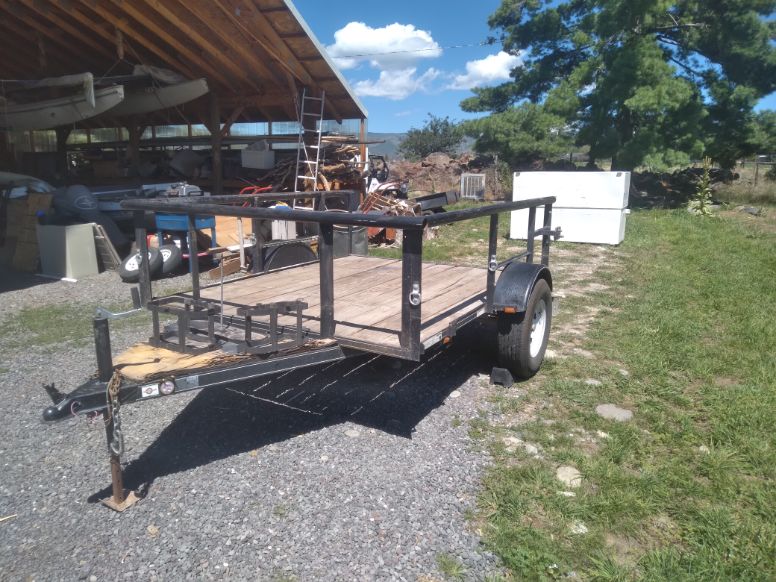
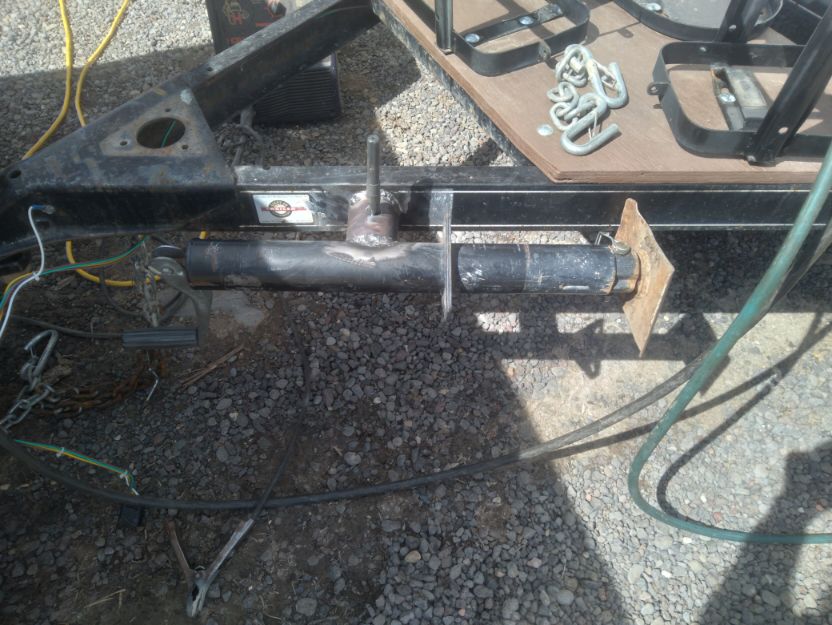
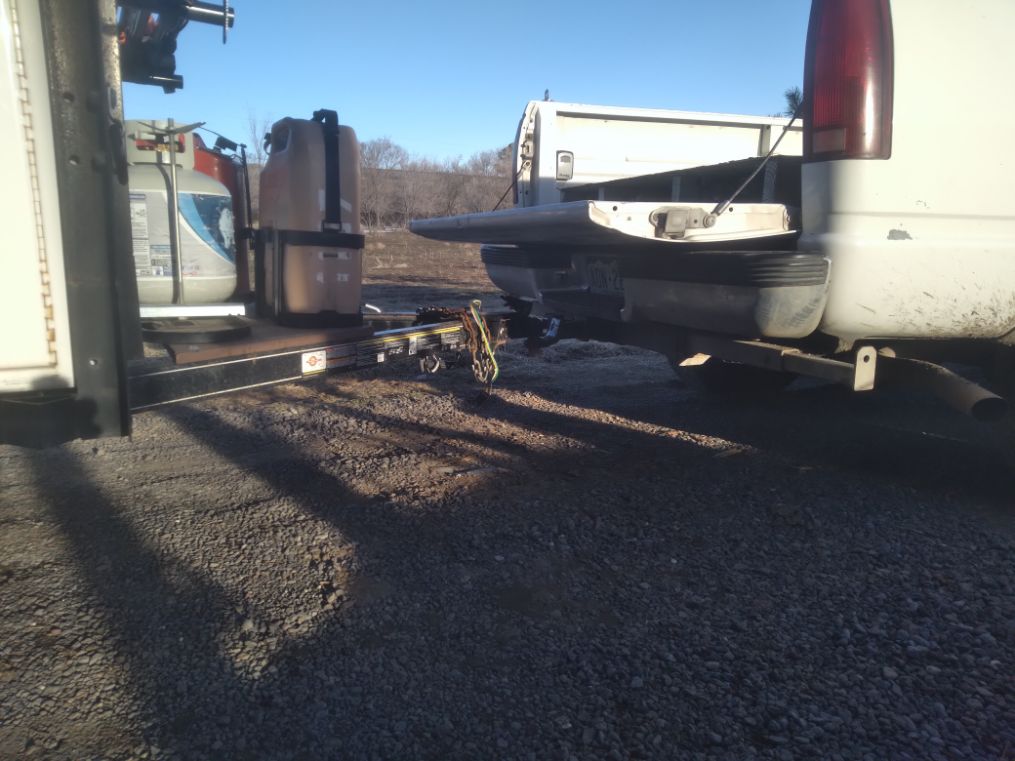
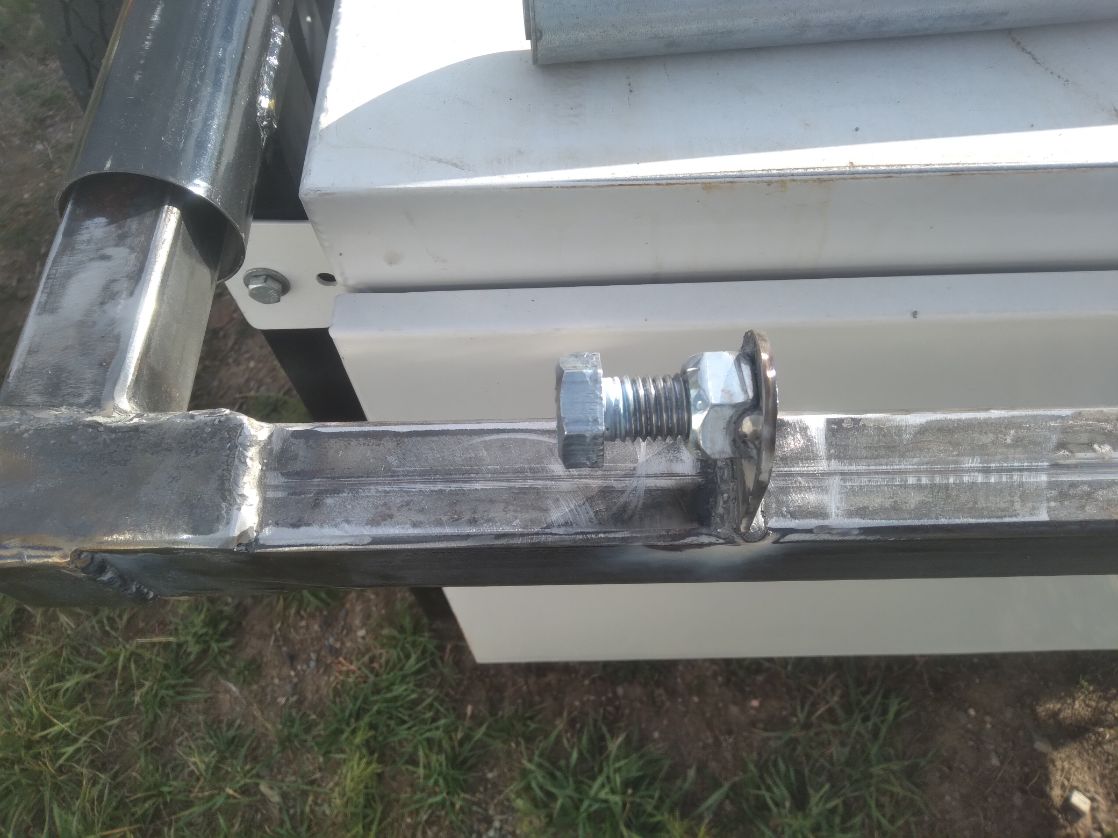
I had another issue when the raft was on top of the trailer, the raft is 15′ 10″ and the trailer was only 8′. This caused an over hang of a few feet in each direction and moved the center of gravity back sometimes causing the trailer to wag when heading down the hwy. This was especially bad when I hauled the trailer with an SUV as I couldn’t move the raft far enough forward to get more of the weight forward. I decided to stretch the trailer by cutting the frame just in front of the wheels and scabbing in material to extend the trailer by 28″ in front and then added another 10″ to the back end of the trailer.
When I worked for one of the welding shops I used to work for, I did modifications like this often so it wasn’t a big project for me, however it did remind me why I quite working as a welder, working on trailers sucks haha. To maintain strength, I made splices to insert inside the upper tubes and also cut 10″ long pieces of angle to use as splice plates on the lower angle of the frame where I welded in the extension. The steel box is powder coated so I didn’t worry about having the wood planking under it, the box is 30″ wide
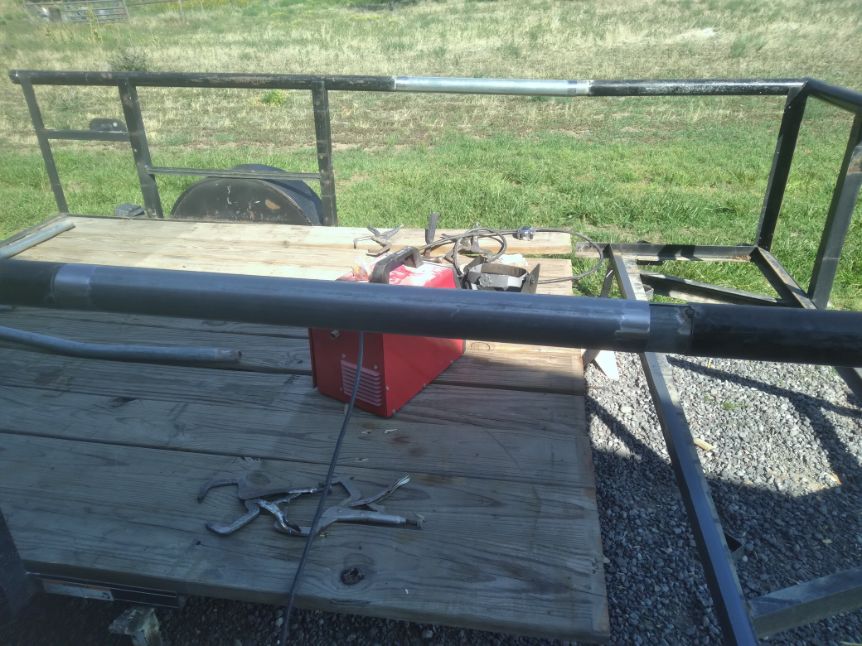

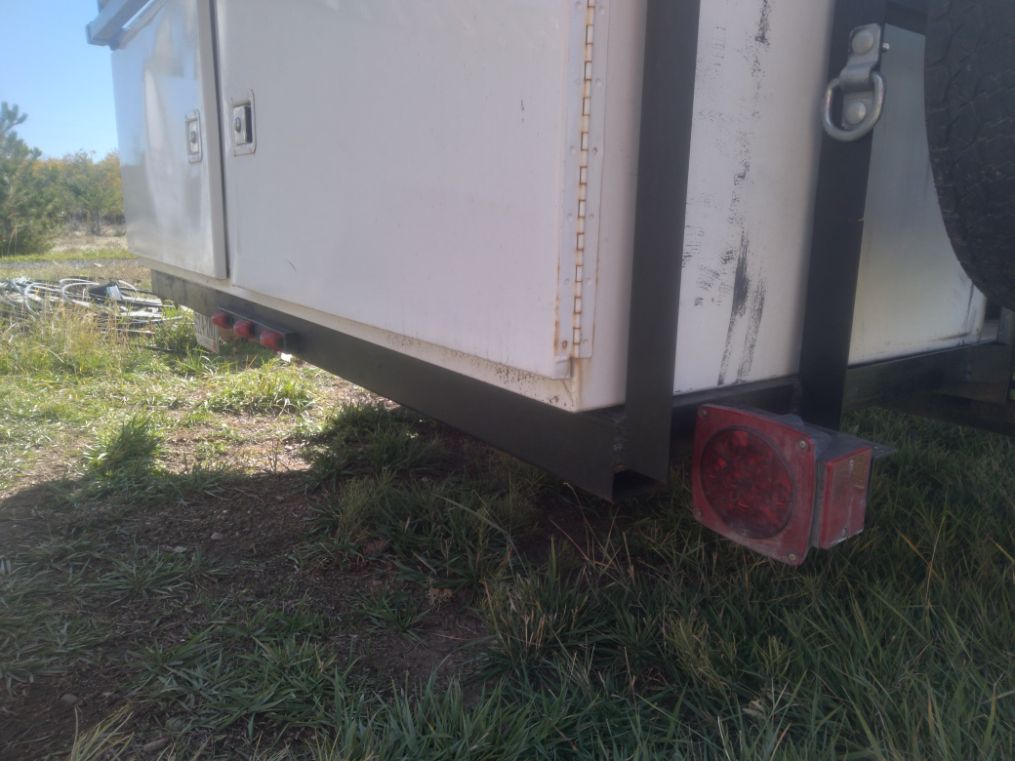
On the back end I only added 10″. Typically on a trailer they say to have 60% in front of the wheel and 40% behind and while spatially it doesn’t look like I’ve accomplished this, when the raft is loaded with the new bike rack in the front the raft will still overhang the back by a couple of feet. The rear steel box is where I store the most weight so I didn’t want to extend it too much hanging that weight out farther, even if it would pick up the back end of the raft. Moving it back this far still allows me to put coolers, dry boxes and other heavy items directly over the axle. I may still extend the back a little more, which wouldn’t be too difficult, but I want to run it like this for a bit and see how it handles. I moved the rear lights back as well.
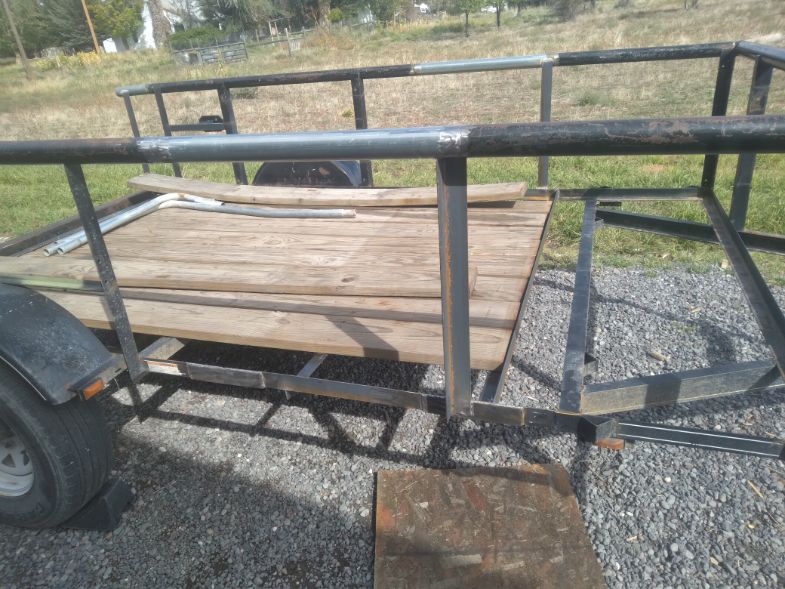
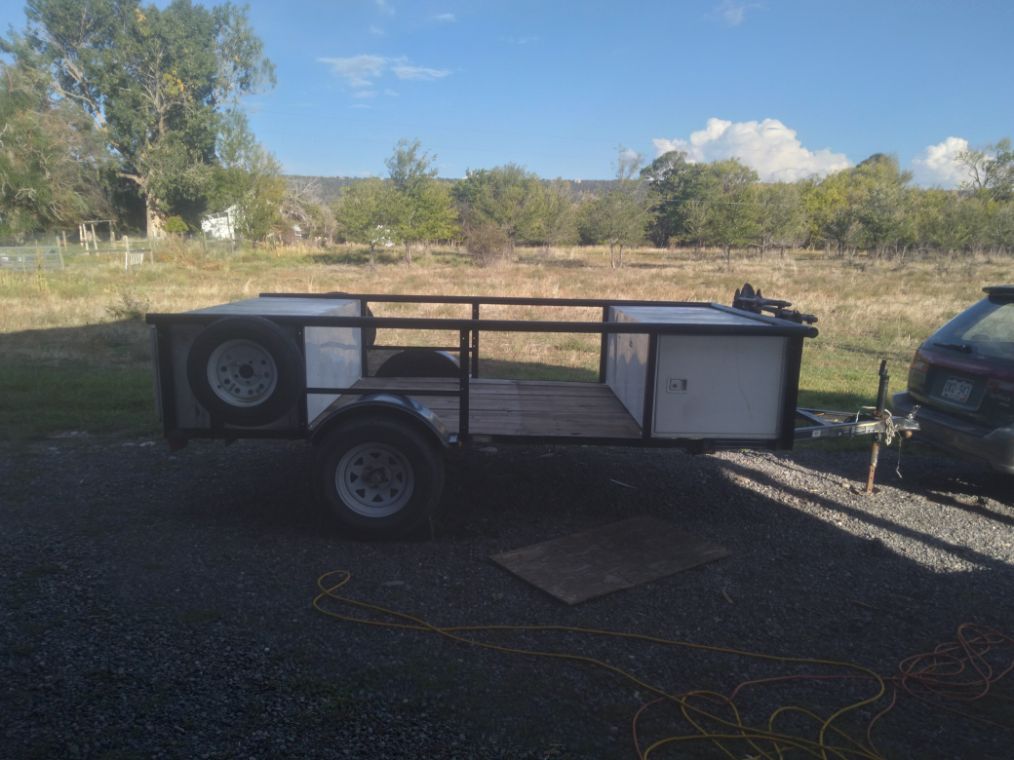
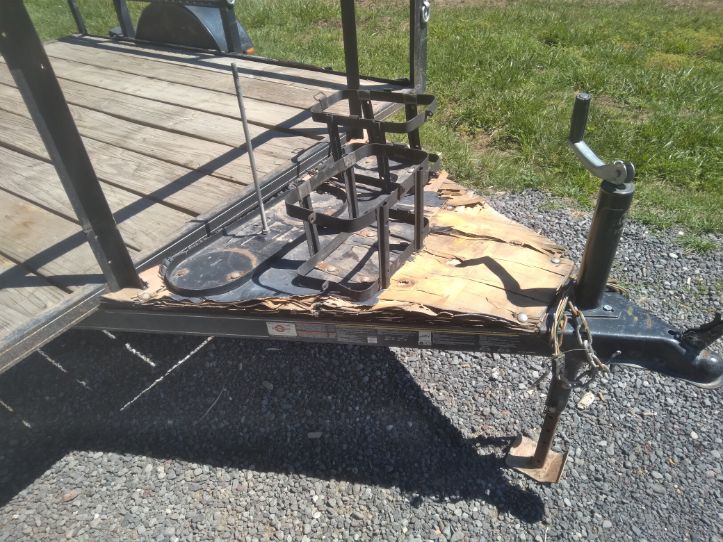
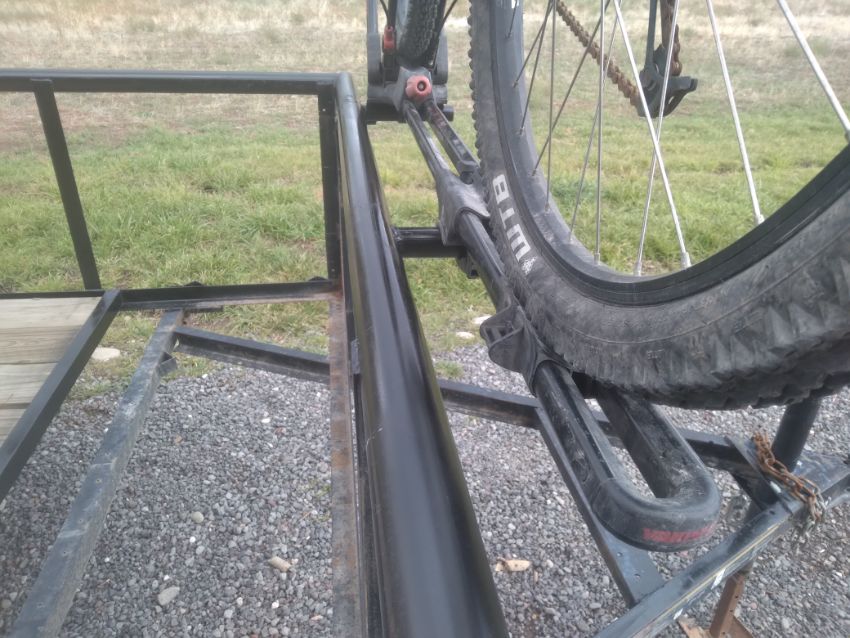
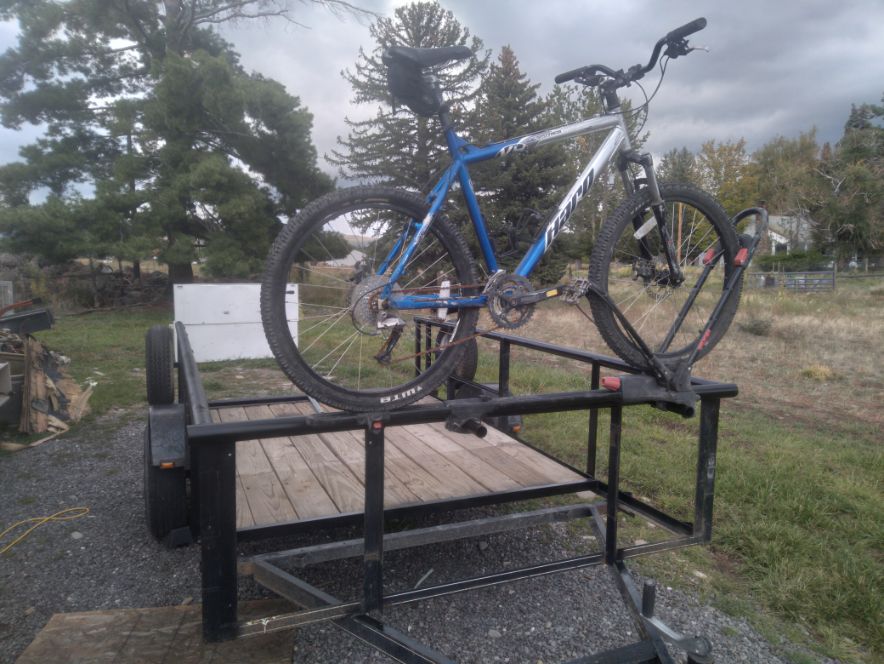
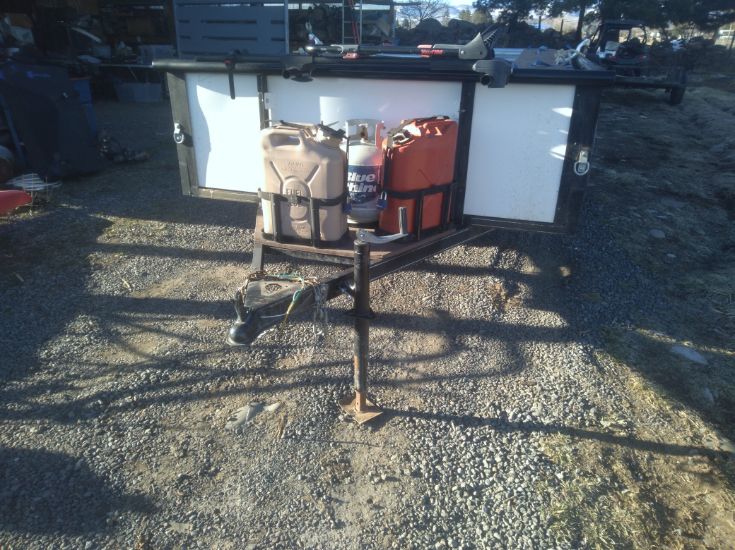
With the extension finished I wanted to add a couple of features that would make the trailer more functional and fix an issue I was having with some rotted wood. When I was leaving LA I was just looking to get on the road so I bought a cheap piece of plywood and mounted it to the front to have a platform for my propane bottles and jerry cans. I painted the wood to protect it from the elements but it wasn’t enough and the wood began to delaminate. I have now replaced it with a piece of treated plywood and painted it with a thick exterior paint. It should last forever now. I also welded two pieces of tube onto the front, top tube and mounted my bike rack to it.
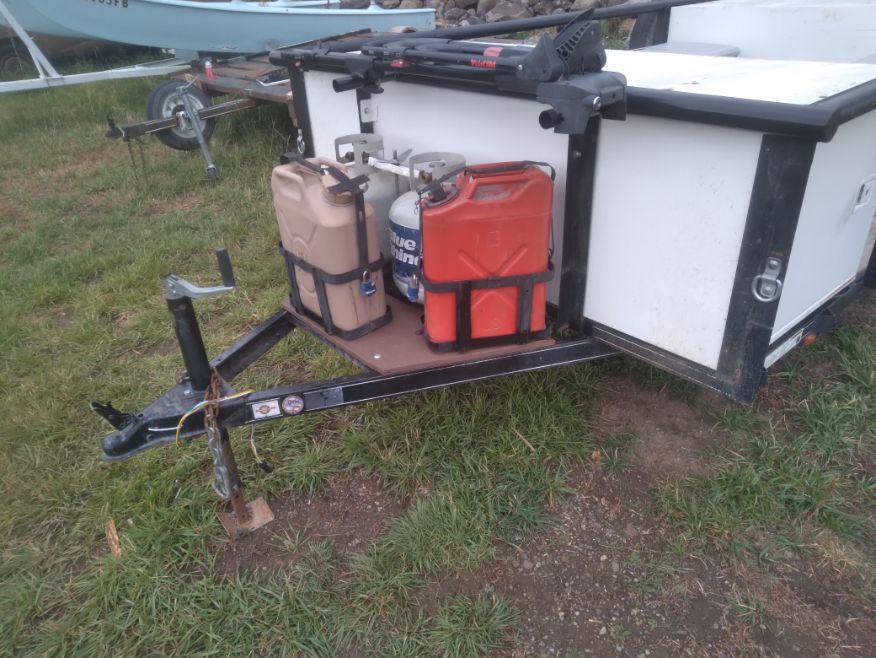
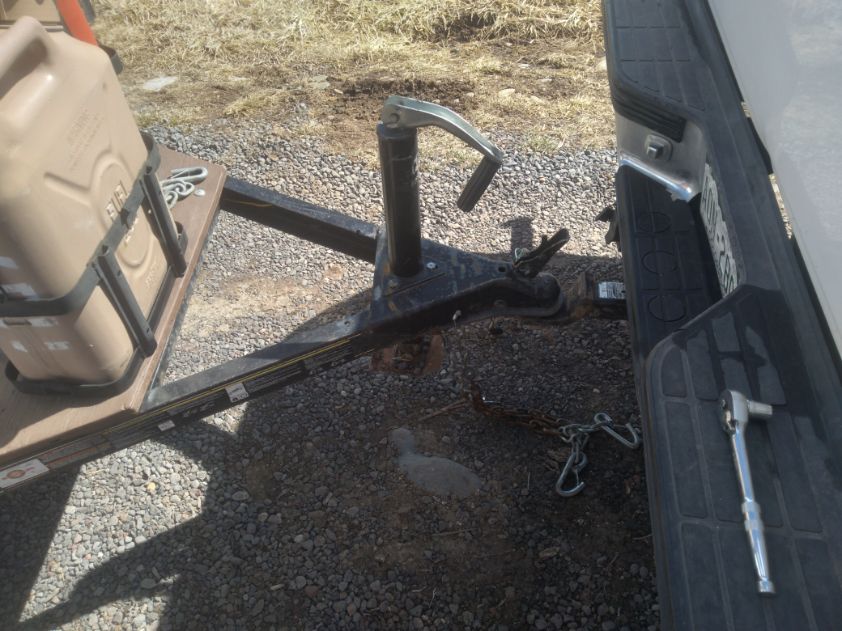
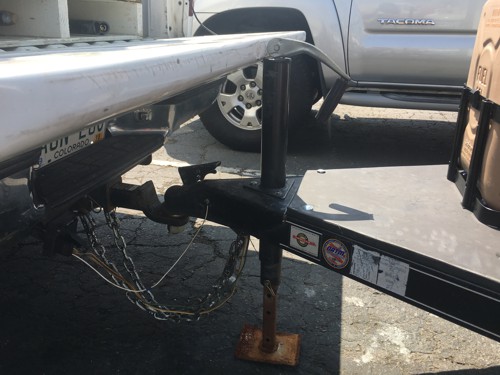
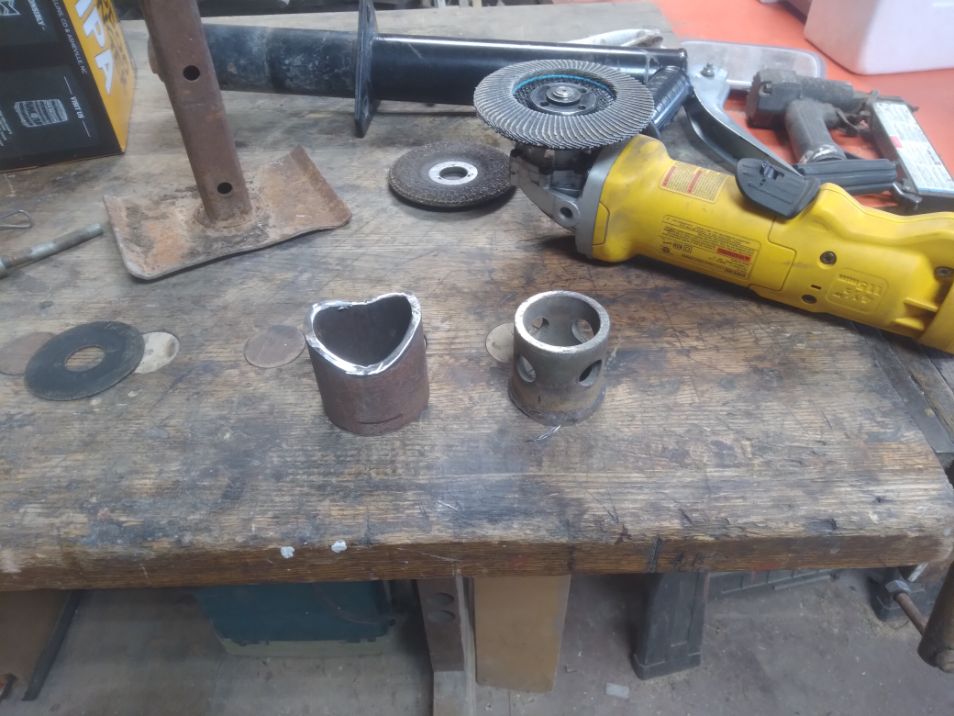
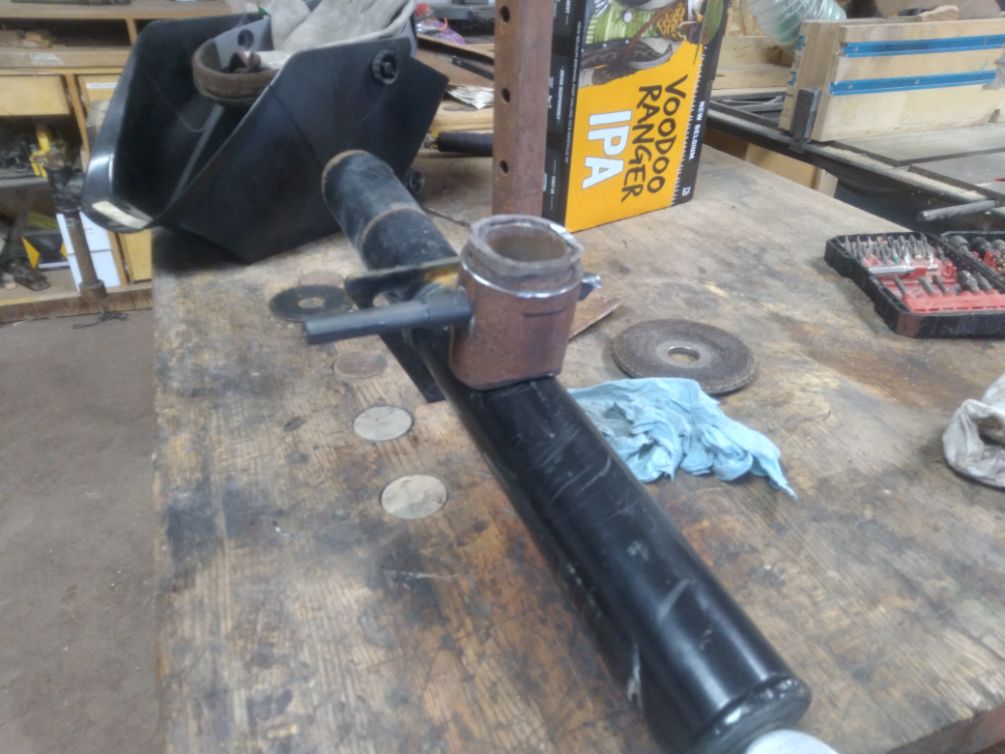
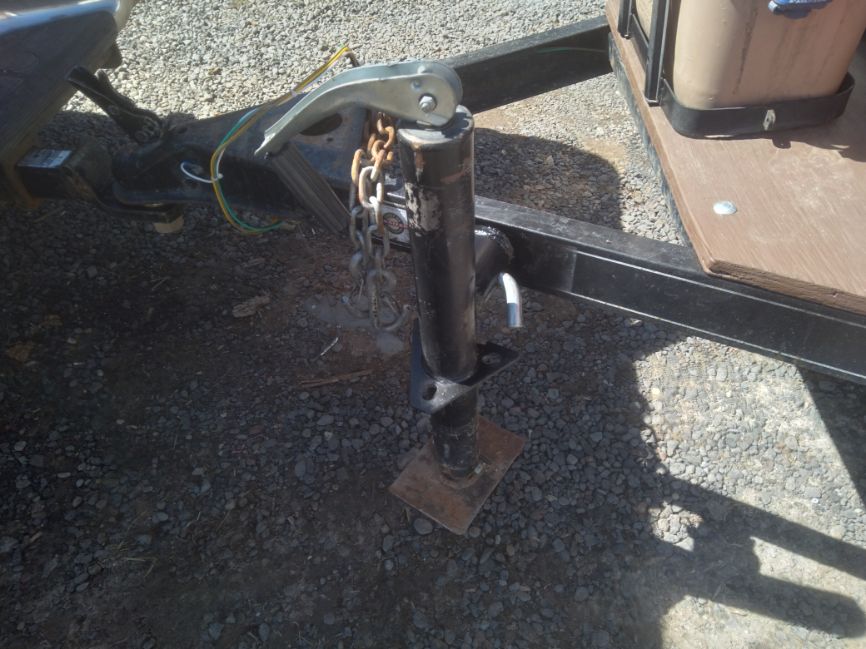
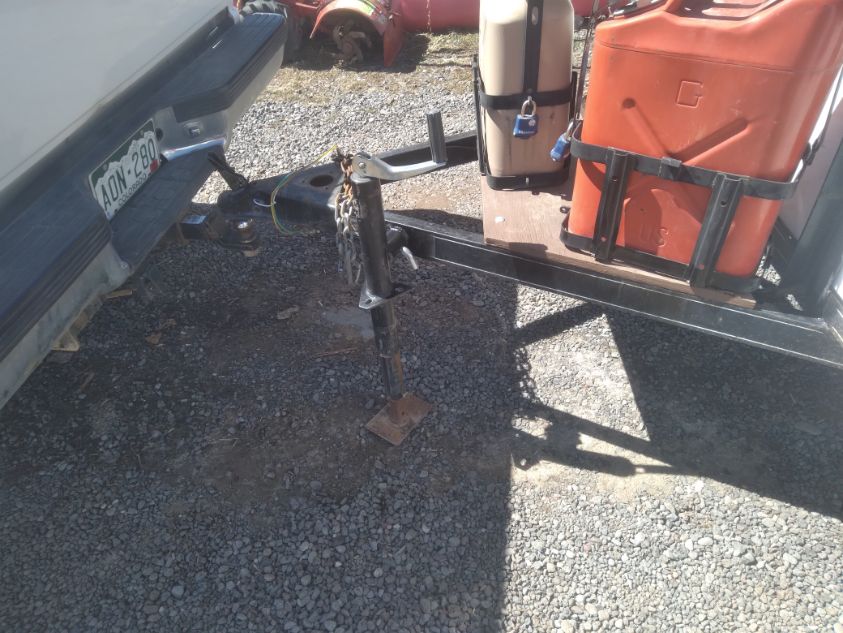
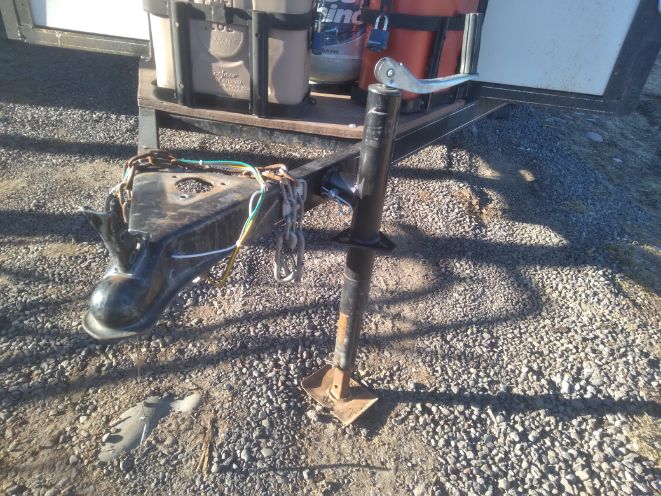
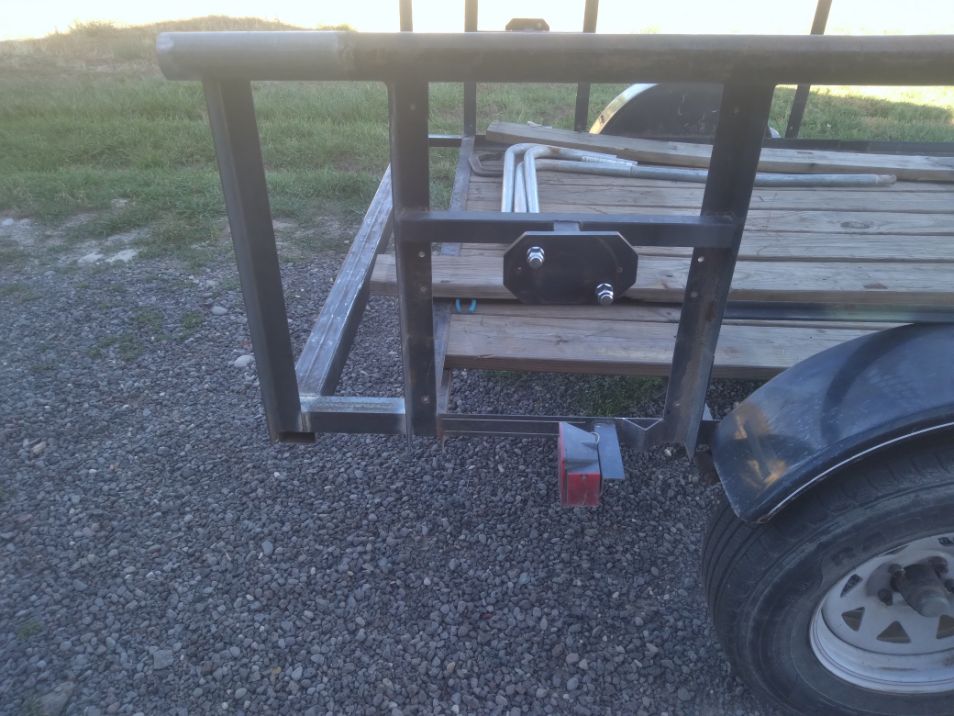
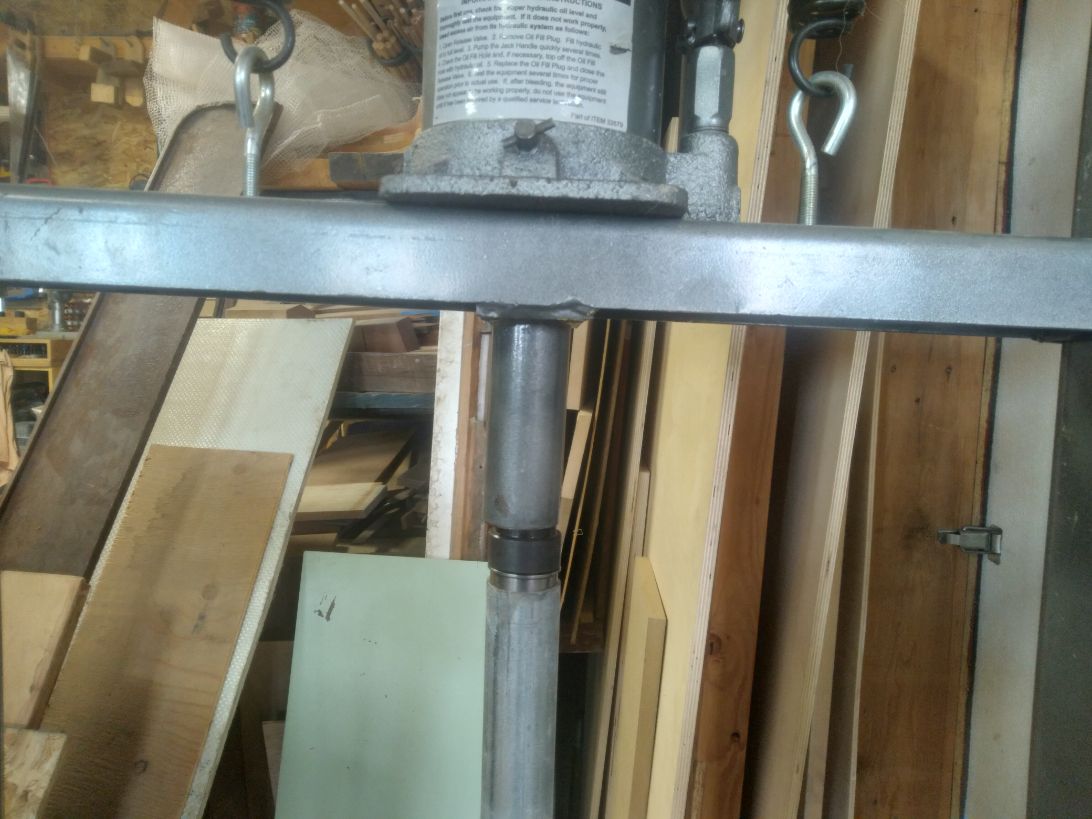
I’ve never been happy with the location of the jack. On the Tacoma, I had to remove the tailgate when I had the trailer since the tailgate had to be down with the camper loaded. The gate would drop down without hitting the jack but if I turned hard in reverse it would hit the gate, which I did at least once in each direction. On the Chevy I can load the camper and close the tailgate but the gate can’t drop down without hitting the jack. My solution was to put a hitch extension on which drops the weight rating in half. I’ve wanted to switch it over to a swinging jack since I bought the trailer, just never made it a priority till now. I could have bought a jack set up for this, but my buddy had the parts to turn my existing jack into one. Just one more thing that makes it a little nicer.
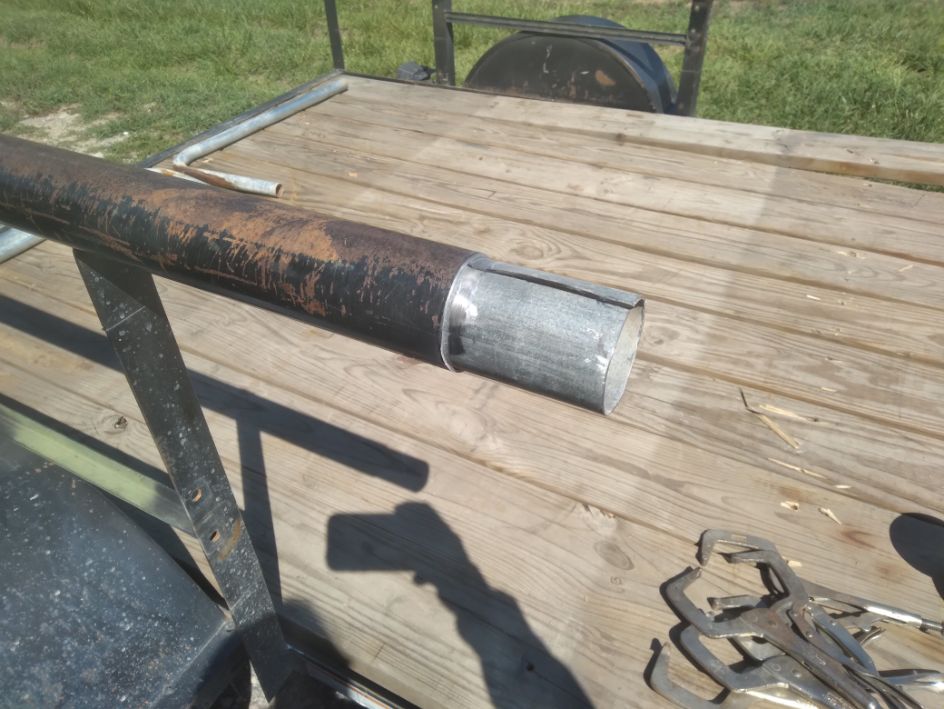
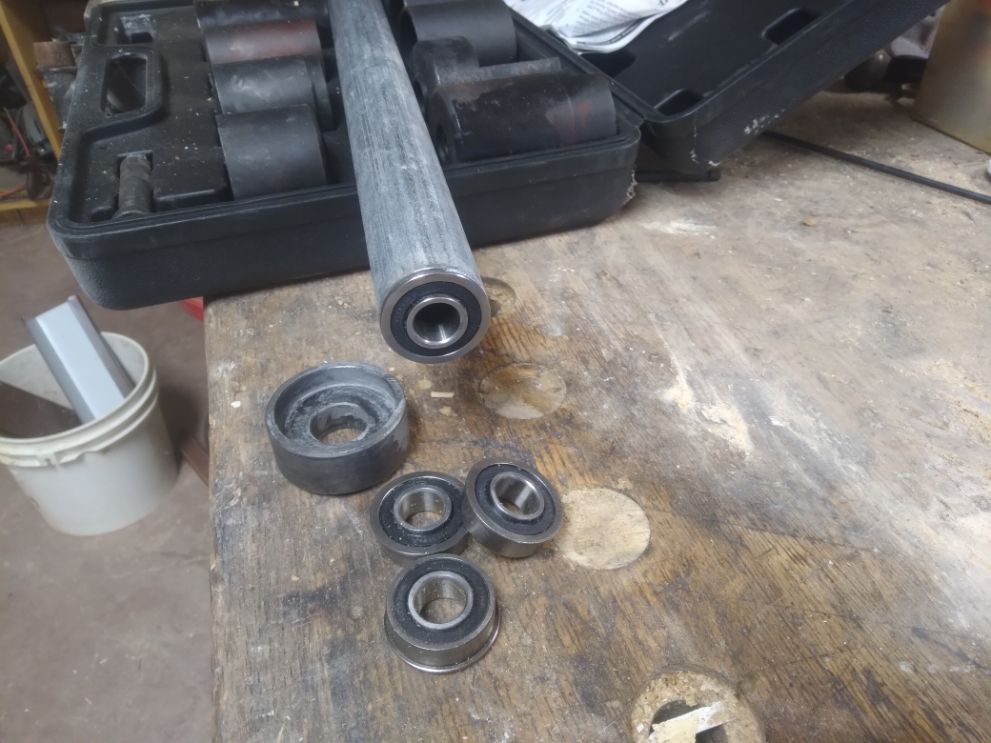
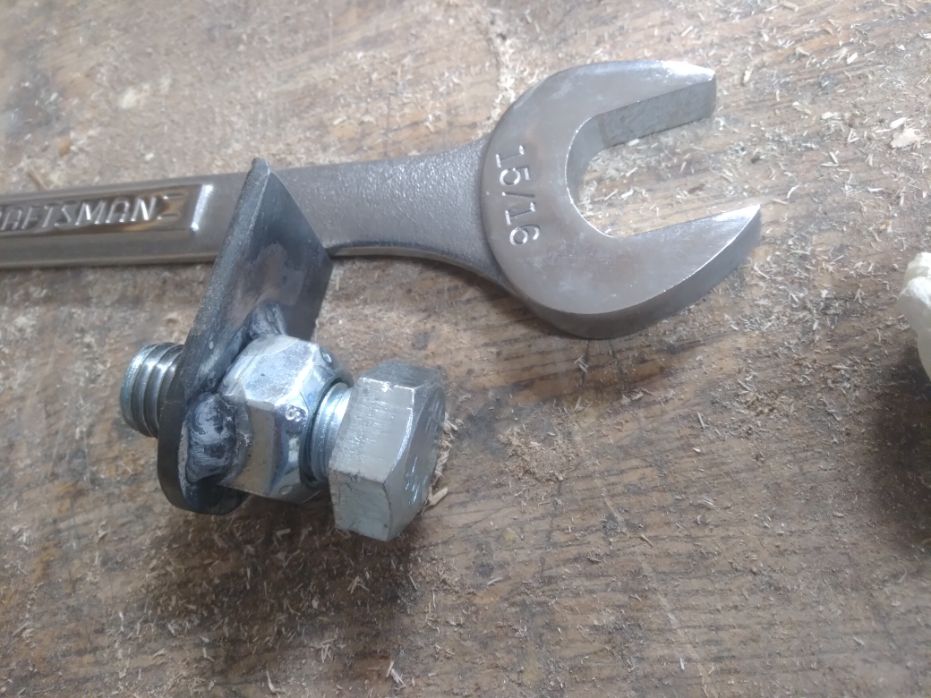
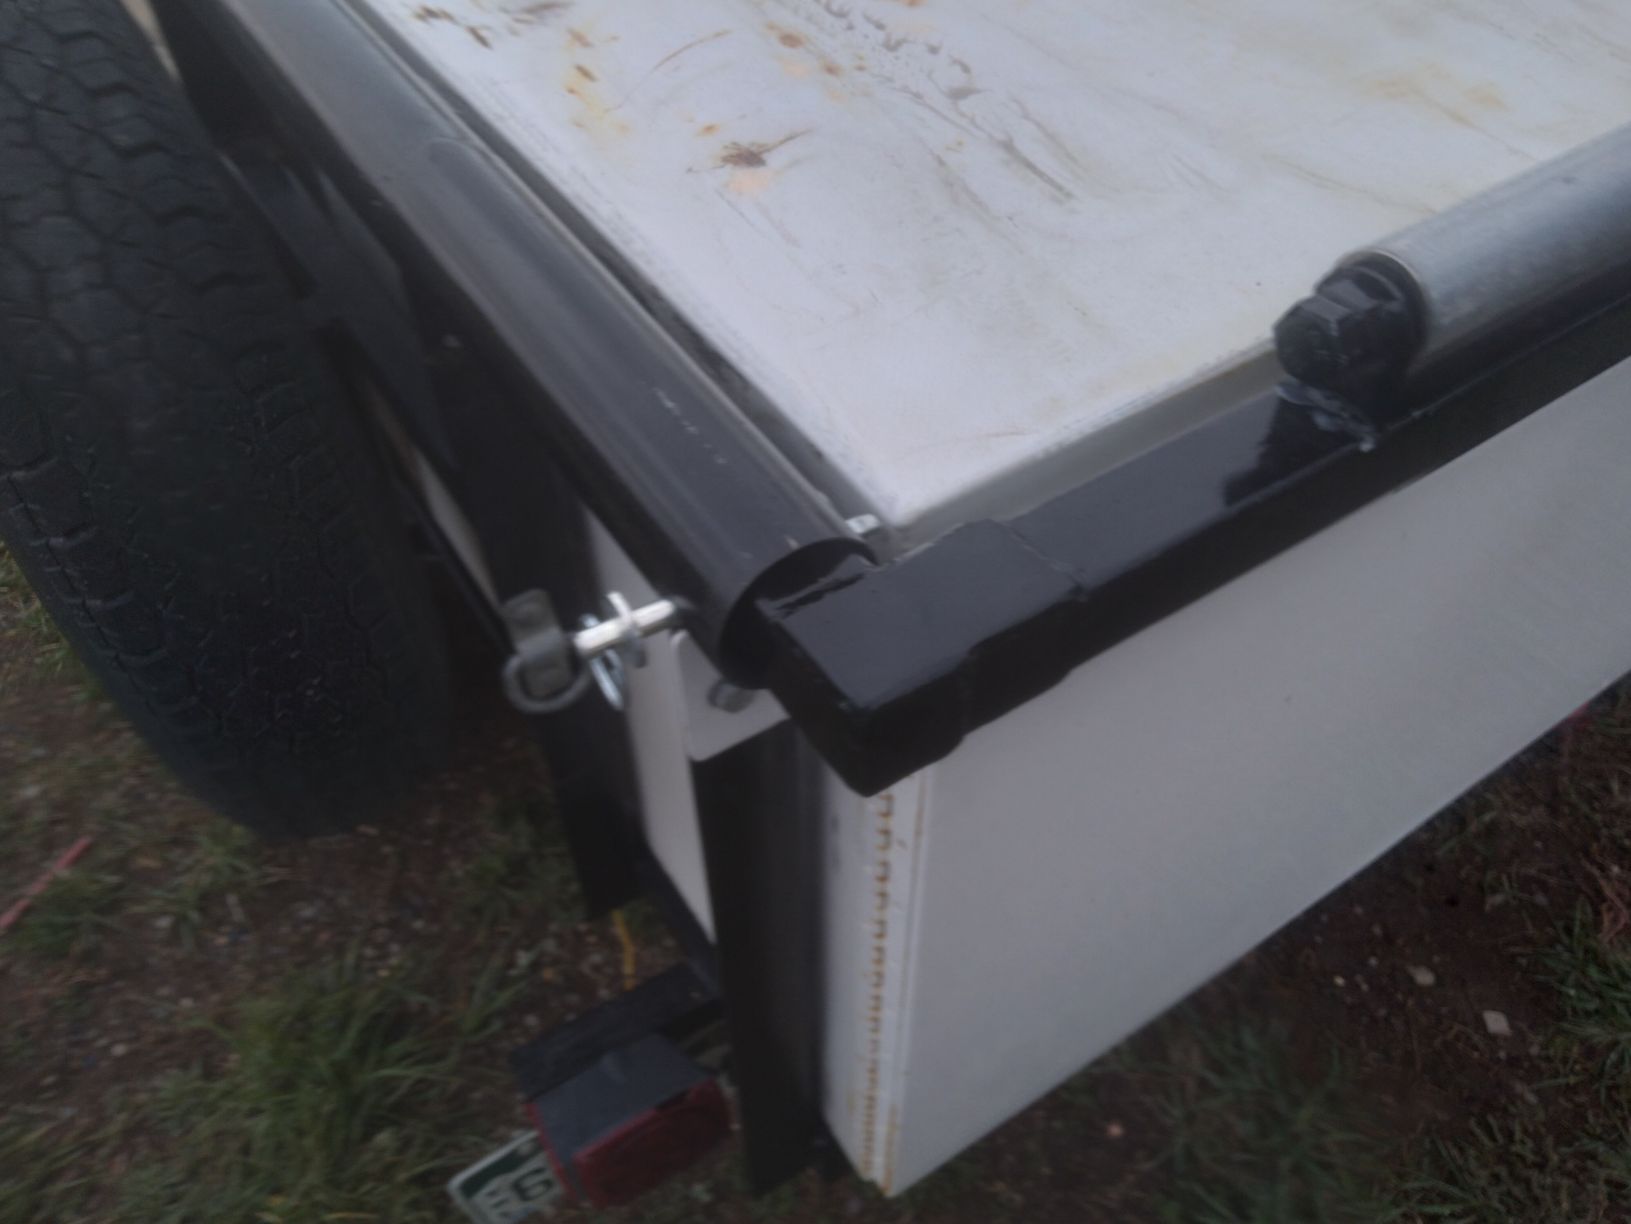
The biggest downside to the steel boxes is that is means I need to lift the raft higher to load it onto the trailer. The boxes aren’t sealed to be able to submerge them to lower the height either. At some boat ramps this can be a real challenge. To make it a little easier to get the raft up and on the trailer I have added rollers to the back of the trailer. To make the rollers I bought some flange bearings from Amazon. A friend had an old trampoline that he was about to recycle and the tubes were the perfect size, they are even galvanized so it worked out perfect. I made a rack out of 1 1/2″ square tube that slides inside the top tube of the trailer, I then pined it so it would be removable incase I ever need to take the steel boxes out and use the trailer for something different. Bearings do go bad over time so I welded a jam nut on one side of the roller, allowing me to back the bolt off to remove and replace the rollers over time.

These are the modifications for now, I intend to make some sort of door for the new bigger side load opening. I’m thinking an angle frame with expanded metal center so I can lock it. I’m debating on whether or not I want to put a plywood platform on top of the steel boxes for the raft to sit on. This would help enclose and secure the stuff I store in that center area but it would also add weight. For now I’m going to work on the cabinets in the camper and give some thought to how I want to finish the trailer. I’ll post about the cabinets as I start to get some stuff done.
0 Comments