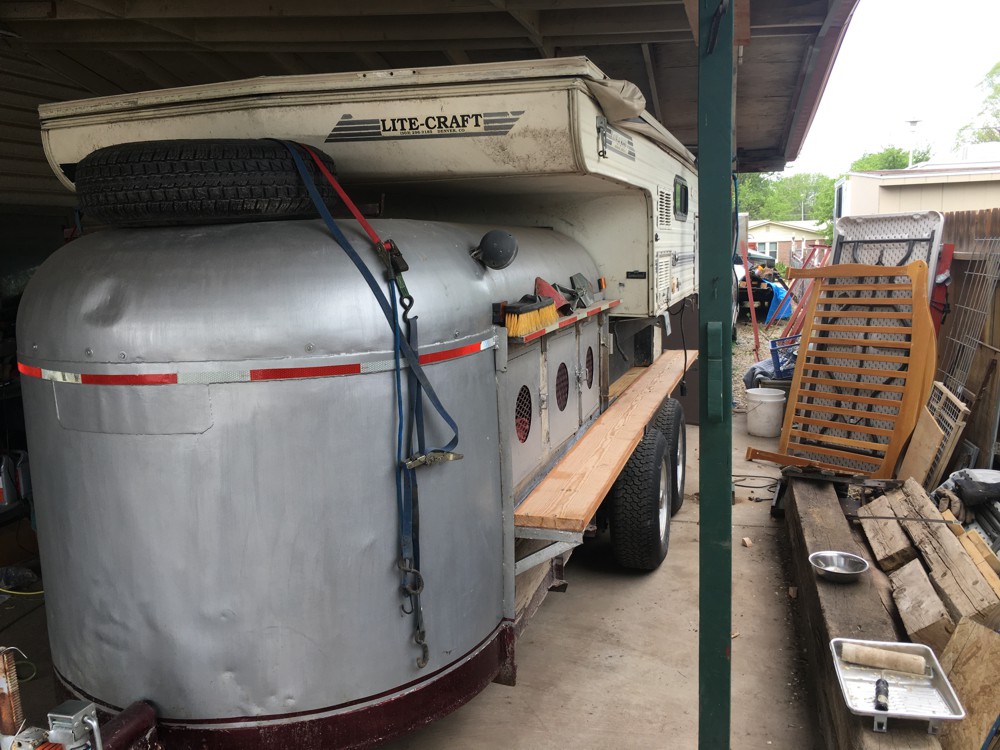
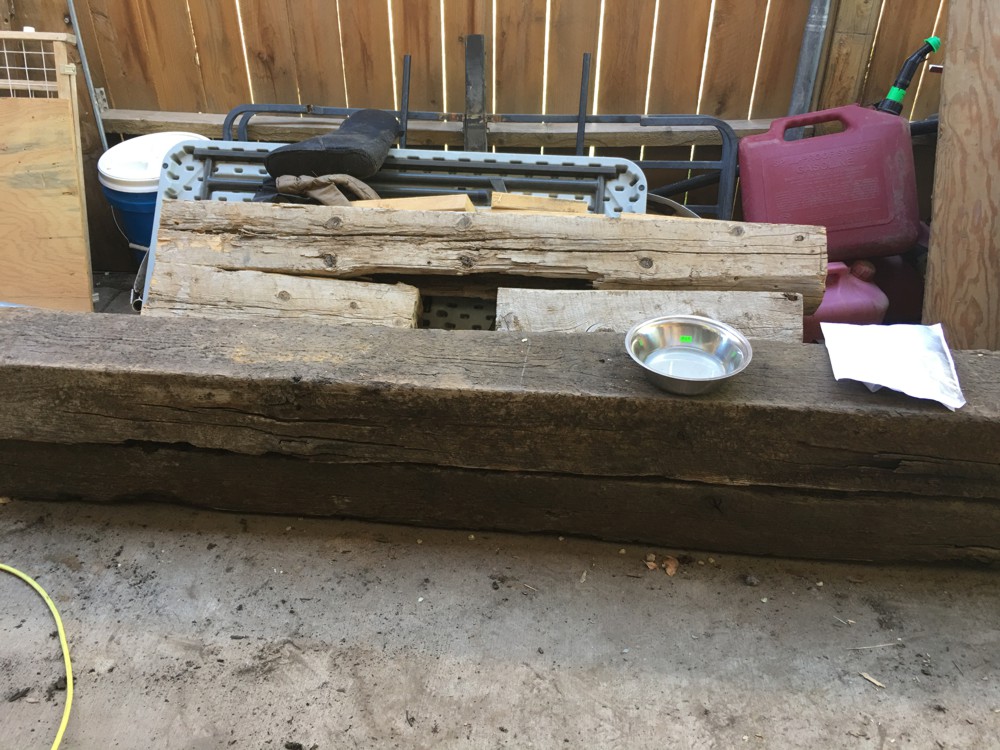
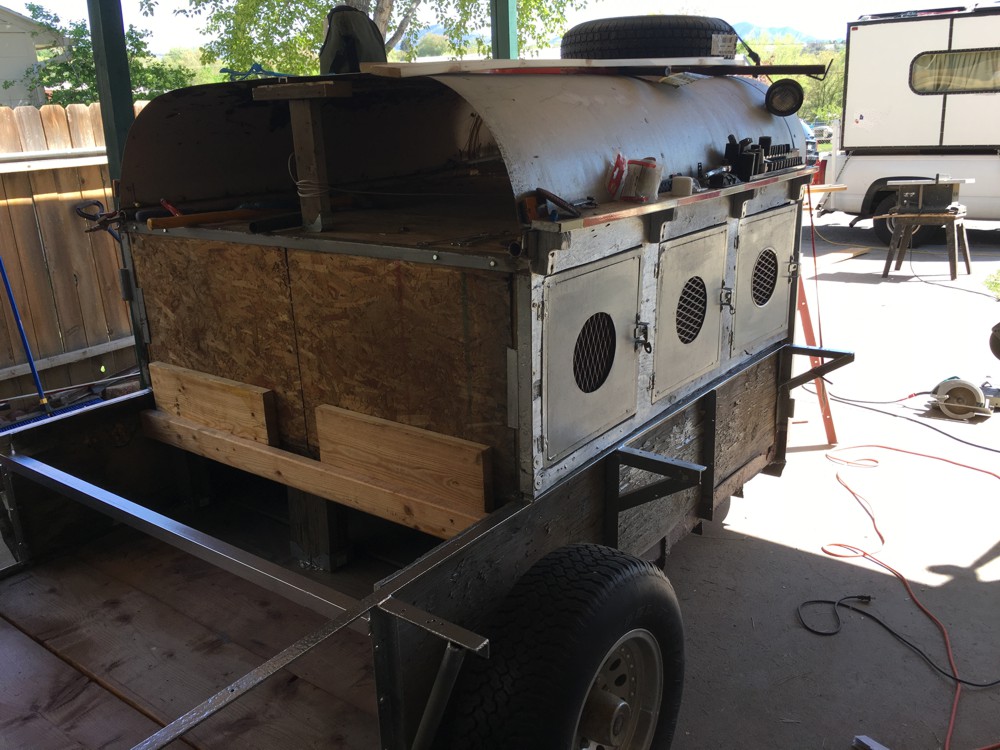
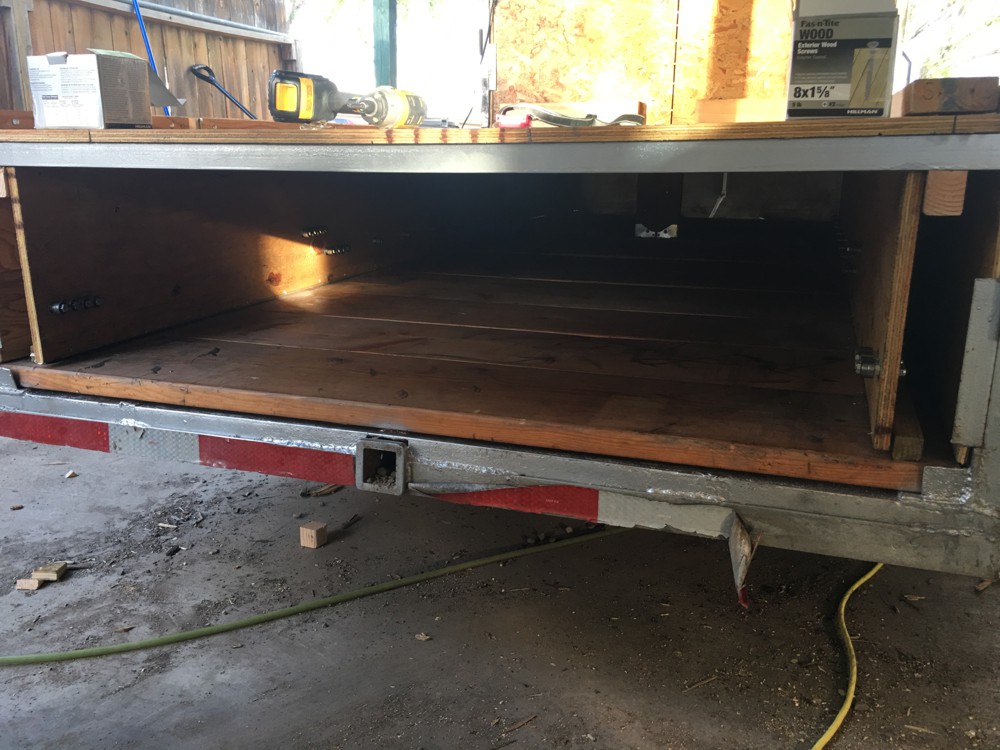
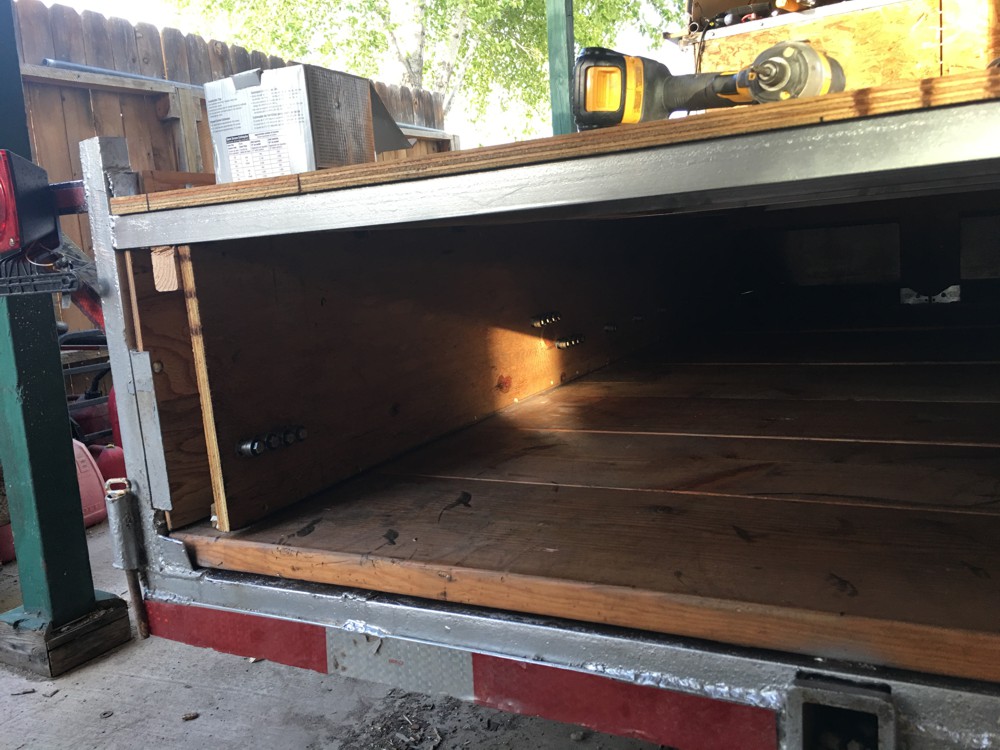
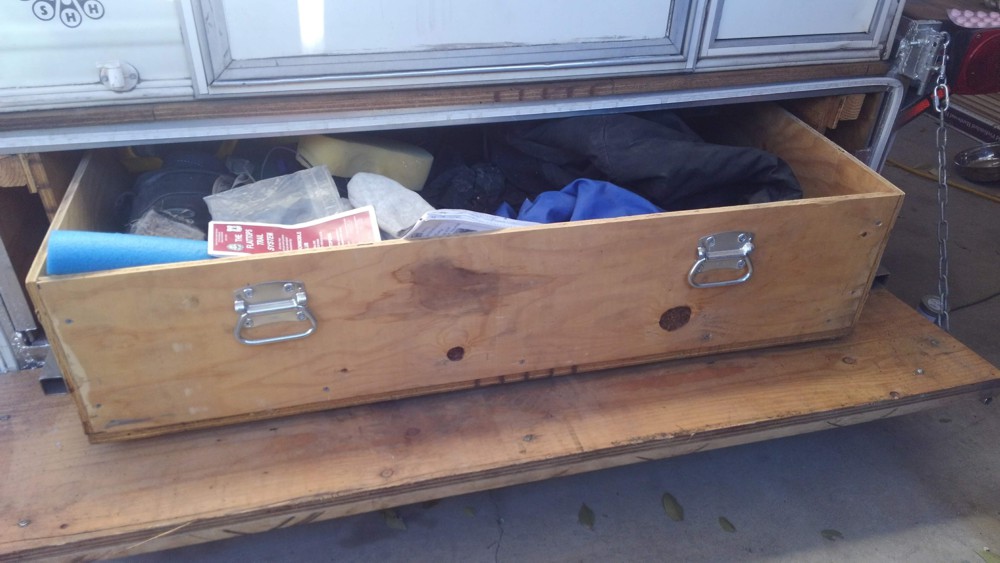
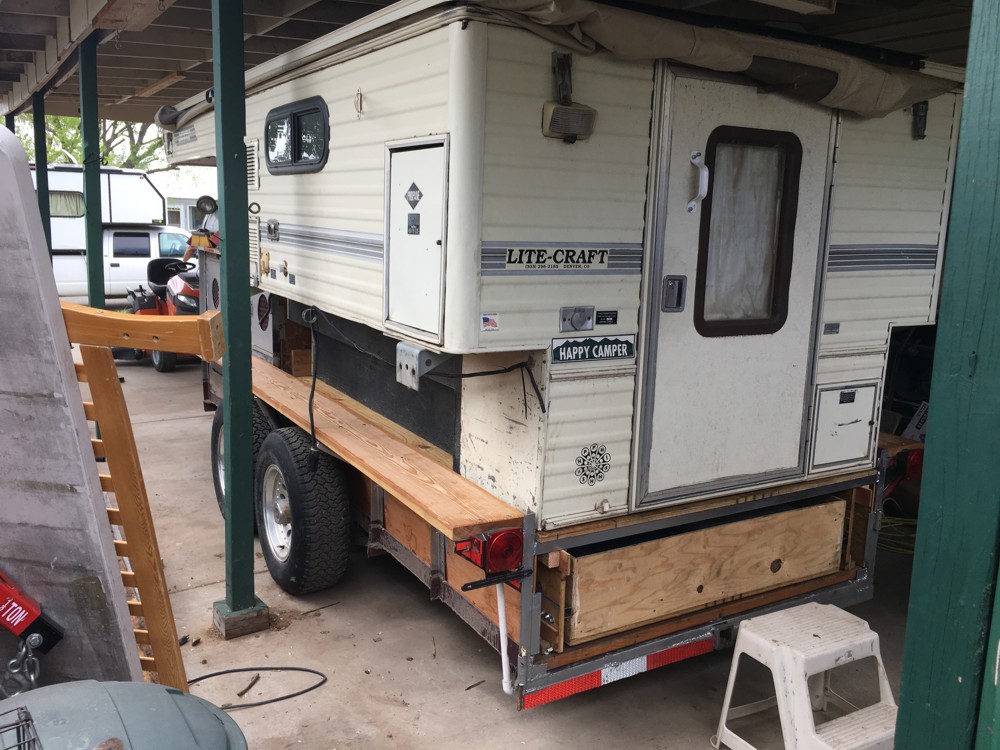
You may remember my friend Jeff from episode 5 of the podcast. Back in May, I went over to his house and helped him modify his dog trailer adding an 8’ drawer. Jeff bought an old horse trailer and a slide in pop up camper and modified them to use as his dog trailer for going to races. When I came to help, he had already chopped the back of the trailer off and lowered the front adding six kennels. He took several old railroad ties and secured them in the back of the trailer to set the camper on but he wanted to be able to utilize the space under the camper for storage. A while back, before I built my camper, when I was still thinking I would live in the back of my Tacoma with a camper shell I designed a drawer system, this was the perfect opportunity to try out my design.
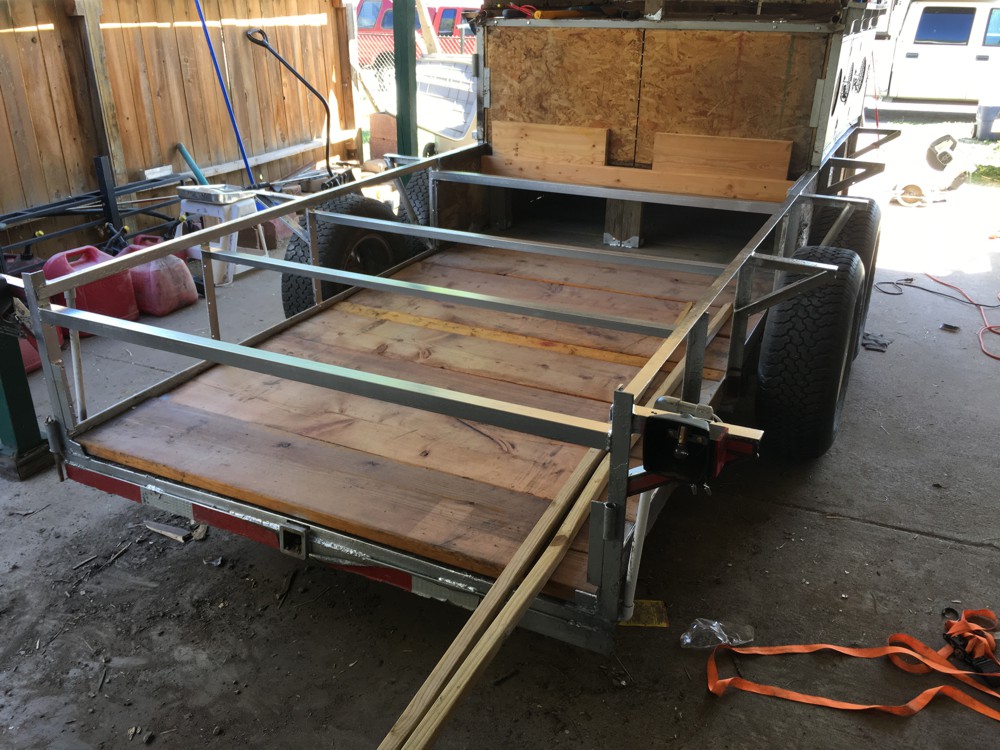
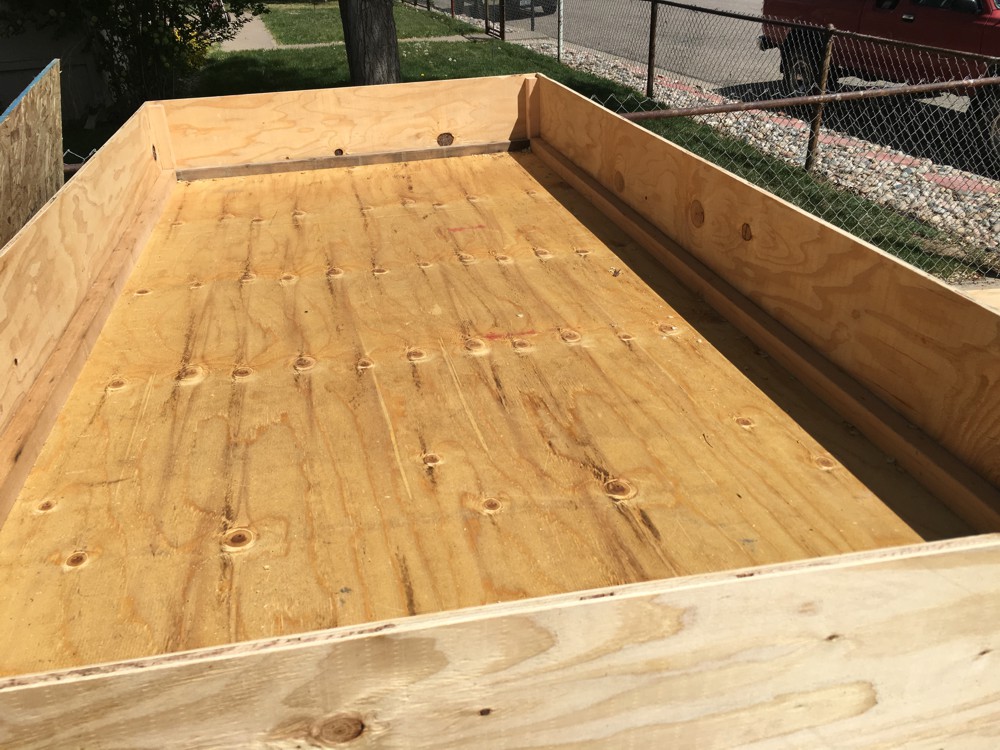
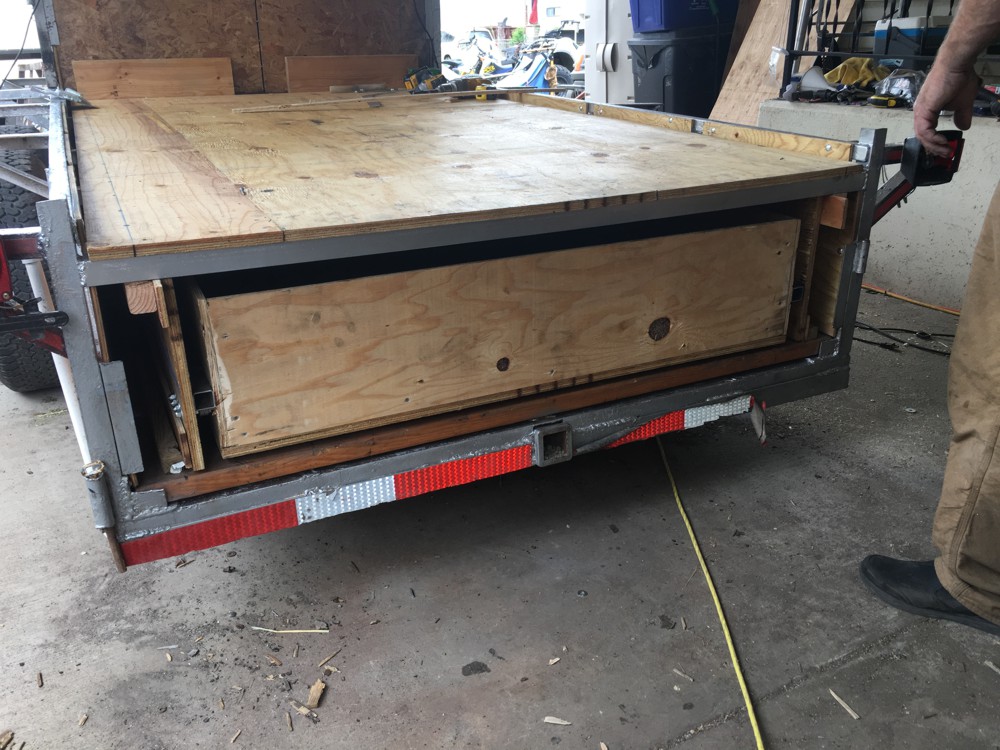
First things first I had to build a platform strong enough to set the camper on. The trailer had an angle frame on the sides already so I took 1 ½”X1 ½”X1/8” steel tube and welded in 4 cross beams. In the front there was nothing to weld to on the sides so I took a couple of pieces of 2X12 and screwed them into the dog box where there was support and then screwed a 2X6 to that. I then screwed ¾” plywood down to the frame giving the camper a platform.
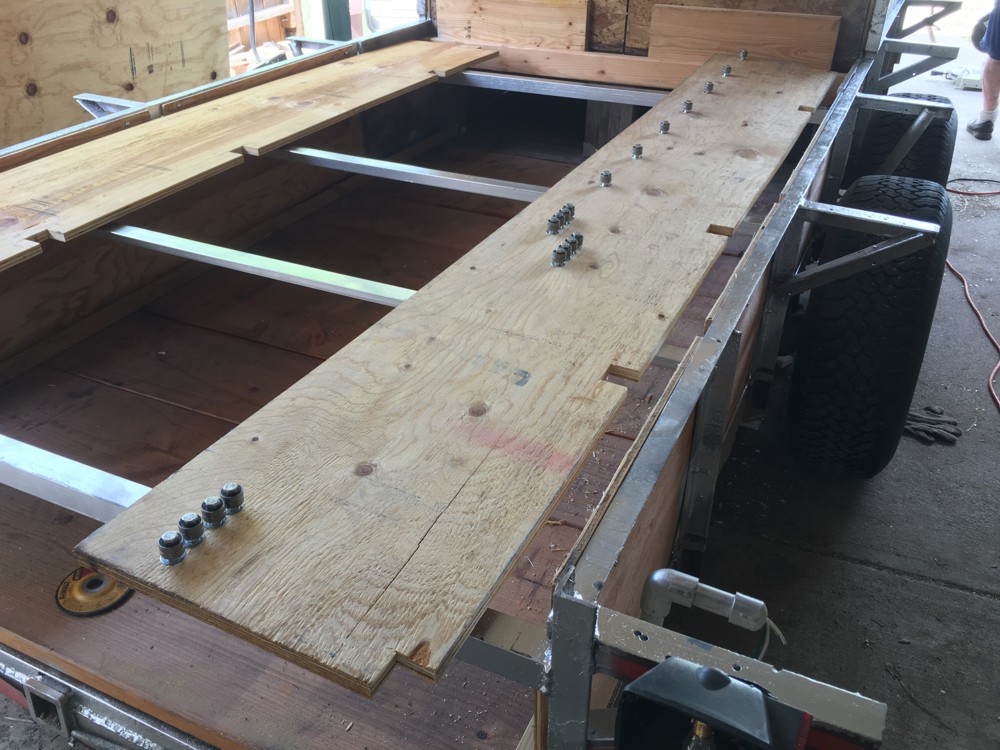
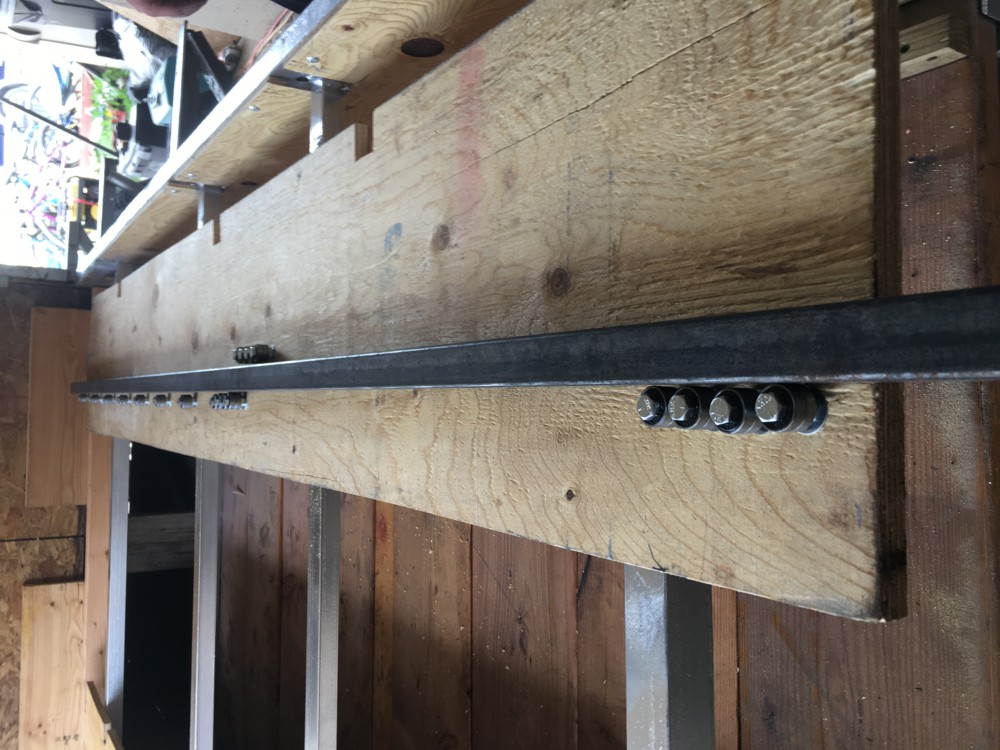
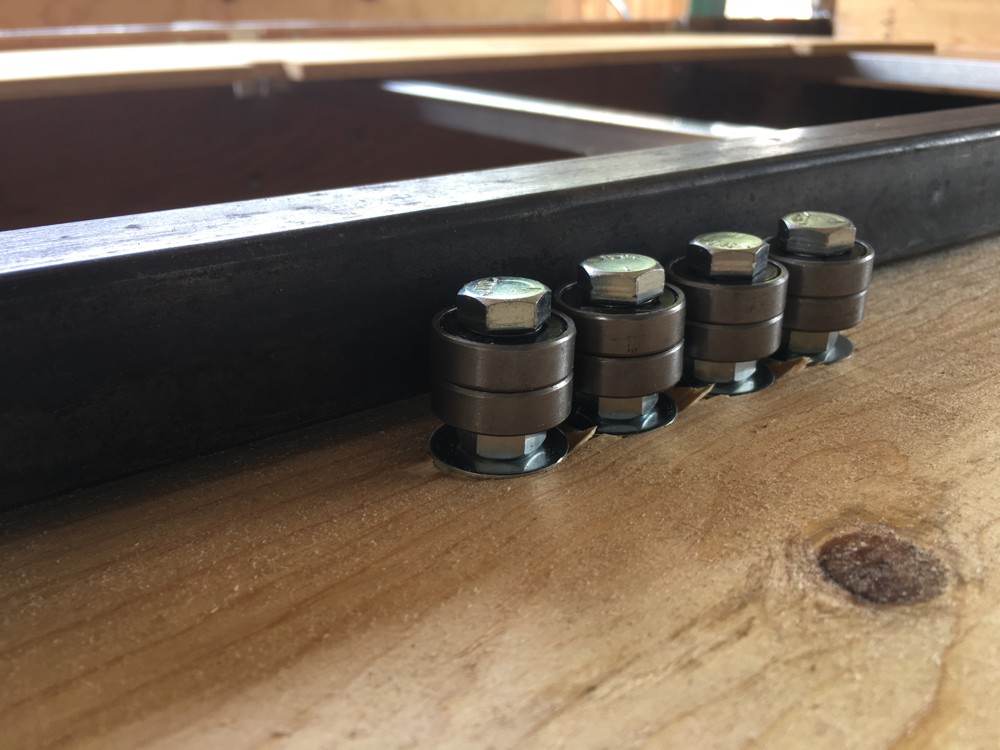
When I first thought about putting a drawer in the back of my Tacoma, I priced out drawer slides and found that once you got over 2 feet the price of the slides was about $100 a foot. Not wanting to spend $600 on slides I started looking around for other ideas. I found a forum post where a guy had used skateboard bearings and steel tube to make his slide, it was brilliant! We bought 100 bearings for like $20 and the tube and bolts came in under $80 total.
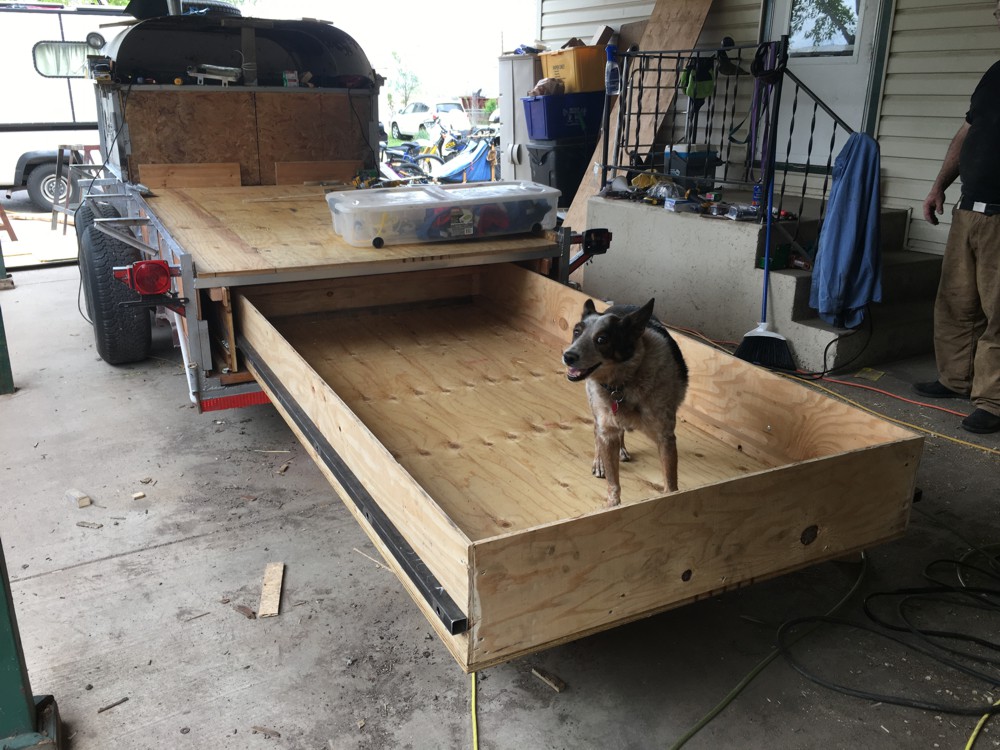
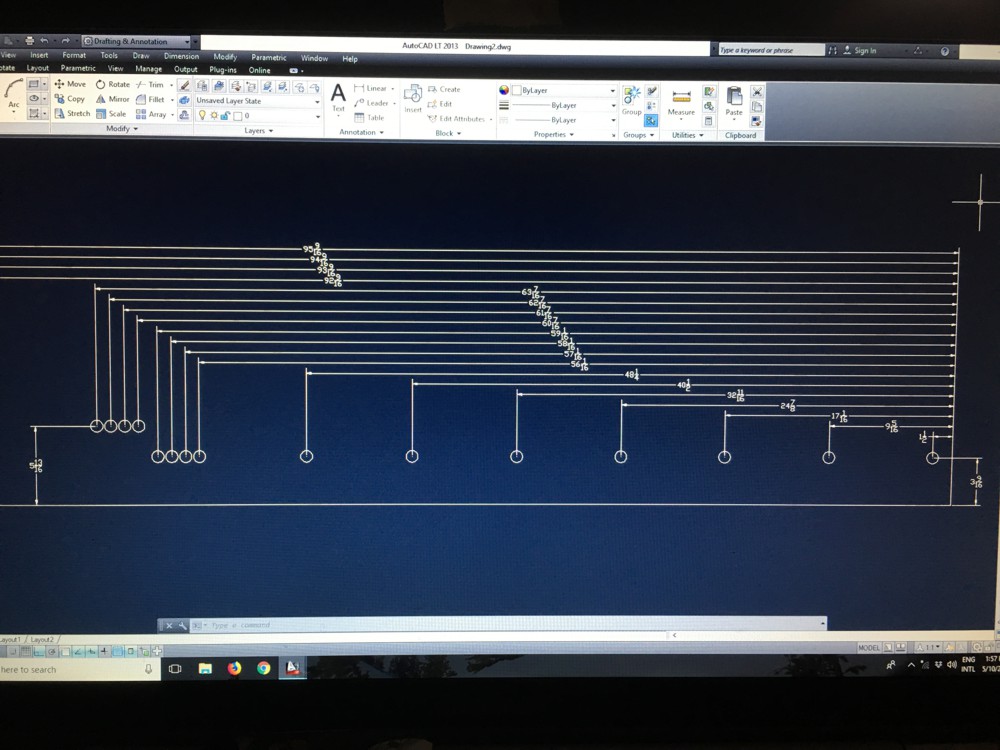
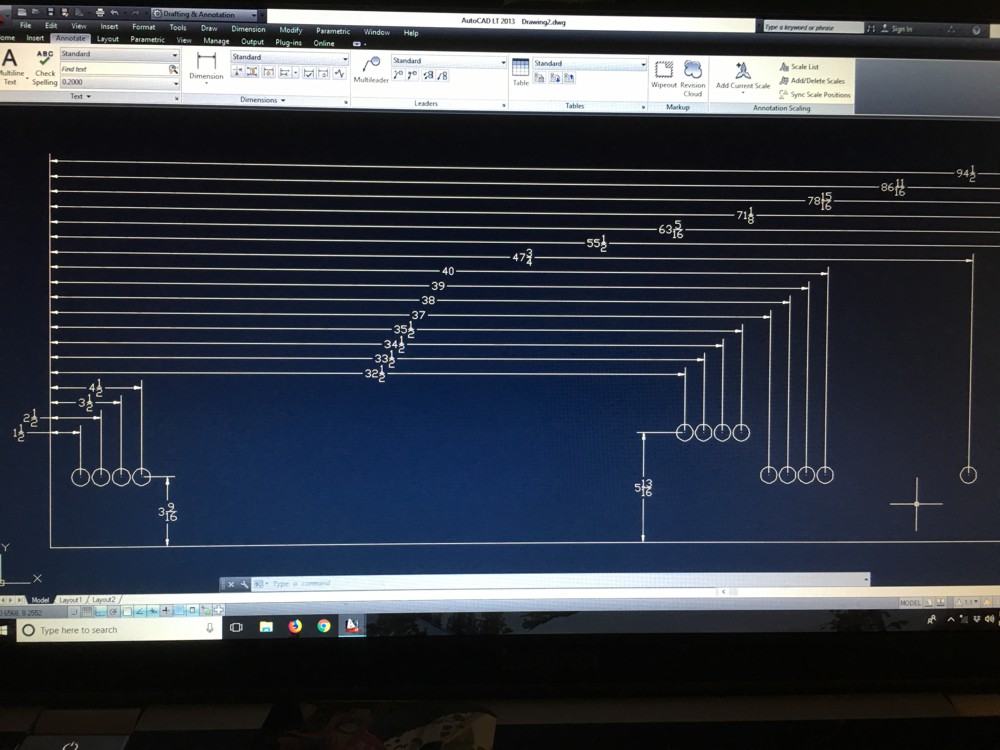
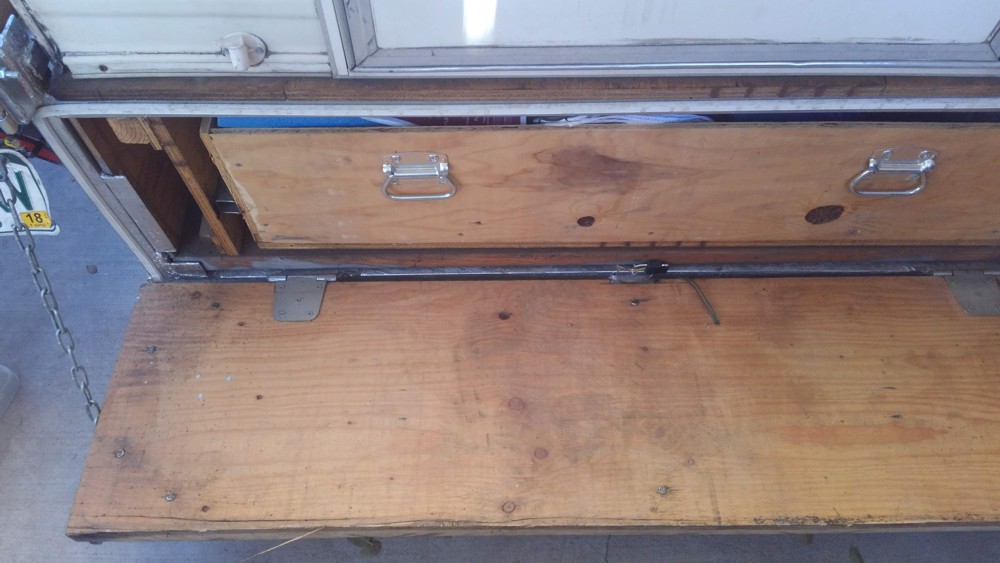
I laid out the bearings in auto cad then on the wood. We wanted a stop on the drawer so it wouldn’t slide all the way out on accident but had to set it up so you could remove it when you needed to. I welded a tab to the back side of the tube that sticks up and will catch on the top bearing. To remove the drawer, you just have to empty it, then when the tab hits the bearing you lift on the far side of the drawer and slide it out. It takes two people but it works well. The bearings were cheap and really not that good of quality so we doubled them up and I told Jeff to just replace the ones that seized or broke with higher end bearings.
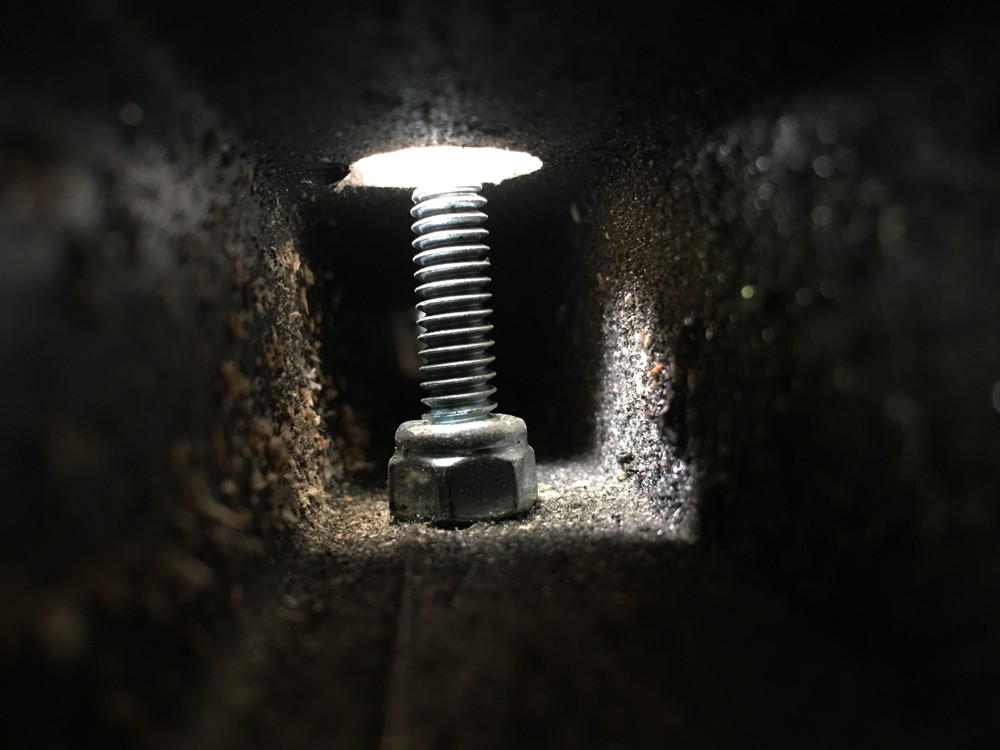
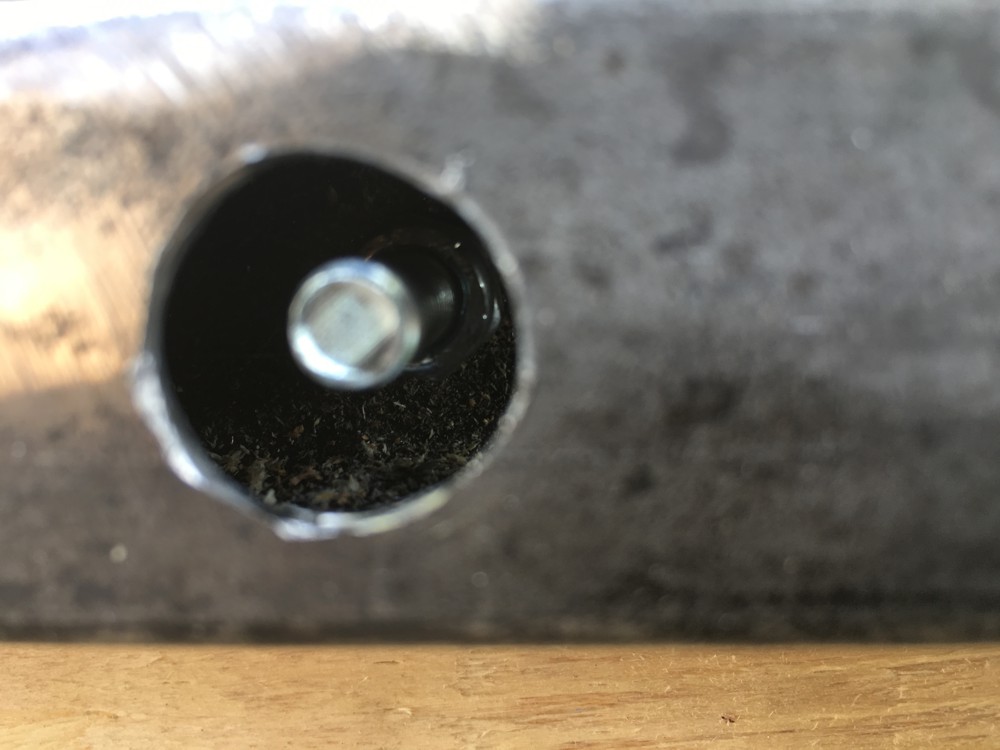
The side tubes that ride on the bearings are 1 ½”X1 ½”X16 ga steel. I drilled a big hole in the outer wall of the tube that a socket could fit through then a smaller hole on the inside. This way the bolt would be out of the way. I also used a carriage bolt to not catch on things inside the drawer. The drawer is made of ¾” plywood on the bottom and ½” on the sides, I split 2X4s into 2X2s and used them to reinforce the corners. All of the wood was coated in Thompsons Water Sealer.
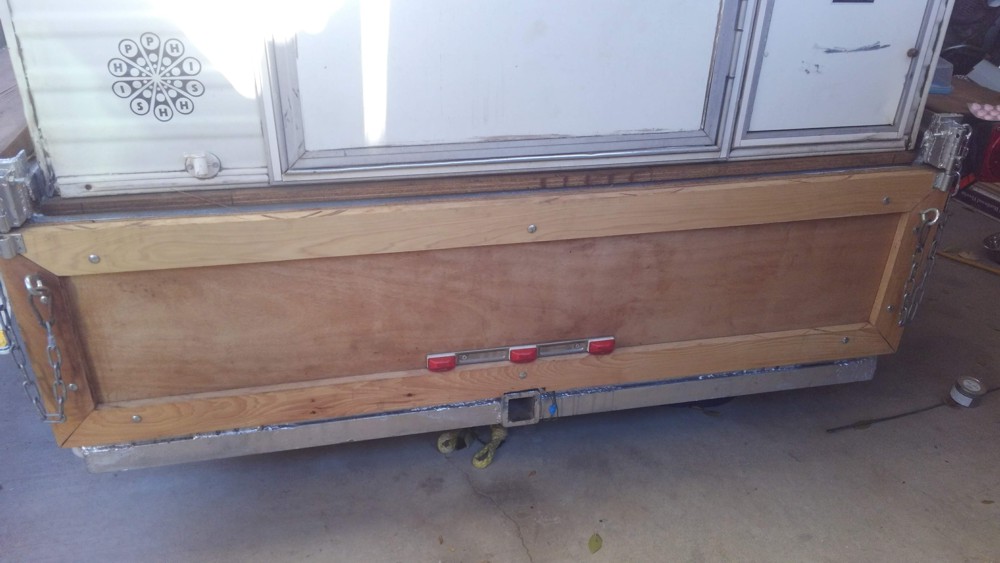
I came back a little later and we built and mounted a tailgate that locks the drawer in place. It also provides a step up for getting into the camper. He wants to do a few more modifications, I’ll write about them as we get them done.
Overall we’re pretty happy with the way it turned out. It’s functions perfect and stabilized the trailer greatly. Jeff is still waiting for snow to be able to get it out and really test it but he has used a few times and likes it. When he gets it out to a race I’ll post some pictures of it in action.
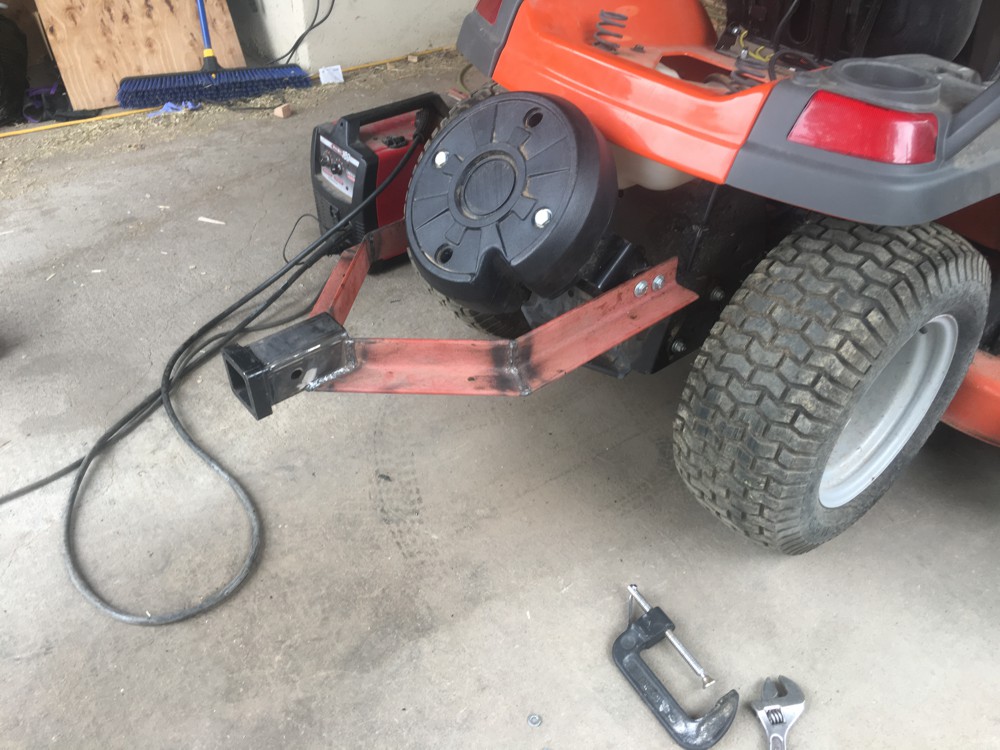
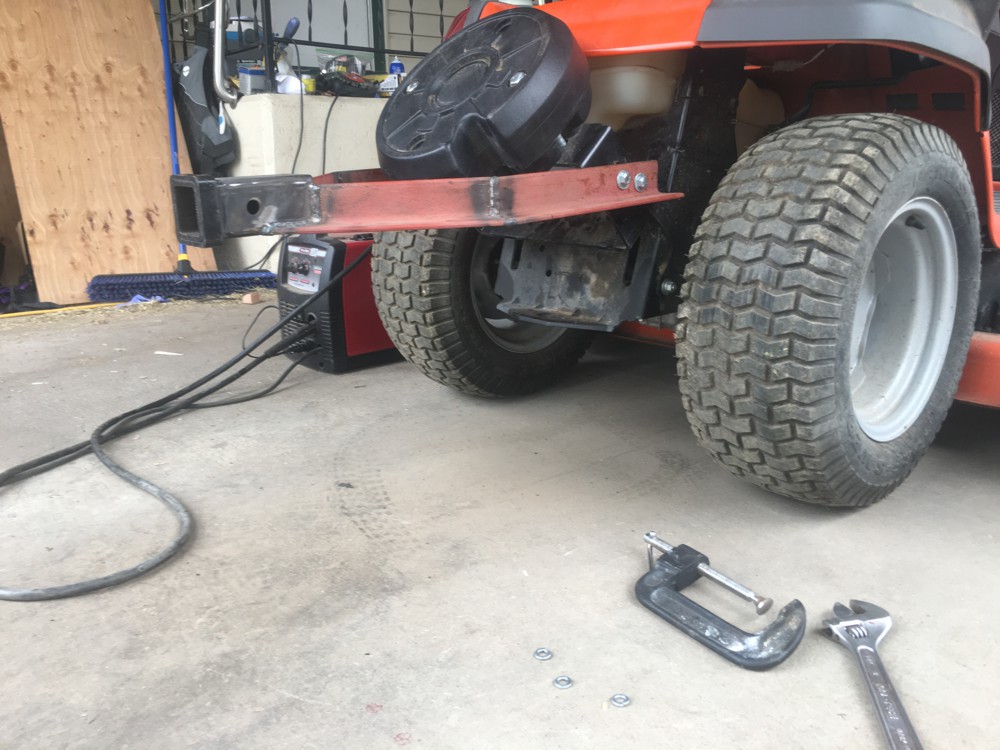
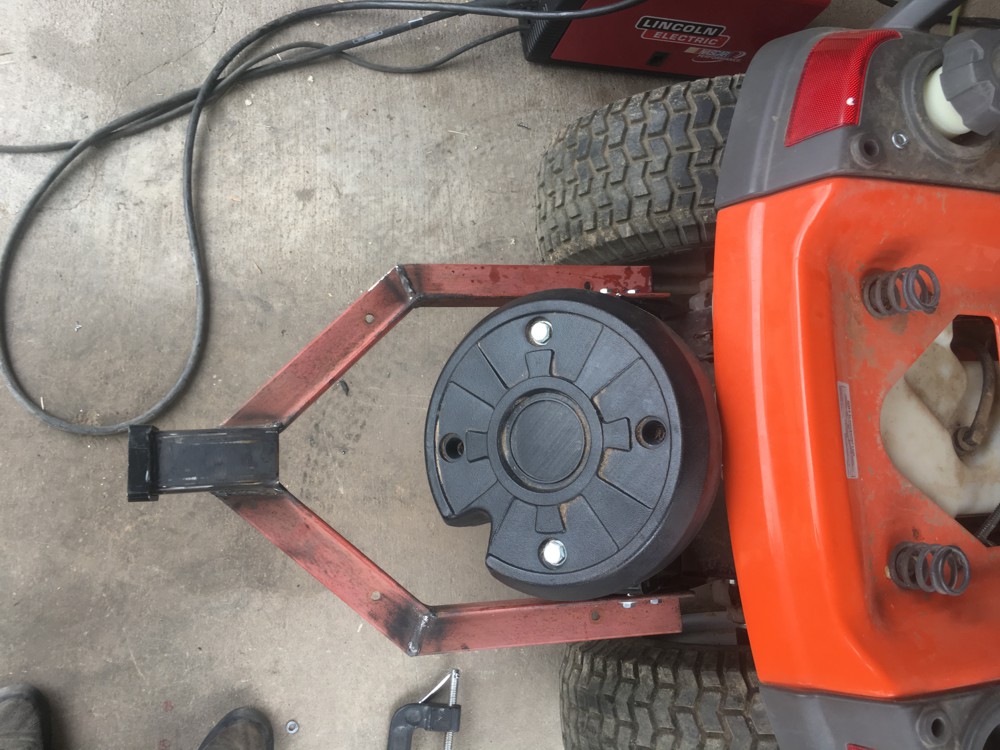
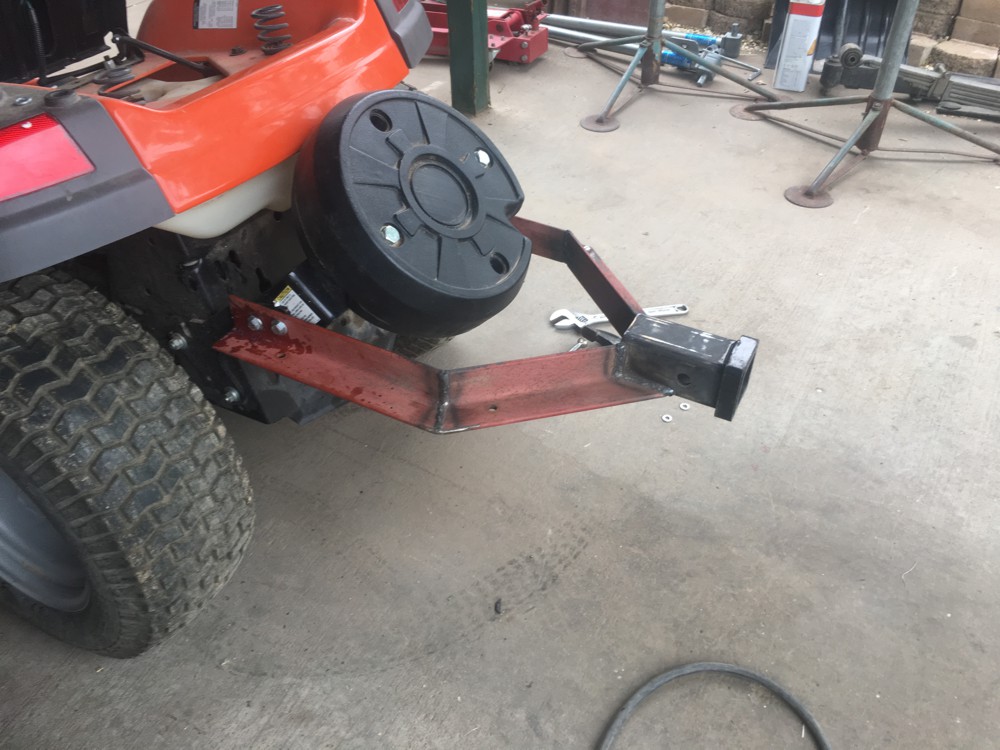
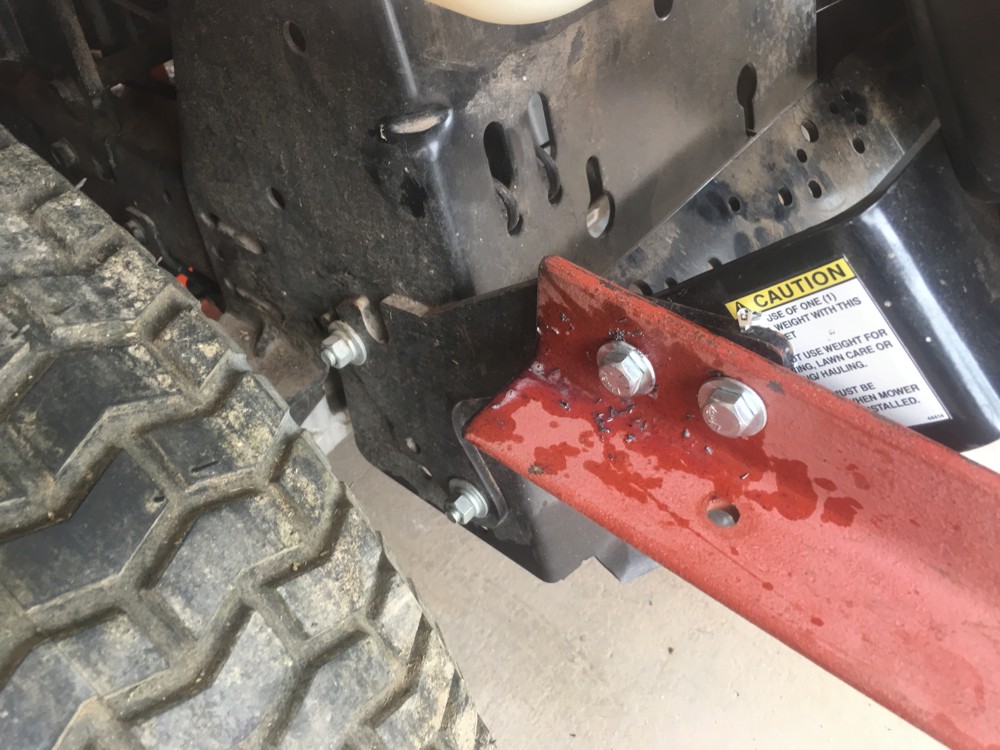
While I was up working on the trailer the first time another friend of ours wanted a trailer hitch mounted to his riding mower. Jeff had an old angle frame that I cut apart and welded in a receiver tube. The mower isn’t all that powerful so this didn’t have to handle 10,000 lbs or anything. I bolted into the same holes as the counter wait and made it so the counter wait could still pivot. It was a fun, quick little project.



0 Comments