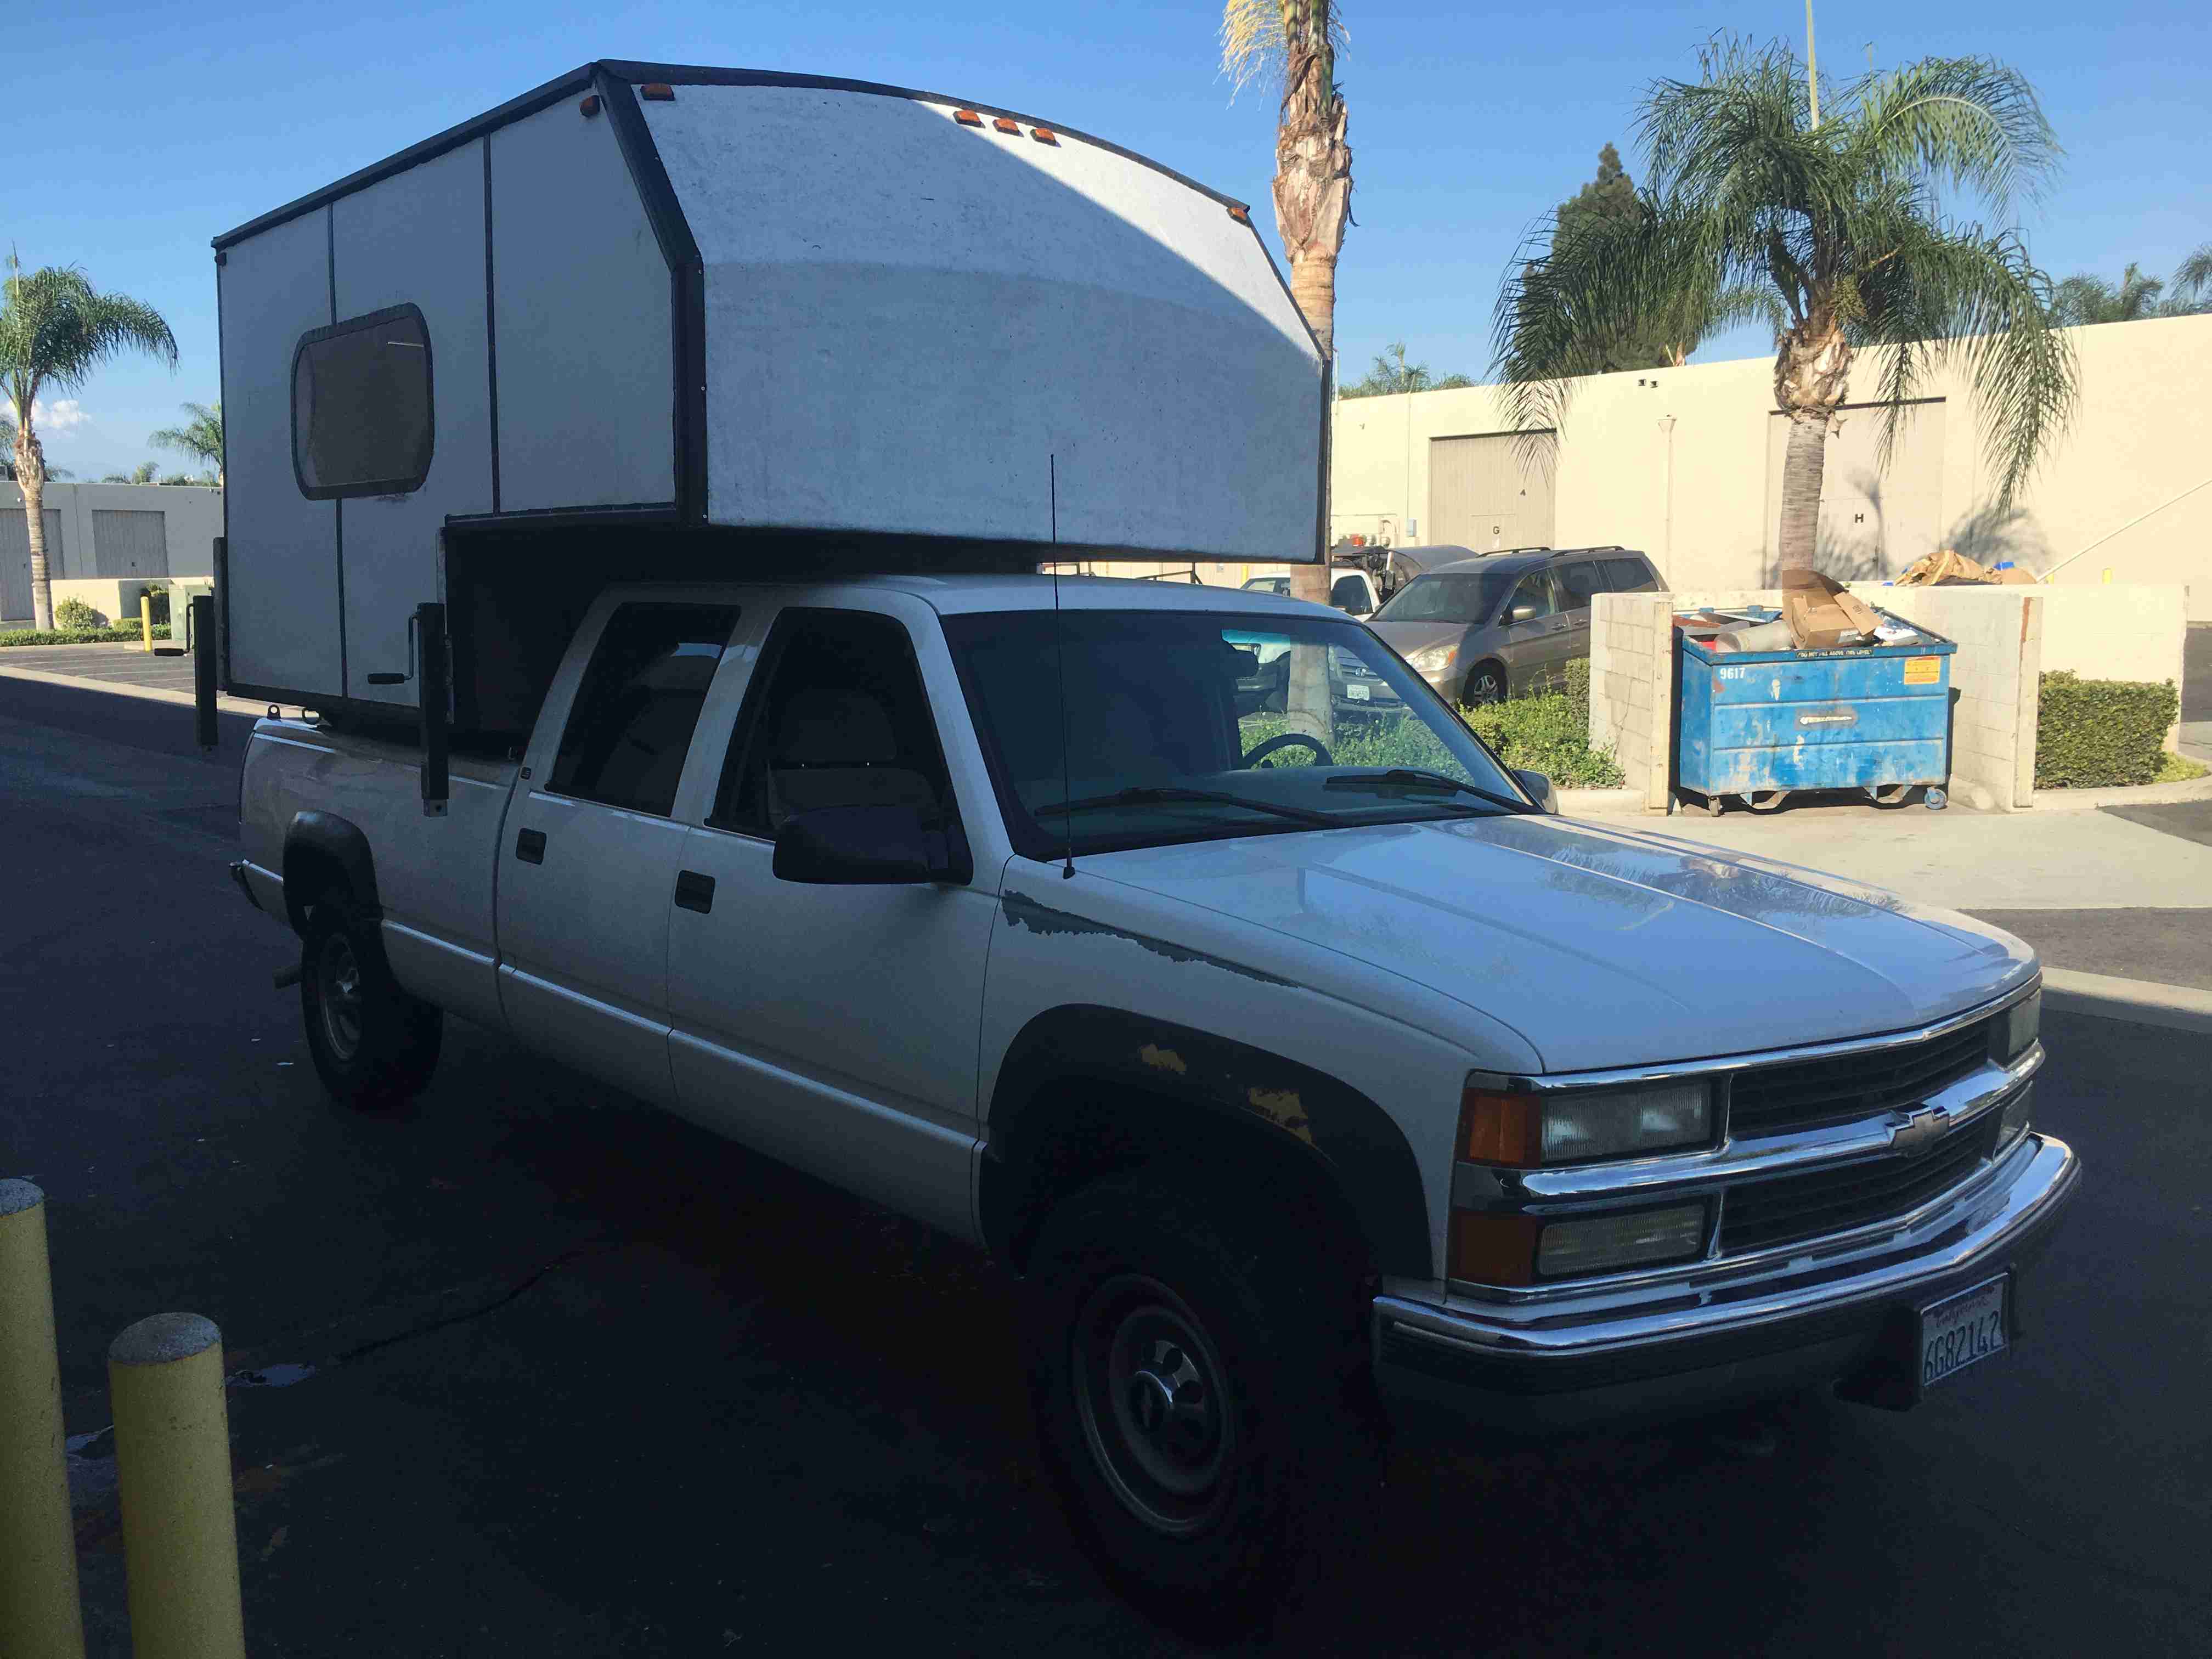
With a new truck comes new modifications, the camper was custom made to fit on a first gen Tacoma, a mini truck, and I now need it to to fit on a full sized Chevy. Not a big deal but in my mind it does look a little funny now. I knew when I started looking for my new truck I would have to make some modifications, I was hoping I wouldn’t have to dig too deep and so far I have not.
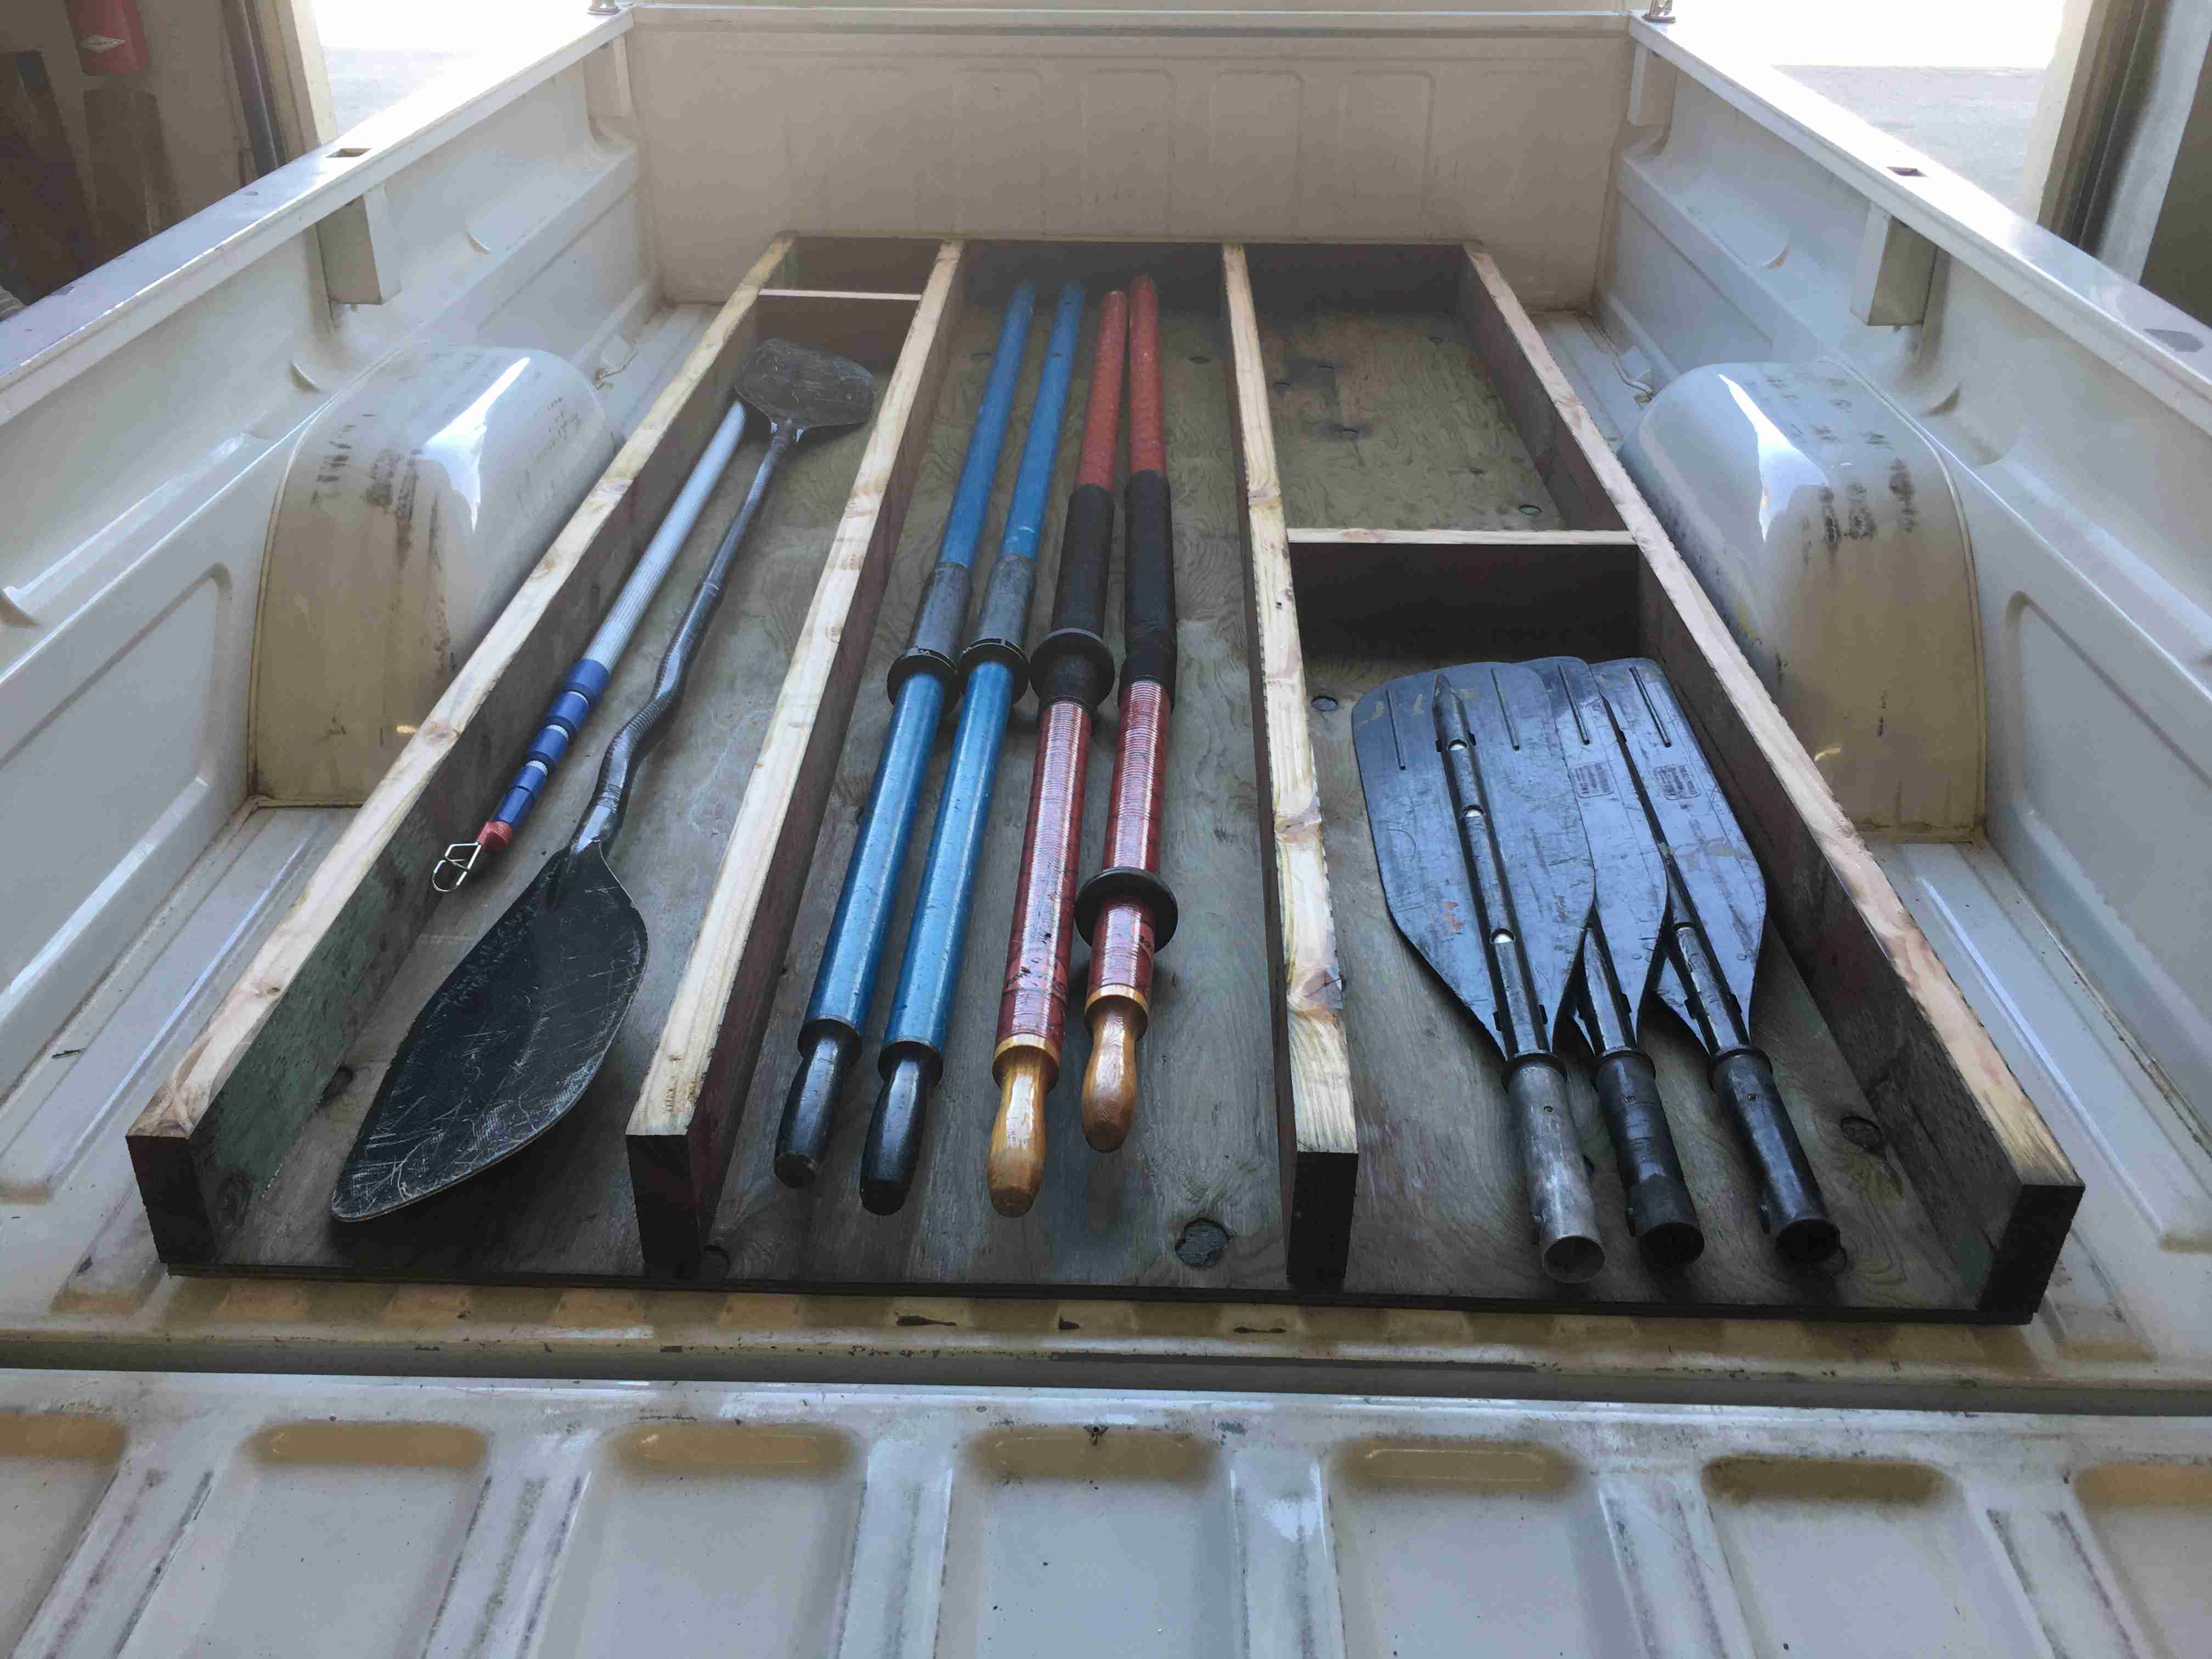
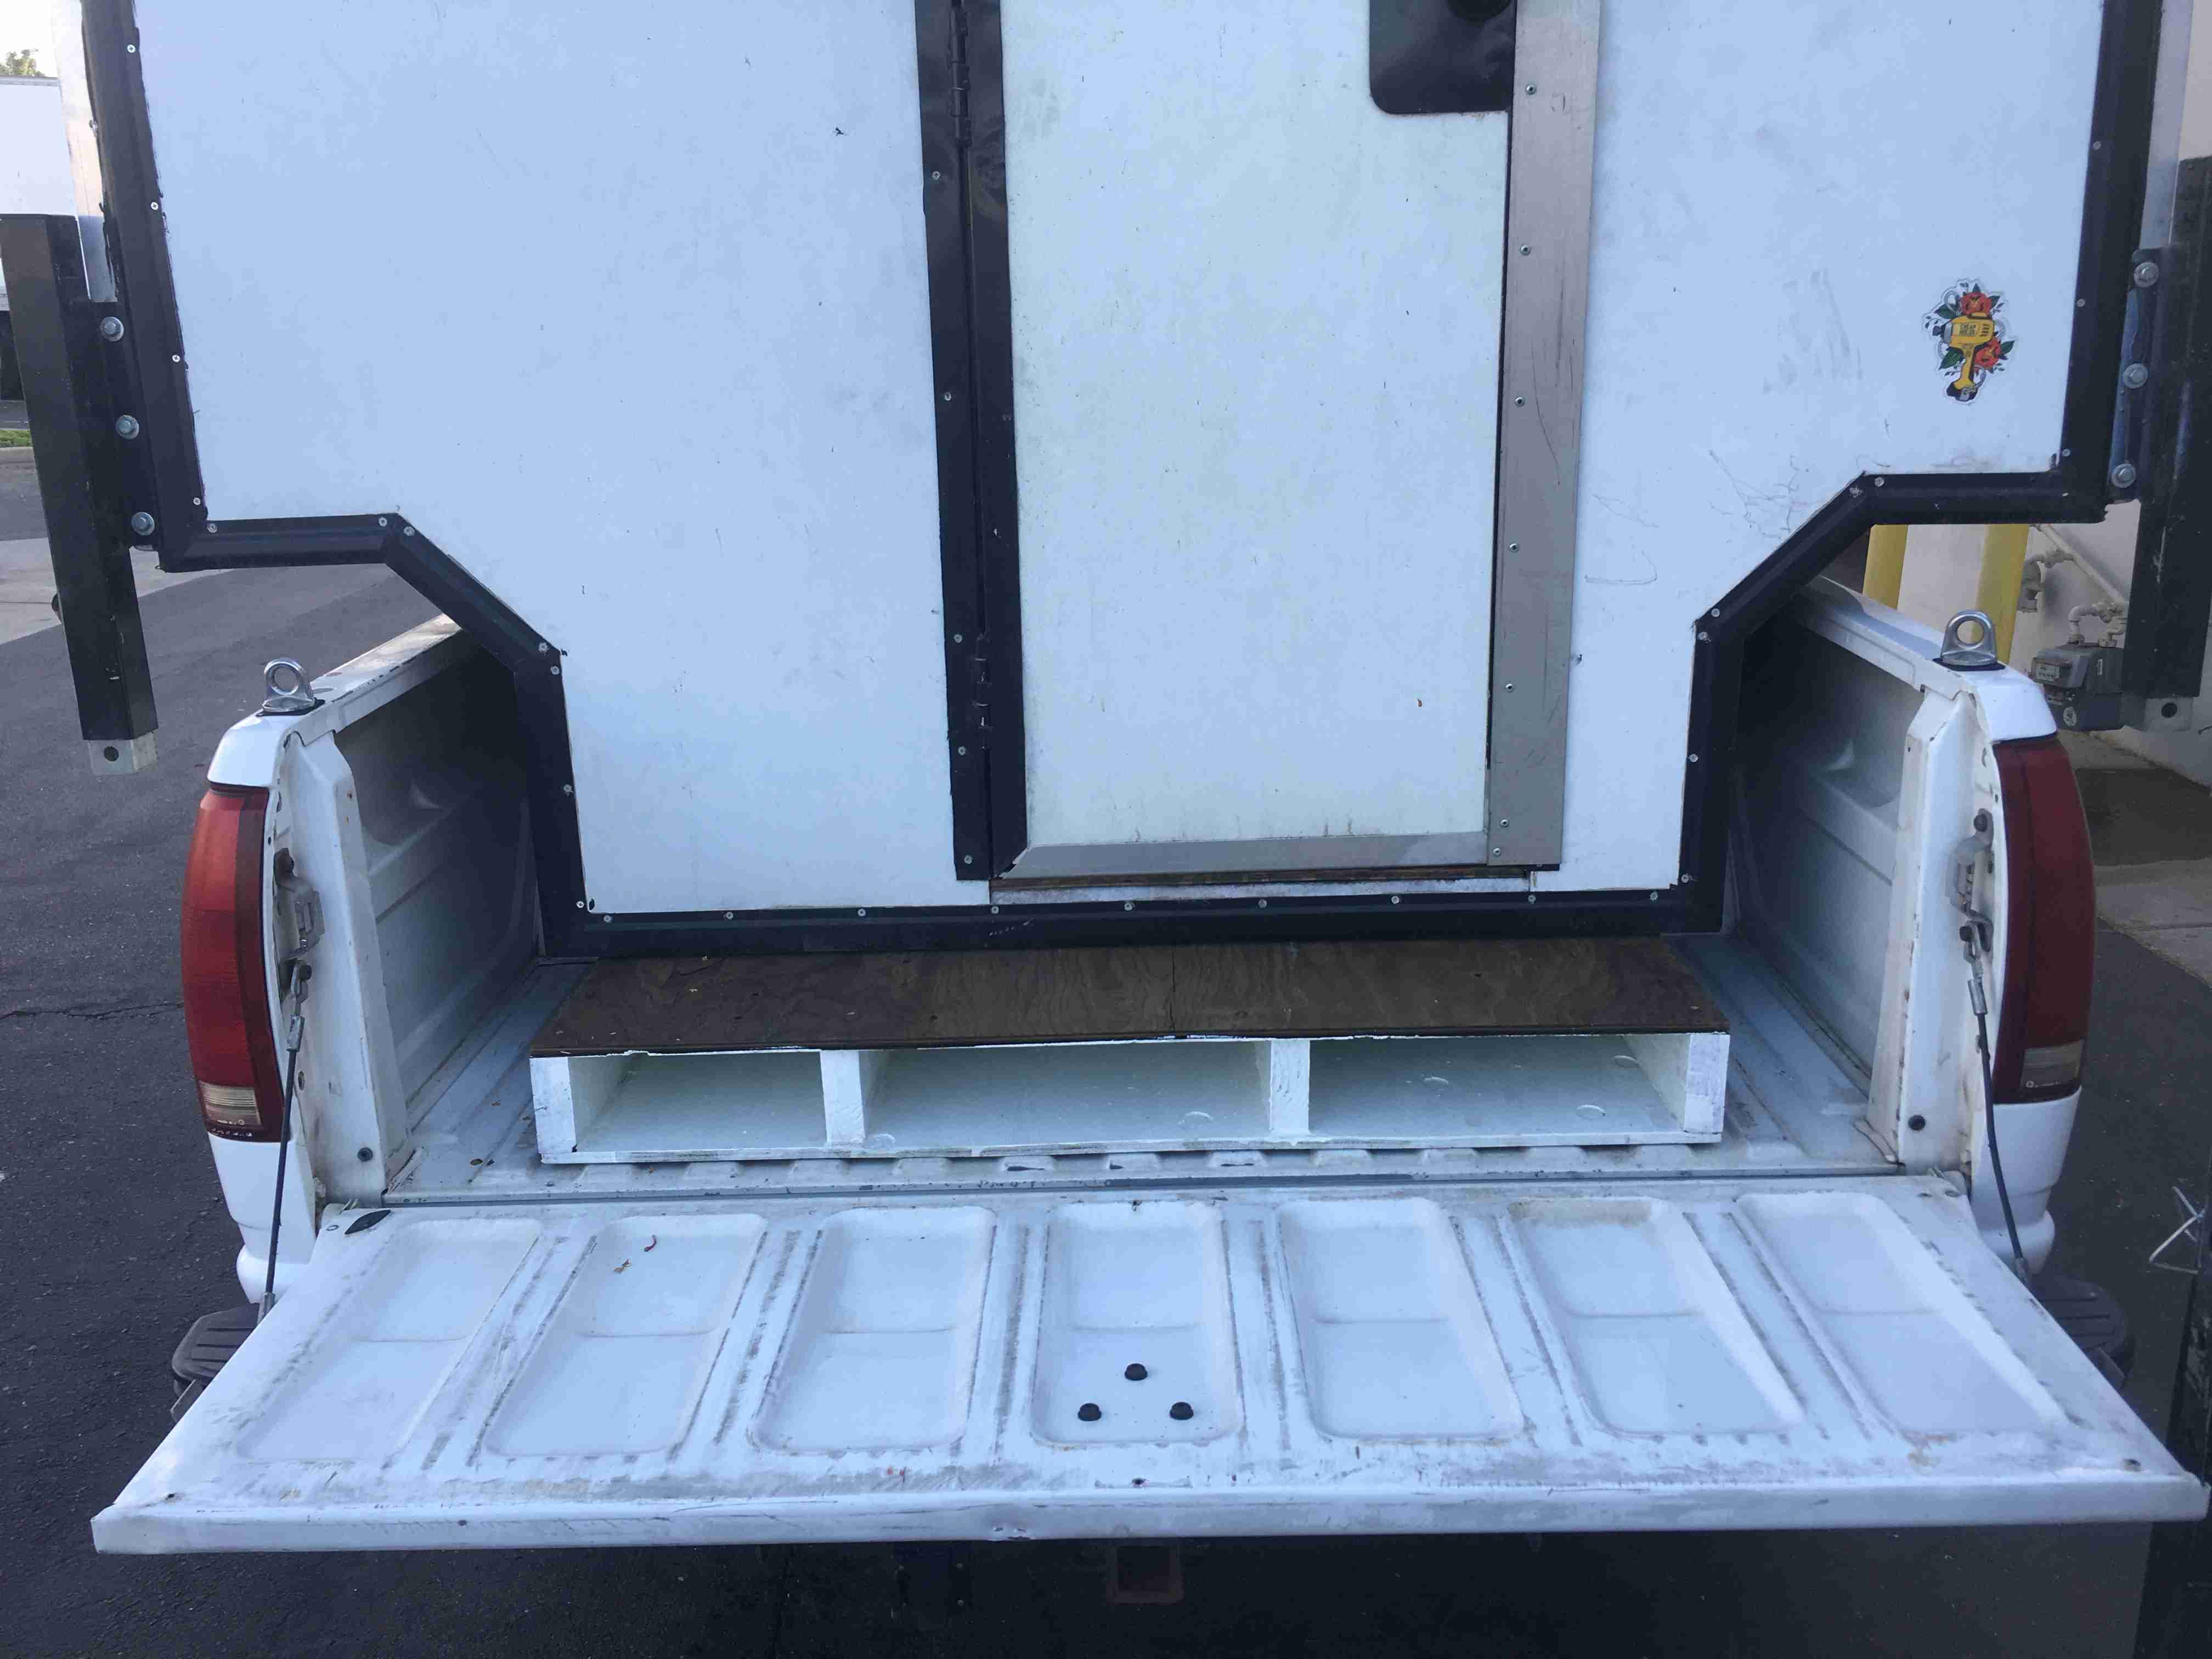
First off, a Taco has a shallower bed, but only by a few inches, so i needed to raise the camper up so the cab over part wouldn’t hit the cab. This modification turned out to be a good thing as it gave me storage for my raft oars, kayak paddle and stick clip that I hadn’t figured out until now. My oars are just under 8 ft long with the blades removed and since the new truck has an 8 ft bed it made for a perfect fit (I need to come up with a name for my new truck, K3500 doesn’t roll off the tongue quite like Taco). I got two sheets of 1/2″ treated plywood and made a frame out of treated 2 X 6s. I ripped the 2 X 6s down to 4 1/2″ wide, just tall enough for the oars to fit. I made one full length compartment for the oars and put blocking in to shorten the space for the kayak paddle and blades, this leaves some dead space but it’s better than trying to get my blades back from the front of the box. As the chemical used to treat wood so it doesn’t rot will rot anything else it comes into contact with I primered it with an oil based primer to protect my stuff.

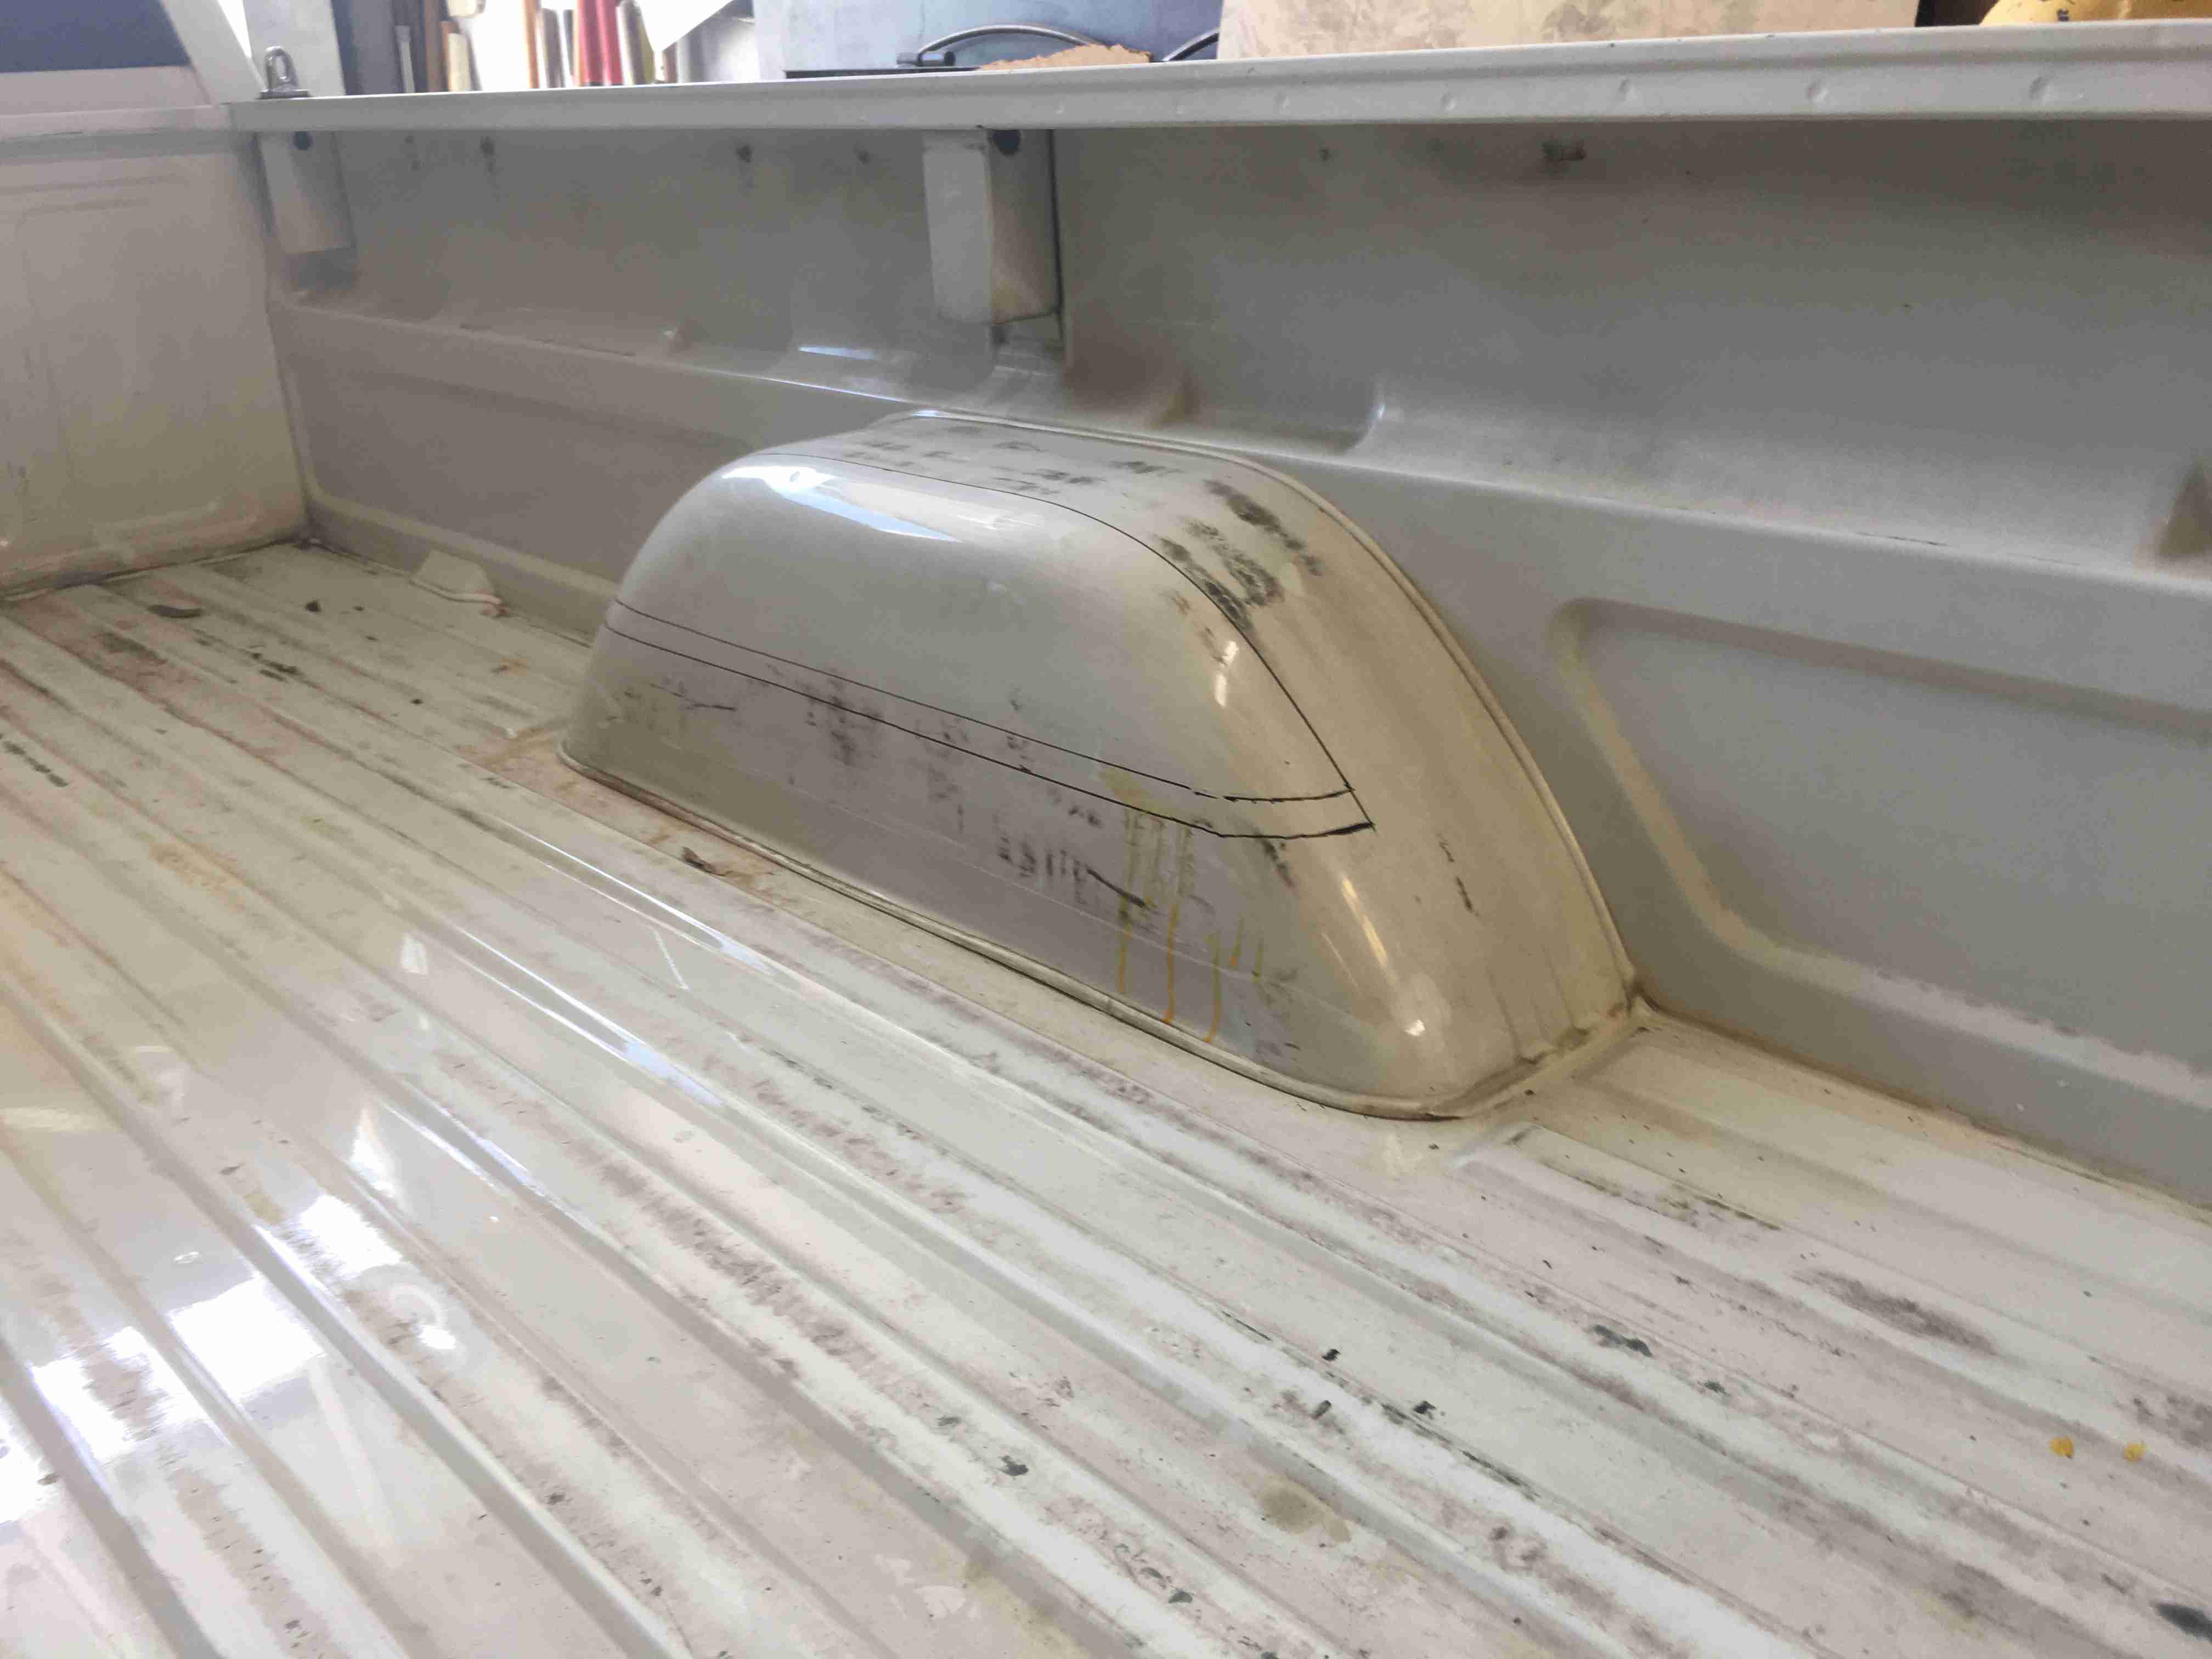
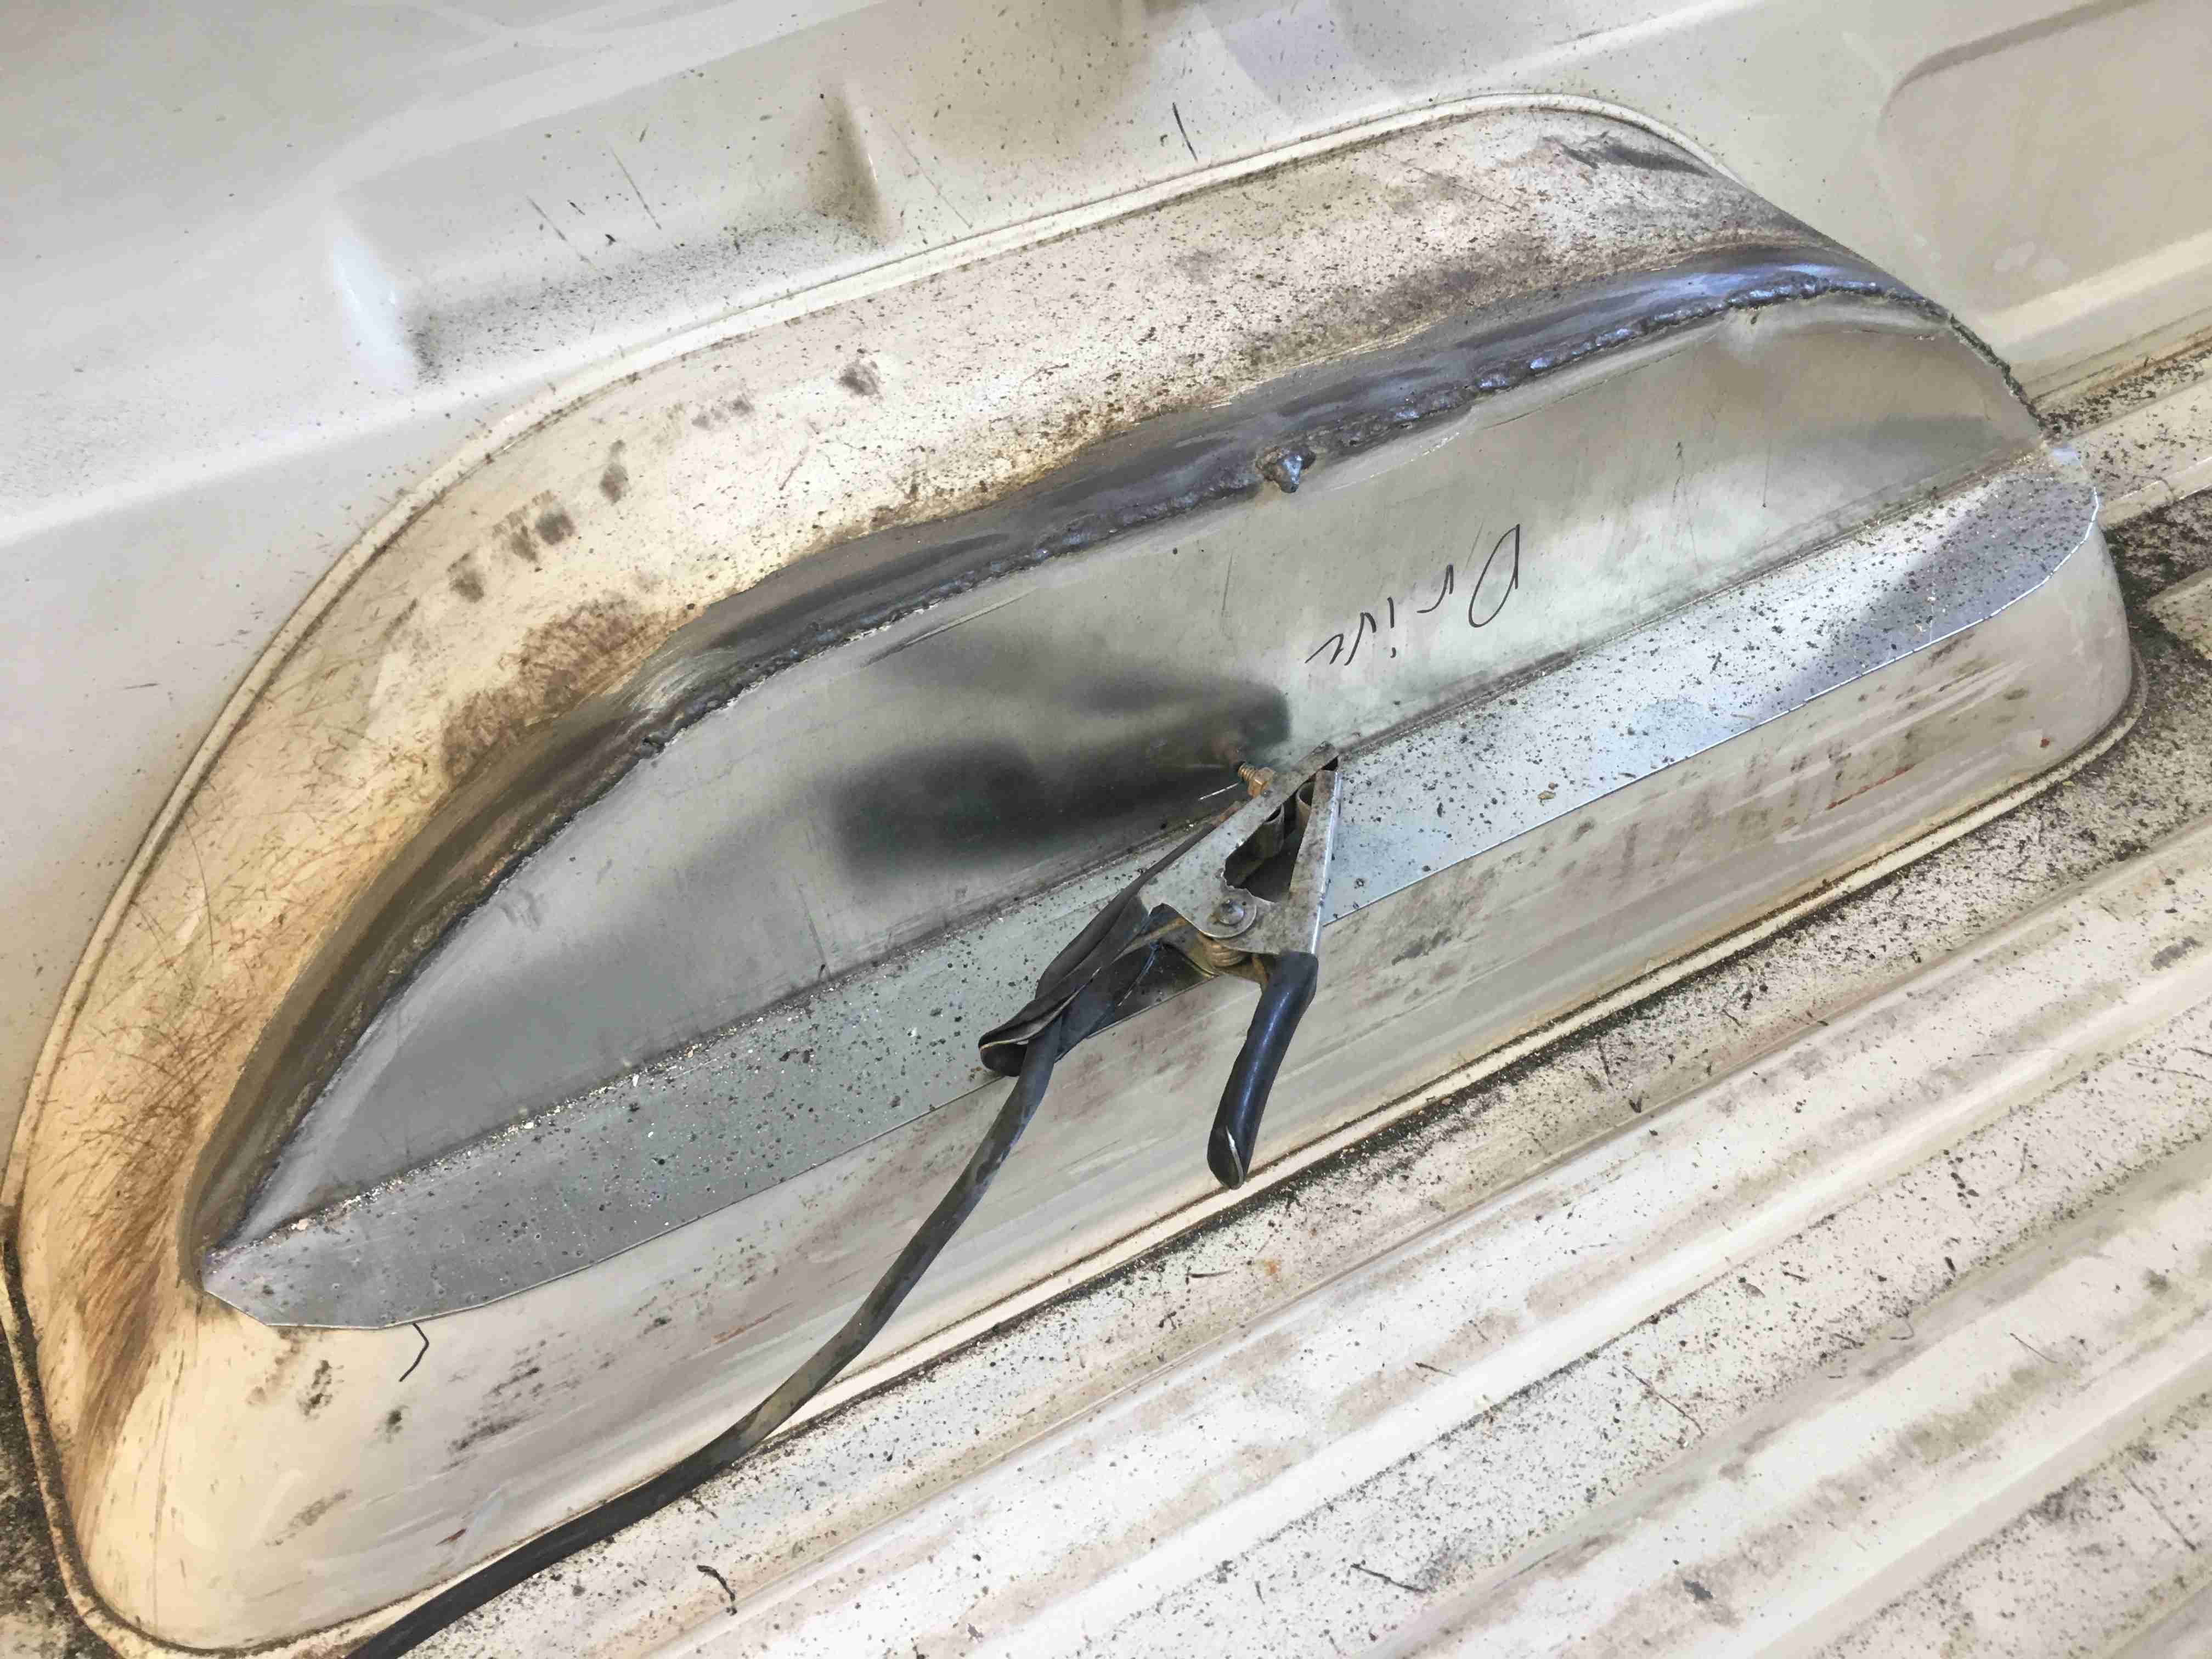
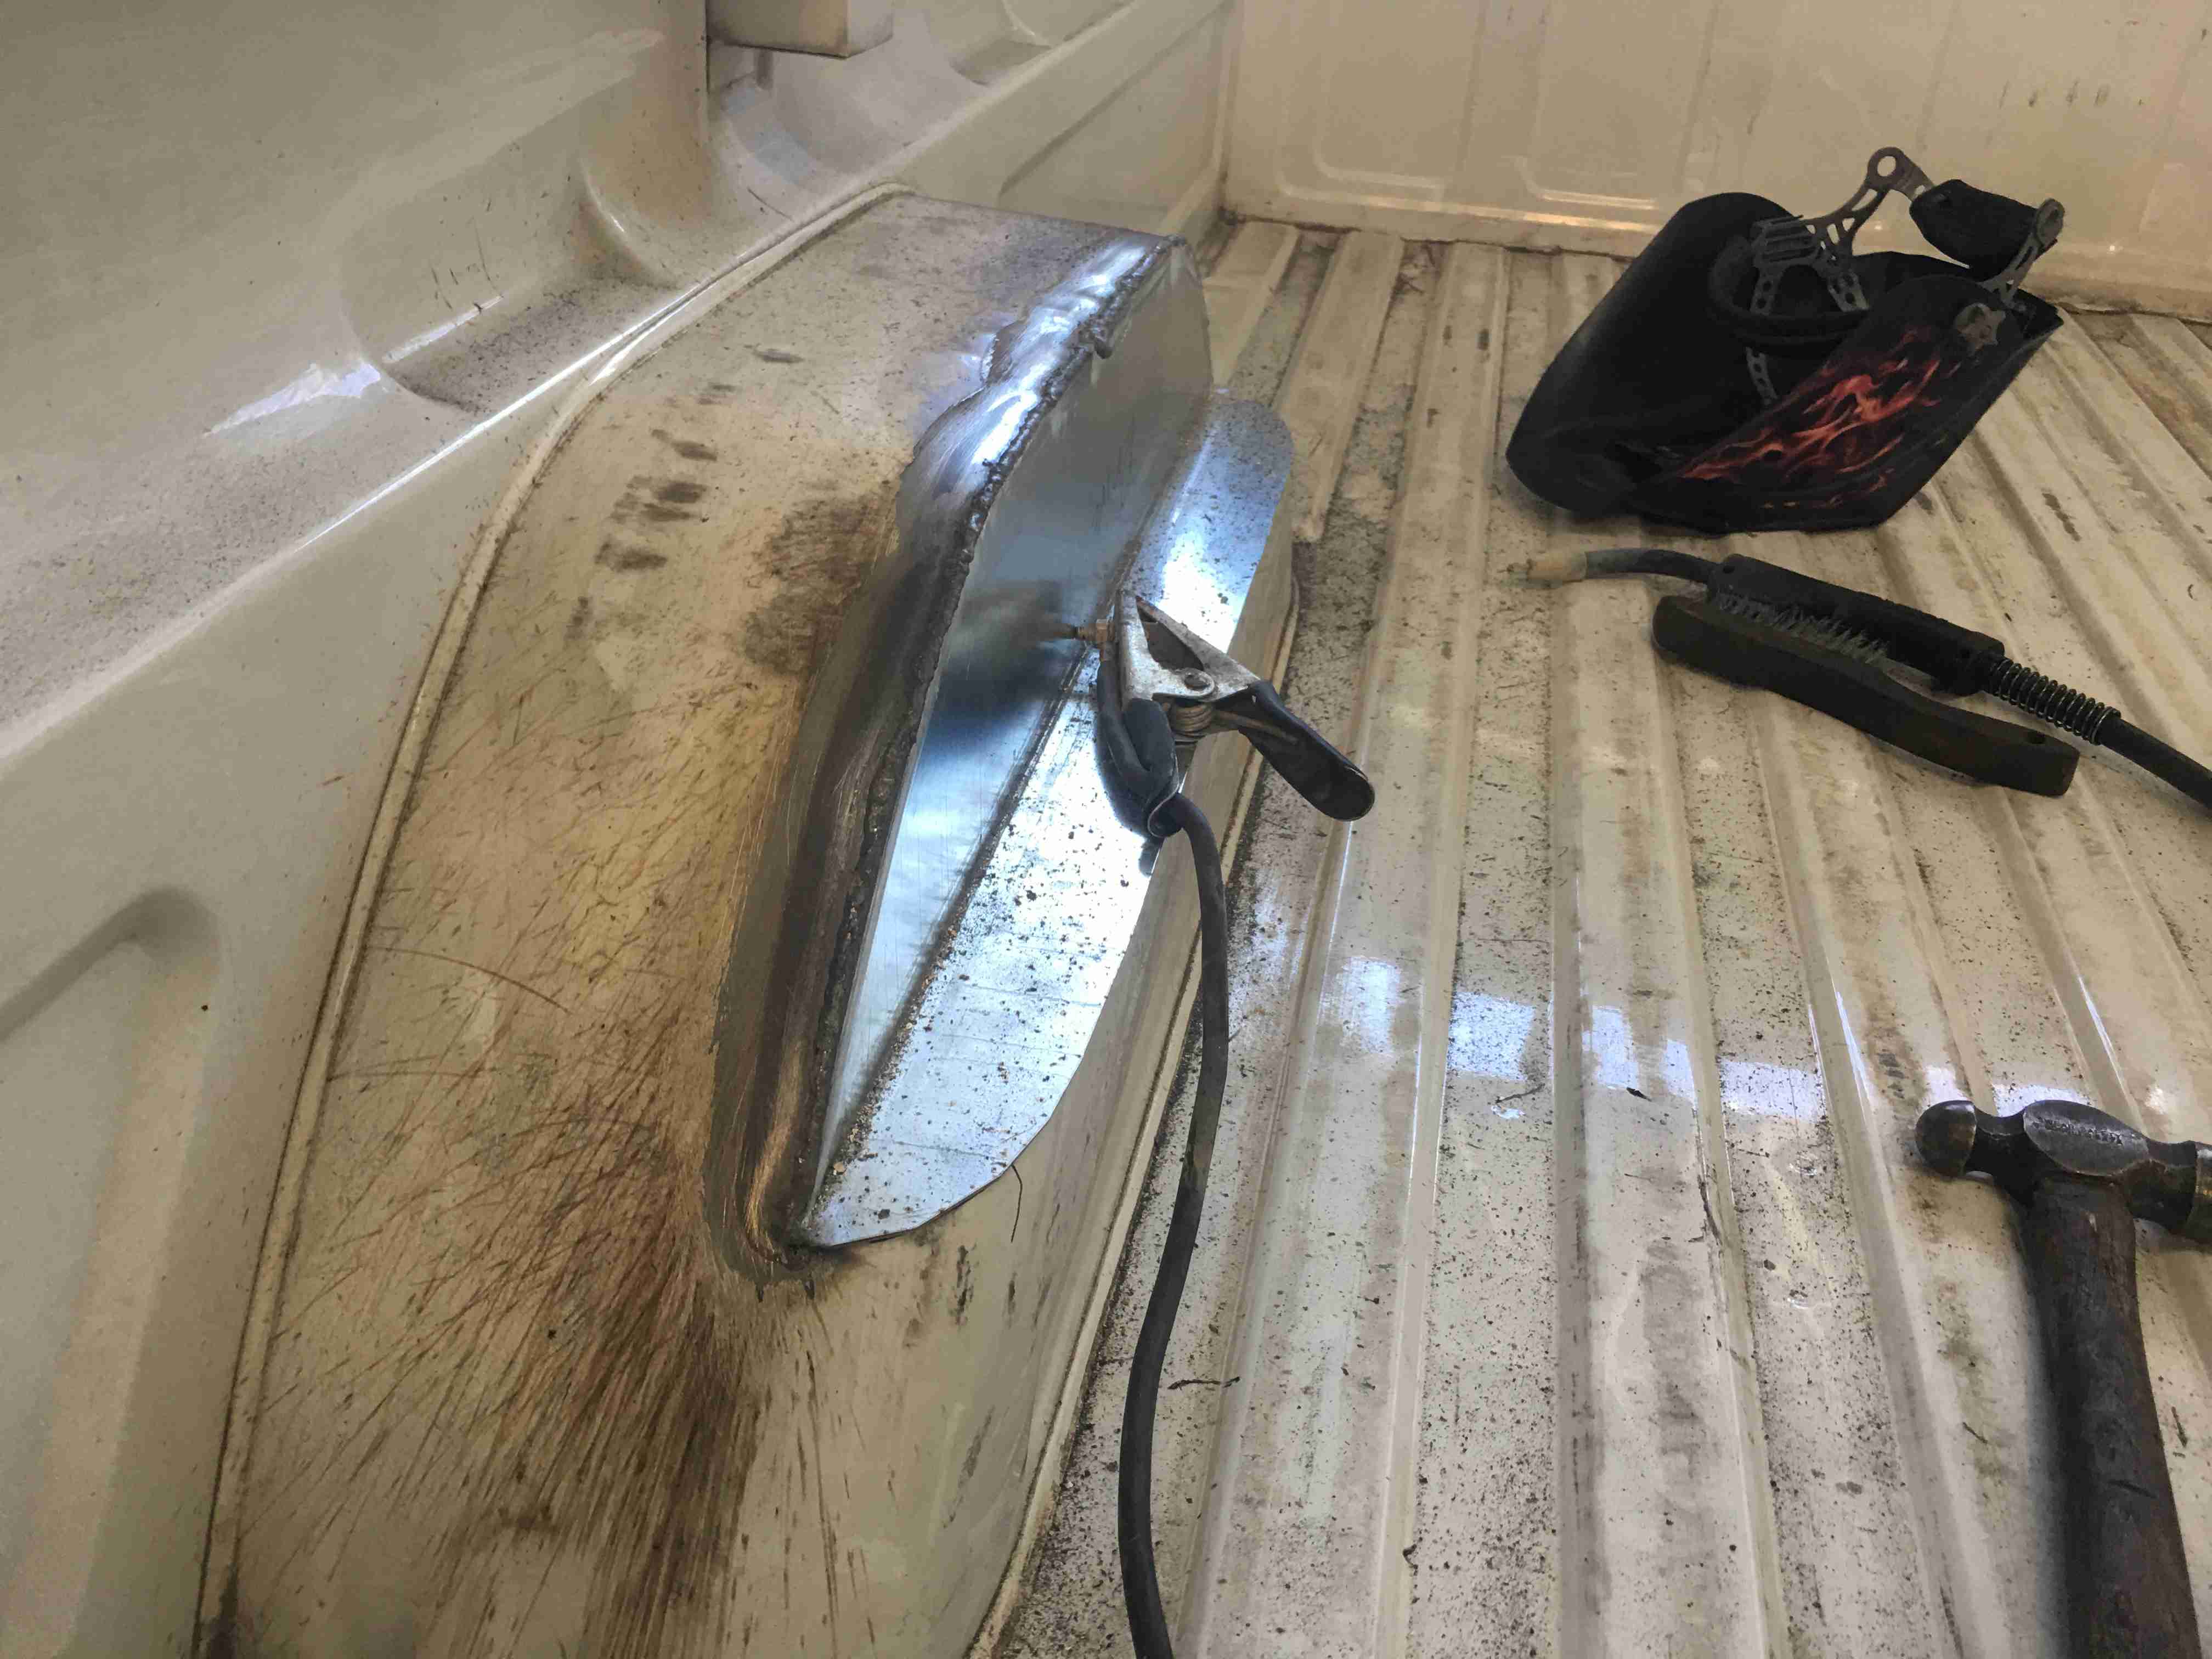
The next modification I came across is the spacing of the wheel wells. A Taco has narrower wheel wells than the Chevy however after the camper passed the wheel wells I widened the floor up to give me more interior floor space. As the Chevy is a long bed the wheels are farther back in the bed. This left me with a few options: first, I could move the camper back about 22 inches leaving a gap between the camper and the cab of the truck. Second, I could cut into the camper and reweld the frame and redo the sheeting and fiberglass to get rid of the additional floor space. Last, I could cut into the wheel wells notching them back just enough to make the camper fit.
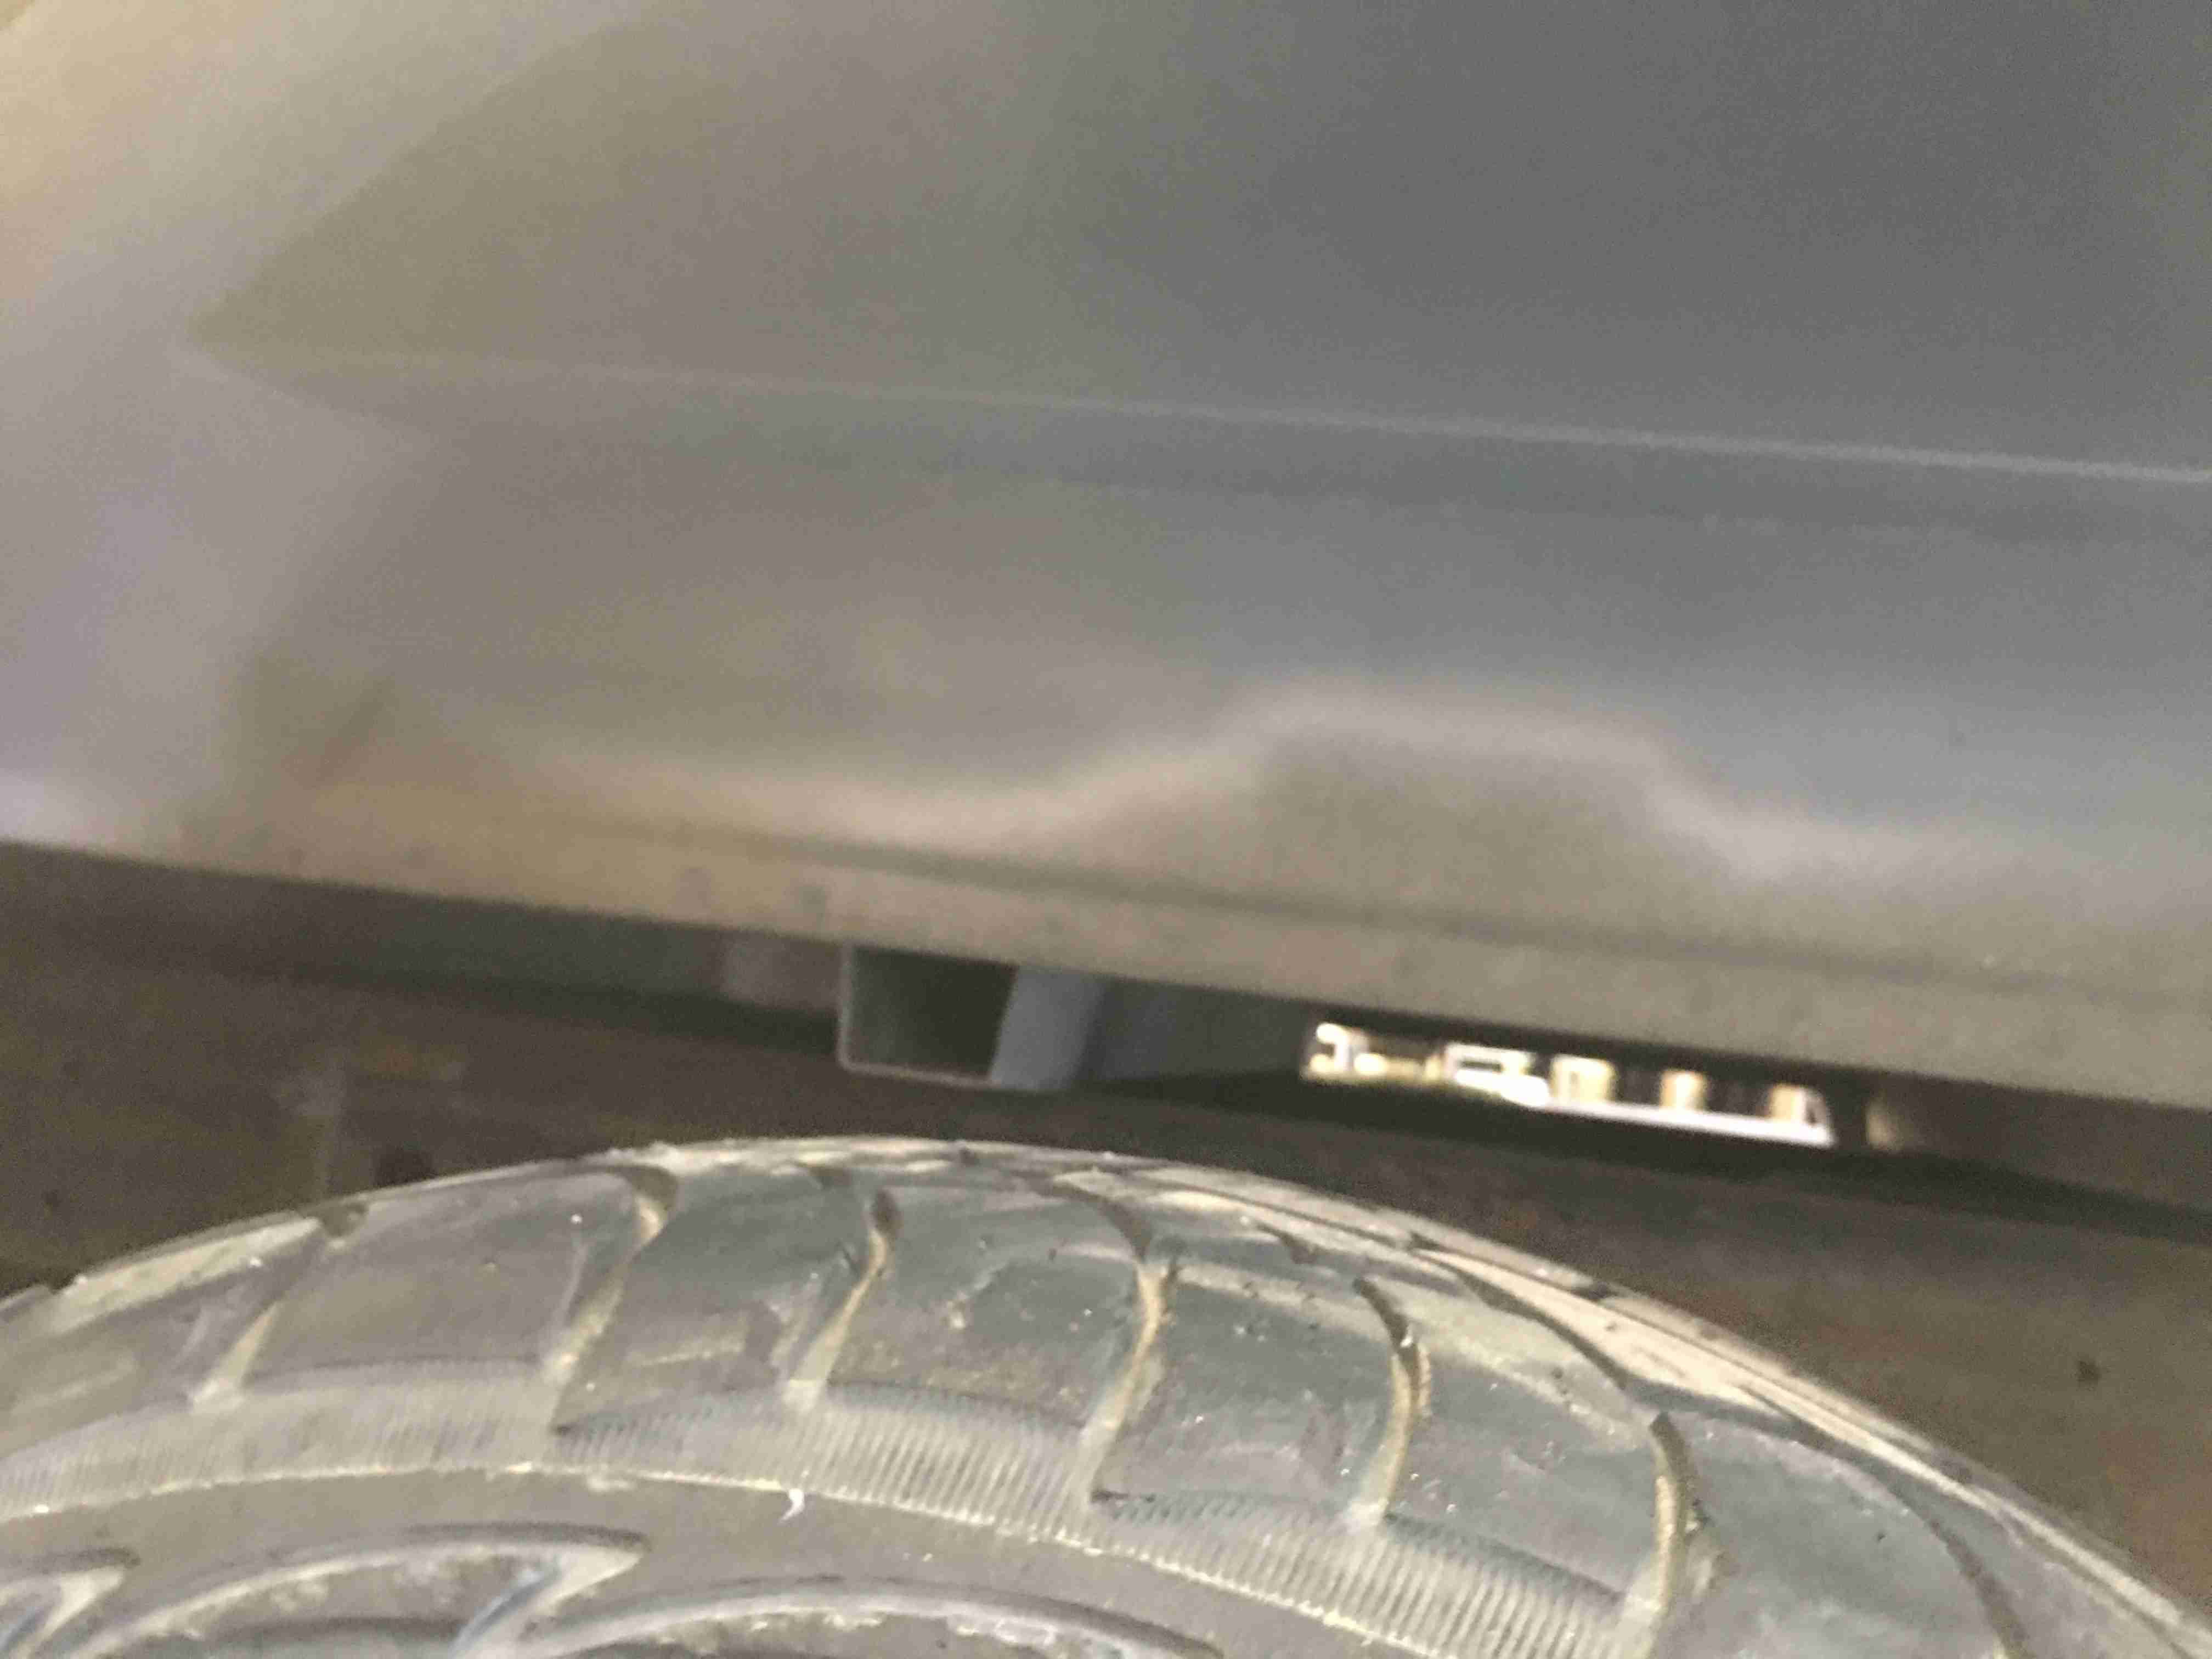
The first one really wasn’t an option as this would make the camper stick out the back and move the center of gravity so all the weight would be on the back tires. The other two were difficult to choose between. Cutting into the camper would have been days worth of work and been extremely difficult to get everything apart to get to the frame. I would have had to remove the back door which is glued on with polyurethane then remove all of the paneling and sub floor. Cutting into the wheel wells would be much easier but then I’m dropping the value of the truck as well as limiting the travel of the rear wheels, a little. As I was bouncing the issue off of a good friend he asked “how much would it devalue the truck? And how much is my time worth to me?” Really, it’s a 18year old truck with 190k miles on it, and that’s before I start driving around the continent. I don’t think it will effect the value that much.
And the wheel travel? meh, it’ll be fine…
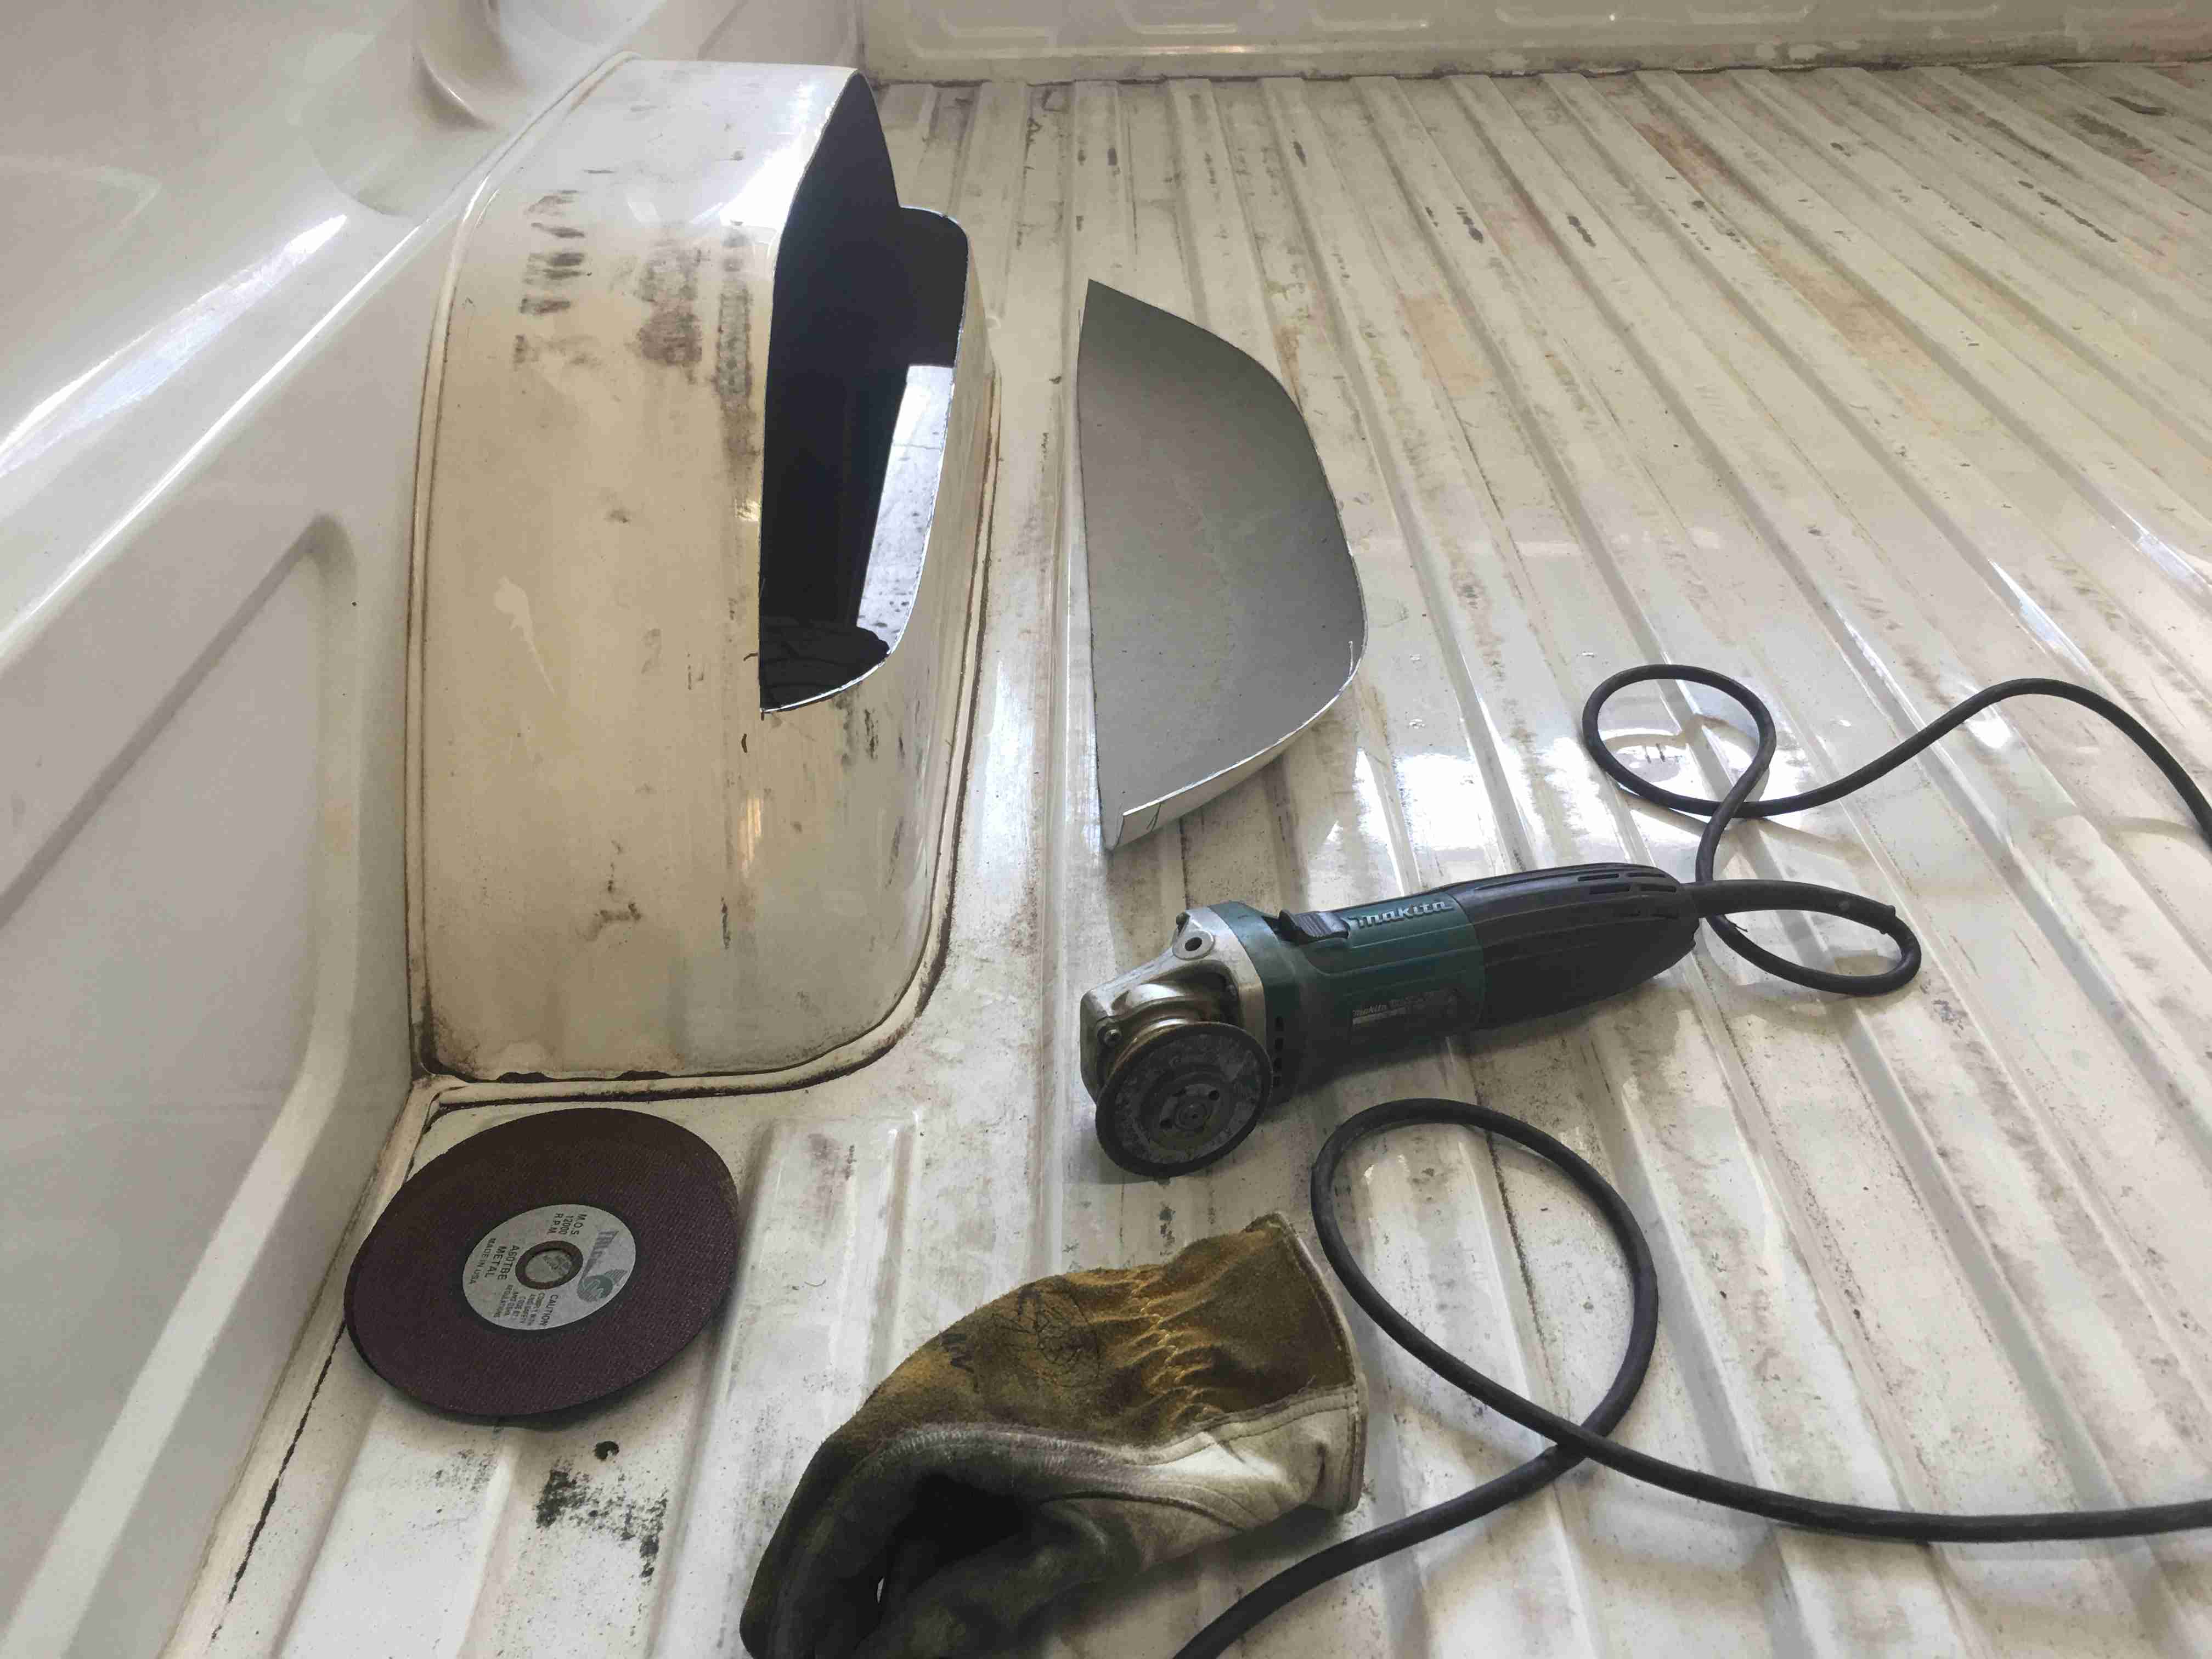
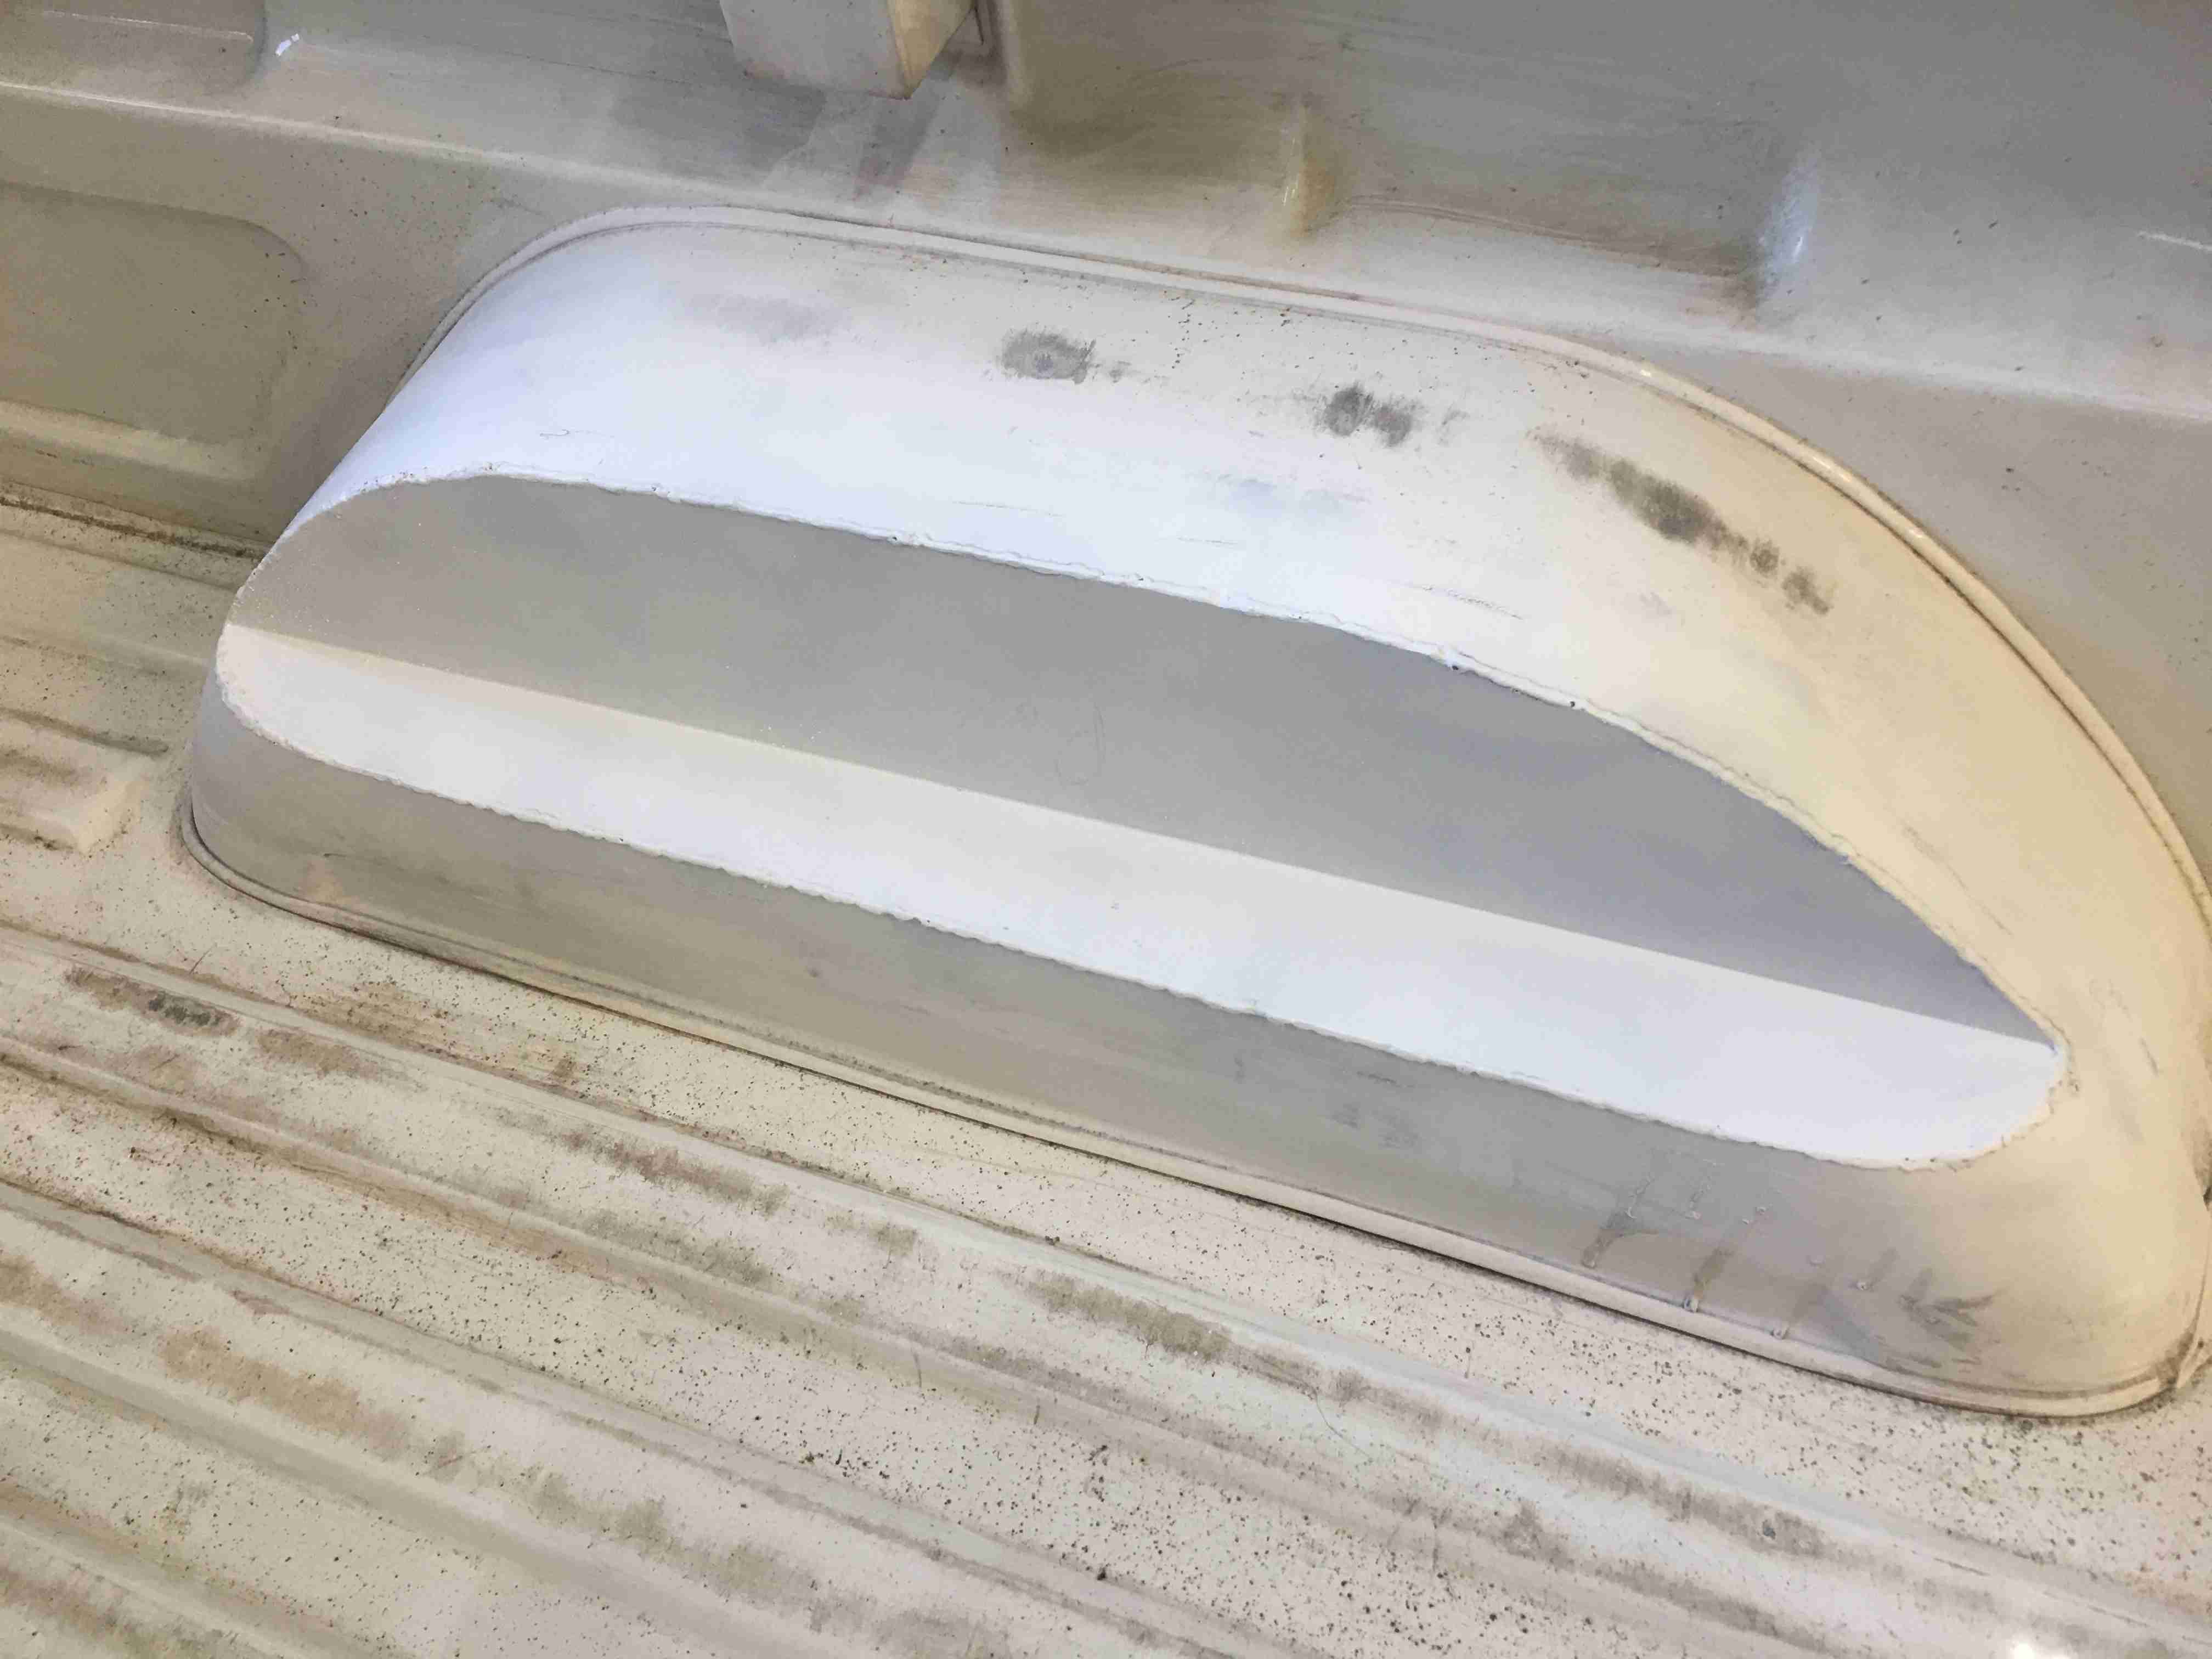
I used 18ga galvanized steel, bent it and ground it down to fit the contours then welded her in. I sprayed the inside of the bed with white paint and cold galvanizing spray inside the wheel well.
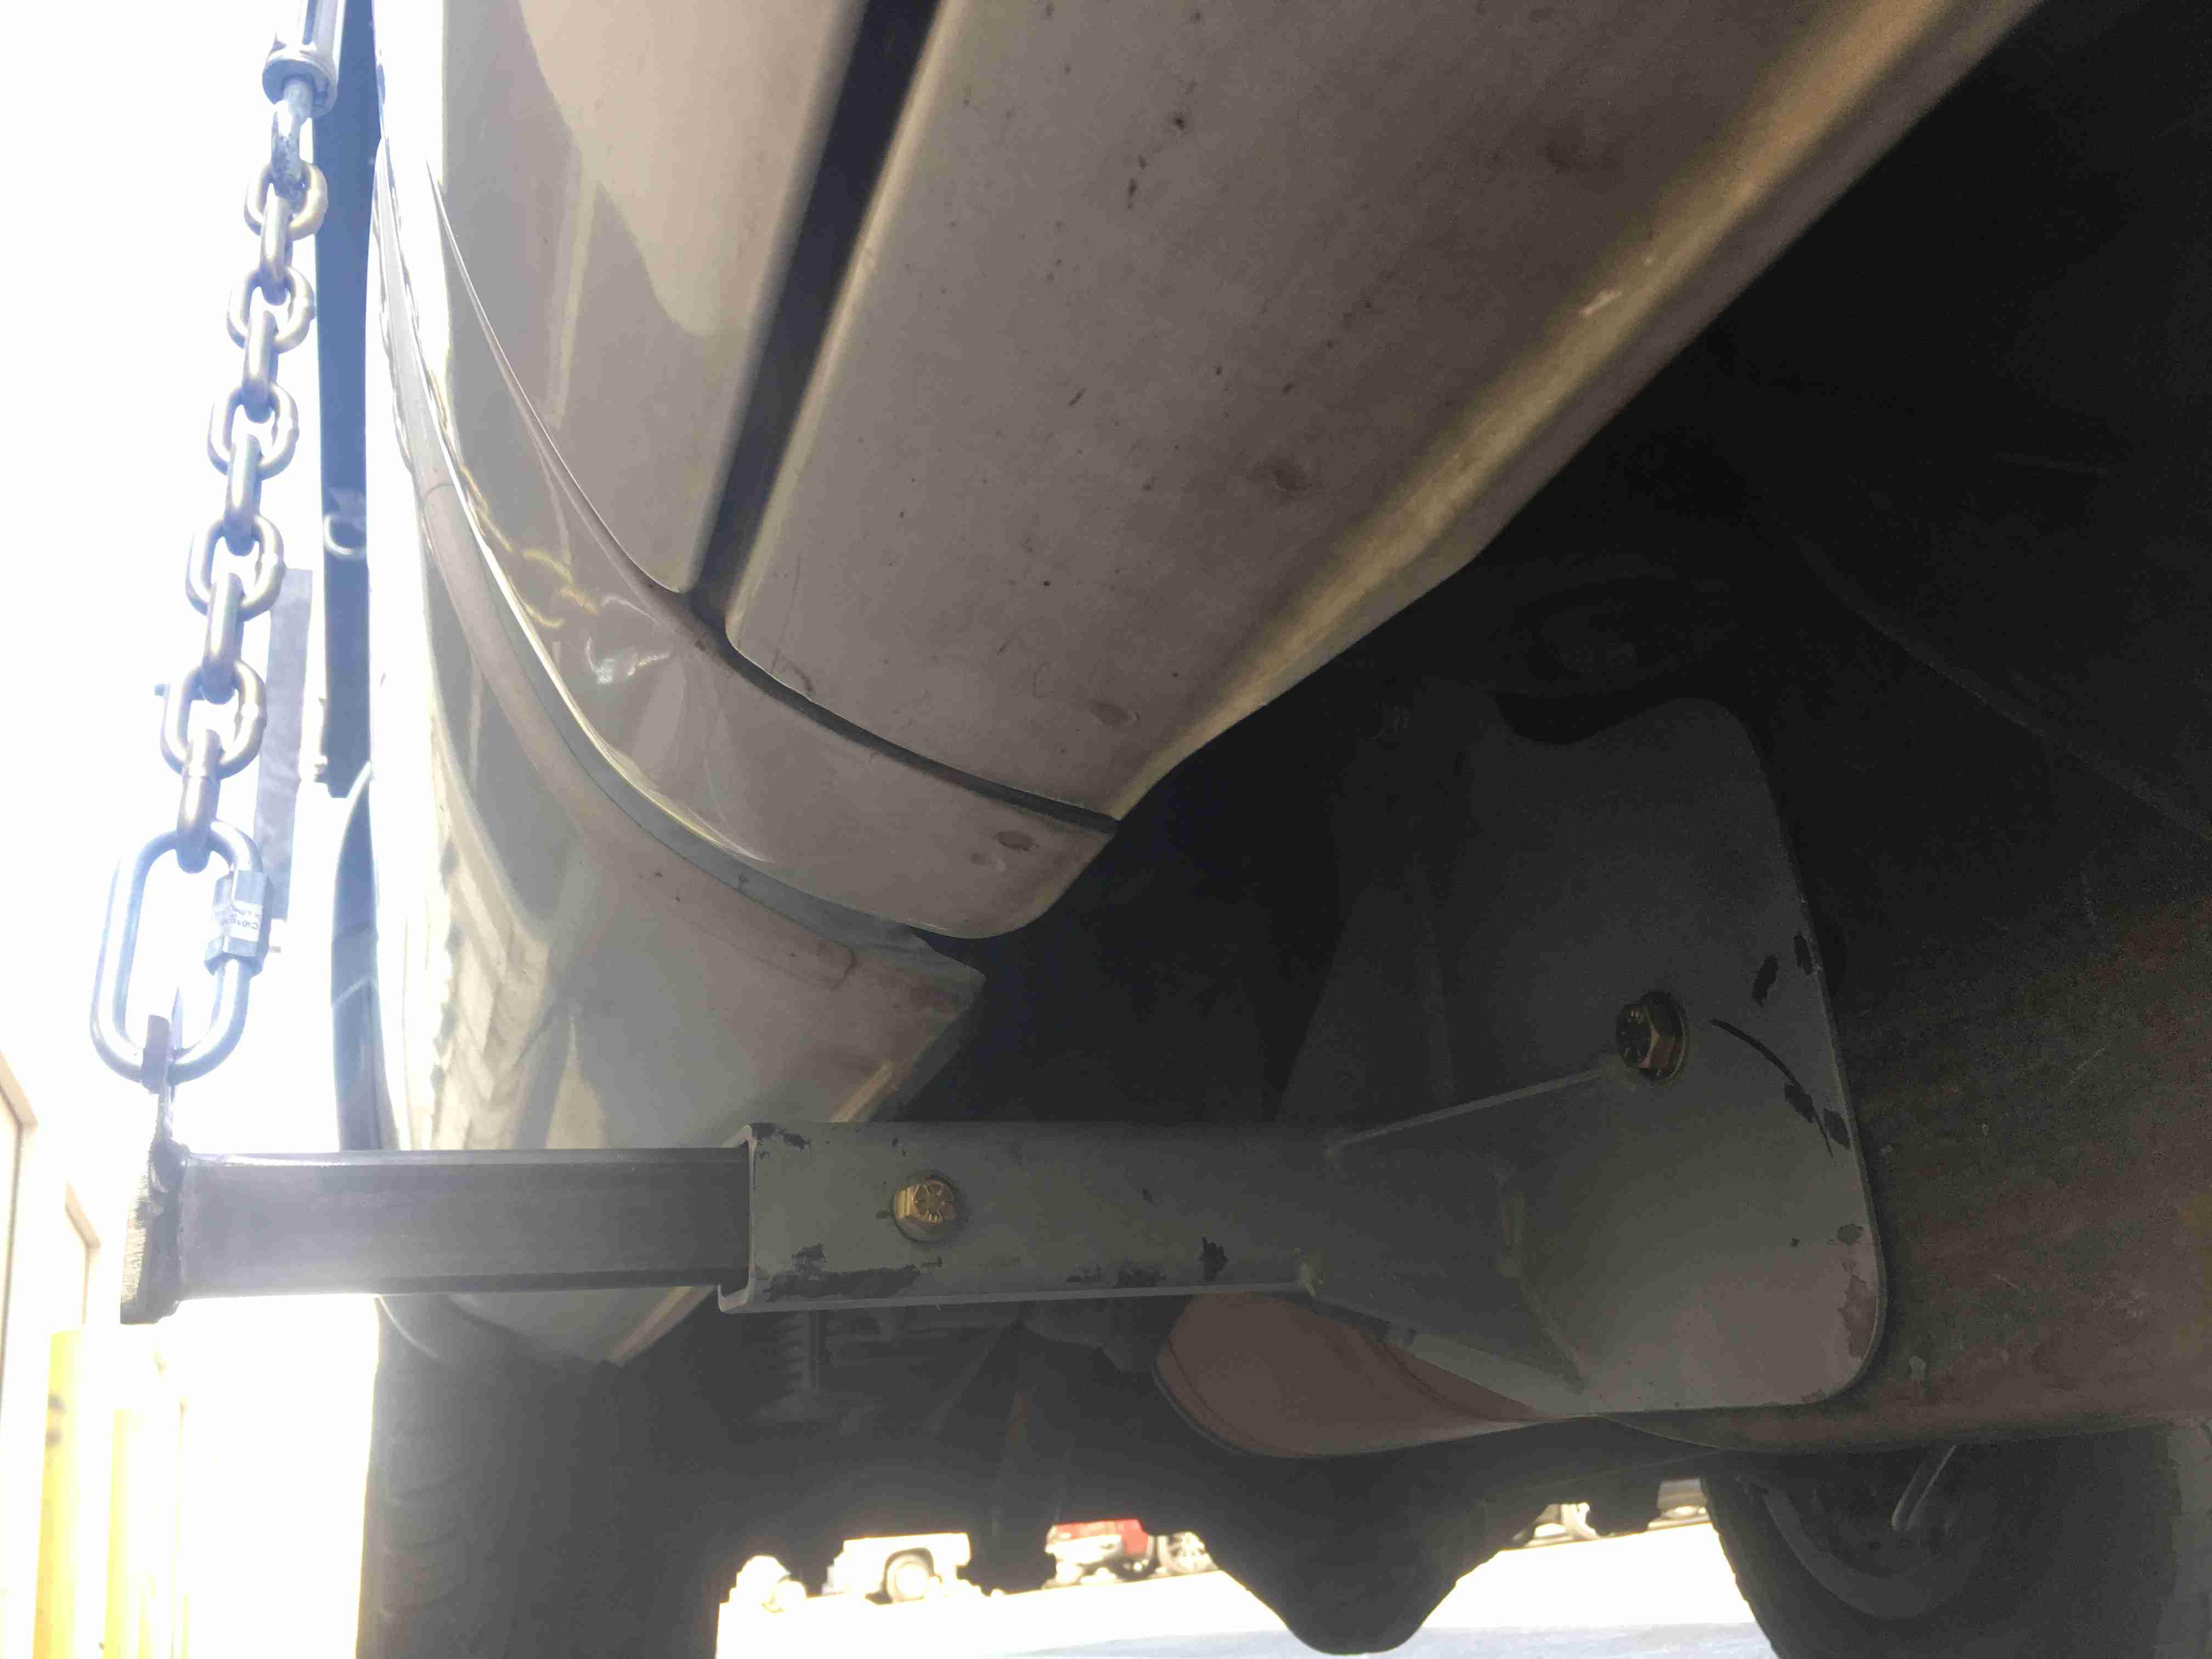
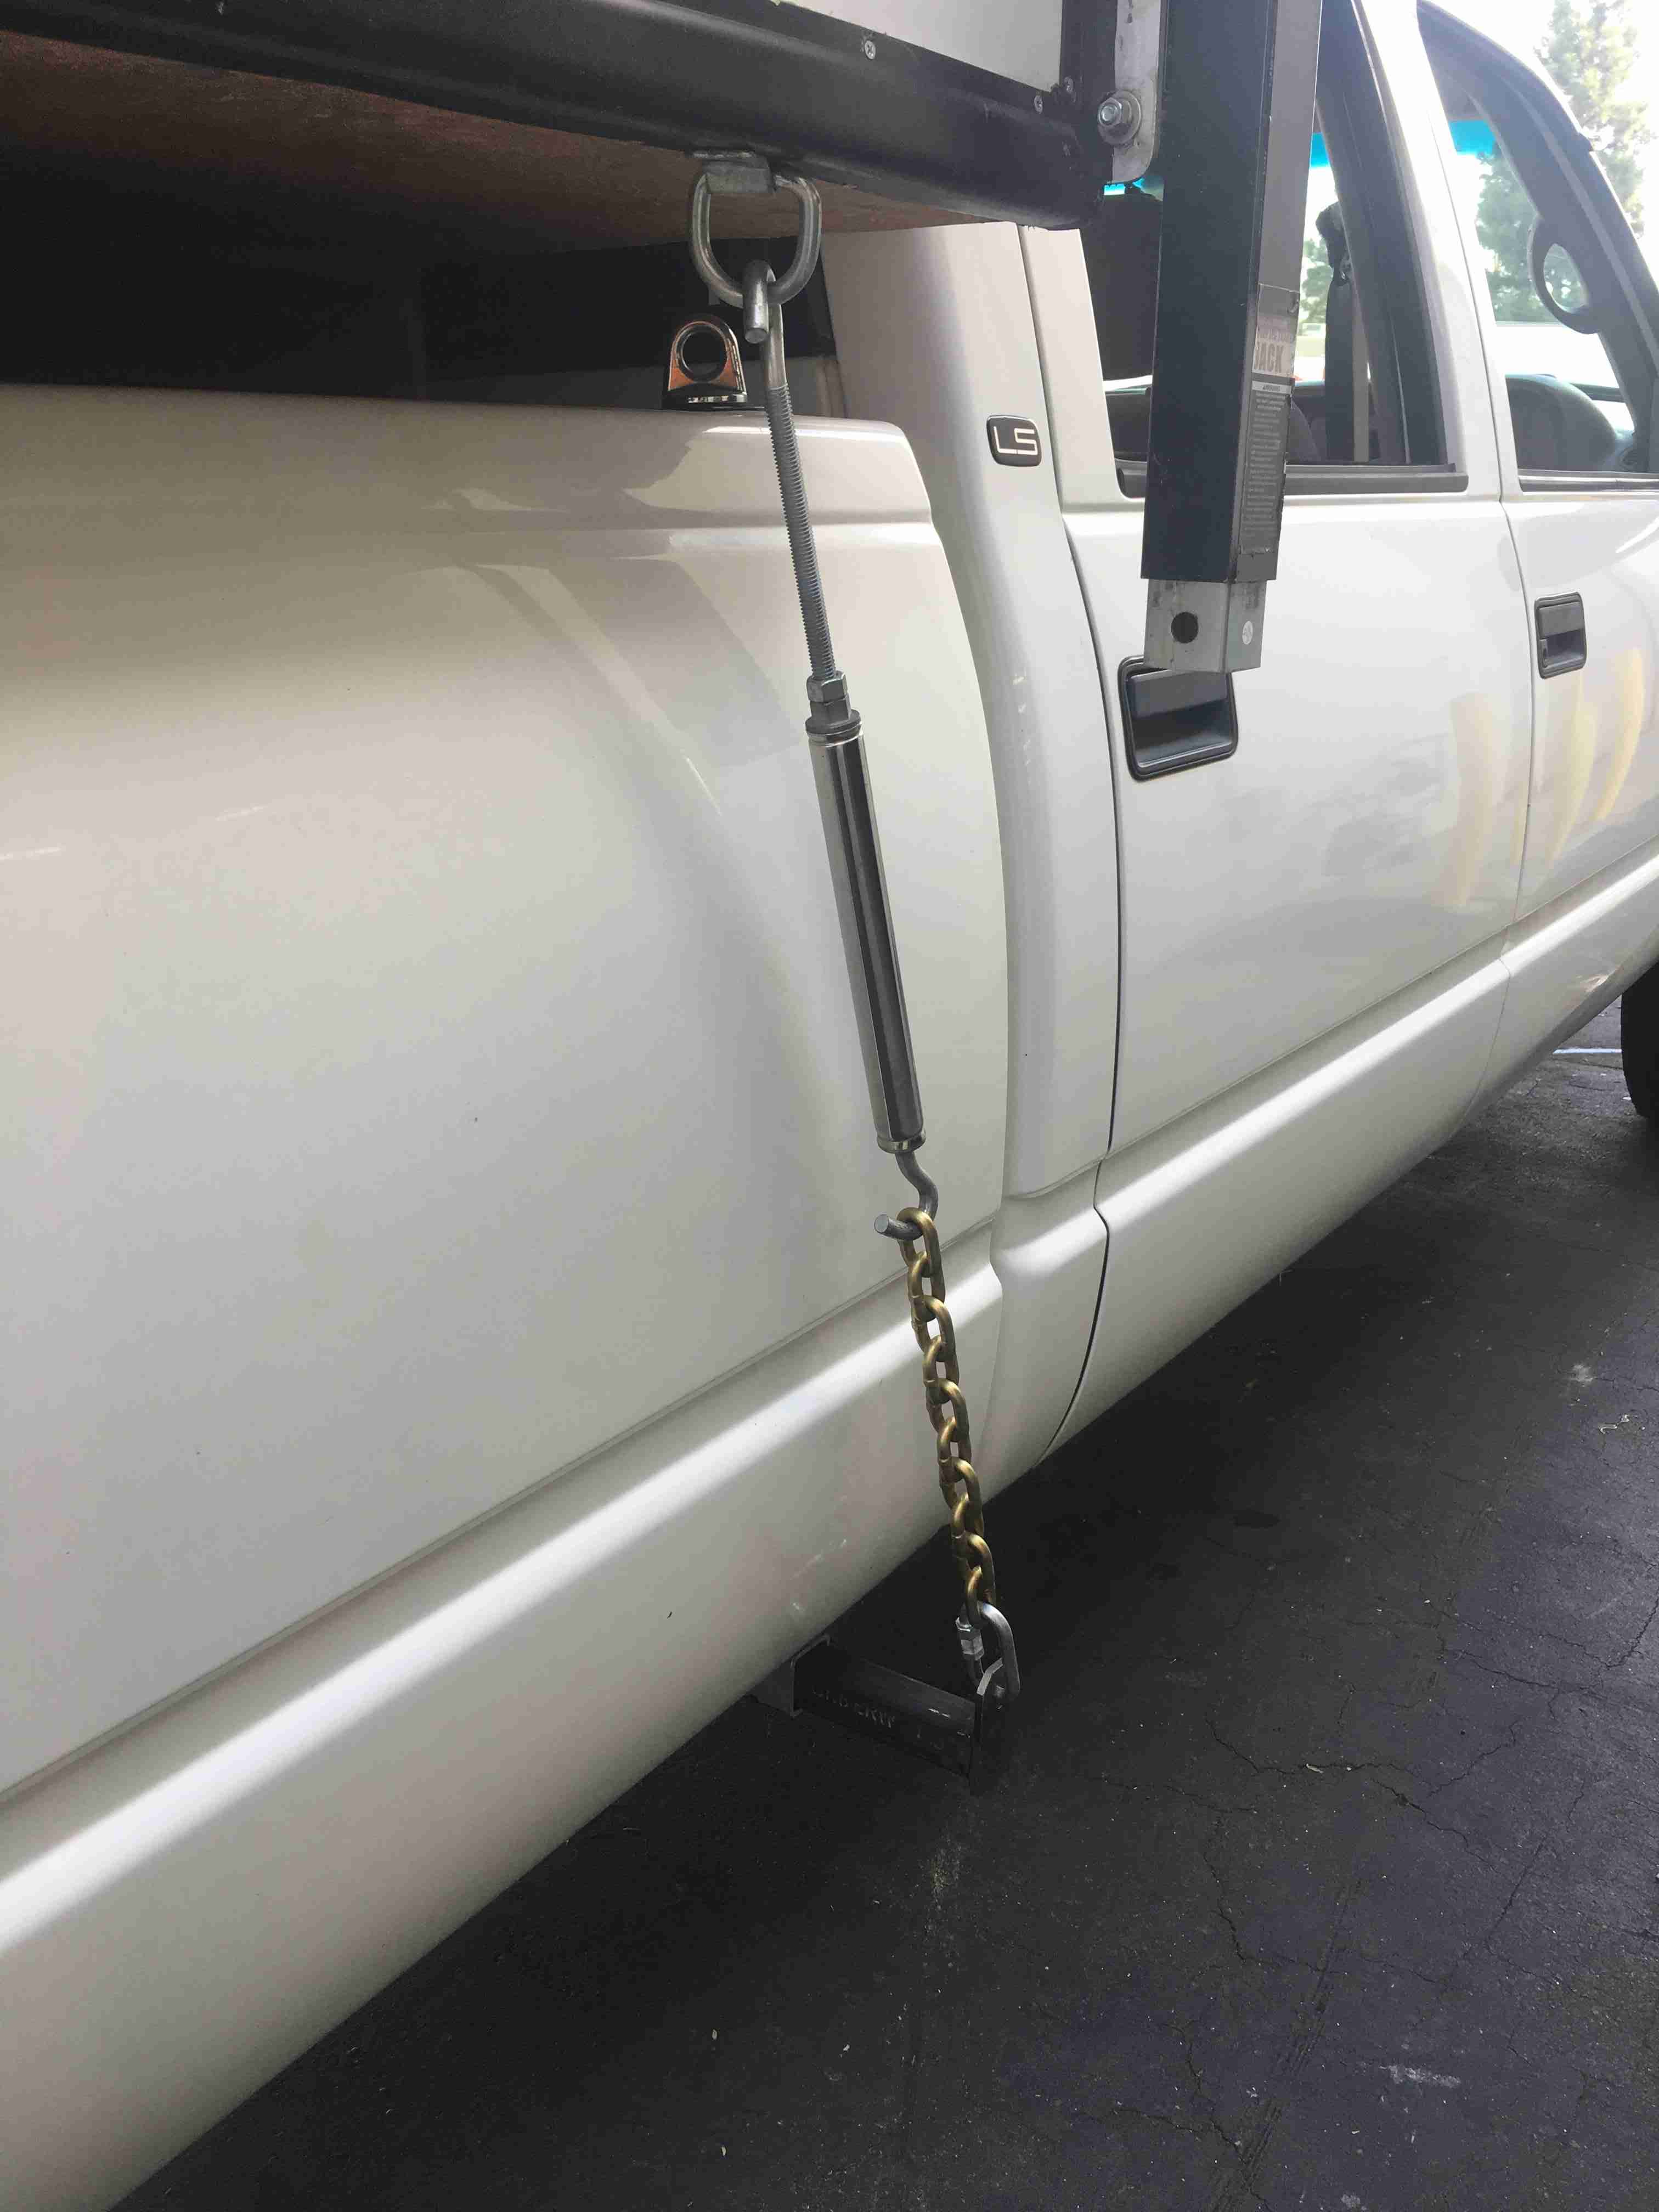
The last modification was the tie downs. Now camper tie downs for a full sized Chevy truck are readily available unlike the Tacoma. However, as I’ve built everything else for this rig I figured what the hell.
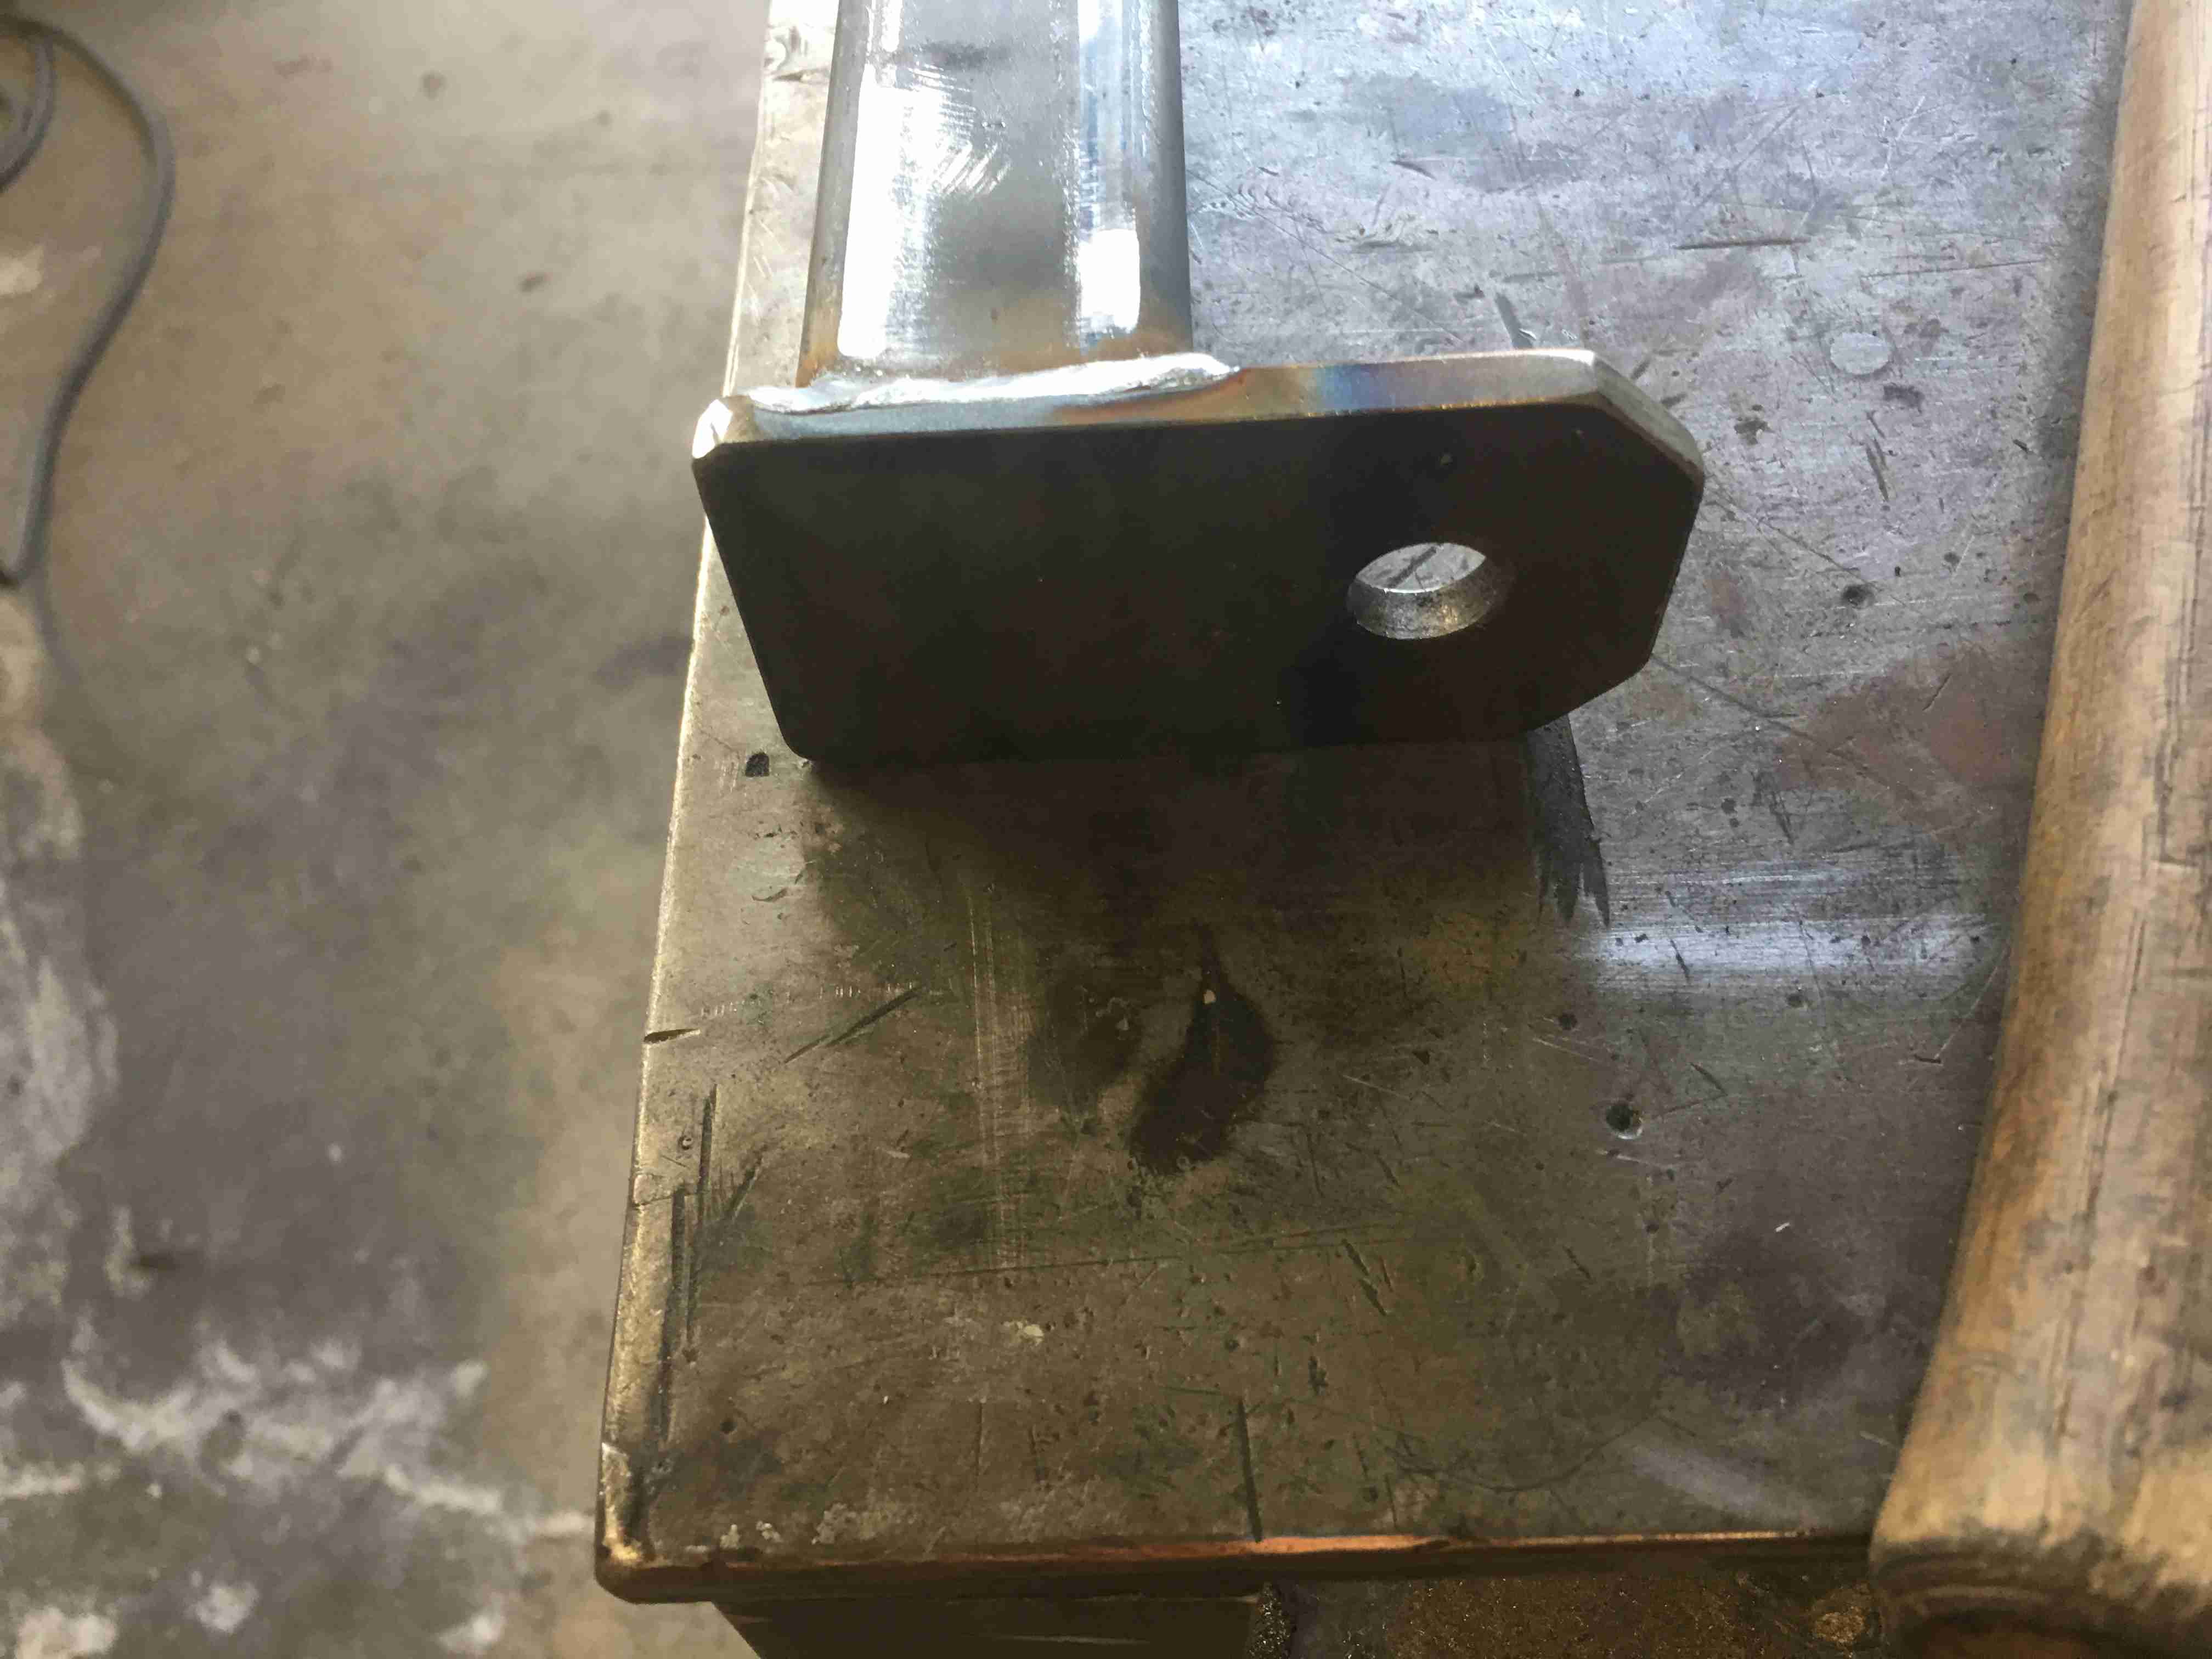
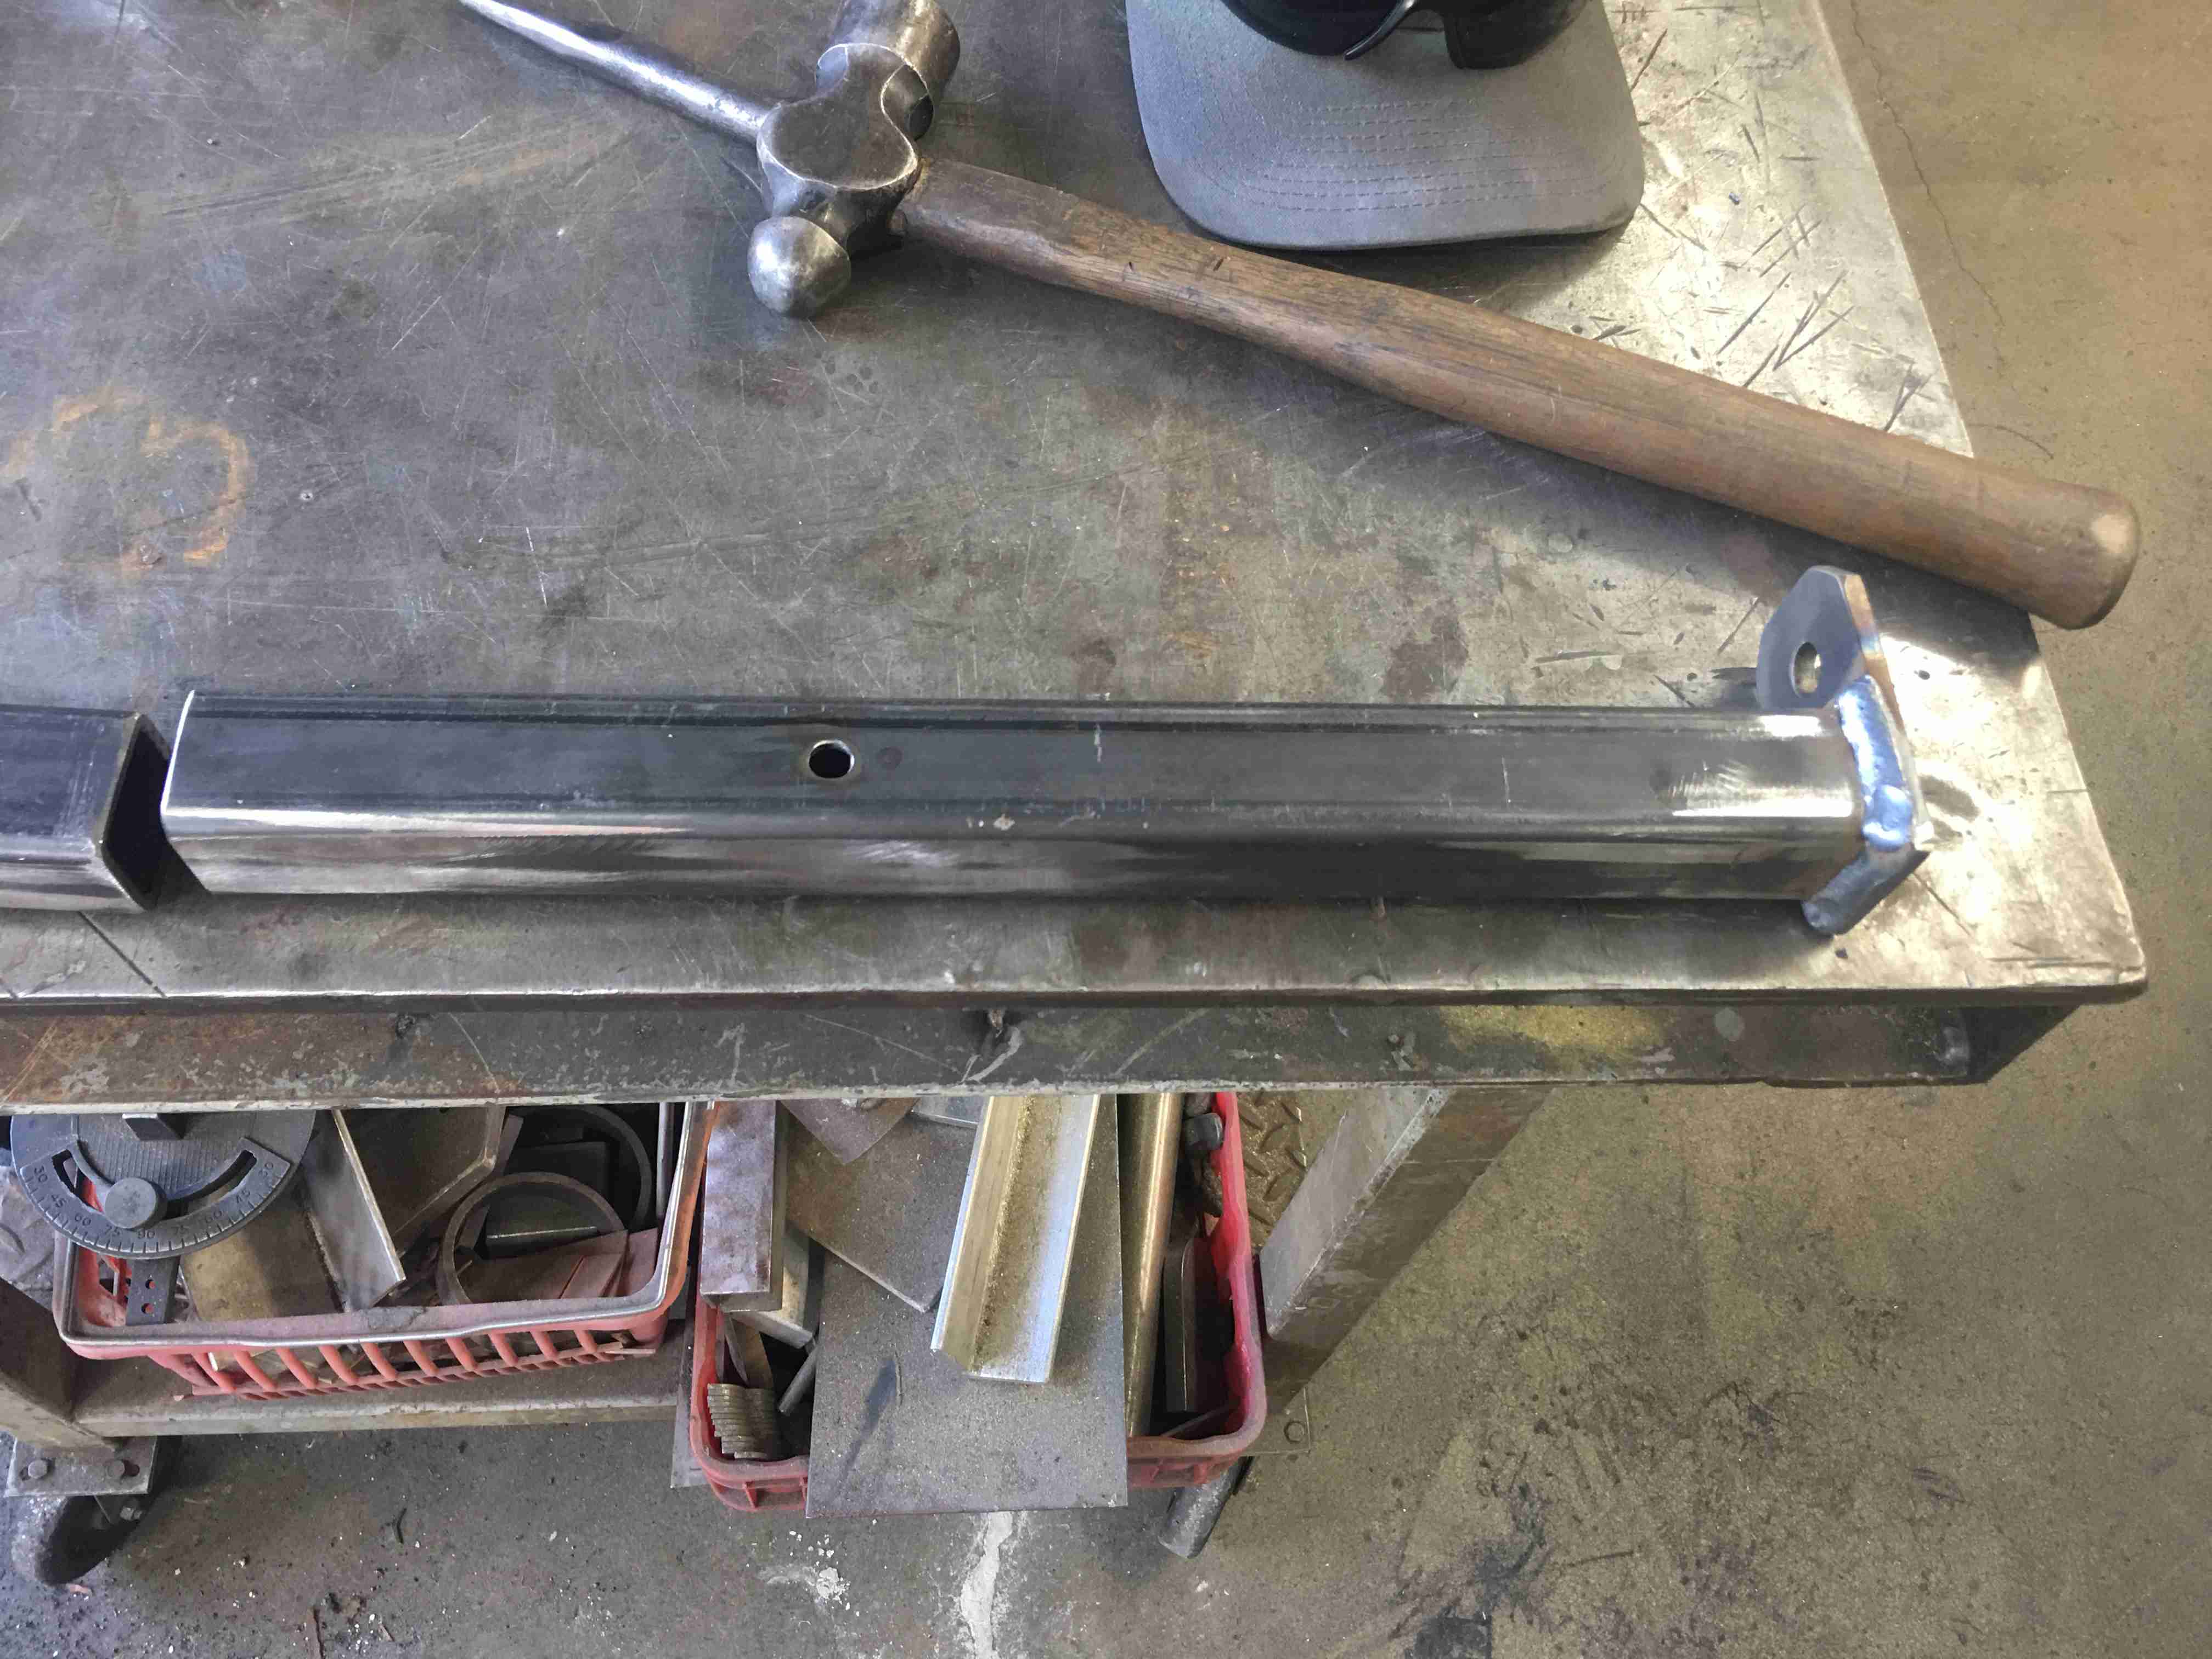
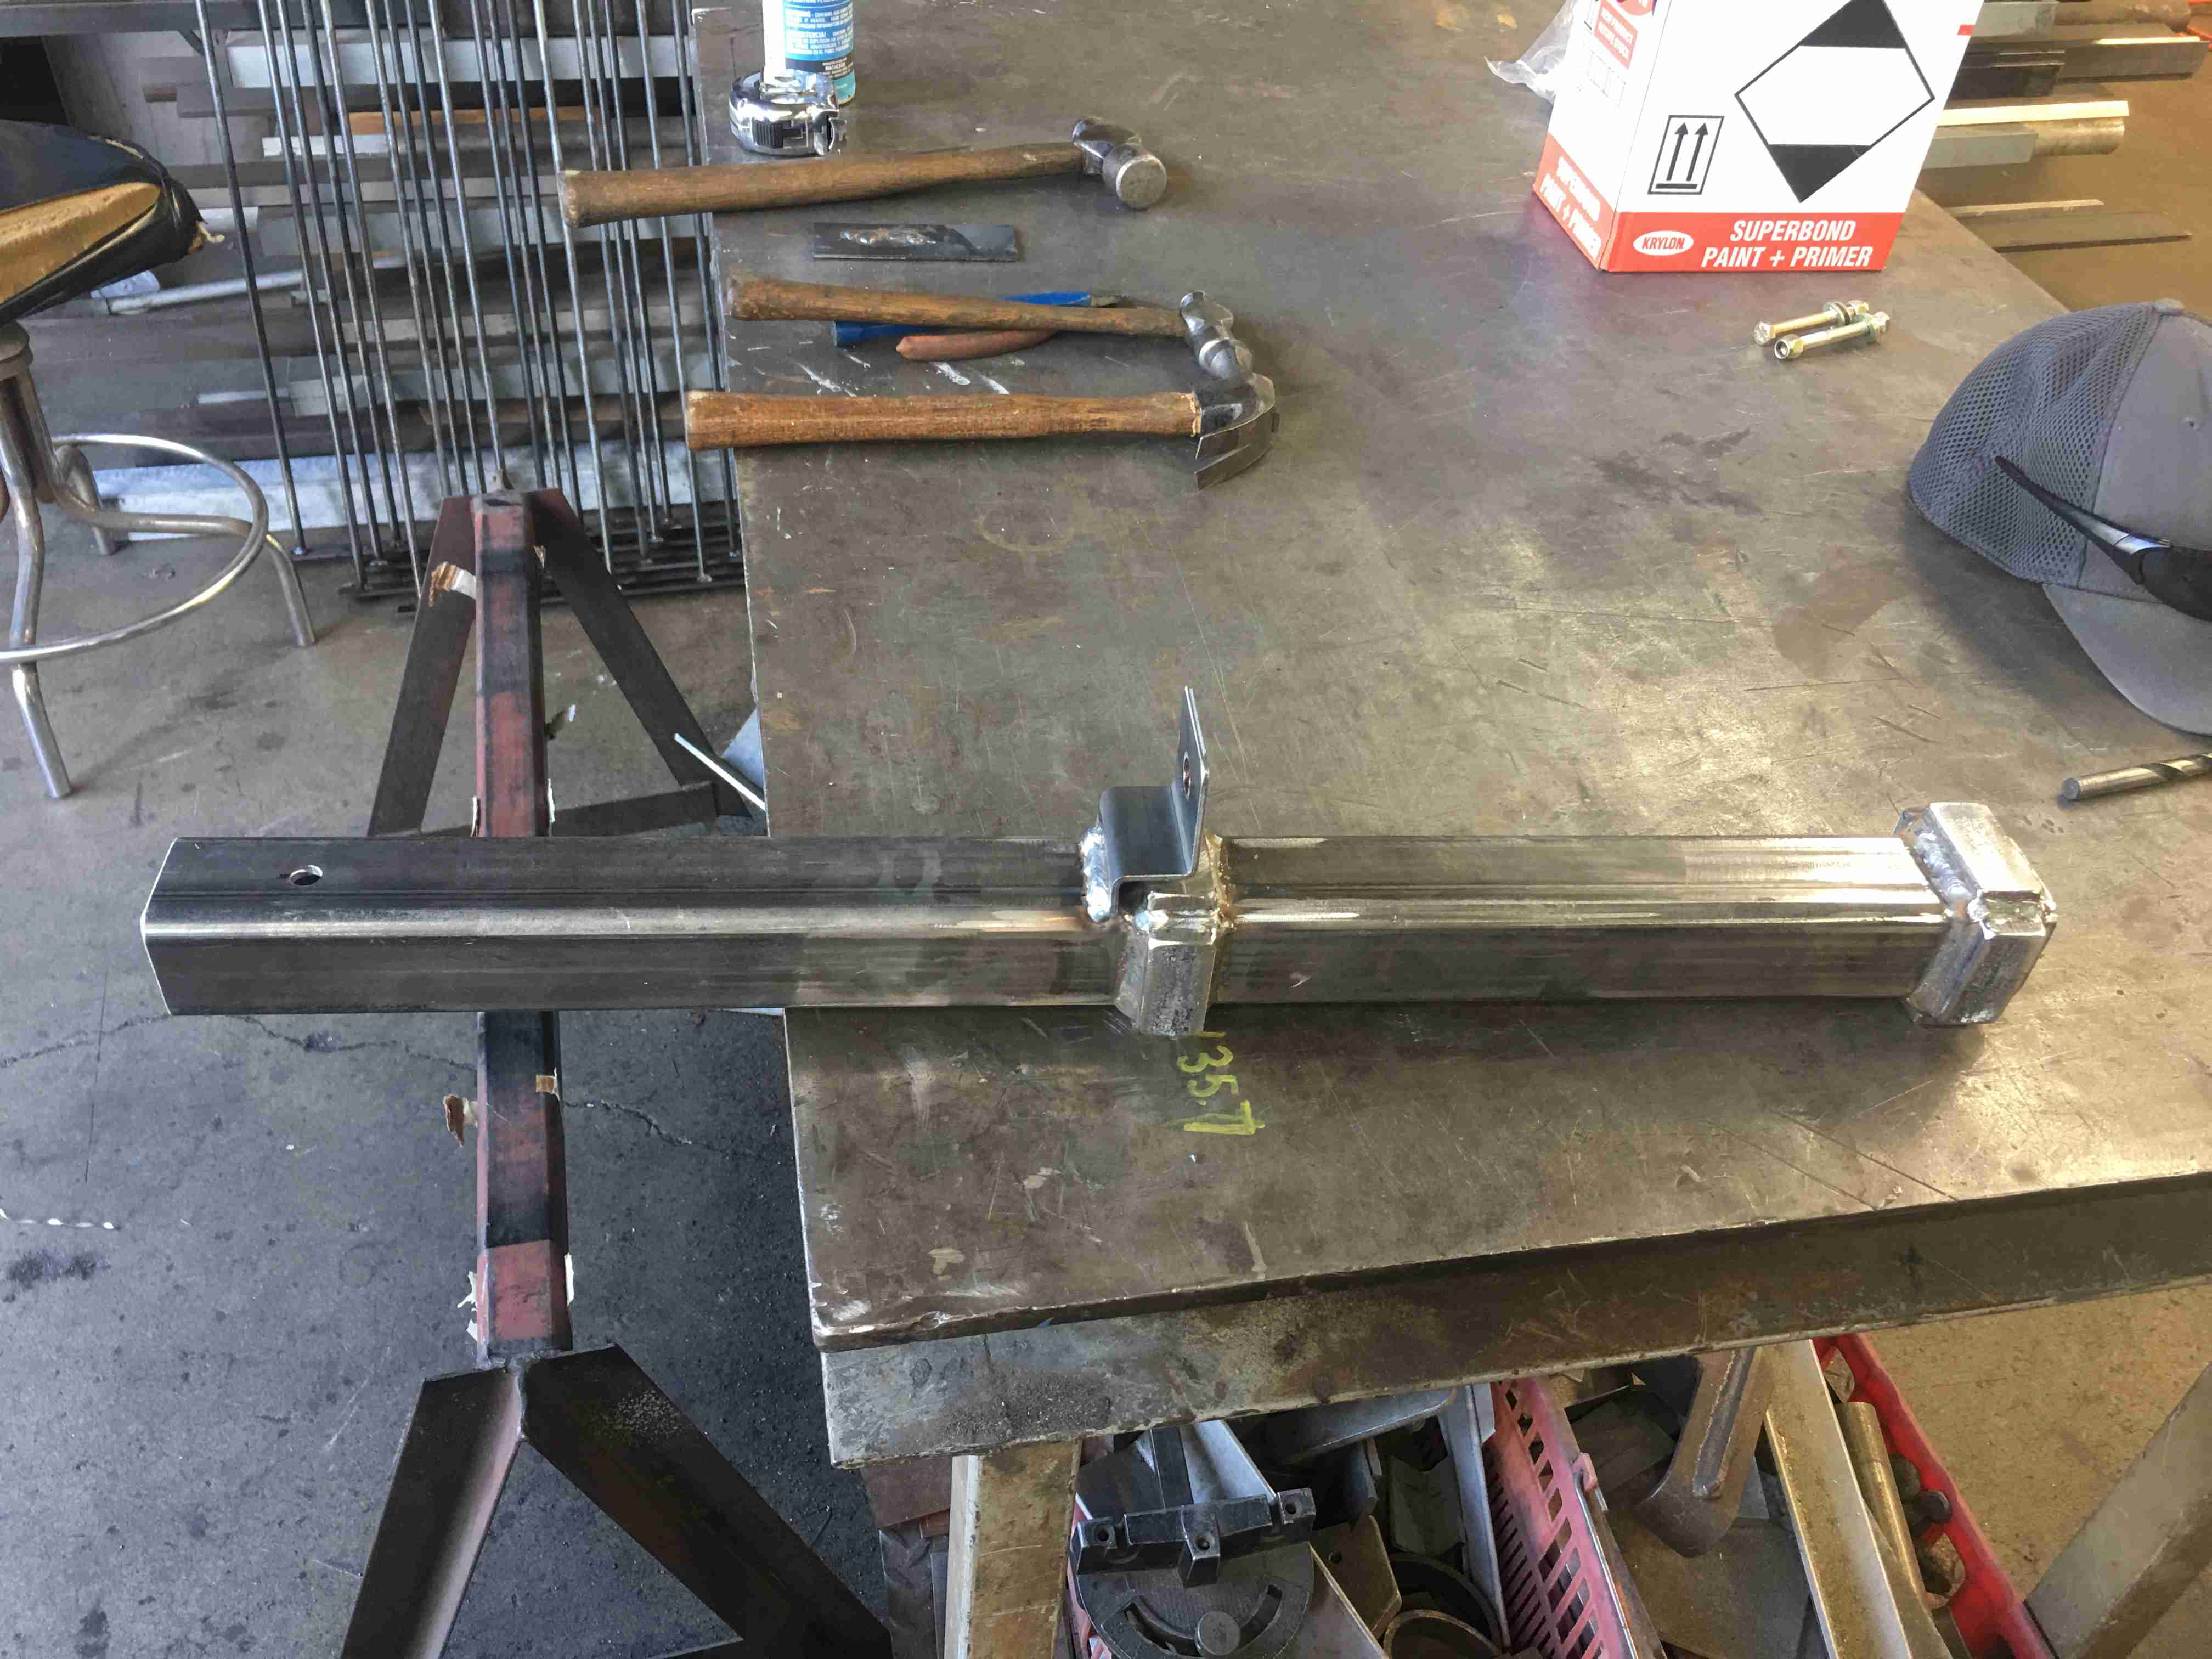
For the front mounts I made a mount plate out of 11ga steel and shaped it so I could mount through existing holes in the frame, don’t drill holes in your frame unless you have to! I used 2″ X 2″ X 3/16″ wall steel tube to create a slip tube for 1 1/2″ X 1 1/2″ X 1/8″ wall steel tube to fit inside. I did this so that when I’m not hauling the camper I can pull the smaller tube out and nothing protrudes out from the truck. On the end of the smaller tube I welded a 1/4″ plate with a hole to run the chain through.
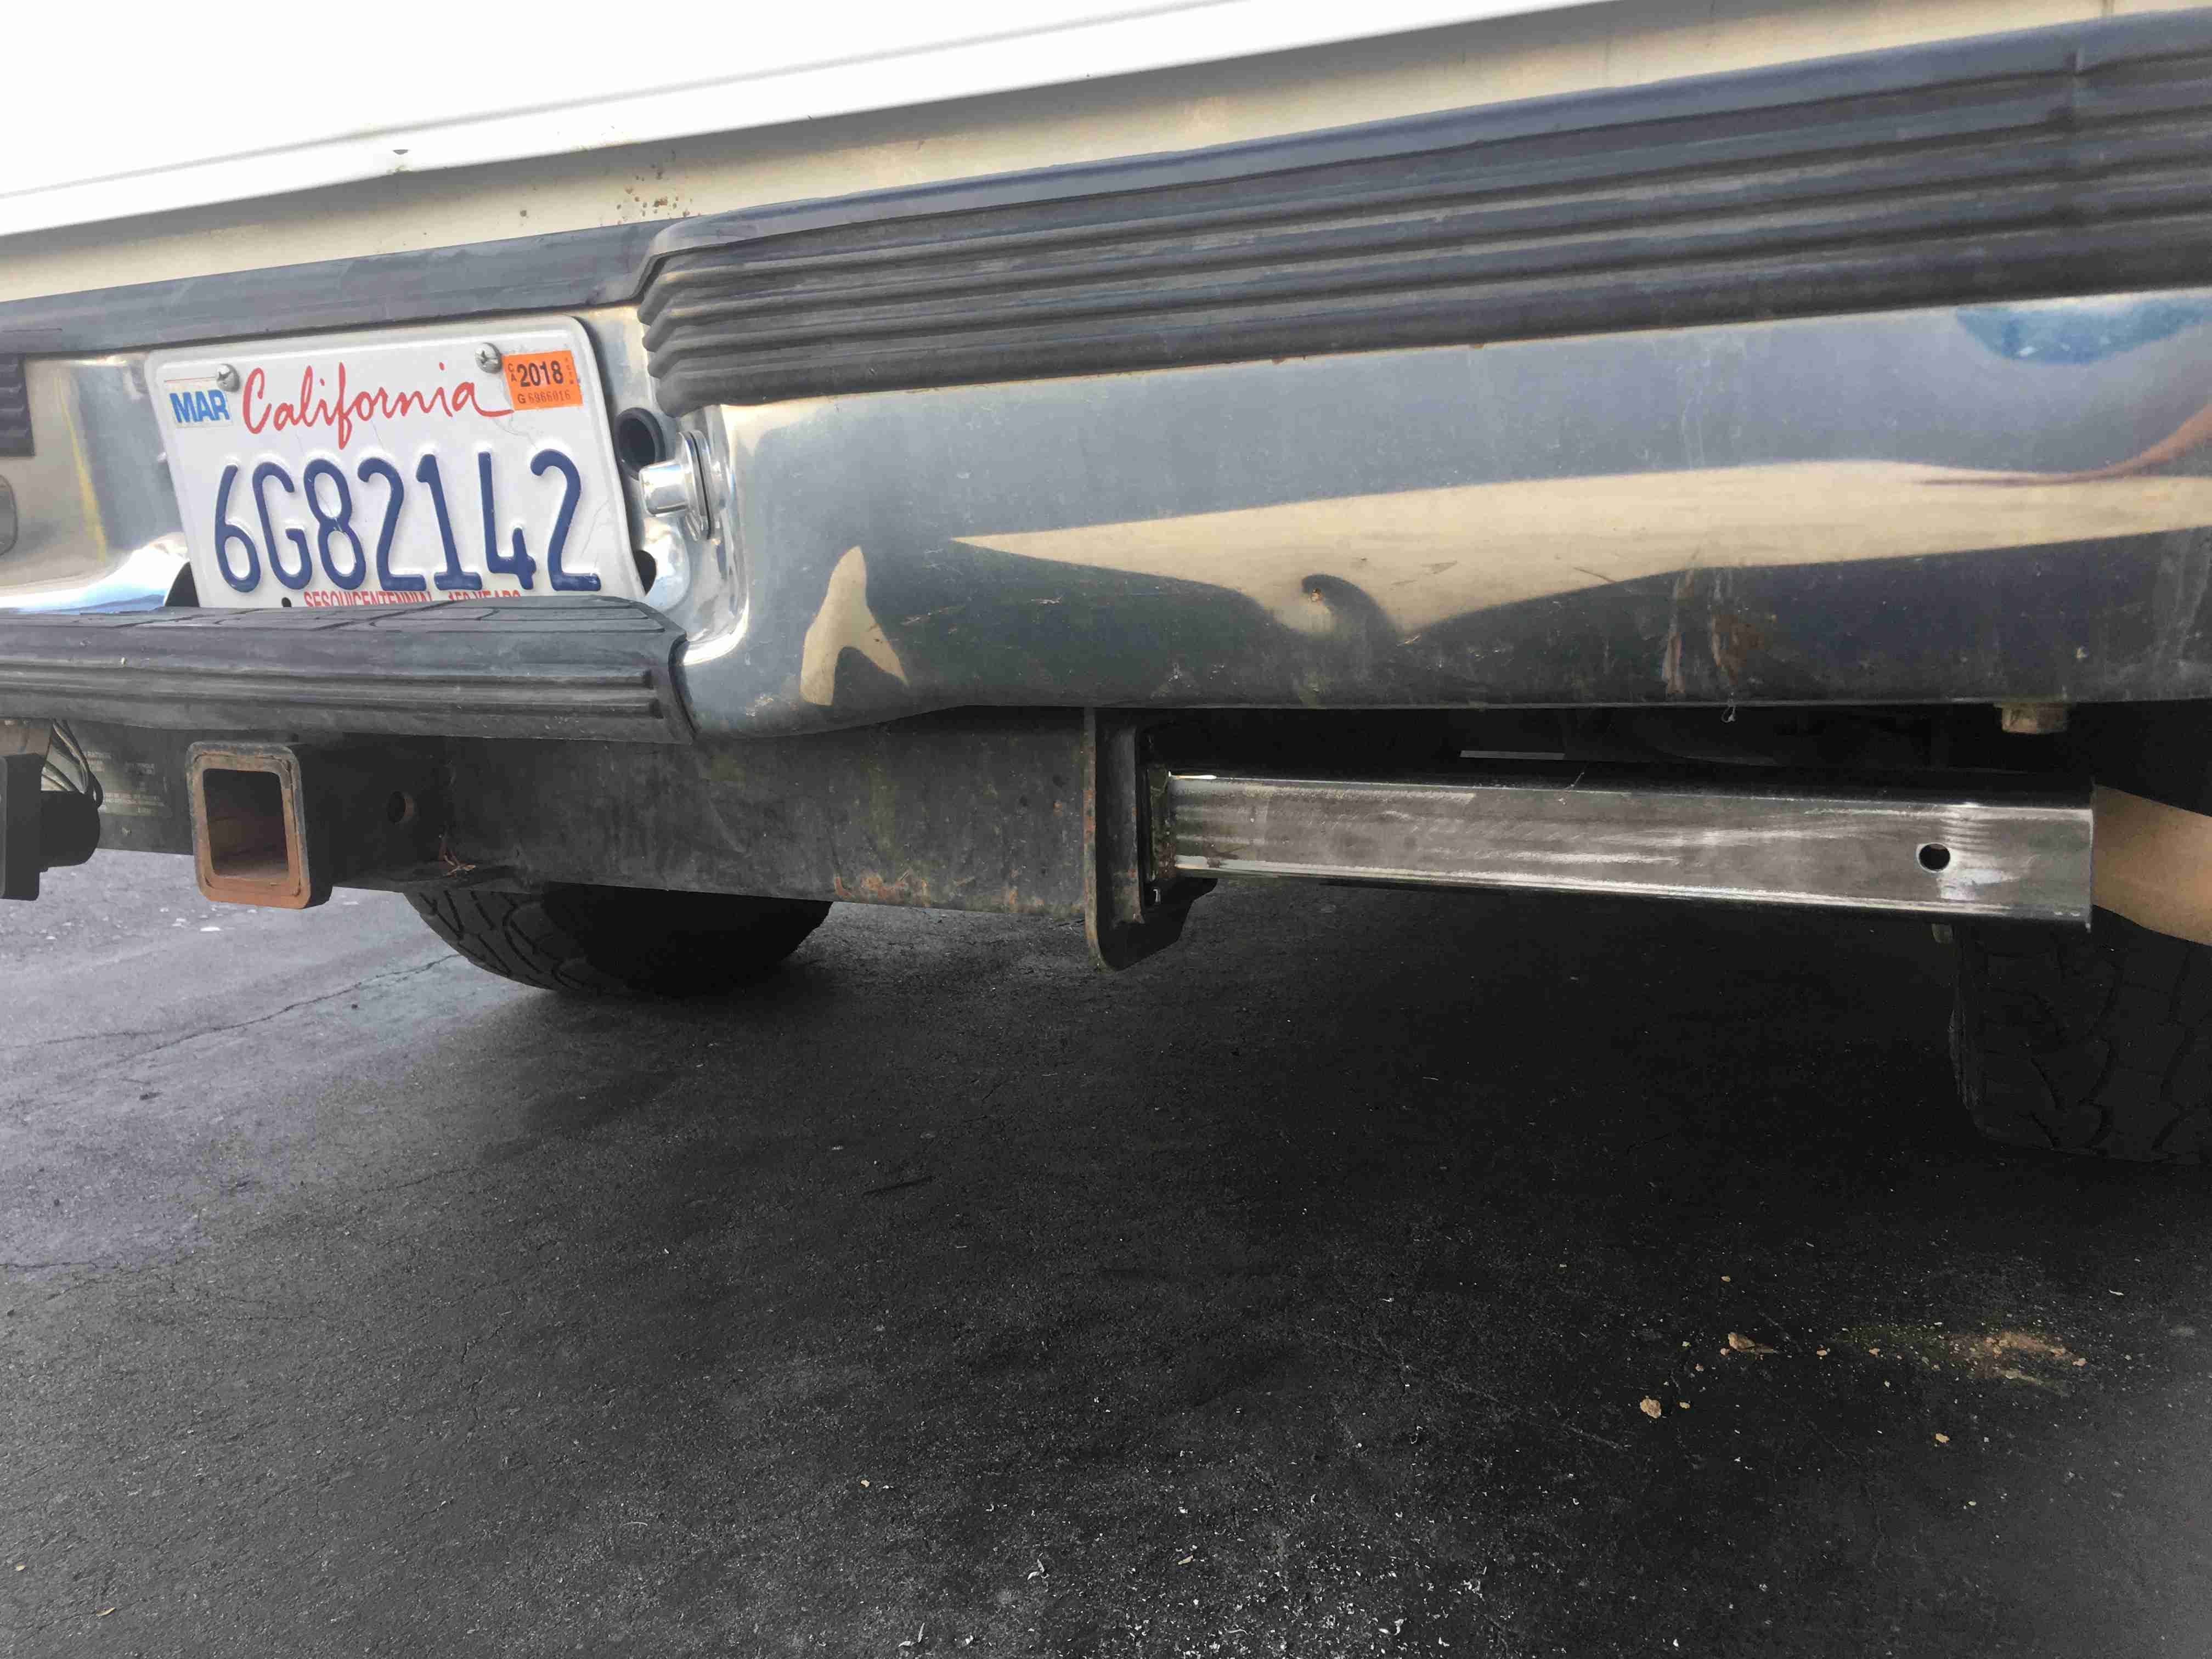
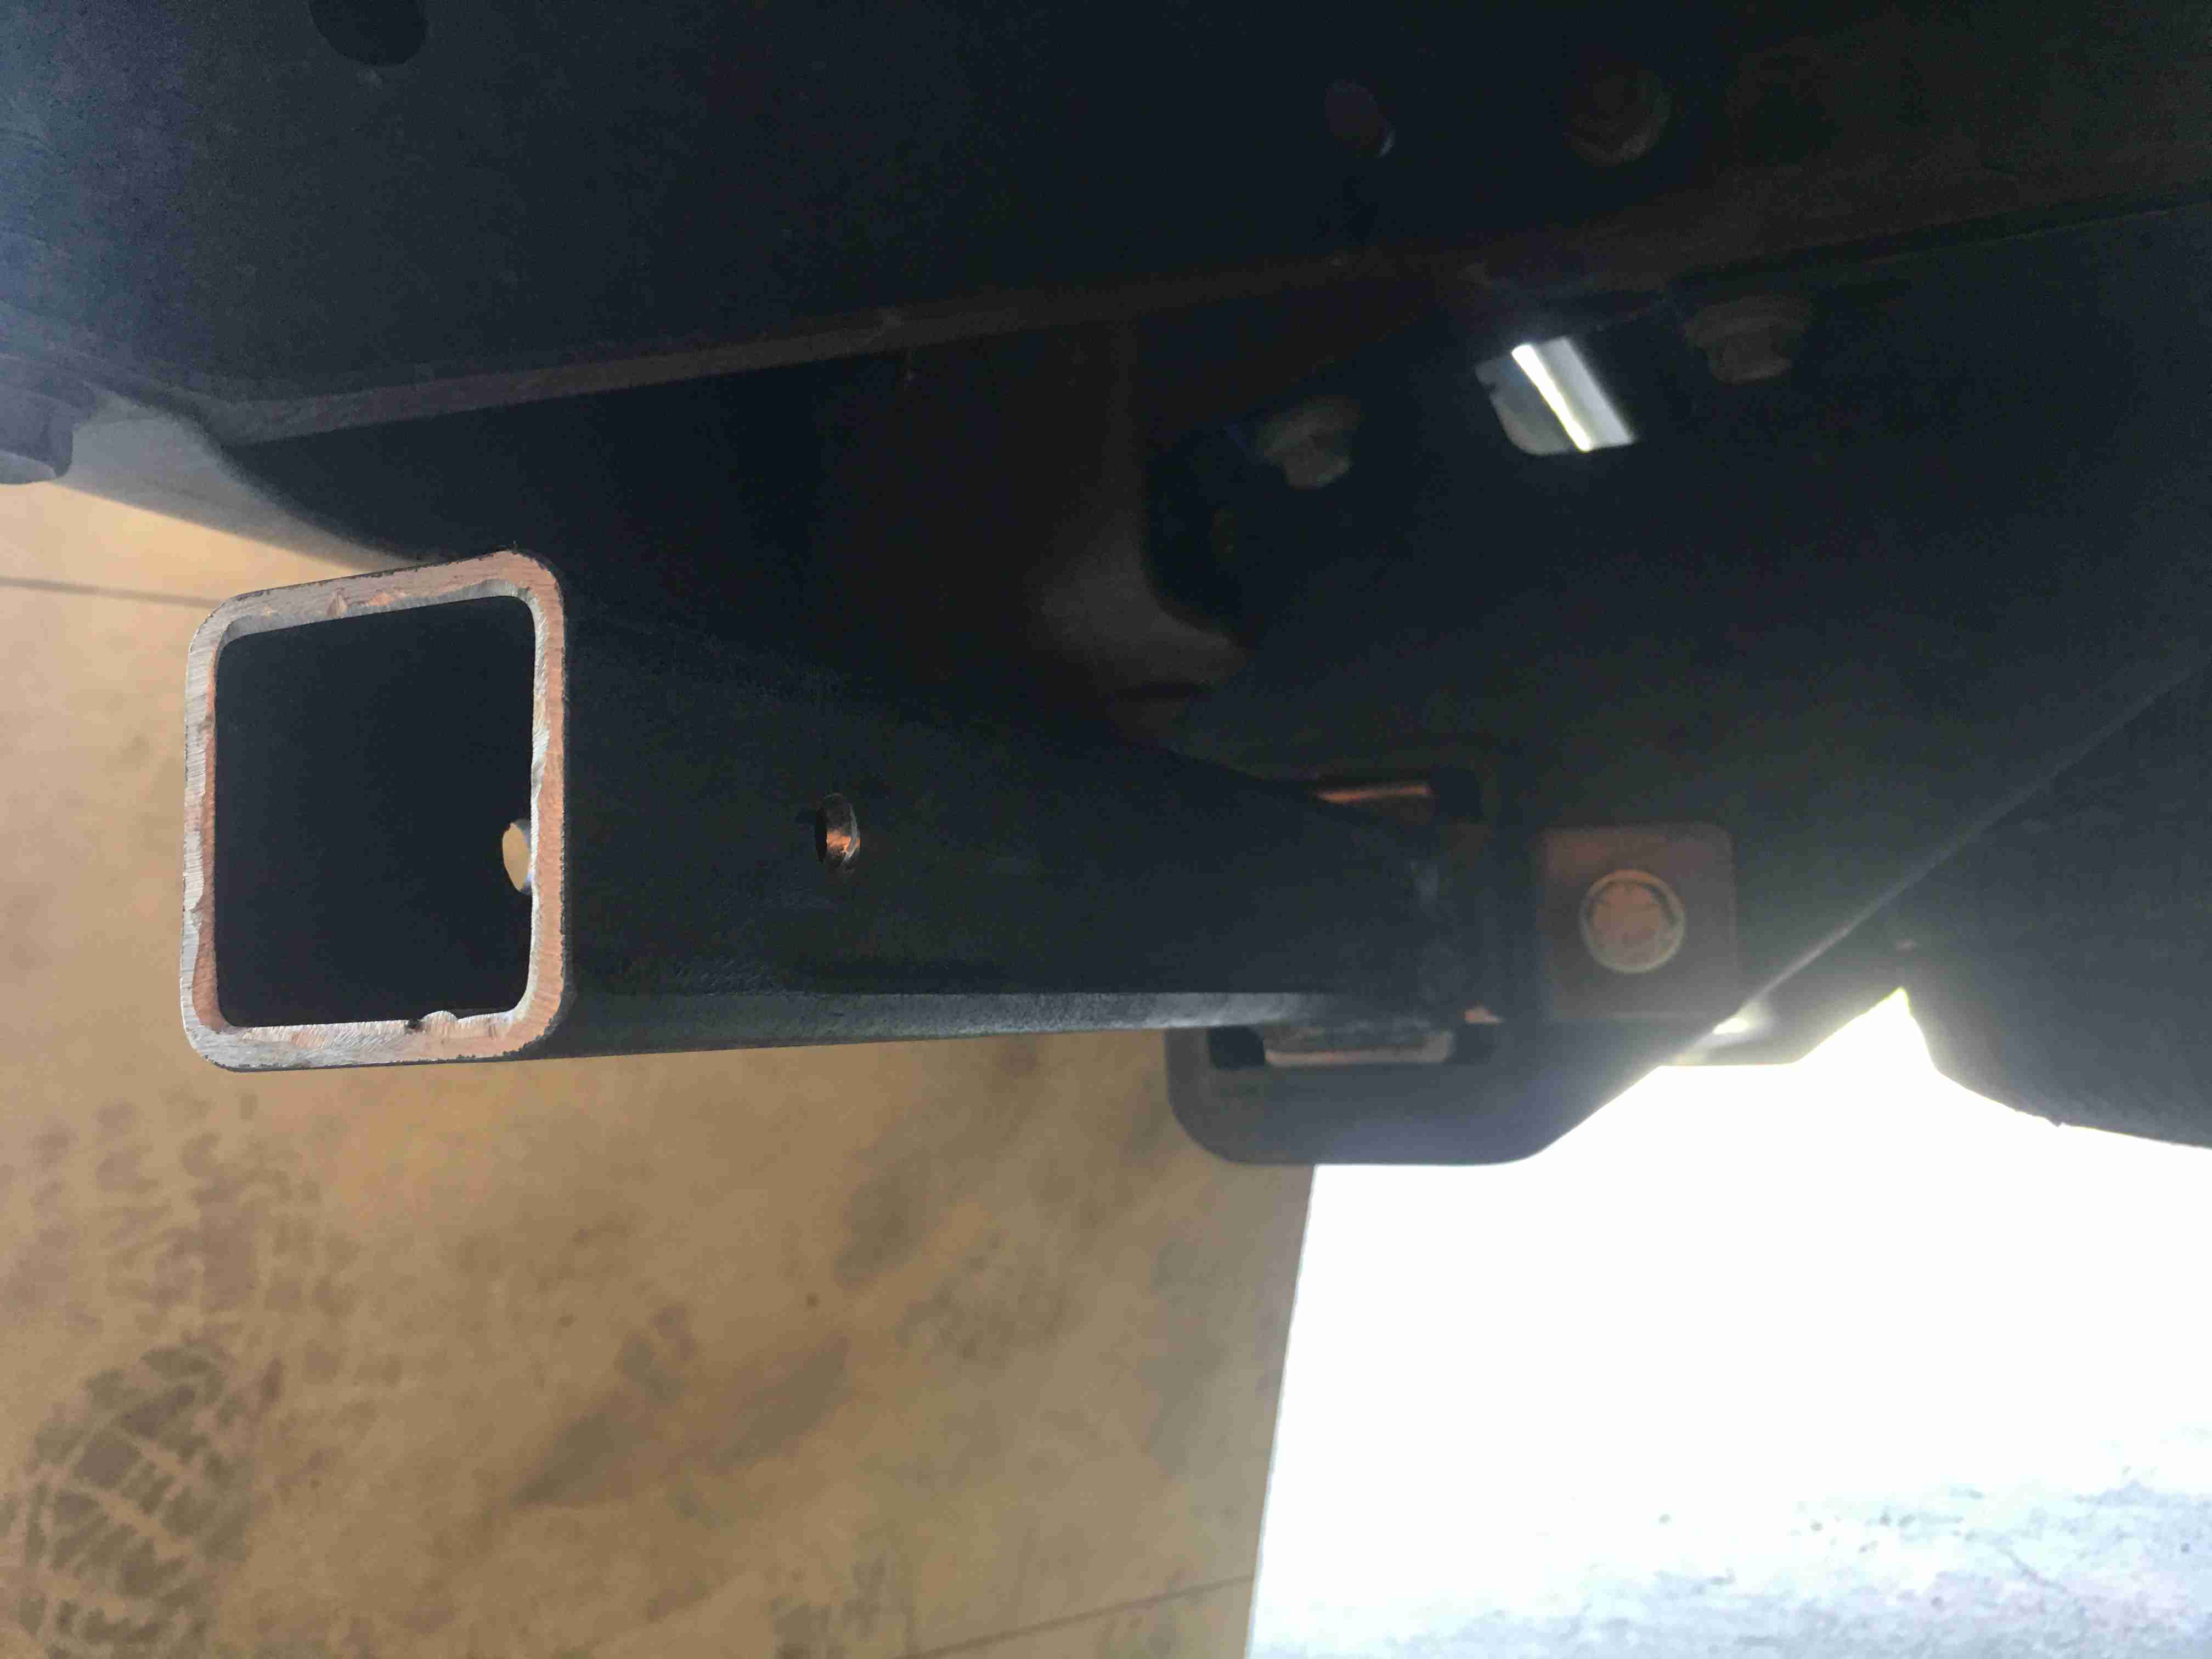
For the rear I used the tow hitch. The tow hitch on this truck has a 3 1/2″ tube that runs from left to right that I could slide a tube into. As I’m using 2″ tube I had to add spacers, the inside dimension of the big tube on the tow hitch is 3 1/8″ so I added 1/2″ X 1″ flat bar pieces in two places to give me 3″ and an 1/8″ of play. The caming action of the tube inside the tube would provide the strength all I needed was a plate to bolt to the hitch to keep it from sliding out. I bent a piece of 1/8″ X 2″ flat bar to return back to the hitch and drilled a hole to run a bolt. I then added the smaller 1 1/2″ X 1 1/2″ tube with 1/4″ plate with hole similar to the front. I know my description here sucks, hopefully the pictures help make it clear.


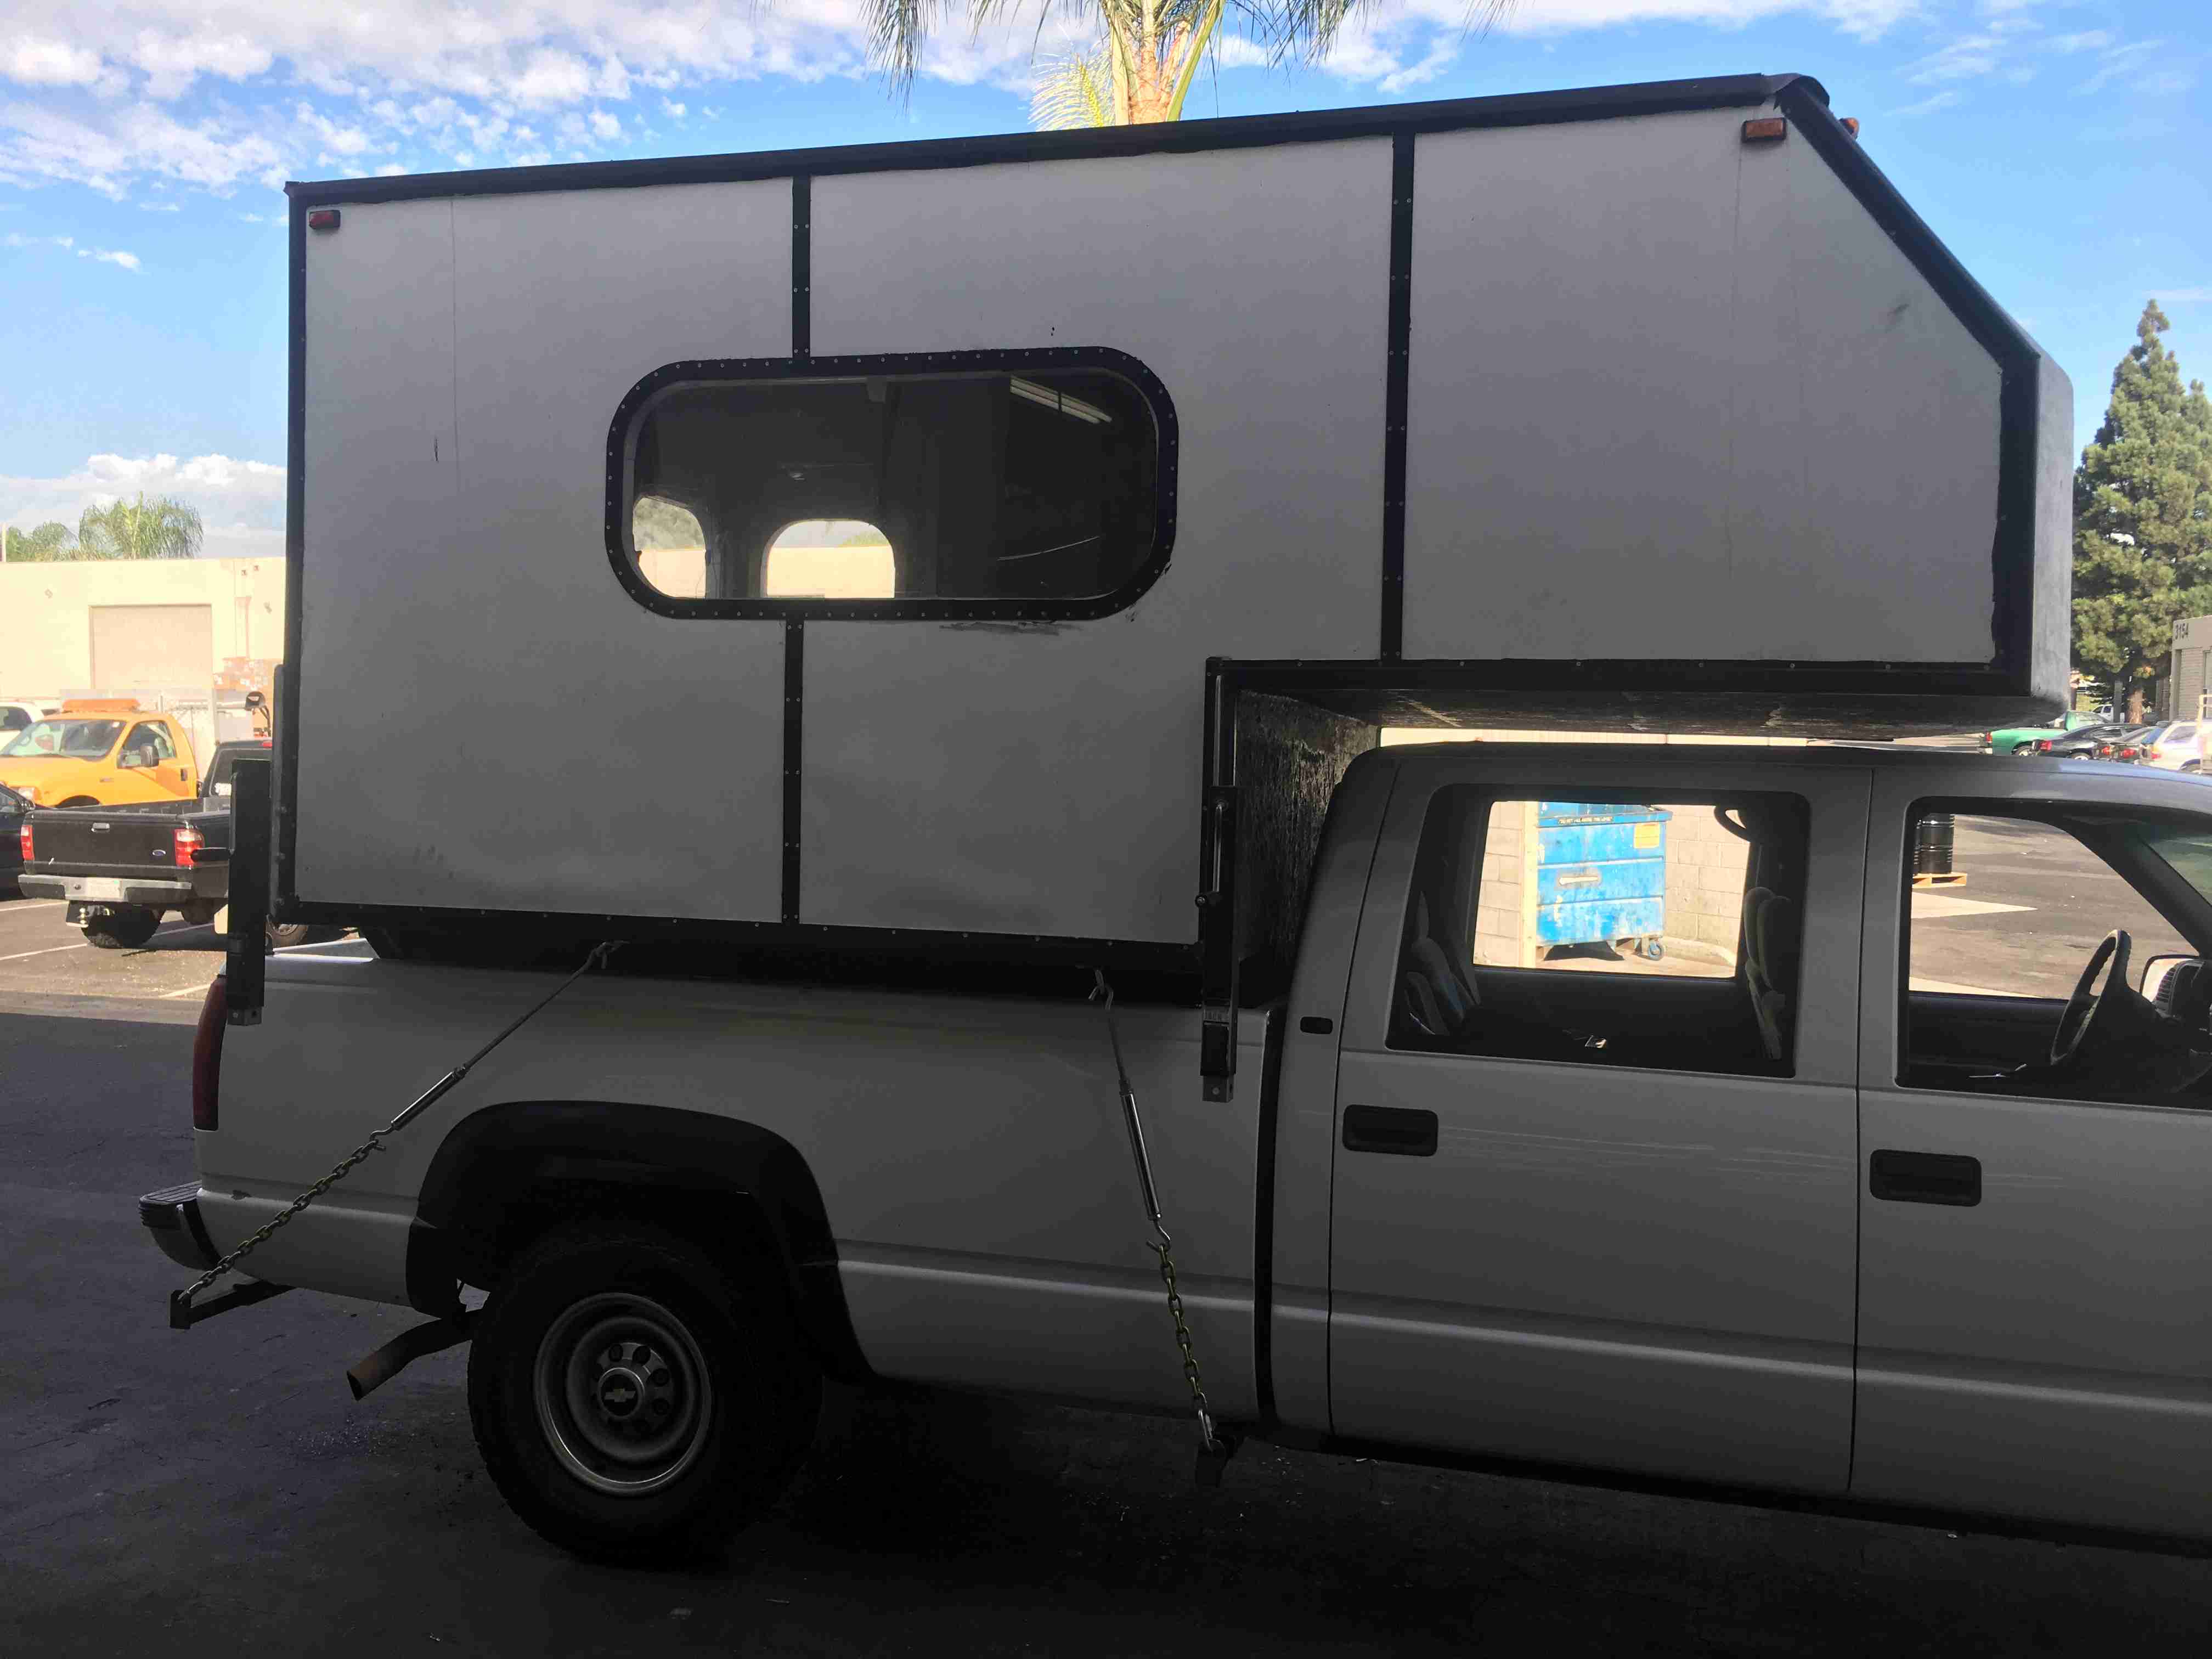
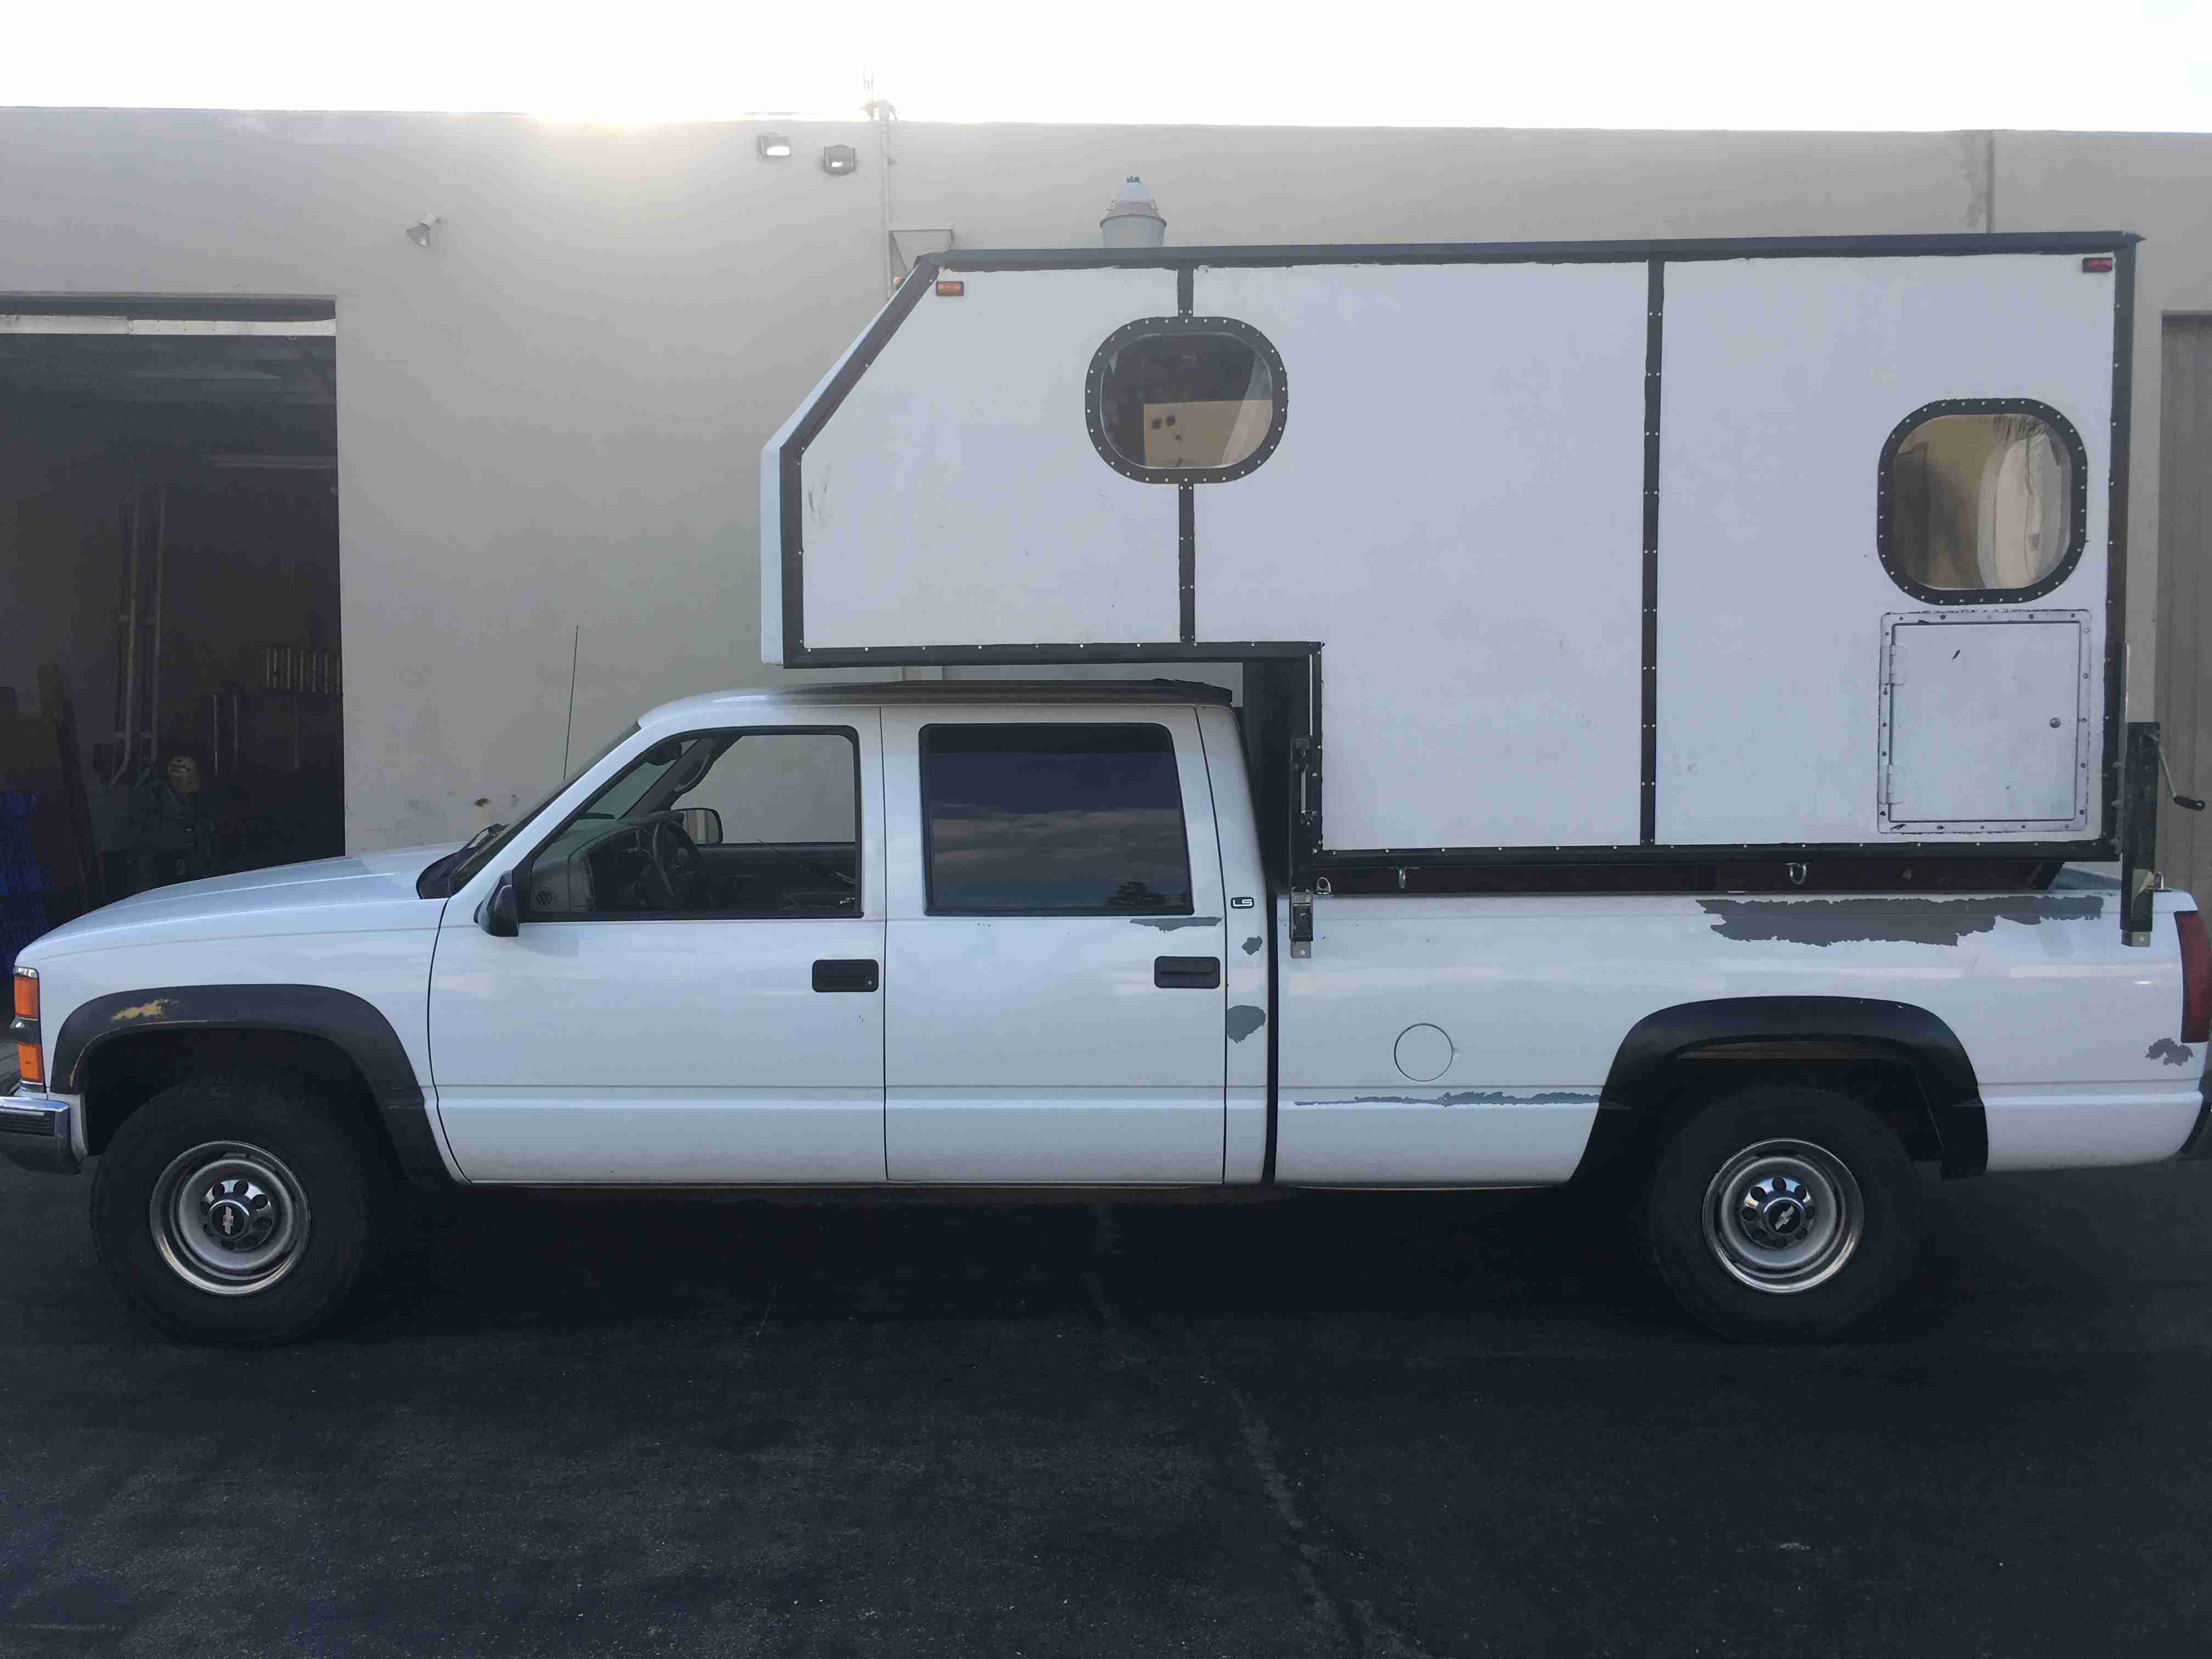
So all in all I believe it is functional and safe now. I actually drove back and forth to work one day with the camper without the tie downs and it was not fun. I only live 3 miles from work and take all side streets but still not something I want to repeat. To me it looks funny now, like it’s obvious the camper wasn’t made for this truck. Aside from scrapping the whole project and starting over or doing some serious modifications it will always look funny to me. I mean, it’s functional still, I’ve just put so much work into this project I want it to look good when I’m done. I’ve already compromised on looks a few times. I think most people wont notice but I always will. At this point I’m not starting over so it is what it is…
0 Comments