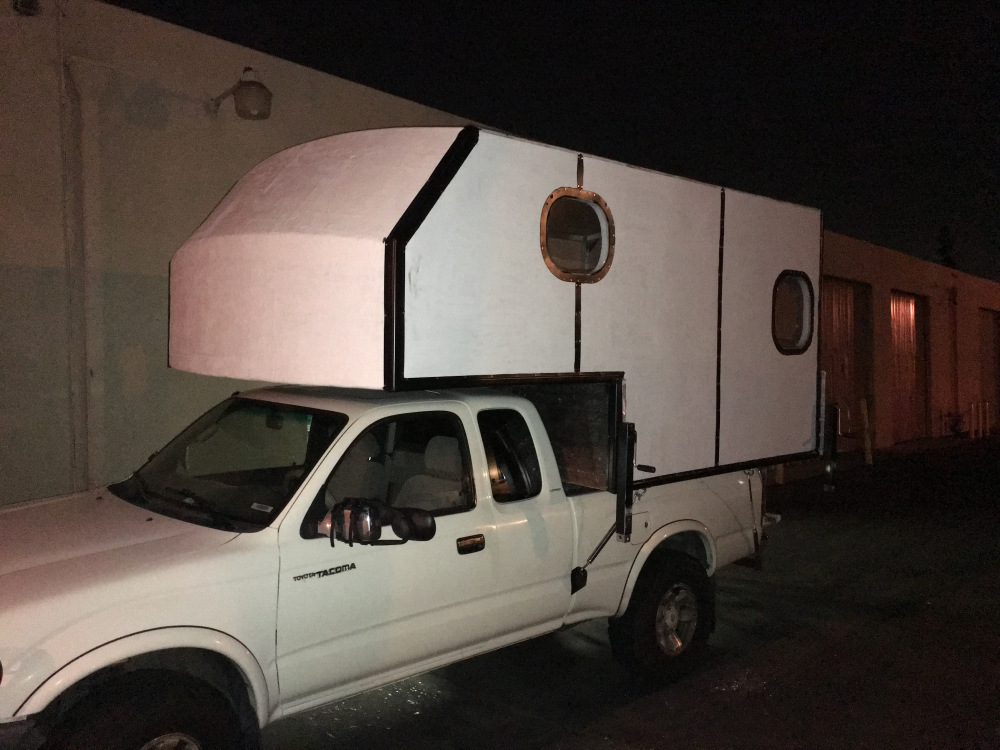
Still working away, over the last few weeks I’ve been working really hard to get this thing done. Looking at the calendar I only have a little over a month to get what I can done before I have to be back in Colorado for a race. Since my last post I got a lot of little things done to the exterior.
I finished putting trim on all of the seams and cleaned up some of the excess caulking.
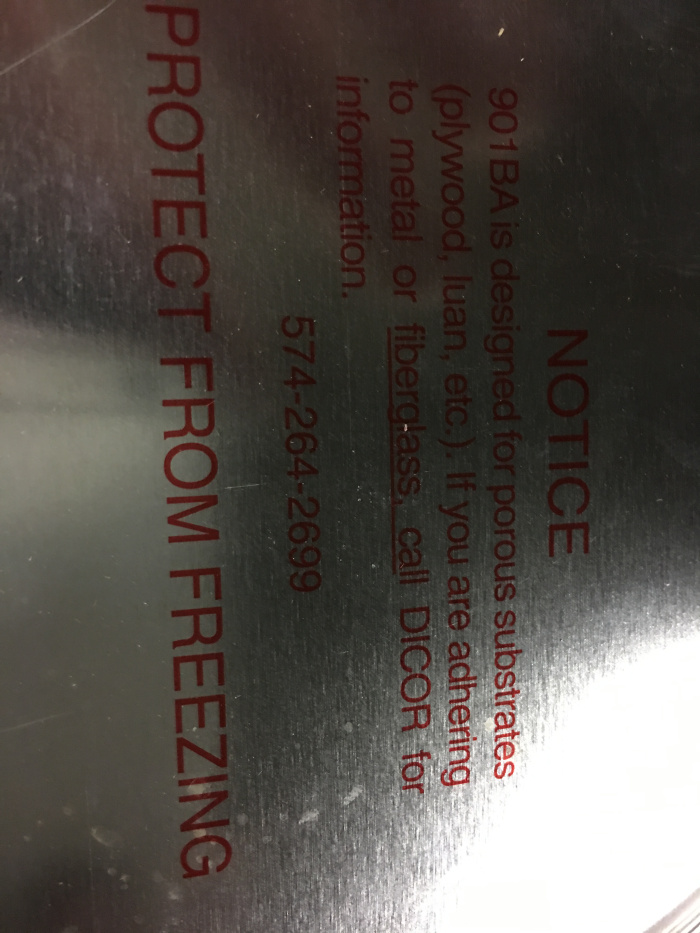
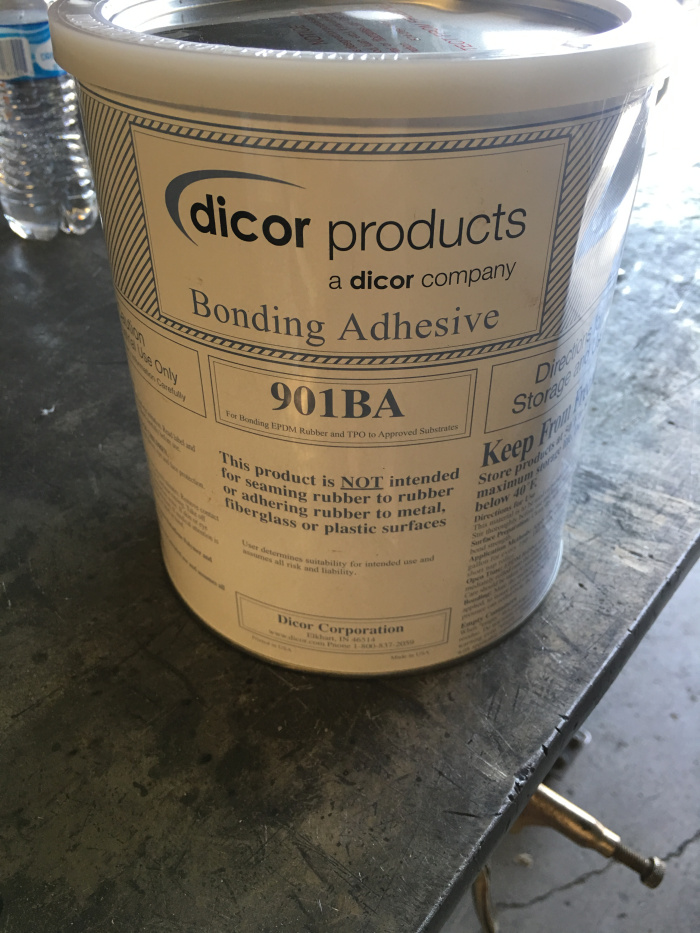

For the roof I got a sheet of Firestone EPDM from Amazon. It came in a dark grey color, I tried to find a white or at least a lighter color but I couldn’t find anything so dark grey it is. I ordered the glue and some self leveling caulking at the same time. I didn’t know much, or anything really, about EPDM before I started this project but all of my research pointed to this as one of the best products on the market for RV roofing. I did talk to a guy at an RV repair shop that said they had a PVC product that they used and said it was a better product but i never looked into it because I had already installed this. If you’re looking to roof you camper or RV you might look into the PVC but really there’s a lot of good reviews on EPDM.
One of the biggest drawbacks to EPDM is that most of the regular glues and caulking don’t stick to it and the stuff that does is a little expensive, but then again the good stuff usually is. The glue I bought stuck really well to the plywood but in the places where I lapped over the top with fiber glass not so much, in fairness it dose say right on the can that it won’t stick to fiberglass. I put a bunch of butyl tape and an aluminum trim piece to seal up where it lapped over fiberglass.
The roof was really easy to lay down, I just used a regular paint roller and a disposable paint tray (it says the glue cleans up with water but ain’t nobody got time for that). I laid the EPDM over the camper in the sun on a moderately warm day to let it settle and to flatten out the creases, but waited till later in the day when it was in the shade to glue it down. I found a bunch of videos on YouTube with detailed step by step instructions. Basically I pulled it back half way and glued one side then the other.
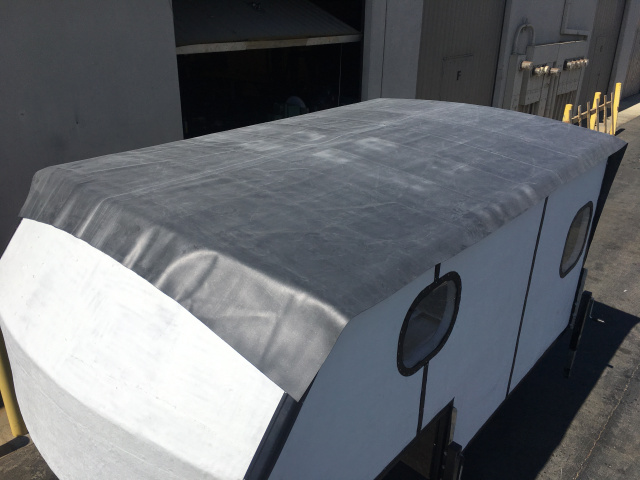

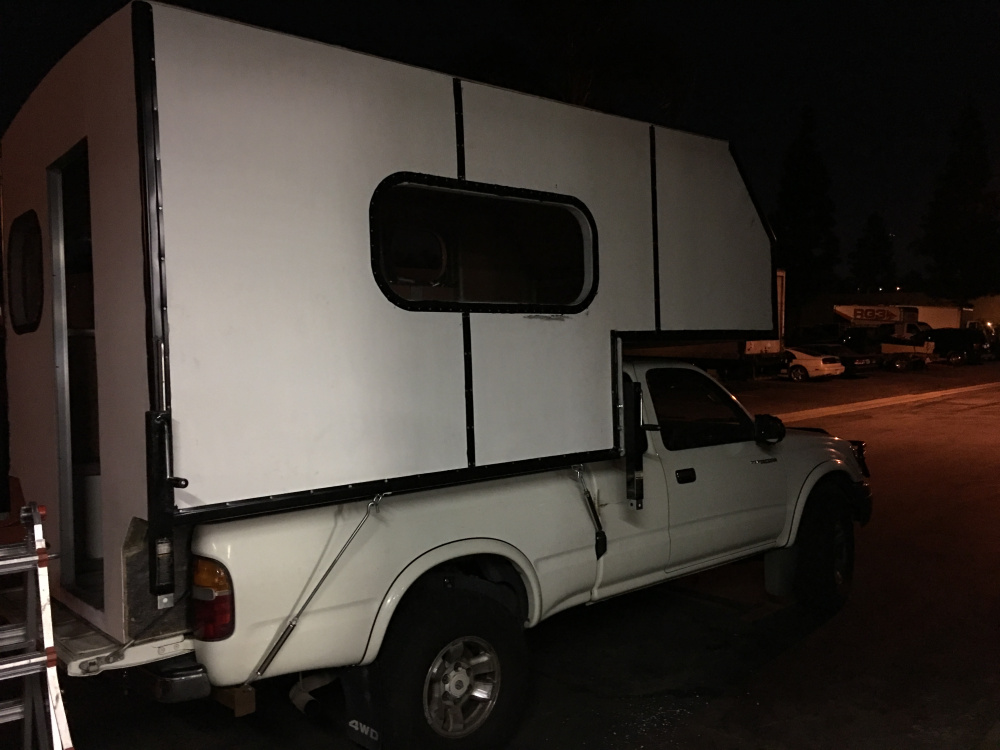
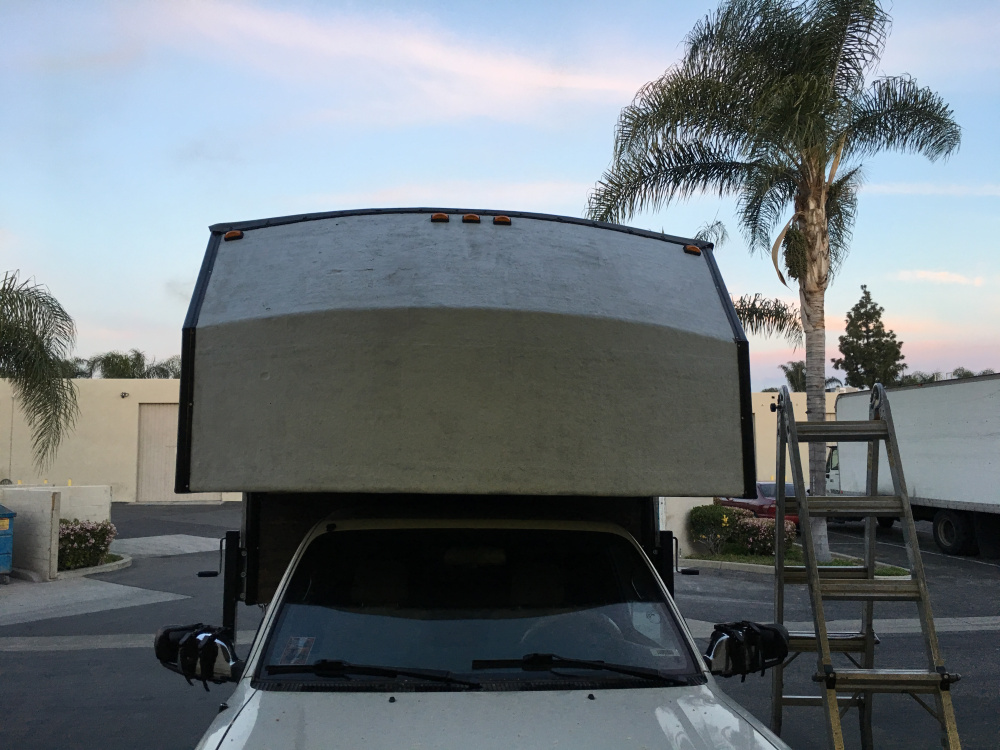
I installed aluminum trim on the front and back to hold down the edges of the membrane, and rain gutters down the two sides. All of trim has been made out of .090 aluminum.
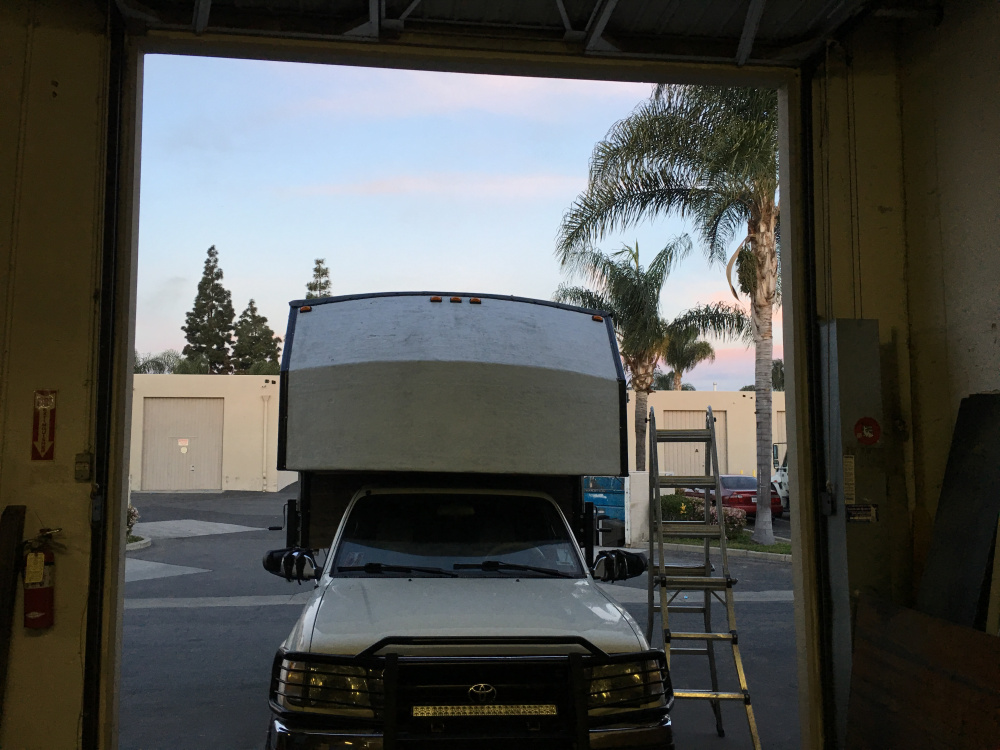
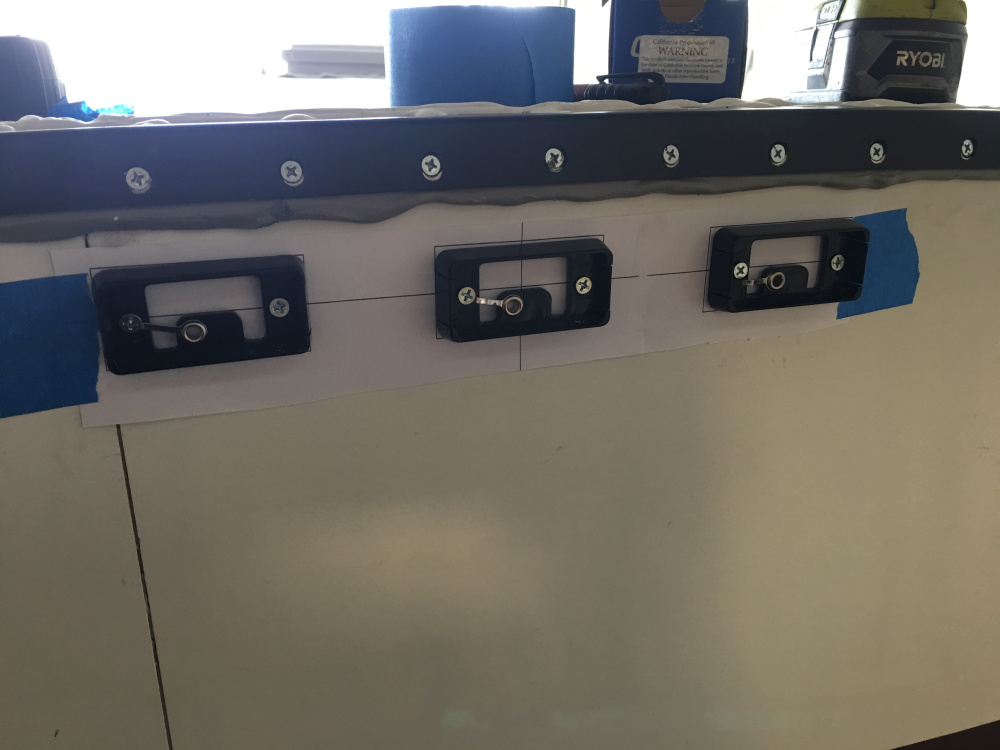
Roof installed it was time for running lights. US DOT regulations state that vehicles that are more than 80 inches wide must be equipped with additional lighting on the front and rear to indicate the vehicle’s width. Two red rear clearance lights must be placed at the vehicle’s widest point, as far apart and as high as possible. Three red identification lights (we called them “the three sisters” in CDL school) must be centered on the back of the vehicle, spread between 6 and 12 inches apart, and placed as high as possible. Front clearance lights must be placed as high and as far forward as possible, at the trailer’s widest point (USA Today articular). Without the jacks my camper measures 81″ so these lights had to be put on.
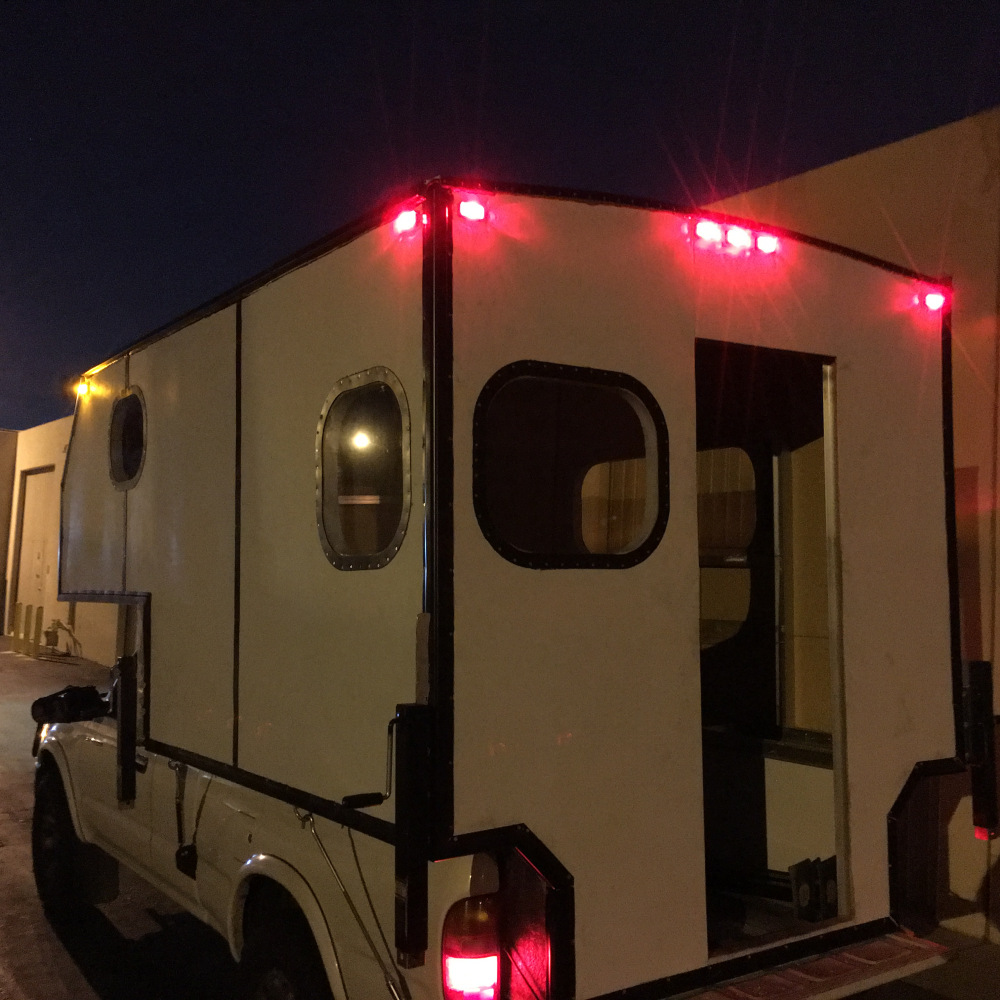
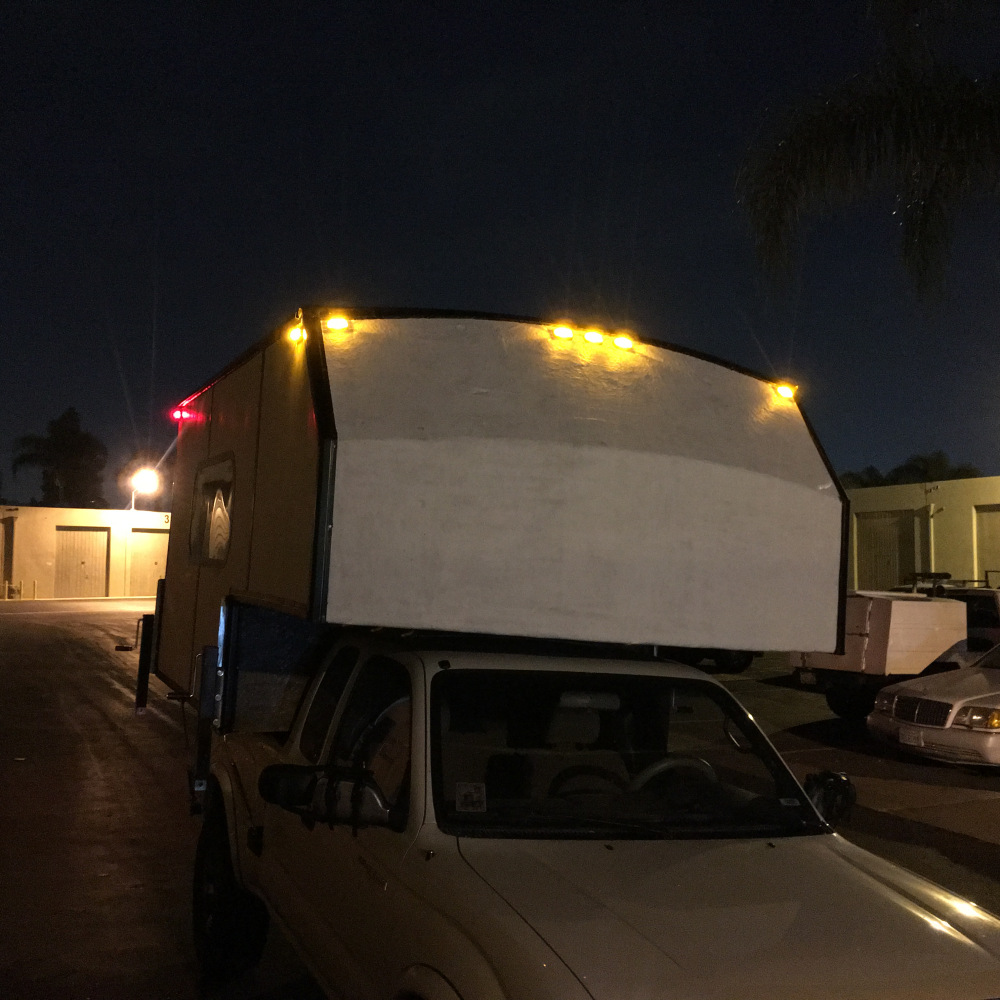
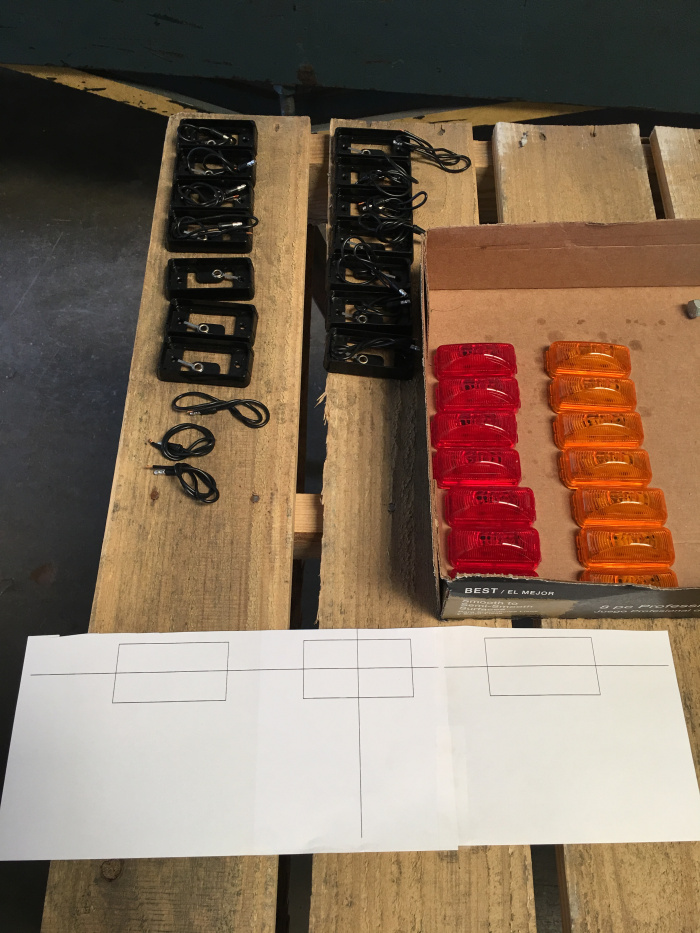
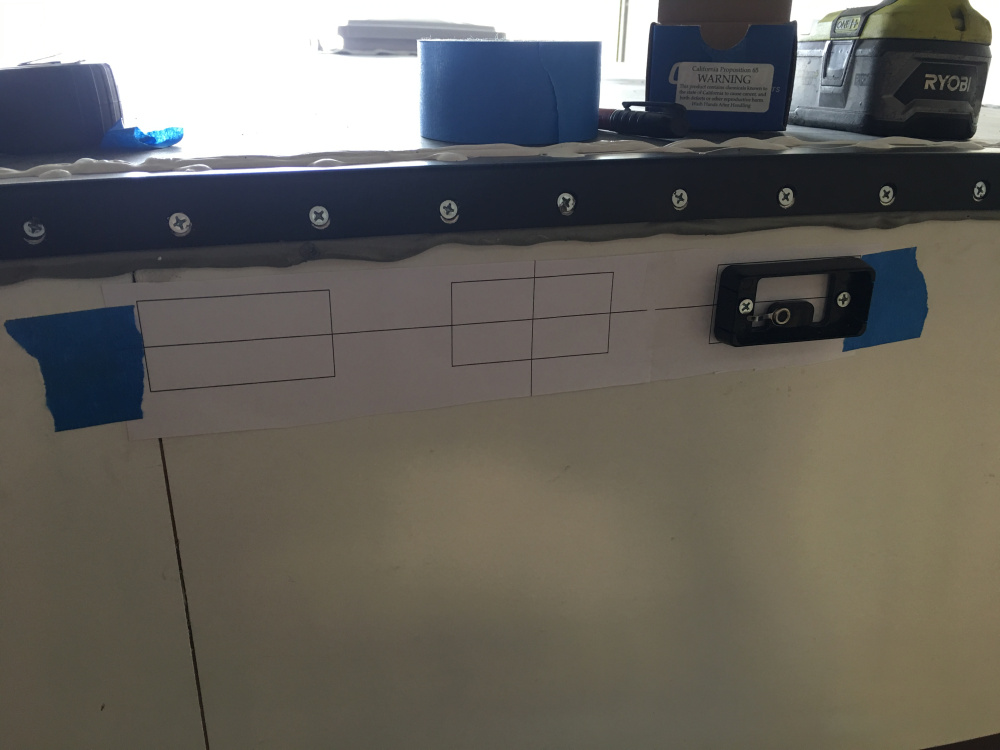
For lights I used water proof LEDs from O’Reilly Auto, I used the same lights on my raft trailer and was really happy with them so I decided to use them again. The five lights are the minimum but I also added a front and back light on the sides just to make it more visible. You can add as many lights as you want, but know that any light you add has to be the right color and has to work whenever you go down the road so if you add it you have to maintain it. They sell a three sisters light but I opted to just buy three separate lights and space them myself. They didn’t have the amber version in stock and it was going to be a couple of weeks so… To get the spacing just right I drew up the layout in Auto Cadd with centering lines then printed to scale. Then I taped the printed layout to the camper using the centering lines to measure out their location and screwed right through the paper. Then I pulled the screws and removed the paper then screwed the lights back down. I reused the same layout on the front.
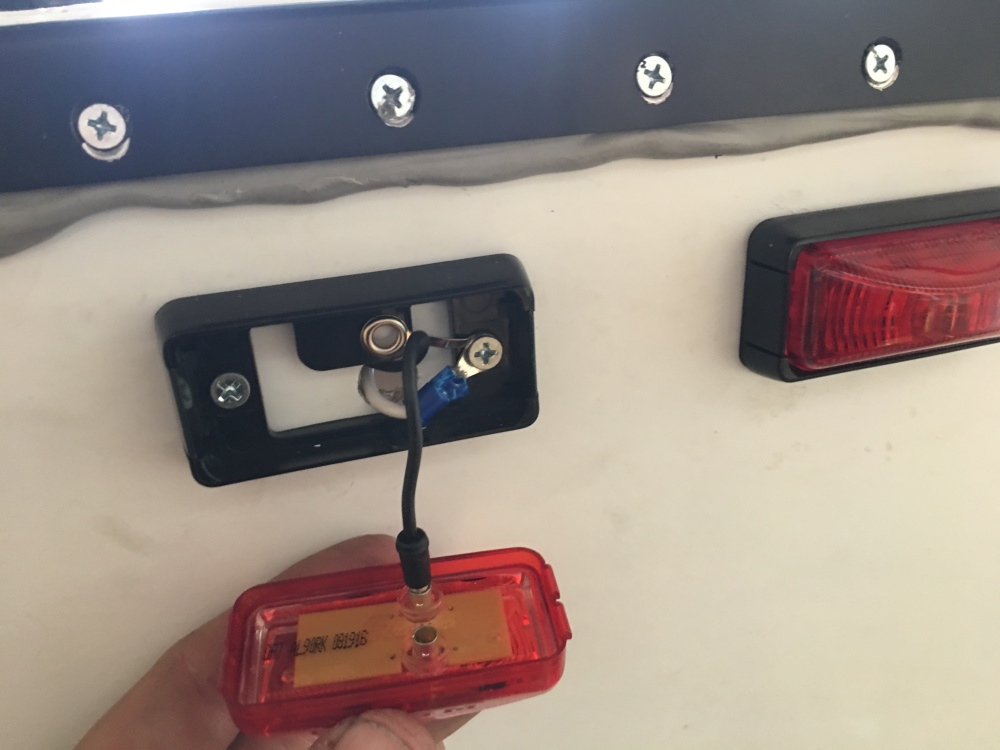
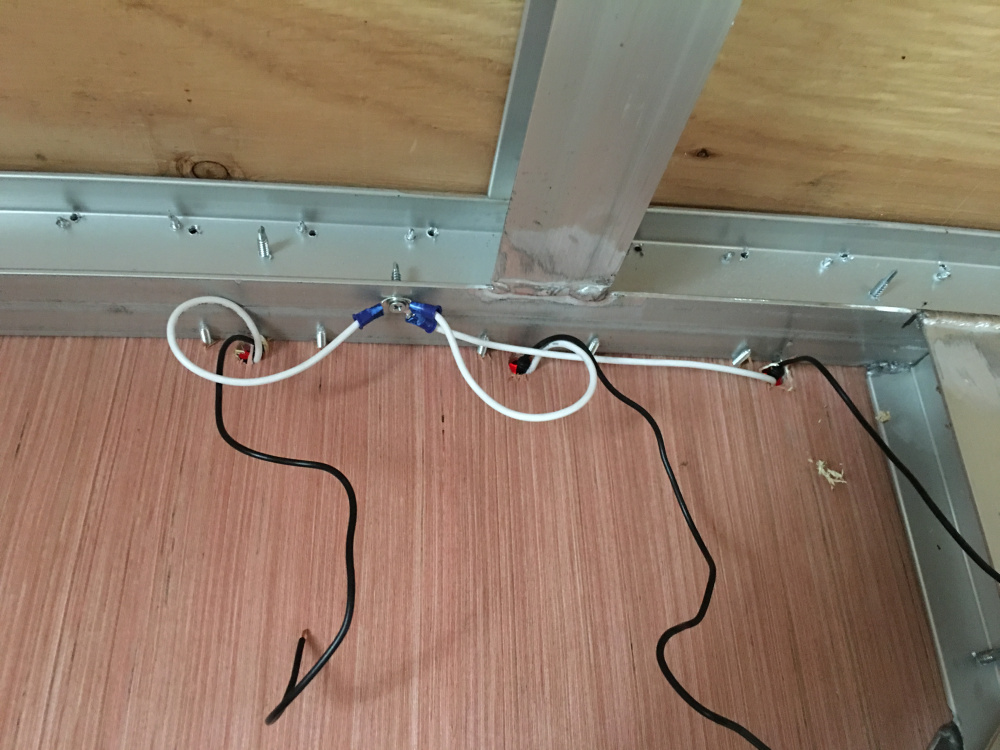
These lights are designed to screw to a metal trailer so in the places I was screwing to wood I had to make some short pigtails to ground to the aluminum frame of the camper. I drilled a hole for the wires then wired it all up. Fortunately my truck came with a camper hookup similar to a four pin trailer hookup but it only had the break and running light leads. Also fortunately for me these hookups had inline fuses in the bed of the truck so that I didn’t have to find it after I ran a screw through a wire installing my inside paneling later.
0 Comments