So the idea of building a homemade camper came after I spent the weekend in Bishop CA over Thanksgiving with a low in the single digits. I originally planed on living out of my truck with a LEER topper towing a trailer with my raft, kayaks and the rest of my gear. I built a deck for the bed with storage underneath which made it so I couldn’t sit up and really it was kind of cramped, especially with a dog even though he’s only 35 lbs. I’m also 6’3” and the bed of my truck is only 6’1”. I was worried about this from the beginning and I was working over plans in my head to make my topper pop up or out giving me space but nothing sounded like a good option. I thought about buying a camper but a truck camper runs $15k-$25k new and finding a used one for a small truck is a crap shoot. Selling the Taco and buying something like a van wasn’t an option; that truck is pretty much my dream car and I’m not giving it up. Over that weekend when the sun went down at 5pm and the temp dropped well below freezing, I conceded that I needed to just build a camper.
It’s not that I hadn’t thought of this before, I kicked around the idea a few times. I’ve just built enough things to know what a project like this would take and up until now I had dismissed the idea. I was only supposed to be in LA for a couple of months helping my old boss and friend while his crew was working a big job out of the country. 4 of his 6 man crew where installing glass guard rails on the balconies of a new hotel and condo in the Cayman Islands while work was still coming into the shop in LA. I was getting ready to hit the road and travel anyway so I offered to come out and help ease the work load. That couple of months had already turned into 5 months and this camper project was going to take 2-3 more months to complete. I really wanted to get on the road, I didn’t want to miss winter.
When I got back to the shop after my trip I was rolling ideas around and priced out different materials with our venders. Then I came across some 2”X2”X1/8” anodized aluminum I beam that was left over from a job we worked on 11 years ago when I worked here before, and there was more than enough to do my job. It is a specialty material that they never found another use for so it just sat for years. The job we were using it on was a Russian orthodox church in Hollywood off the 101 Fwy. We built the shingles and crosses for the cupolas on top of the church out of aluminum then had them powder coated. The I beams that were left over were used for the frames on the dormers with green shingles in the first picture, we rolled them to that onion shape then sent them out for install. We just made parts, the church assembled and built everything themselves.


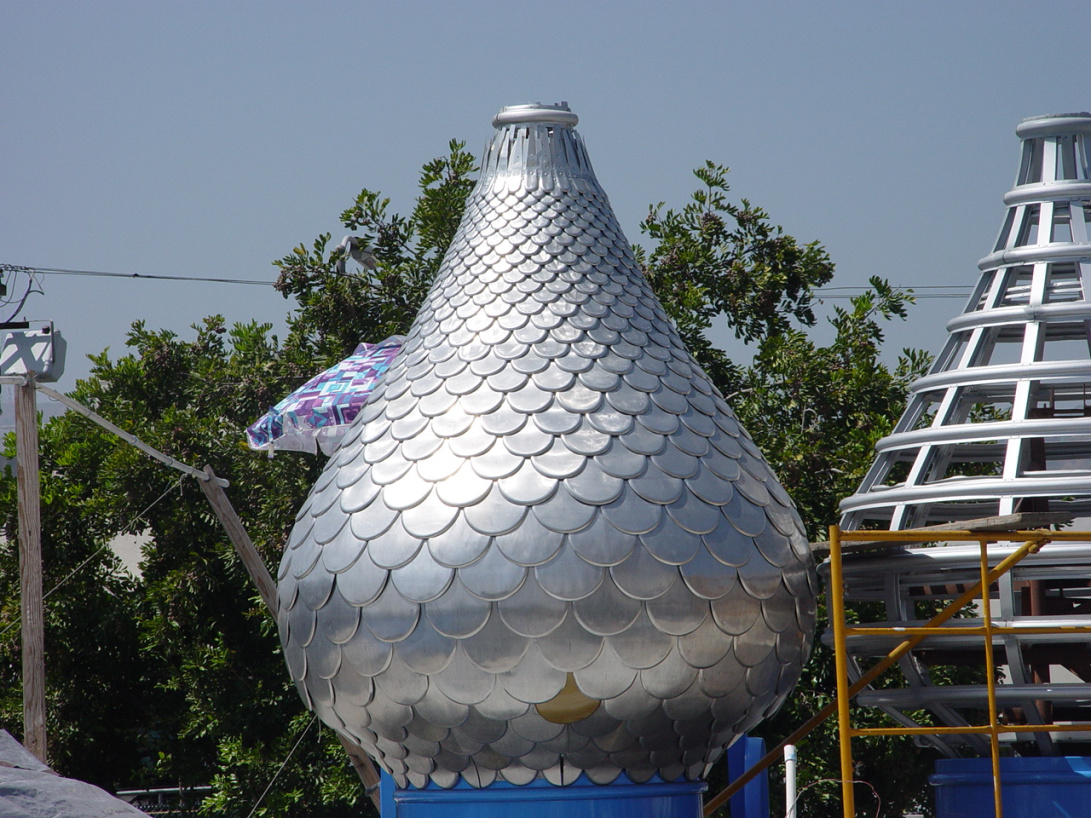
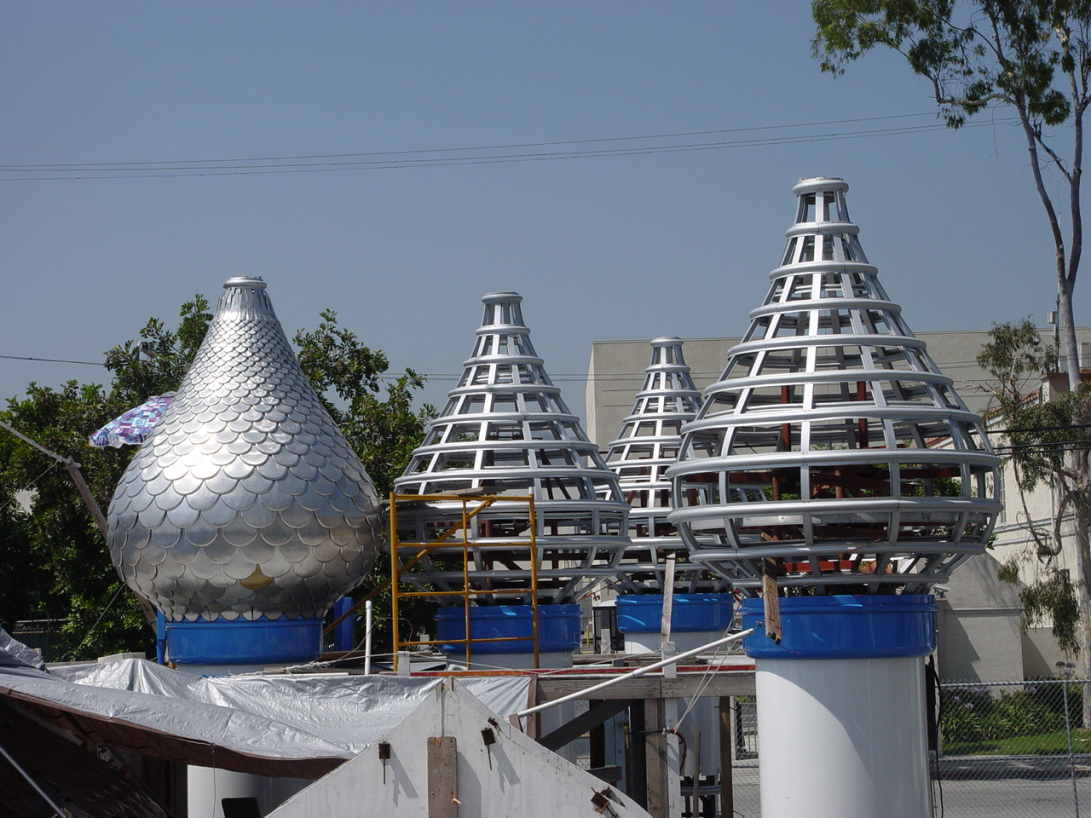
This was a really fun job to work on, each row had the same quantity of shingles so as the cupola got bigger and smaller in diameter the size and shape of the shingles changed. I had to draw each cupola in 3d in Auto Cad then figure the size and shape of each row. These were then cut out of flat material, .062 5052 aluminum, using the shops CNC turret punch. The shingles needed to have some dimension so we rolled the front edge using dies cut on our CNC mill and then stamped with rubber dies in the press. A new die was cut out of ½” aluminum plate for each individual row, over 25 different dies per cupola. There were 3 different sizes of cupola, 1 big, 4 med, and 8 small. The shingles on the dormers were much easier, there was only one size and shape for all of them.
It was really cool for me to use this material given it’s link to that job. It was one of my first big projects right out of college and it required a culmination of skills to make happen. The boss and other employees guided the way but I headed up the design and layouts. No one at the shop knew how to run the CNC machines and before this they just sat there. I picked up the manuals and figured out how to operate each, with the help of some guys from a different shop. It is one of the most memorable projects that I got to work on and it’s a beautiful building that can be seen from the 101 fwy in Hollywood.
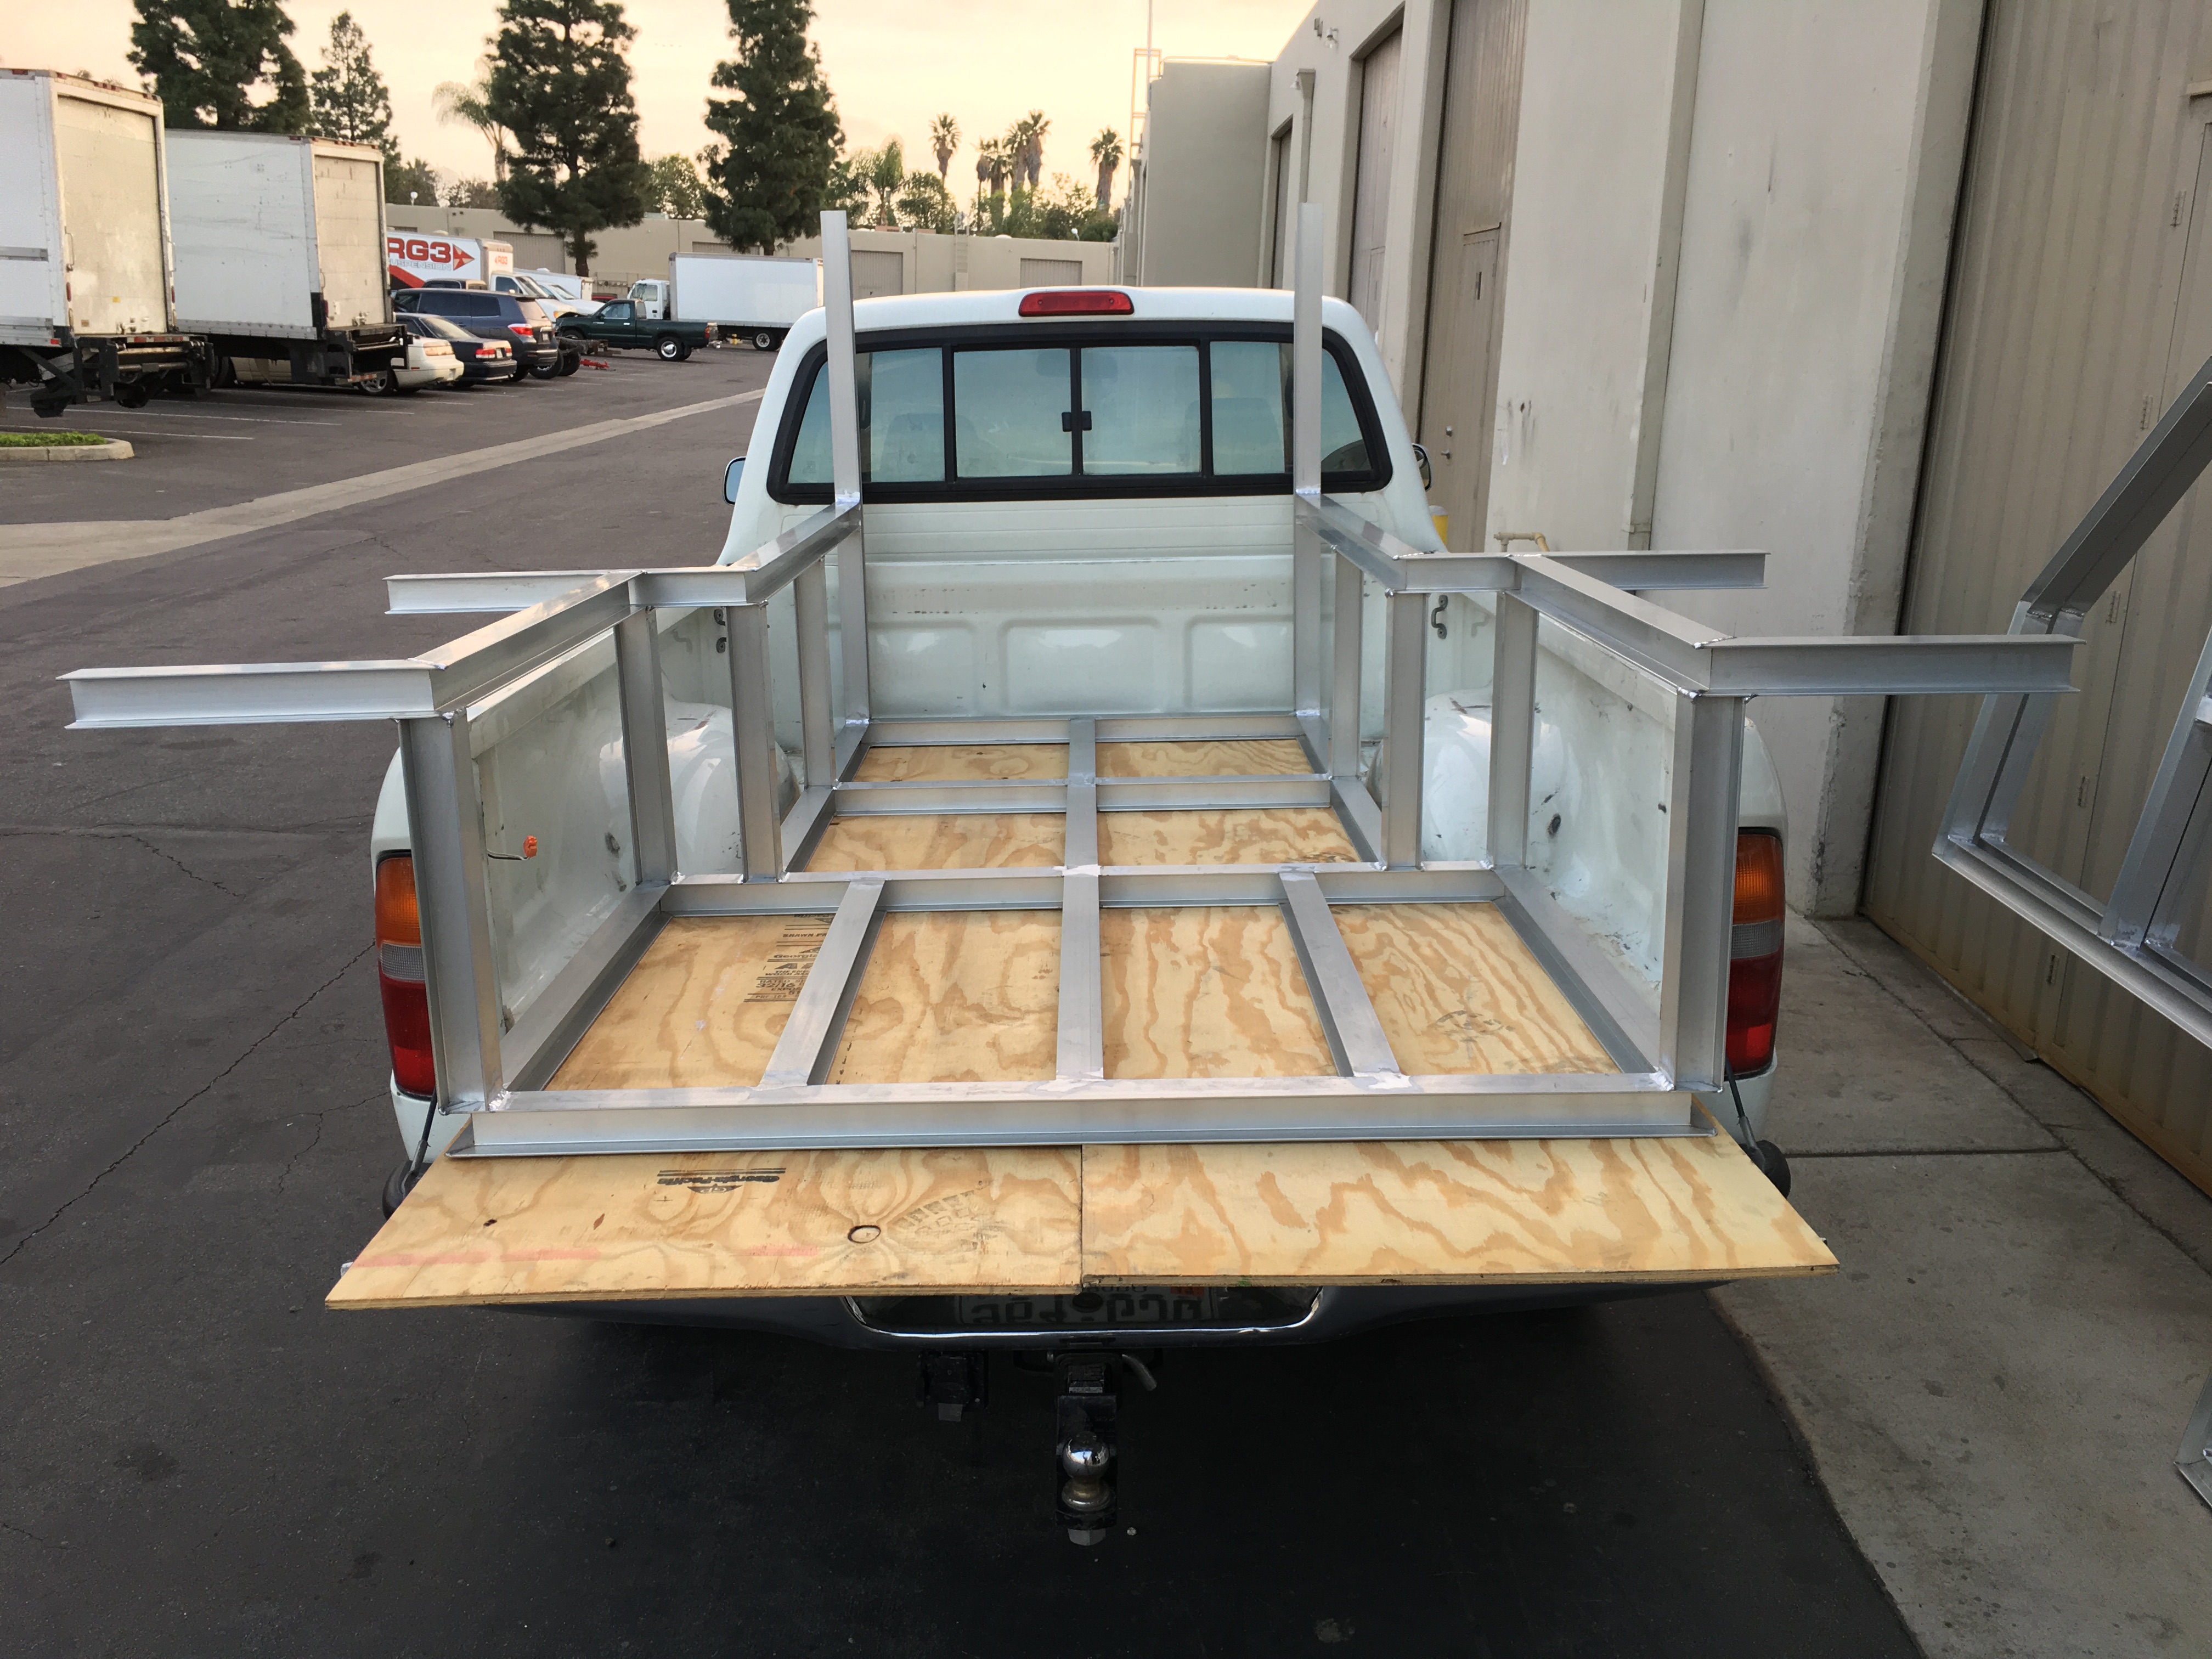
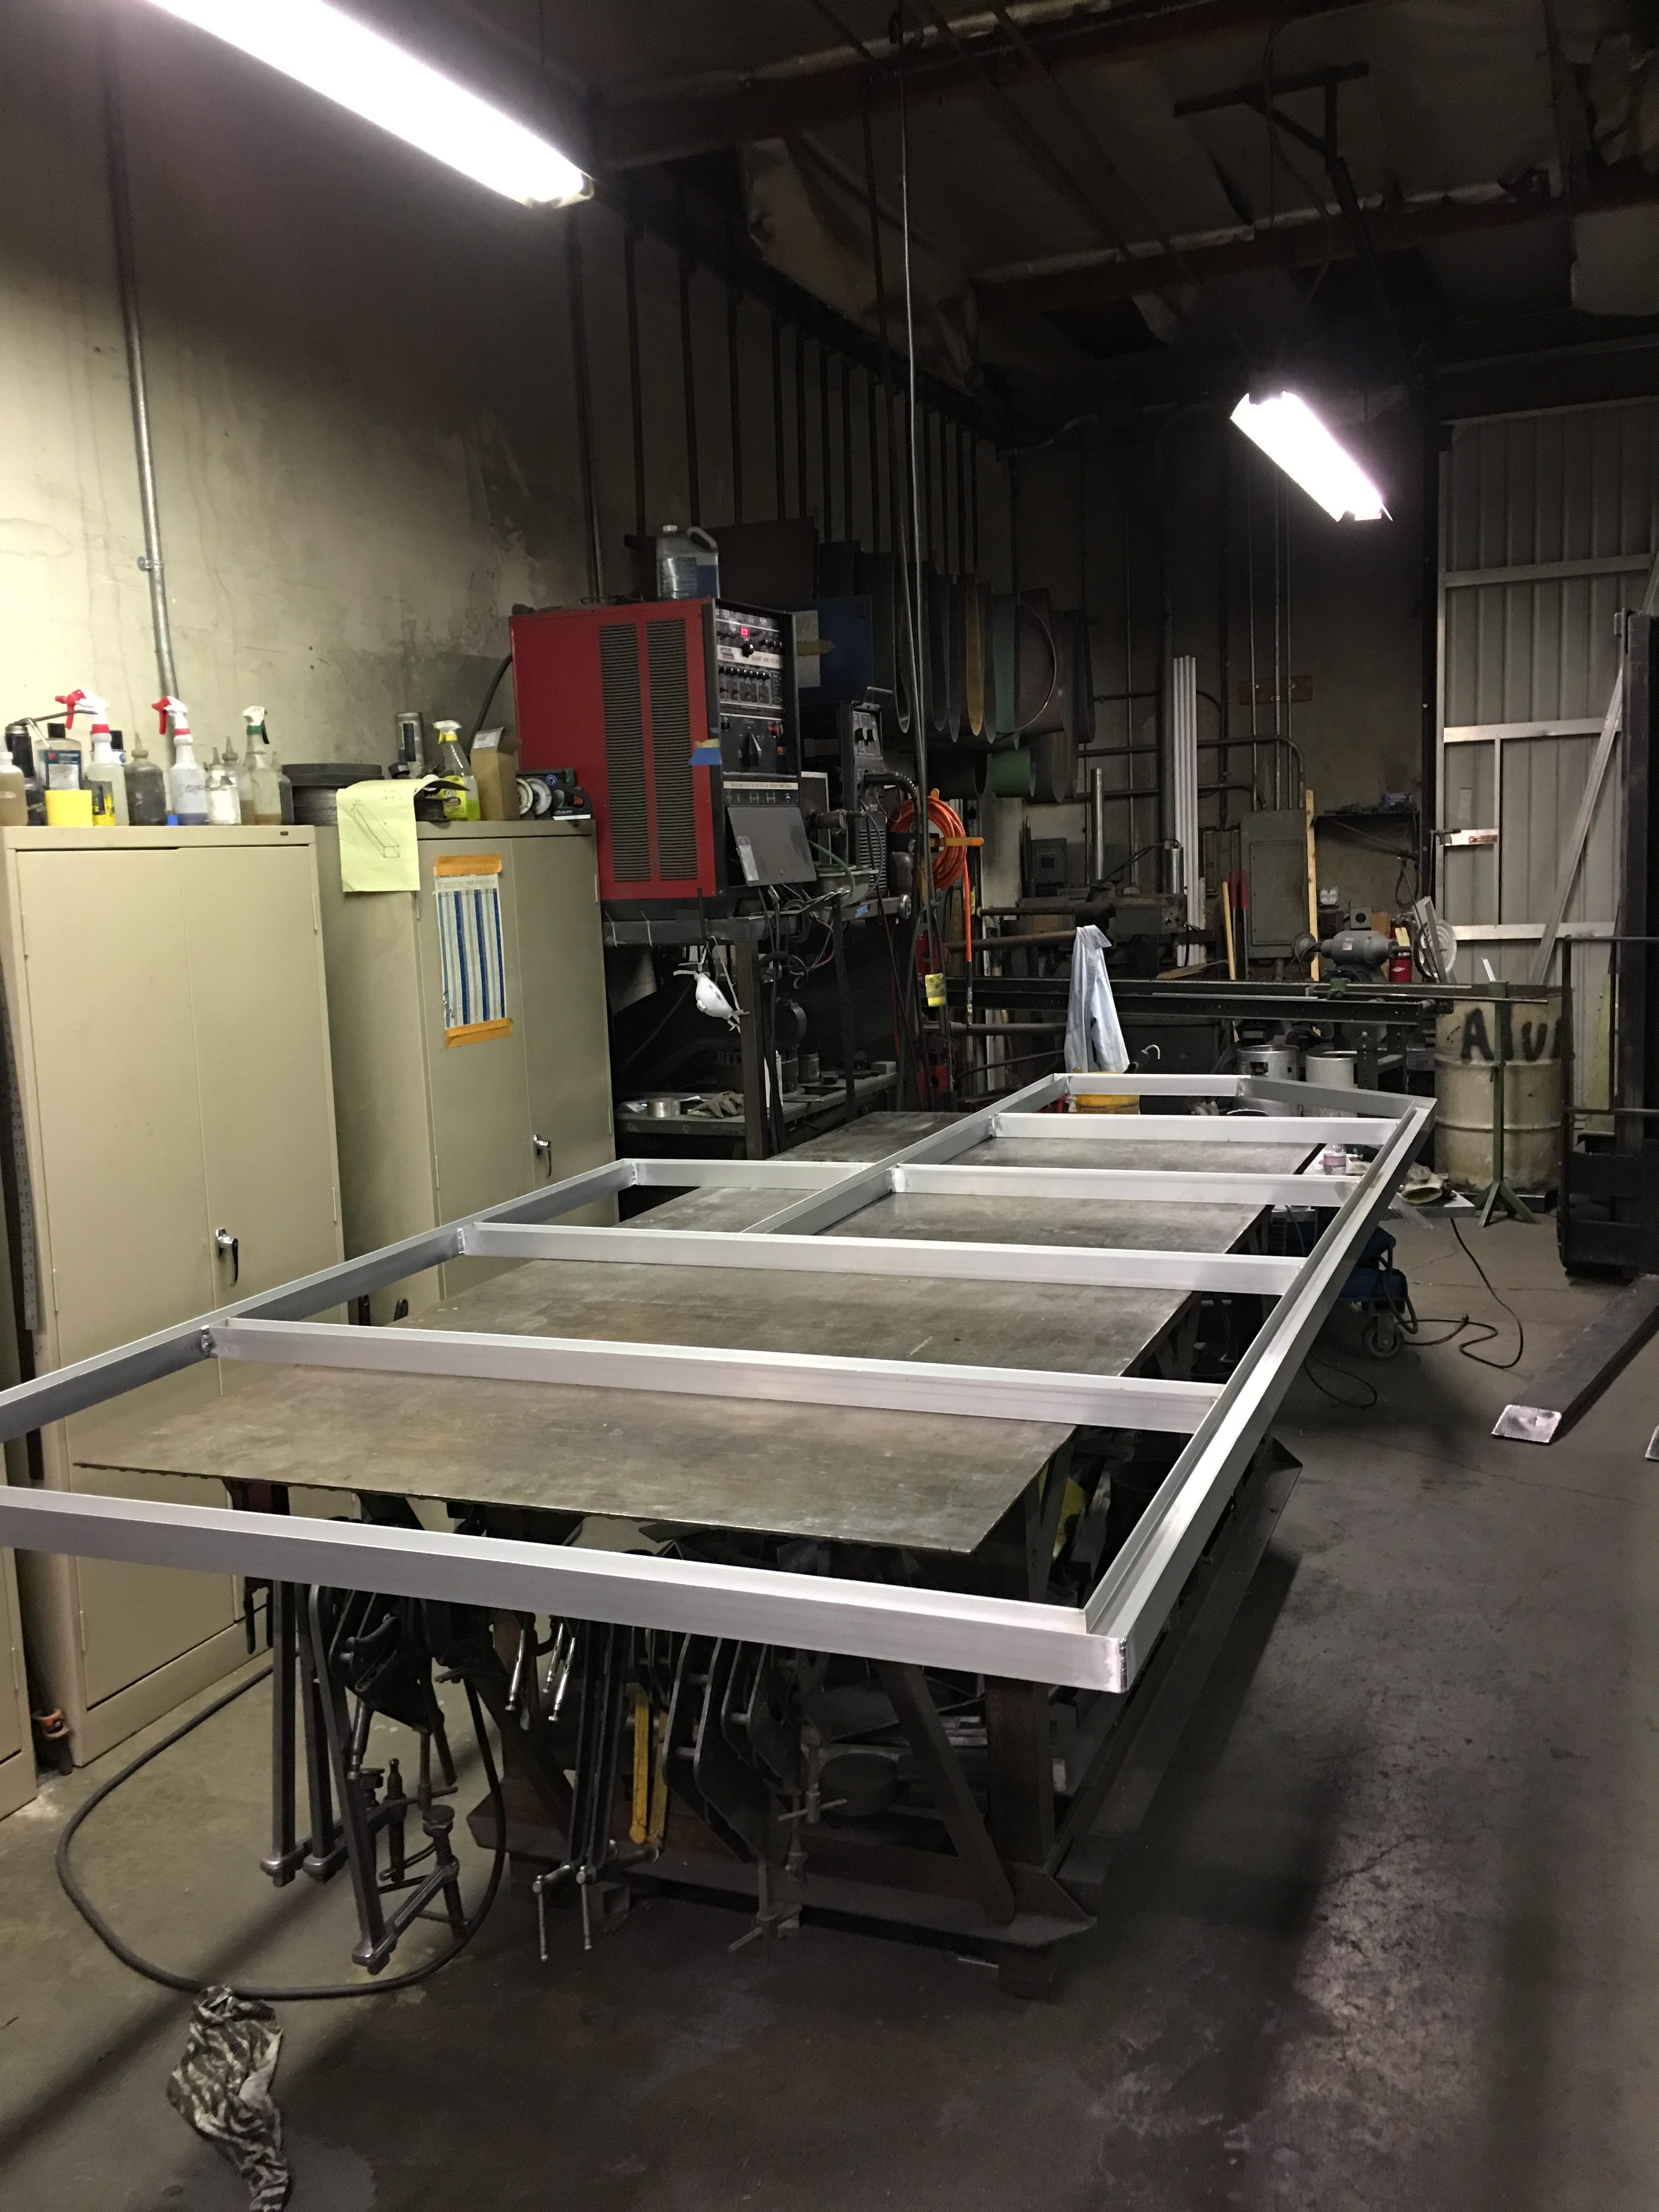

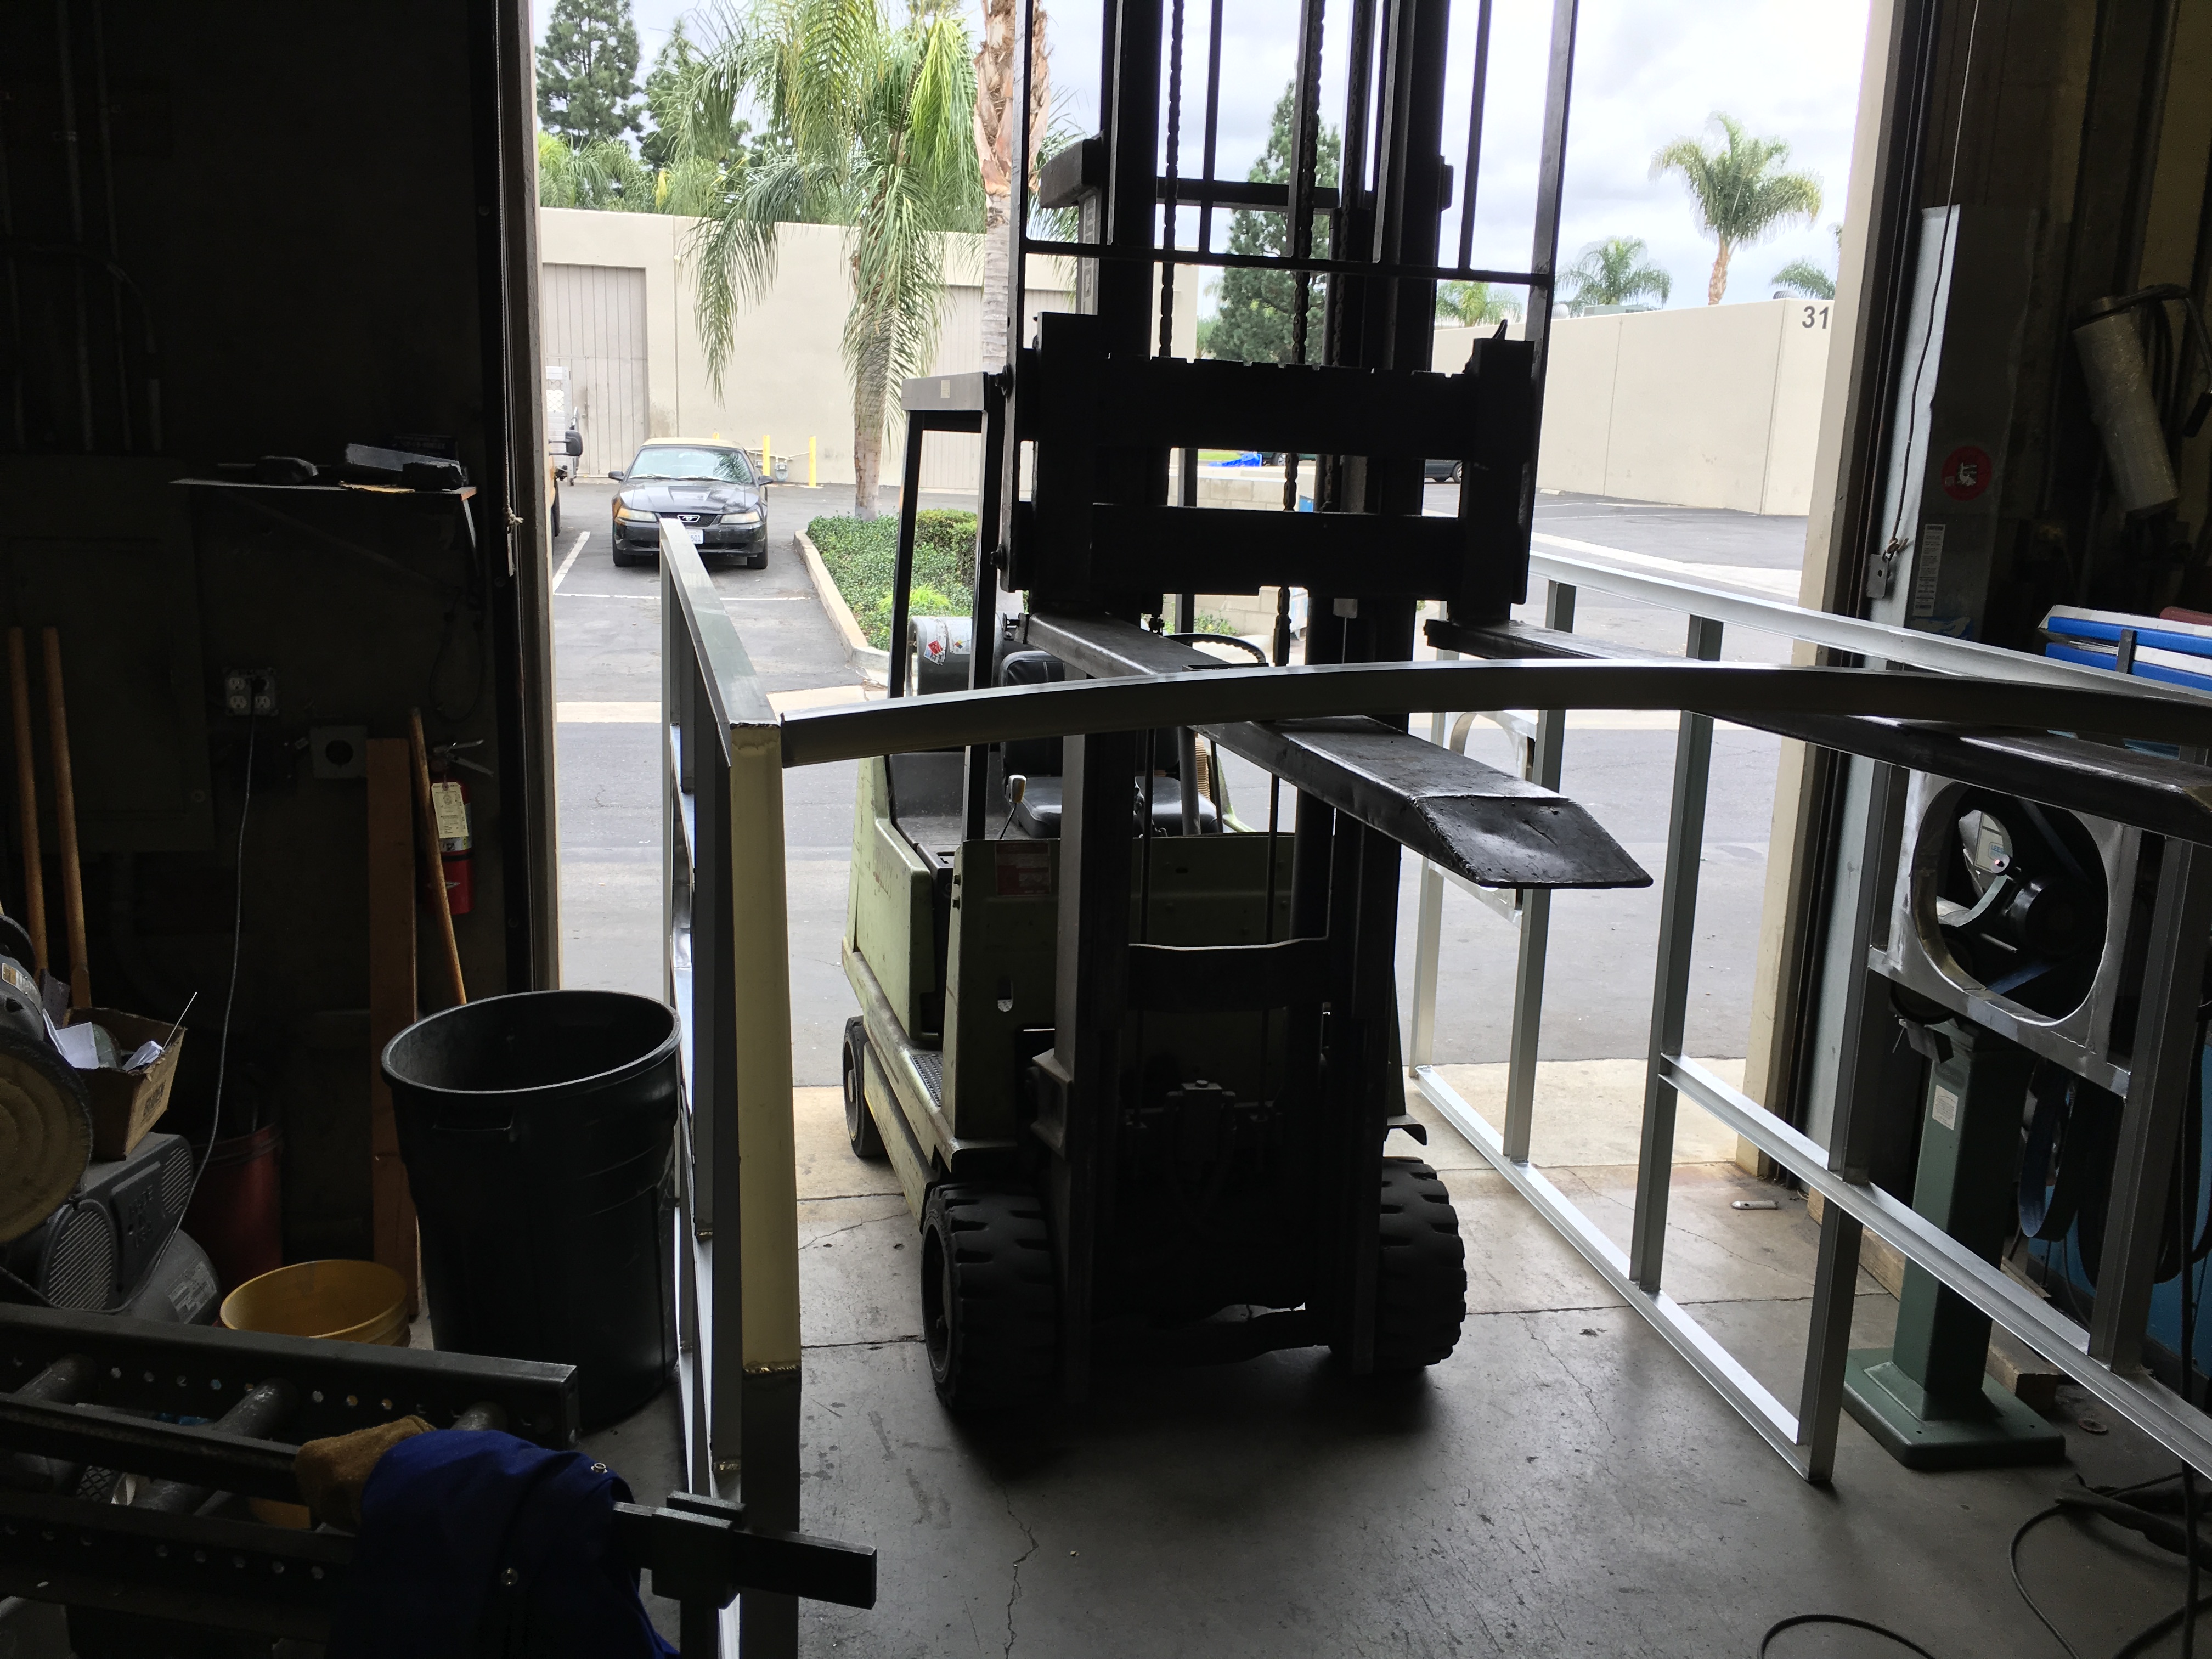
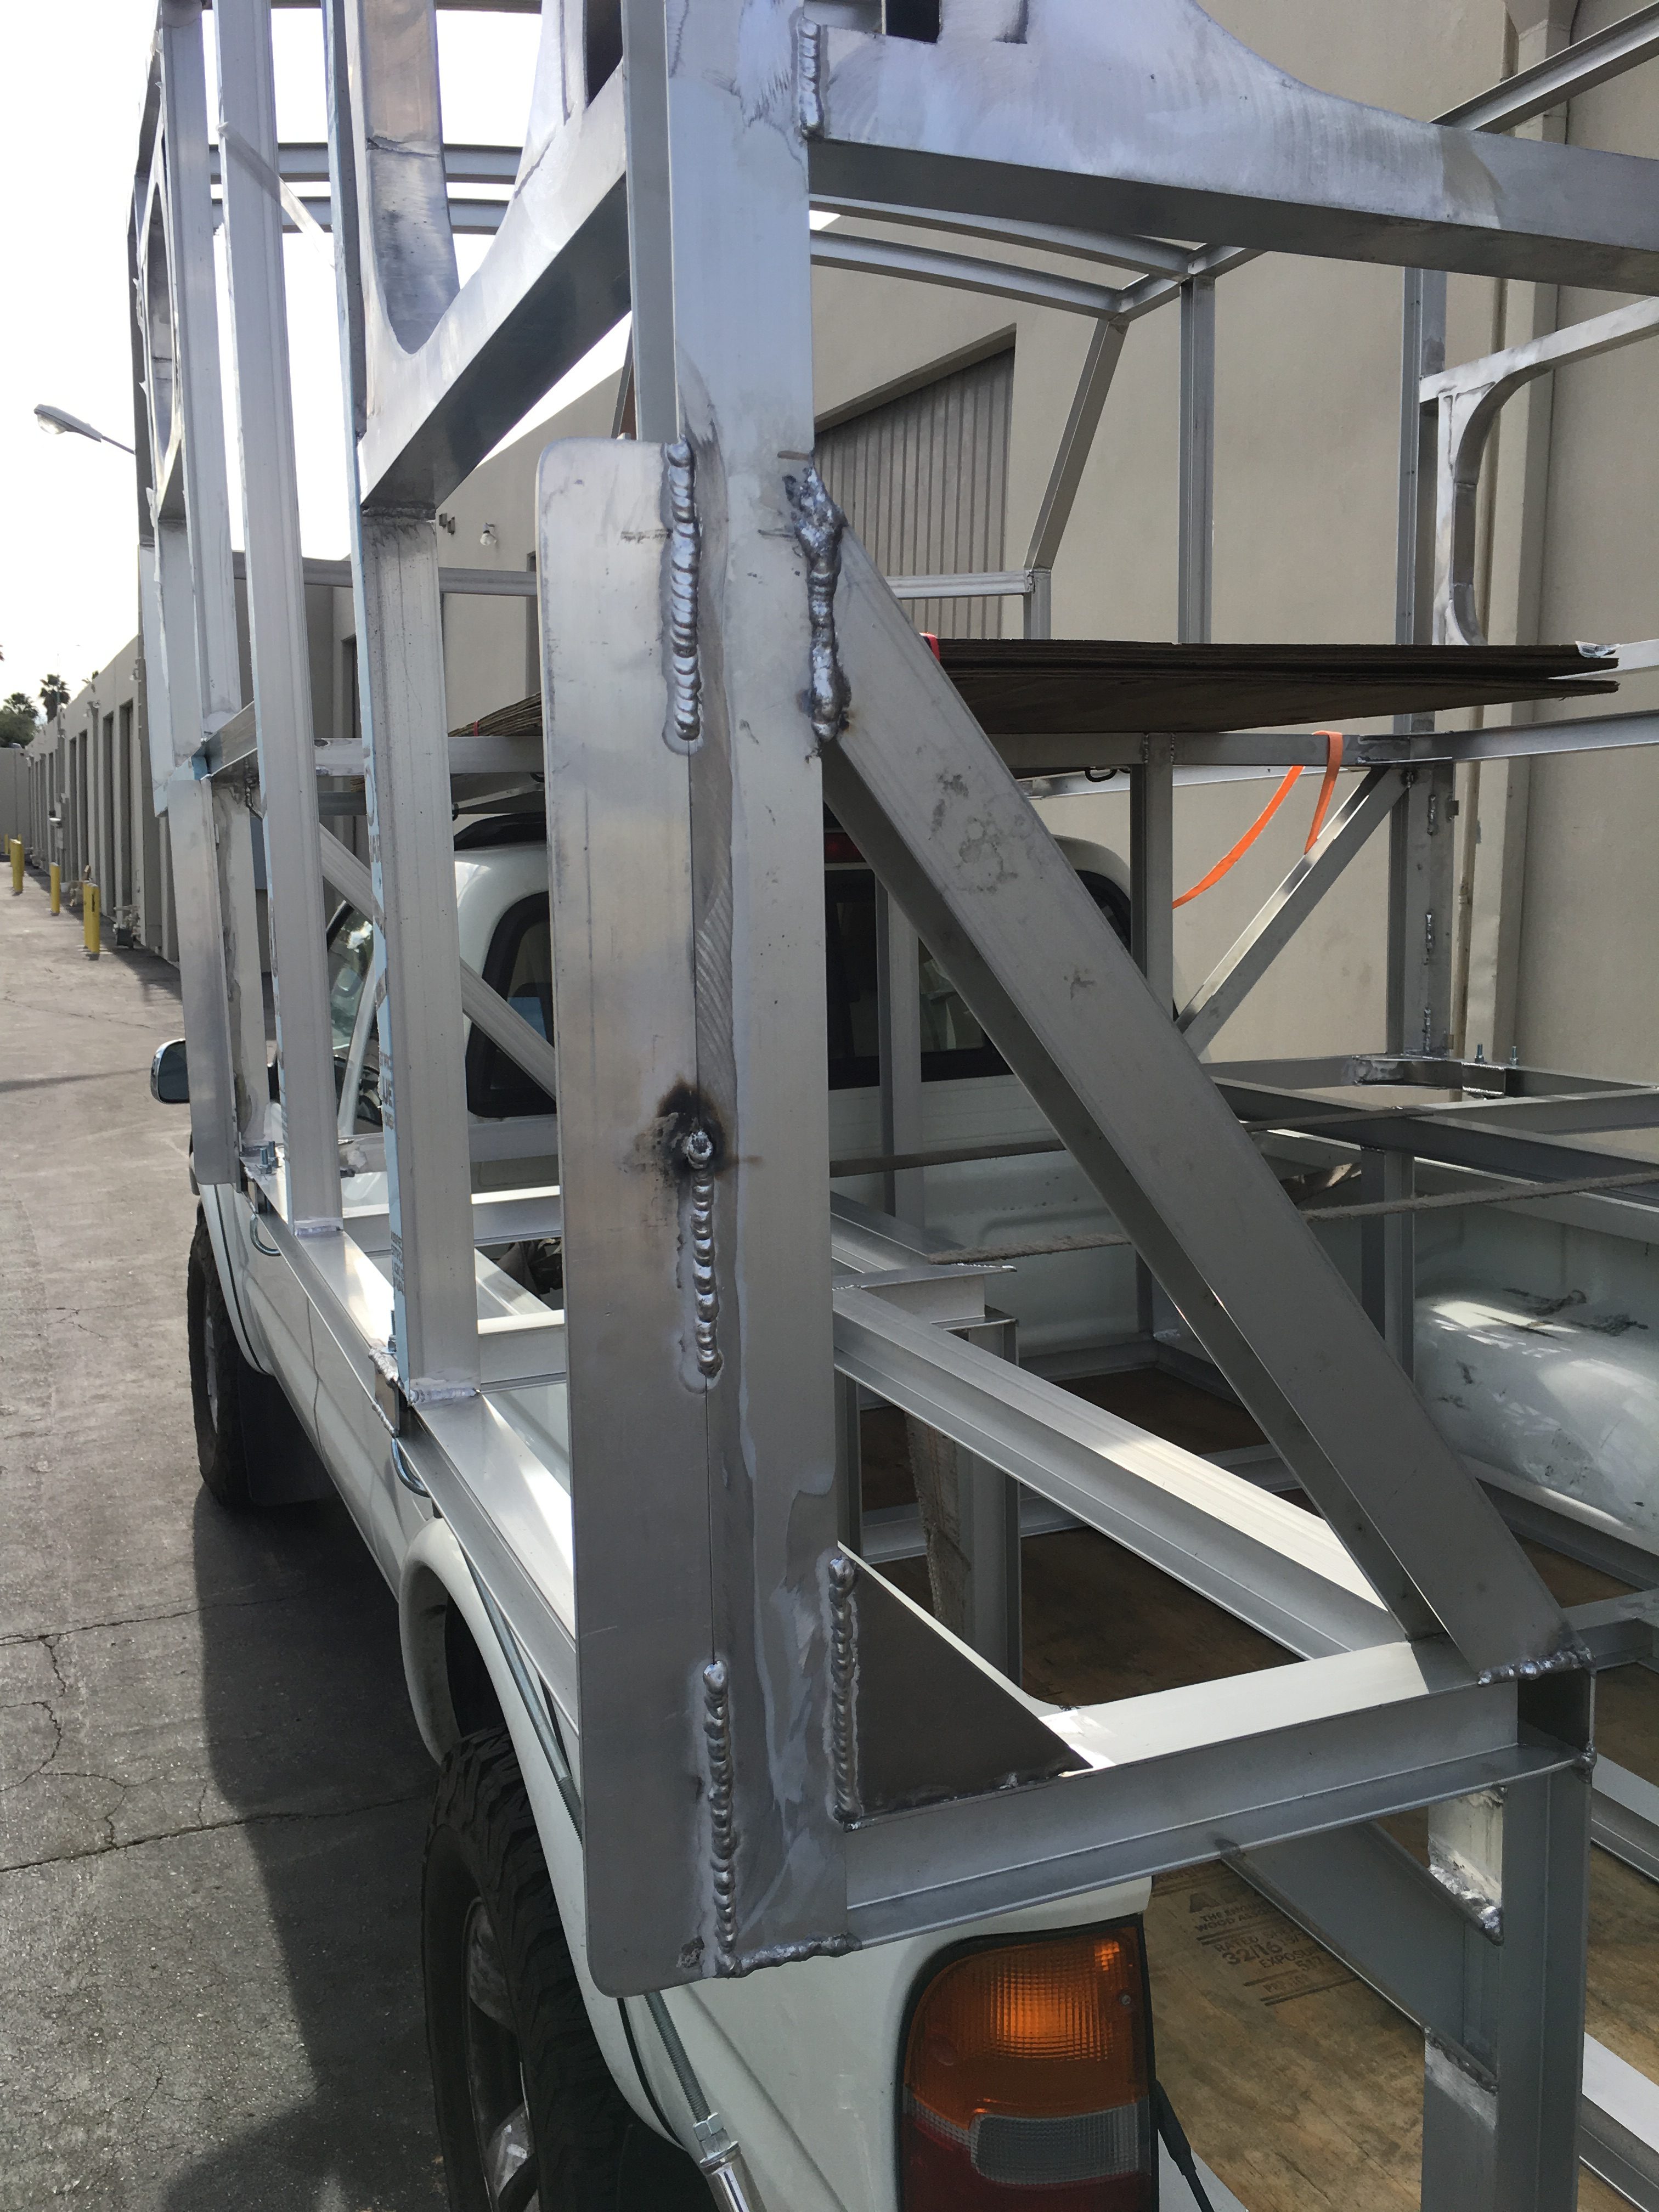
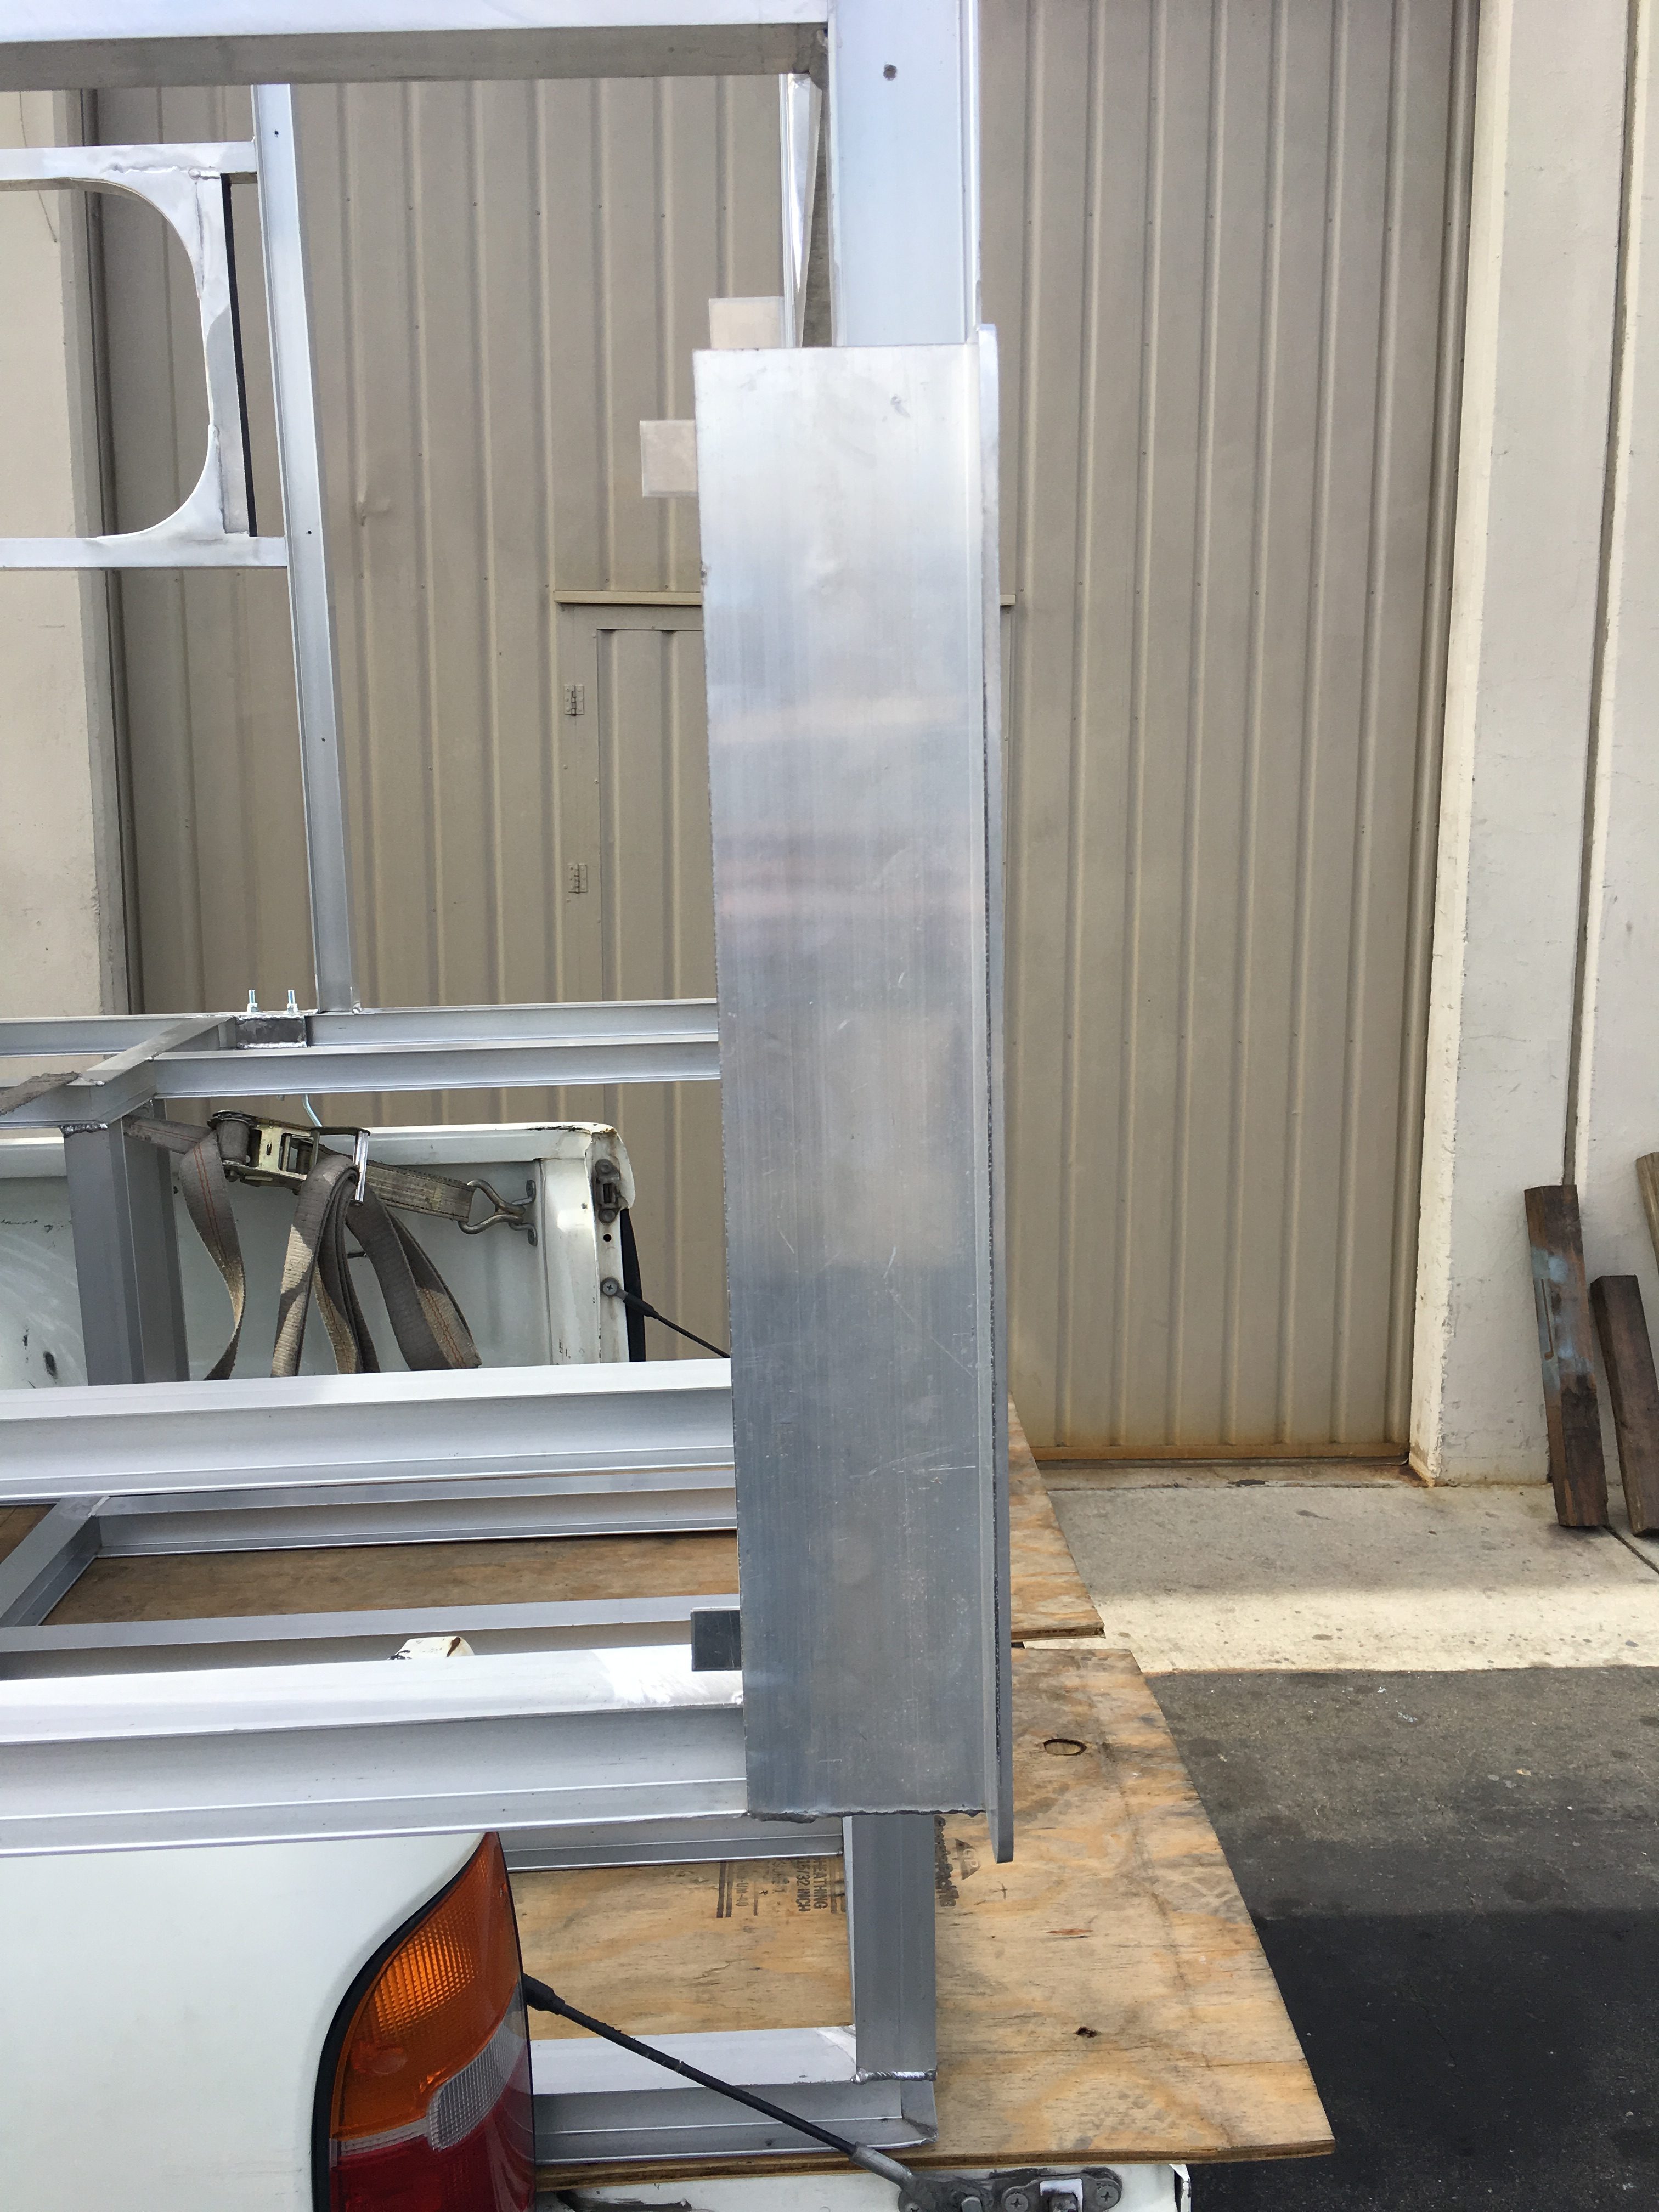
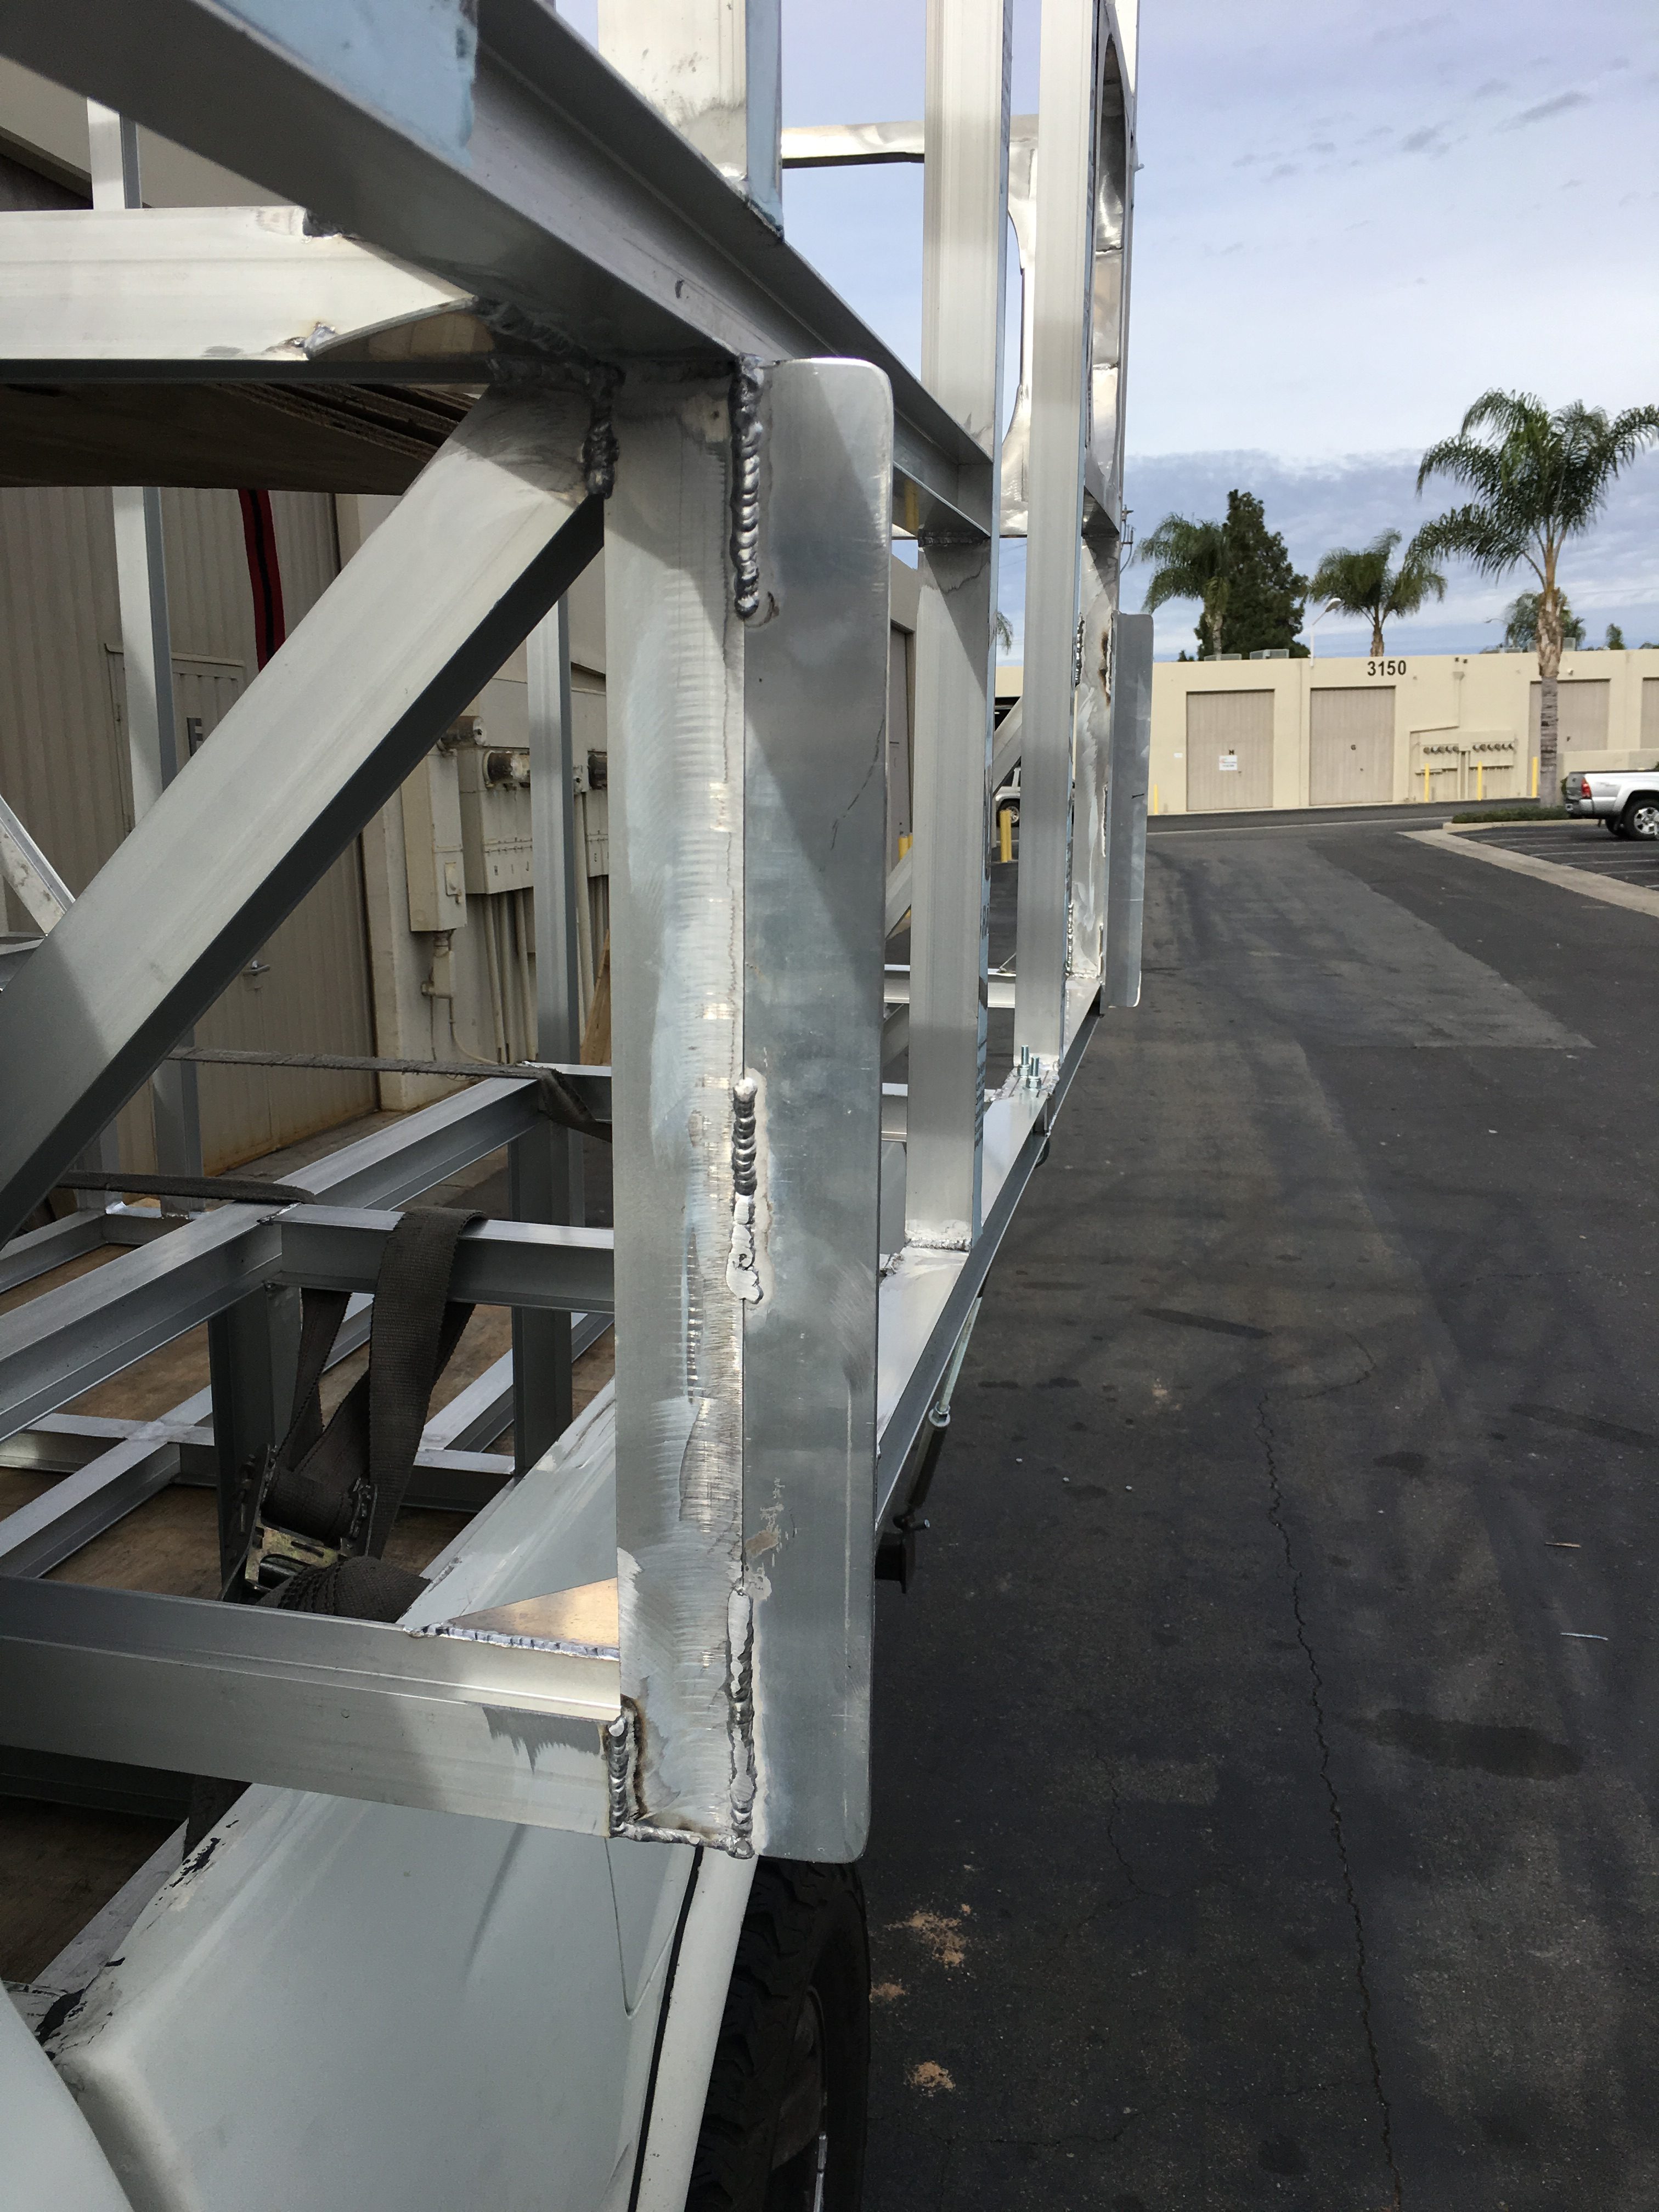
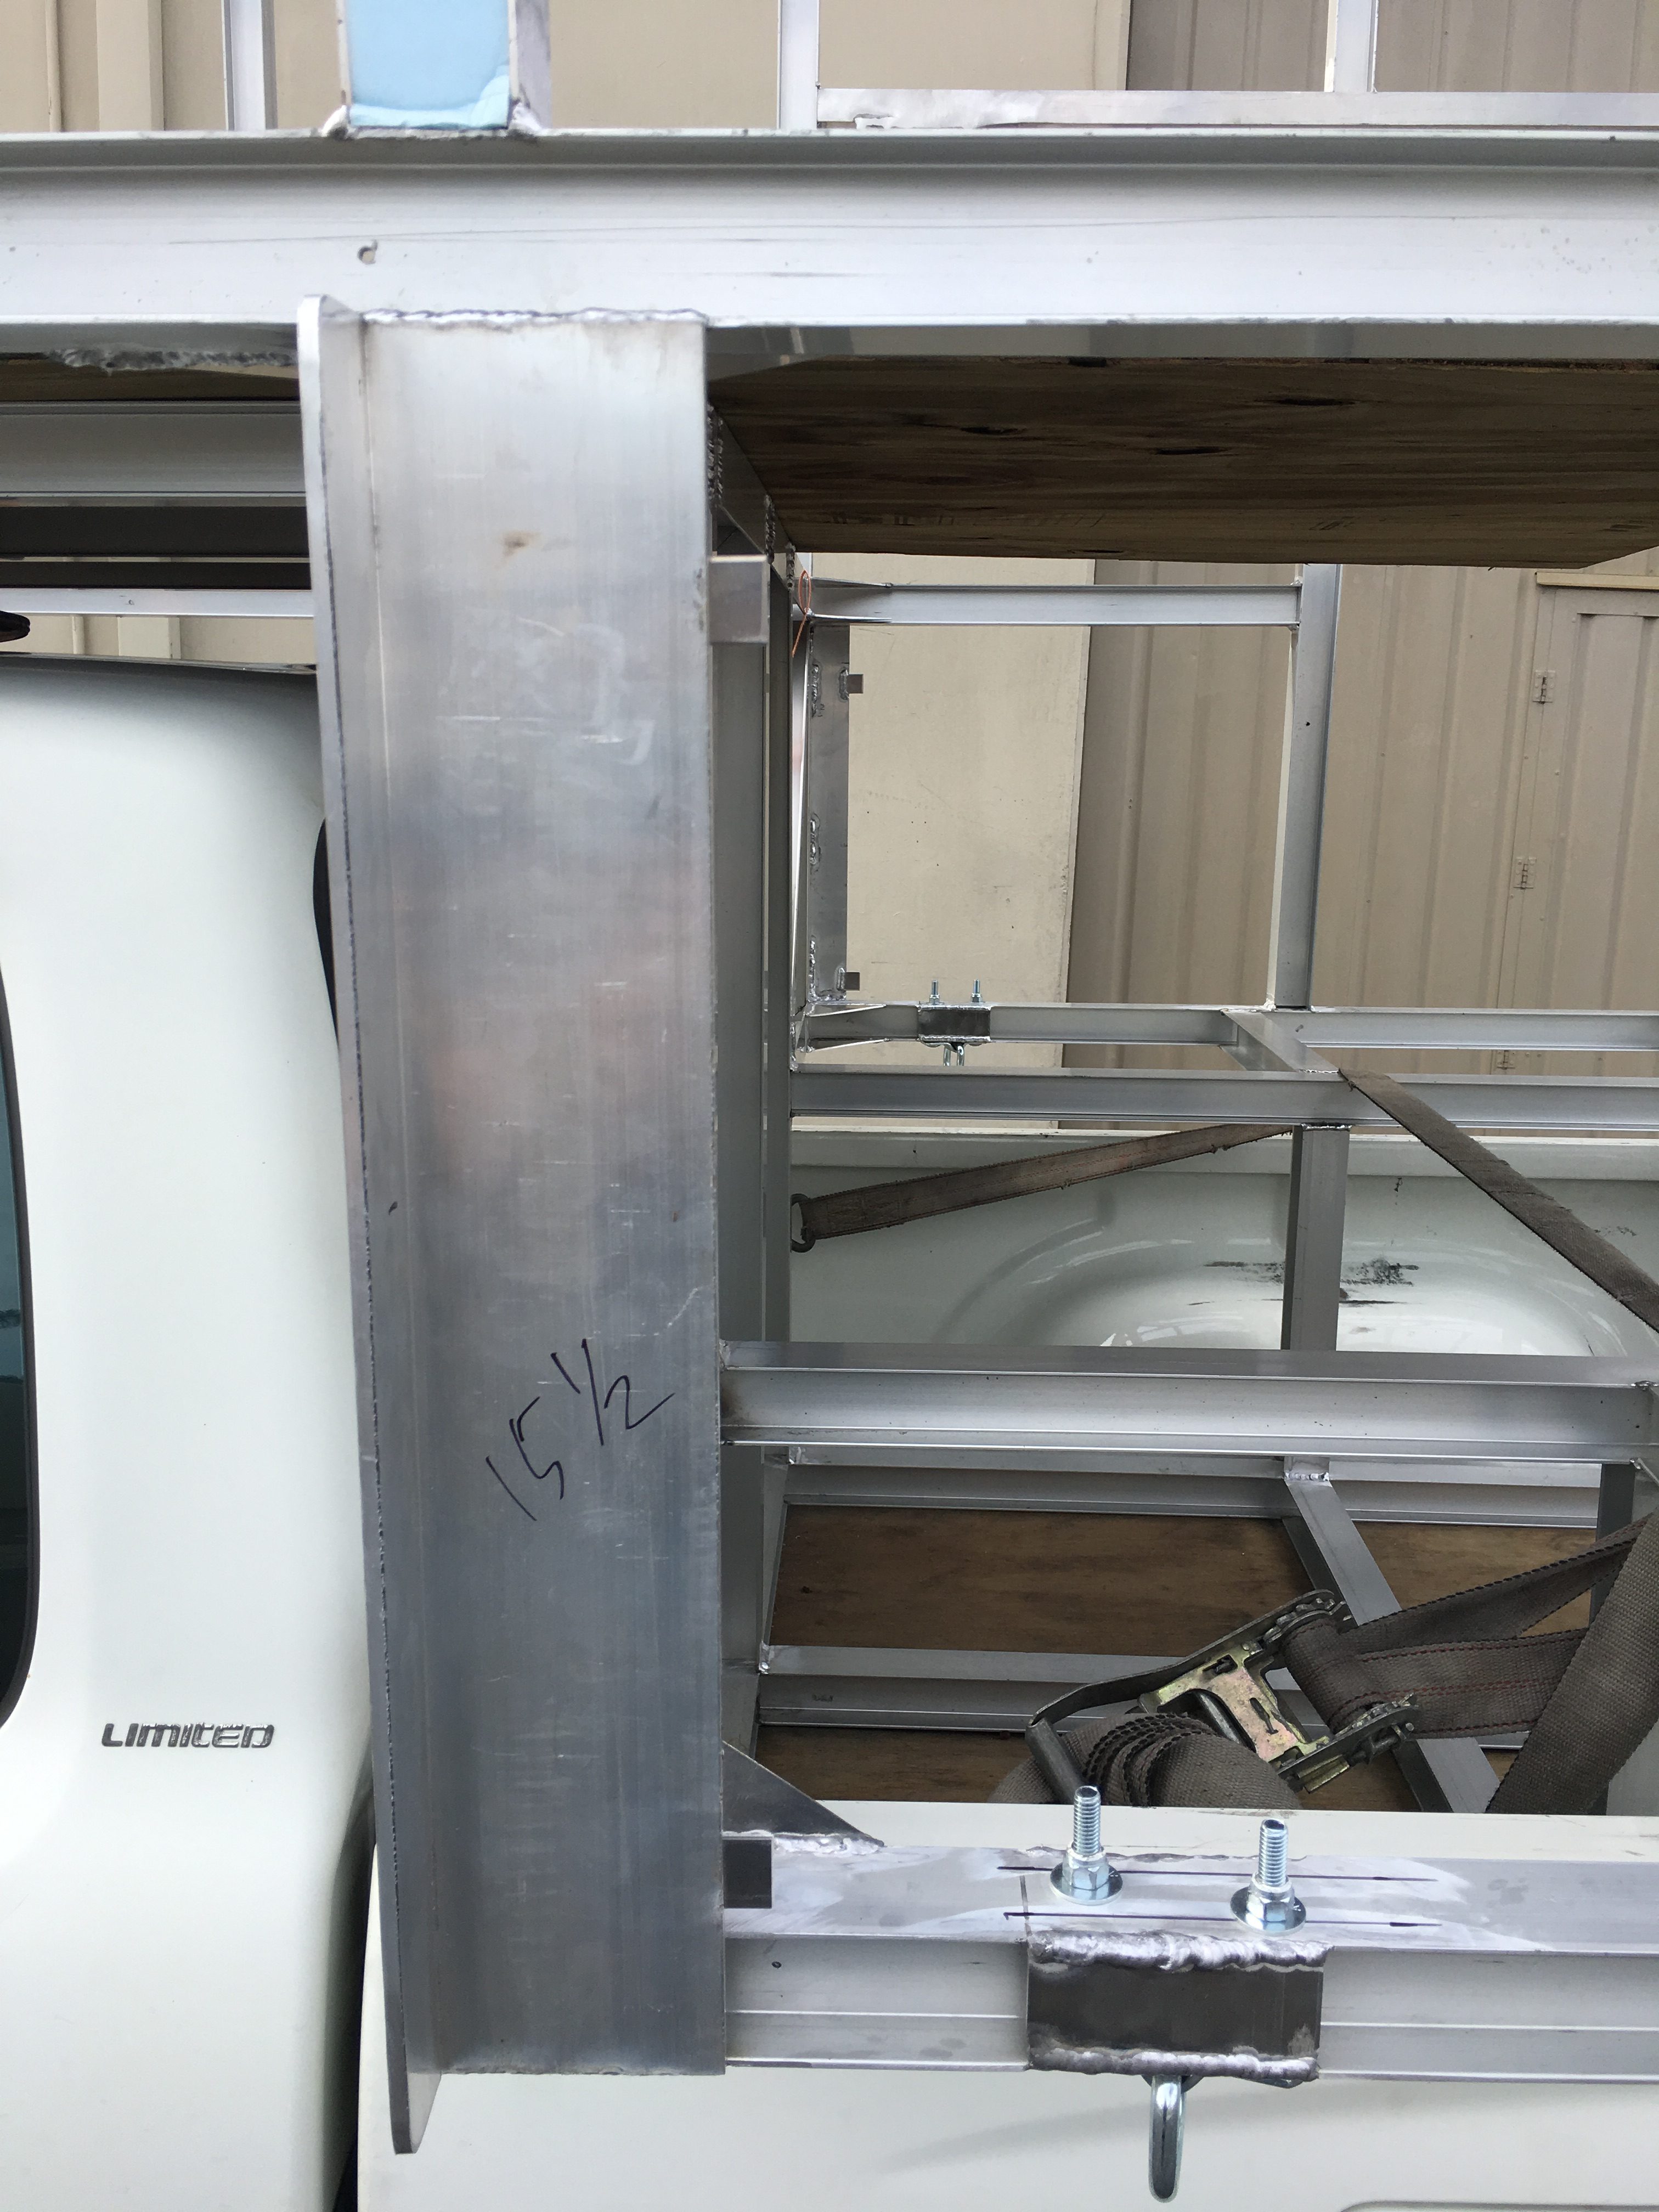
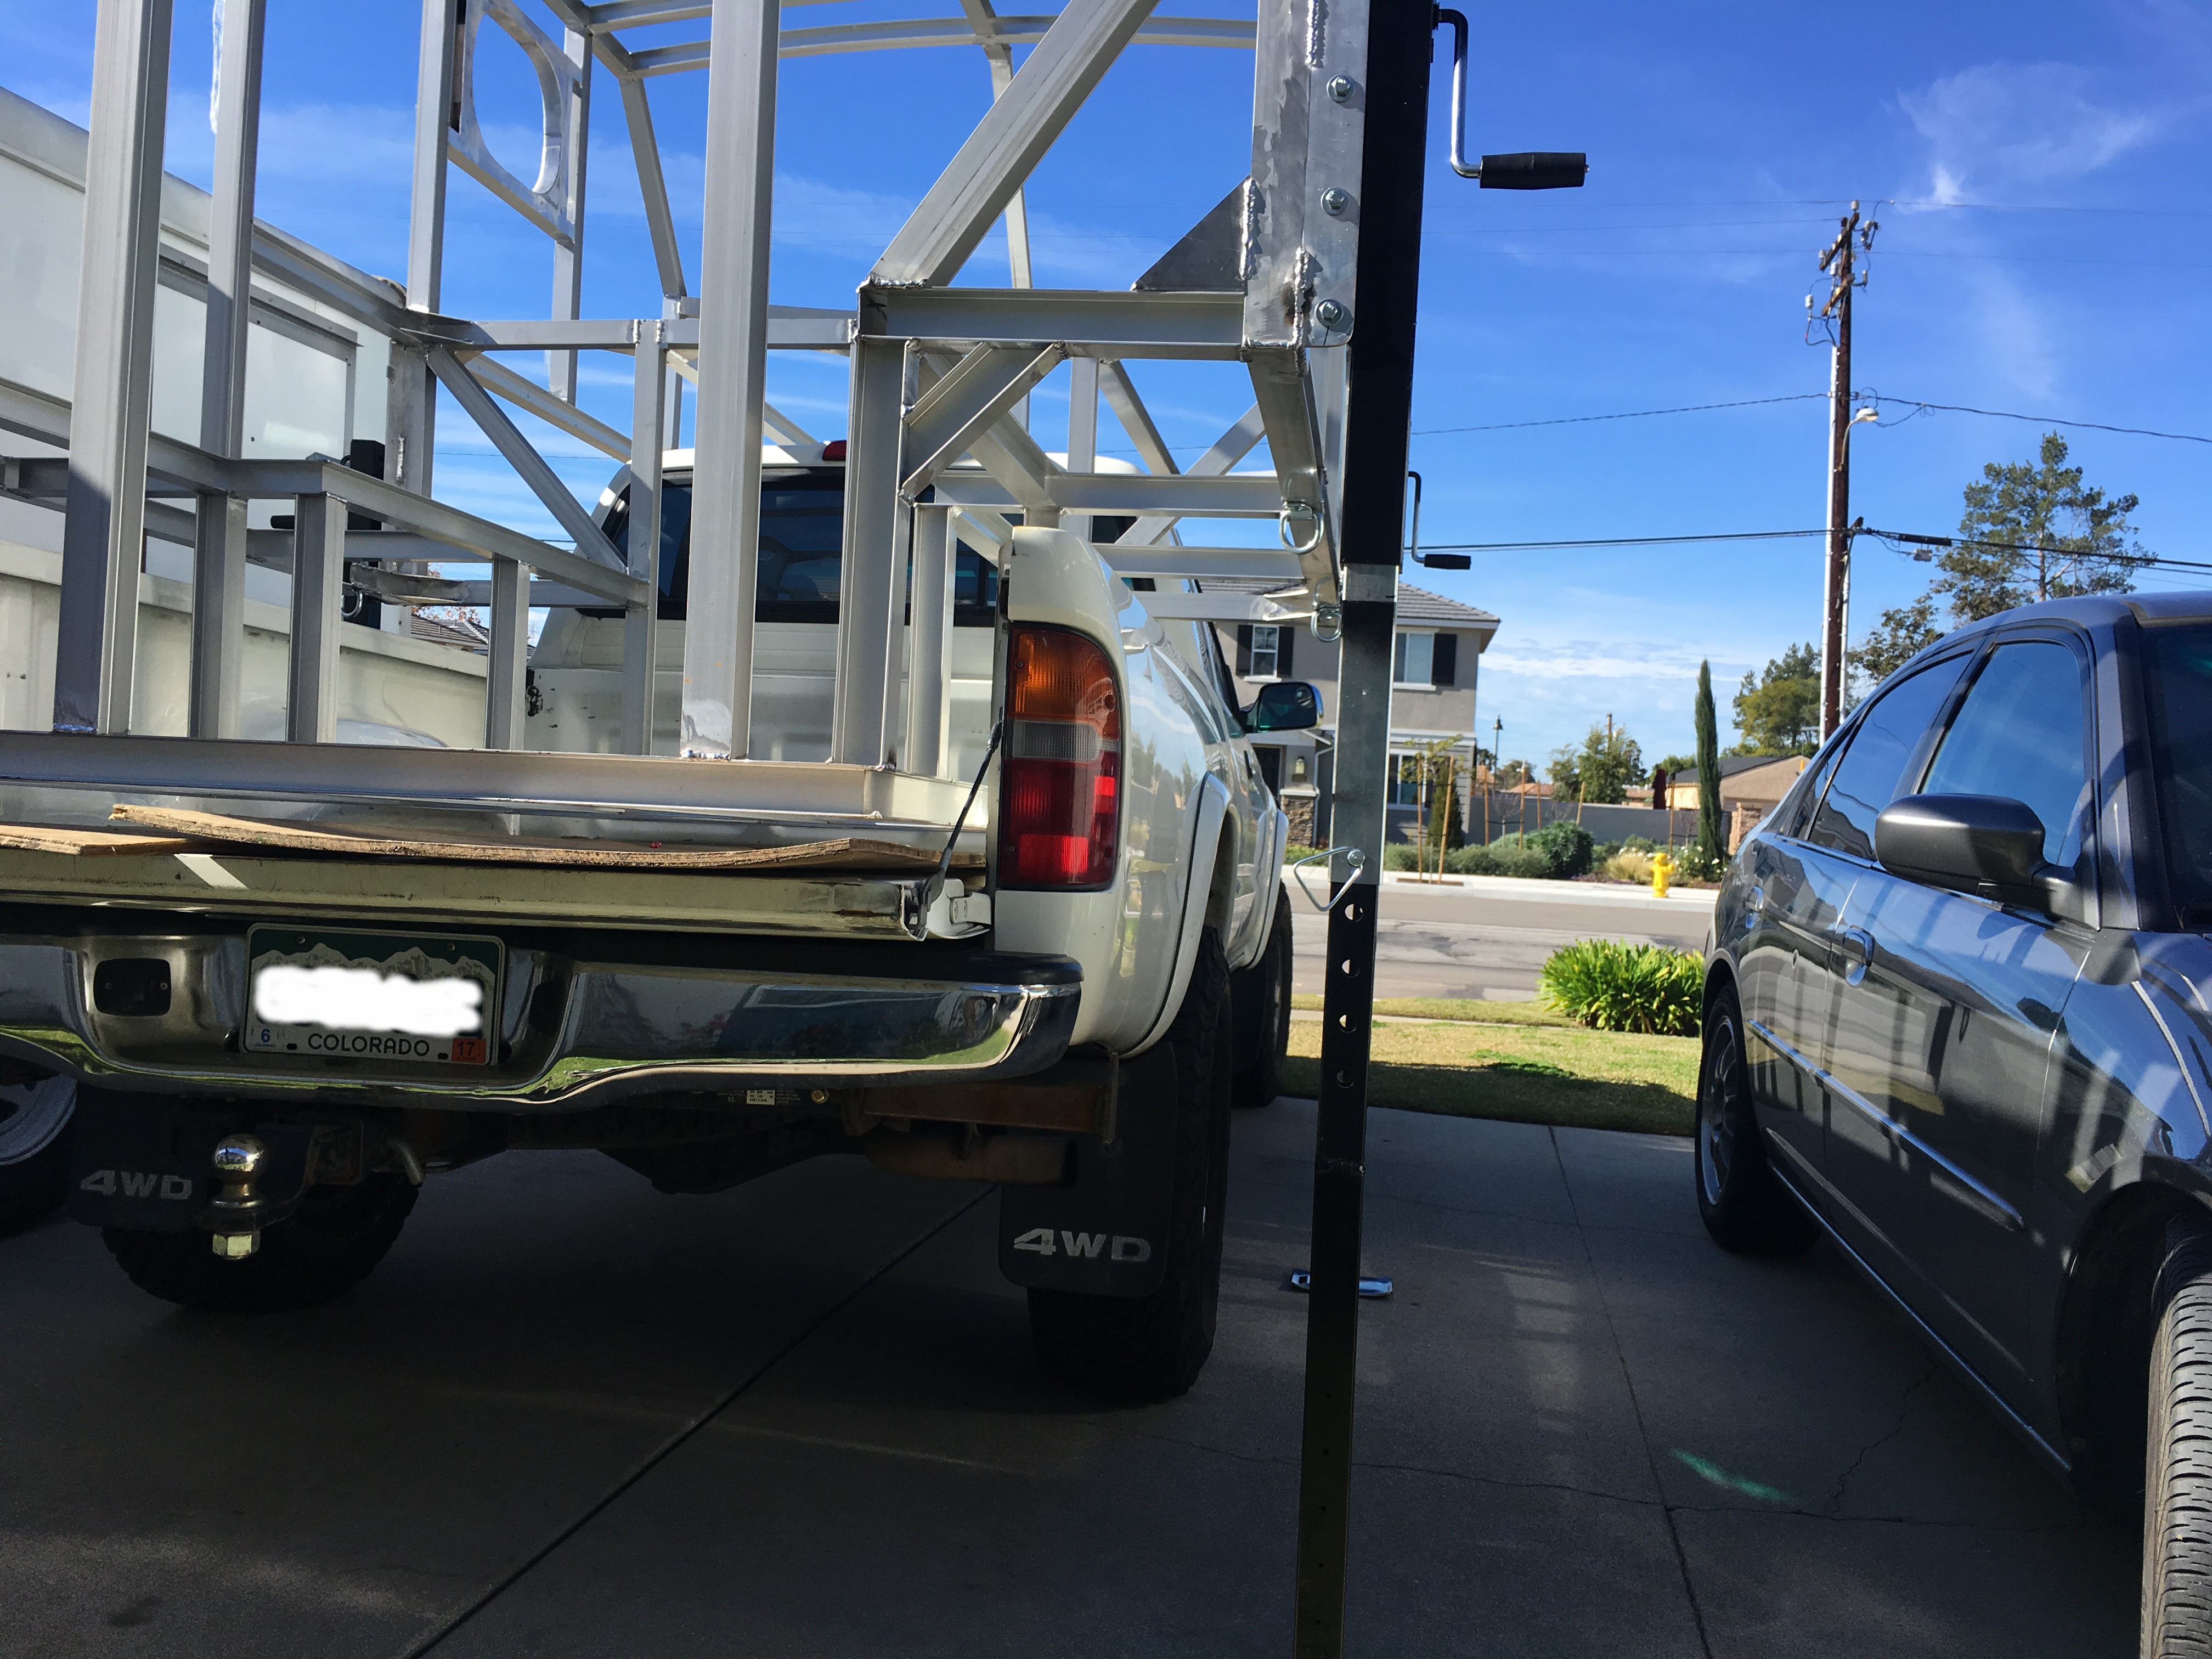
Now that I had my material and permission from the boss to use the equipment on the weekends and after work I started putting the frame together. I started with the floor then welded in the uprights. I next built the side walls separately on the table then welded them to the uprights.
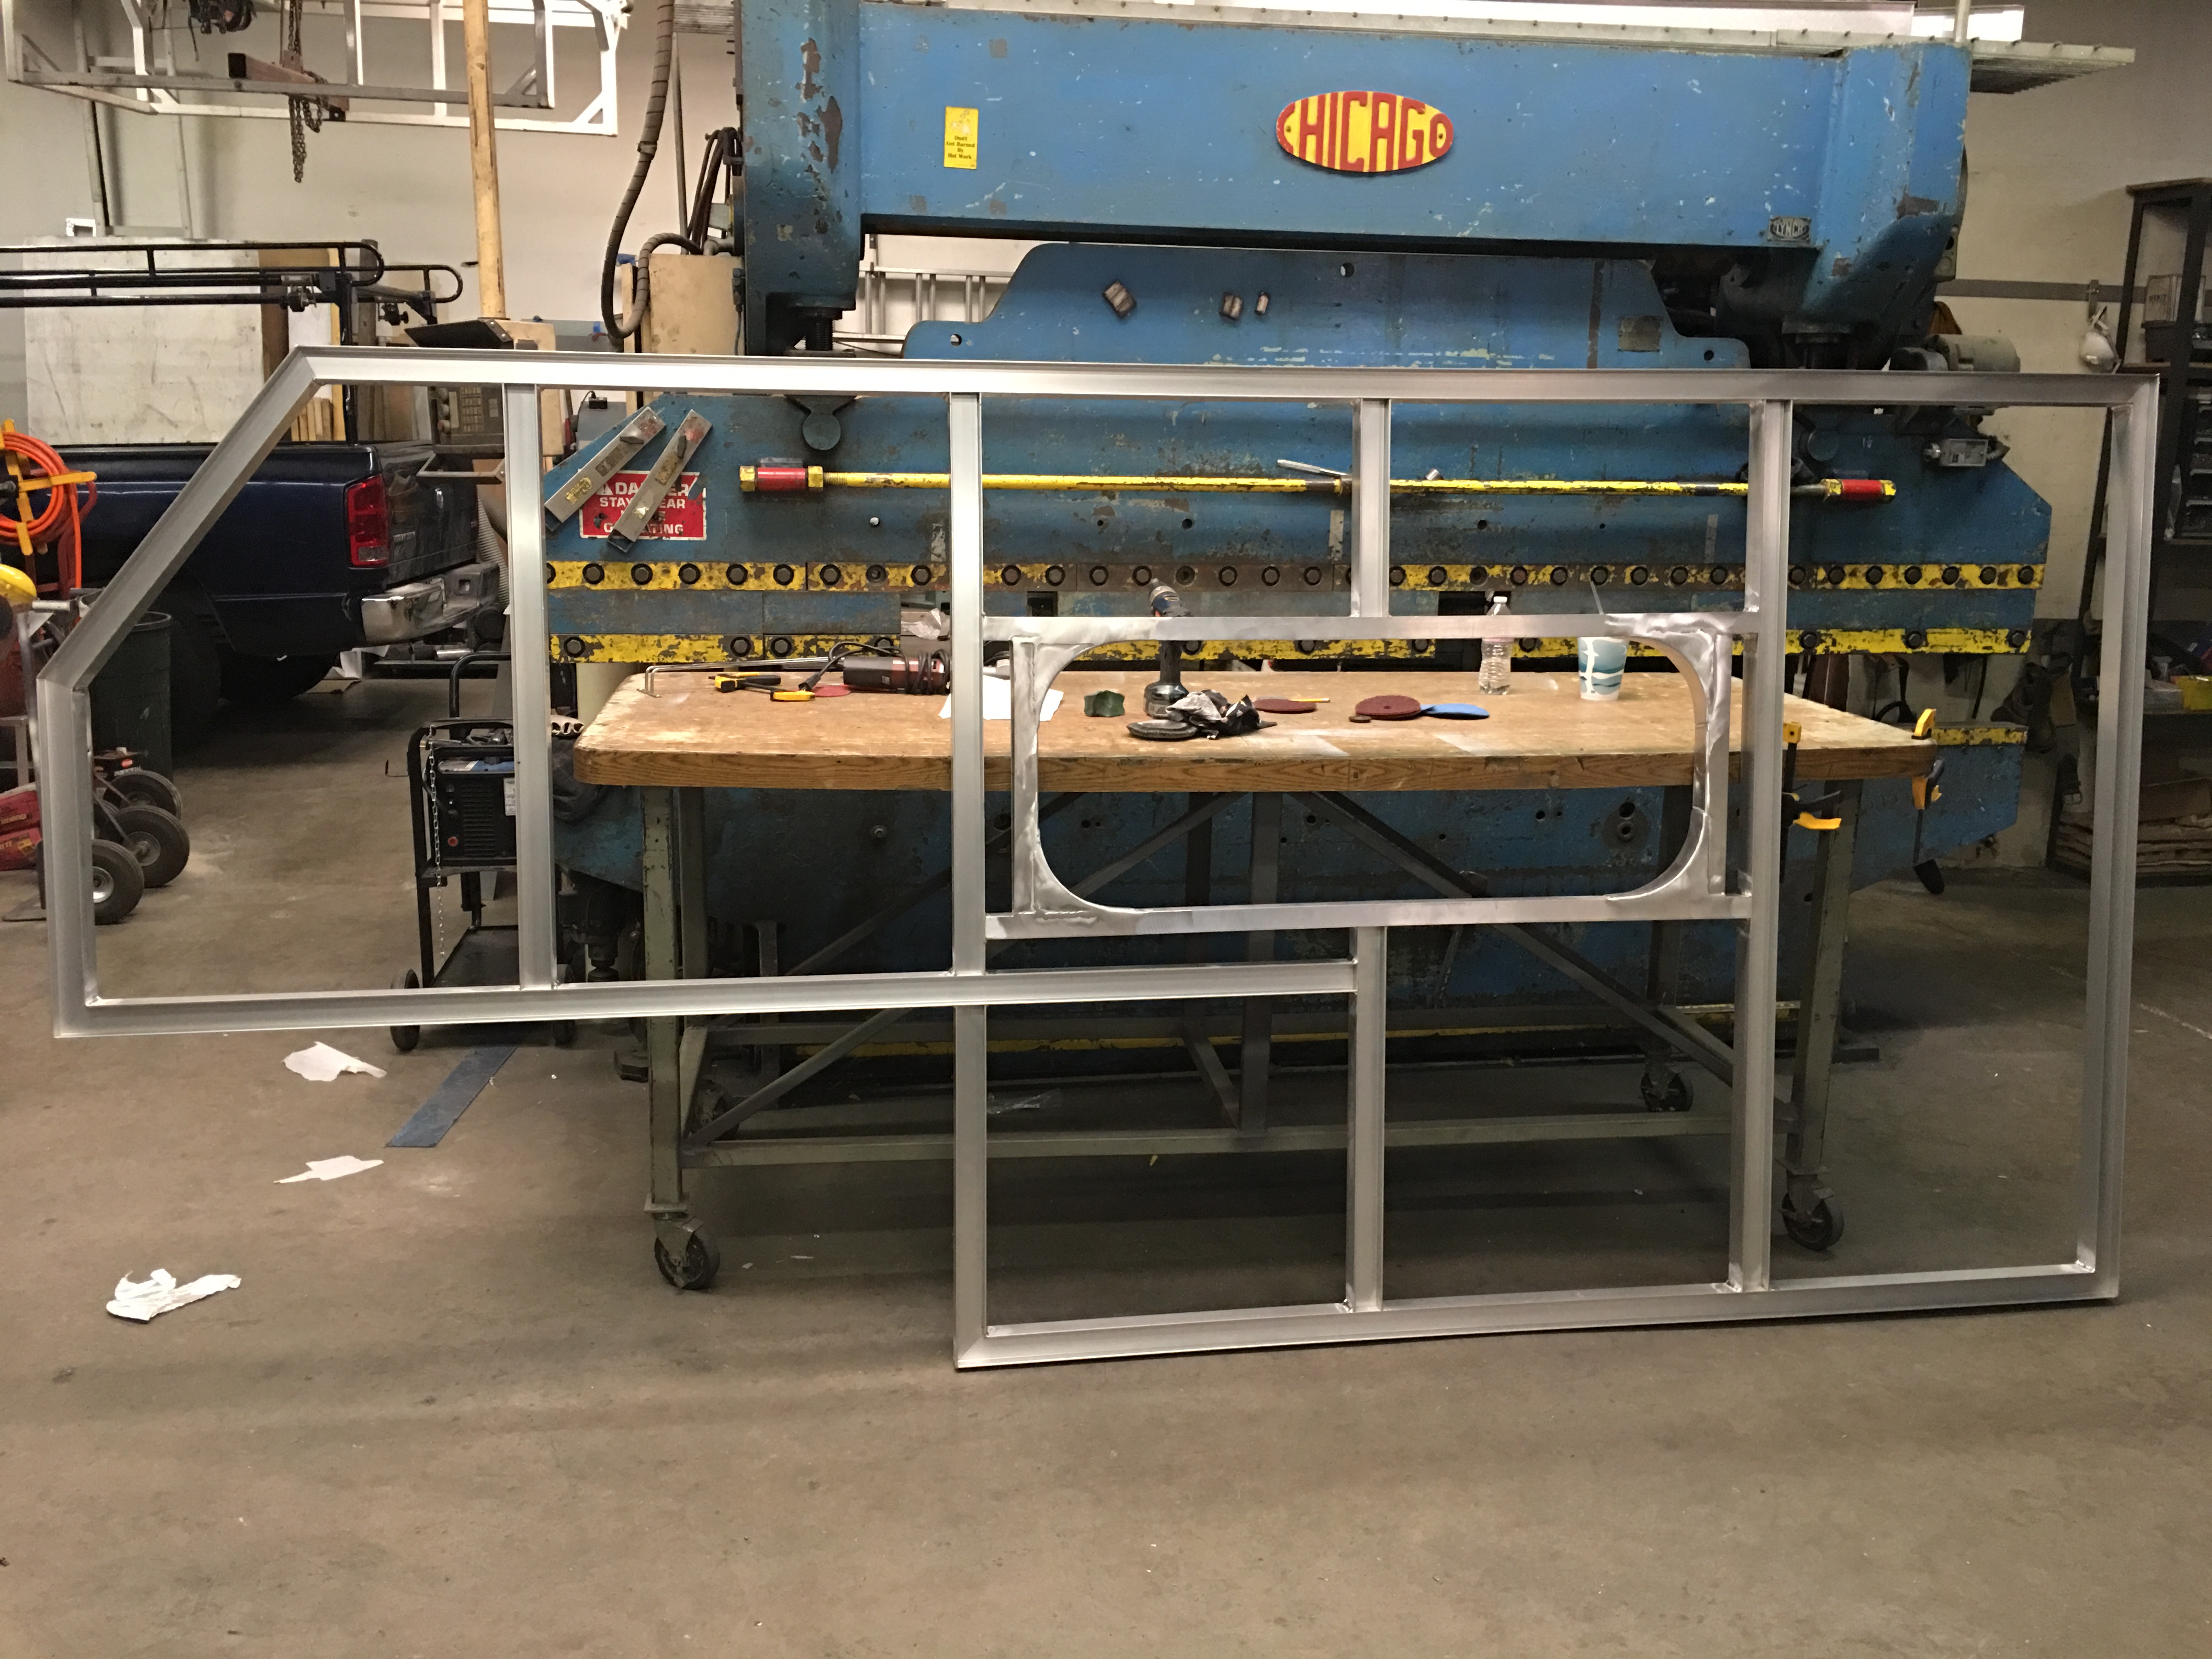
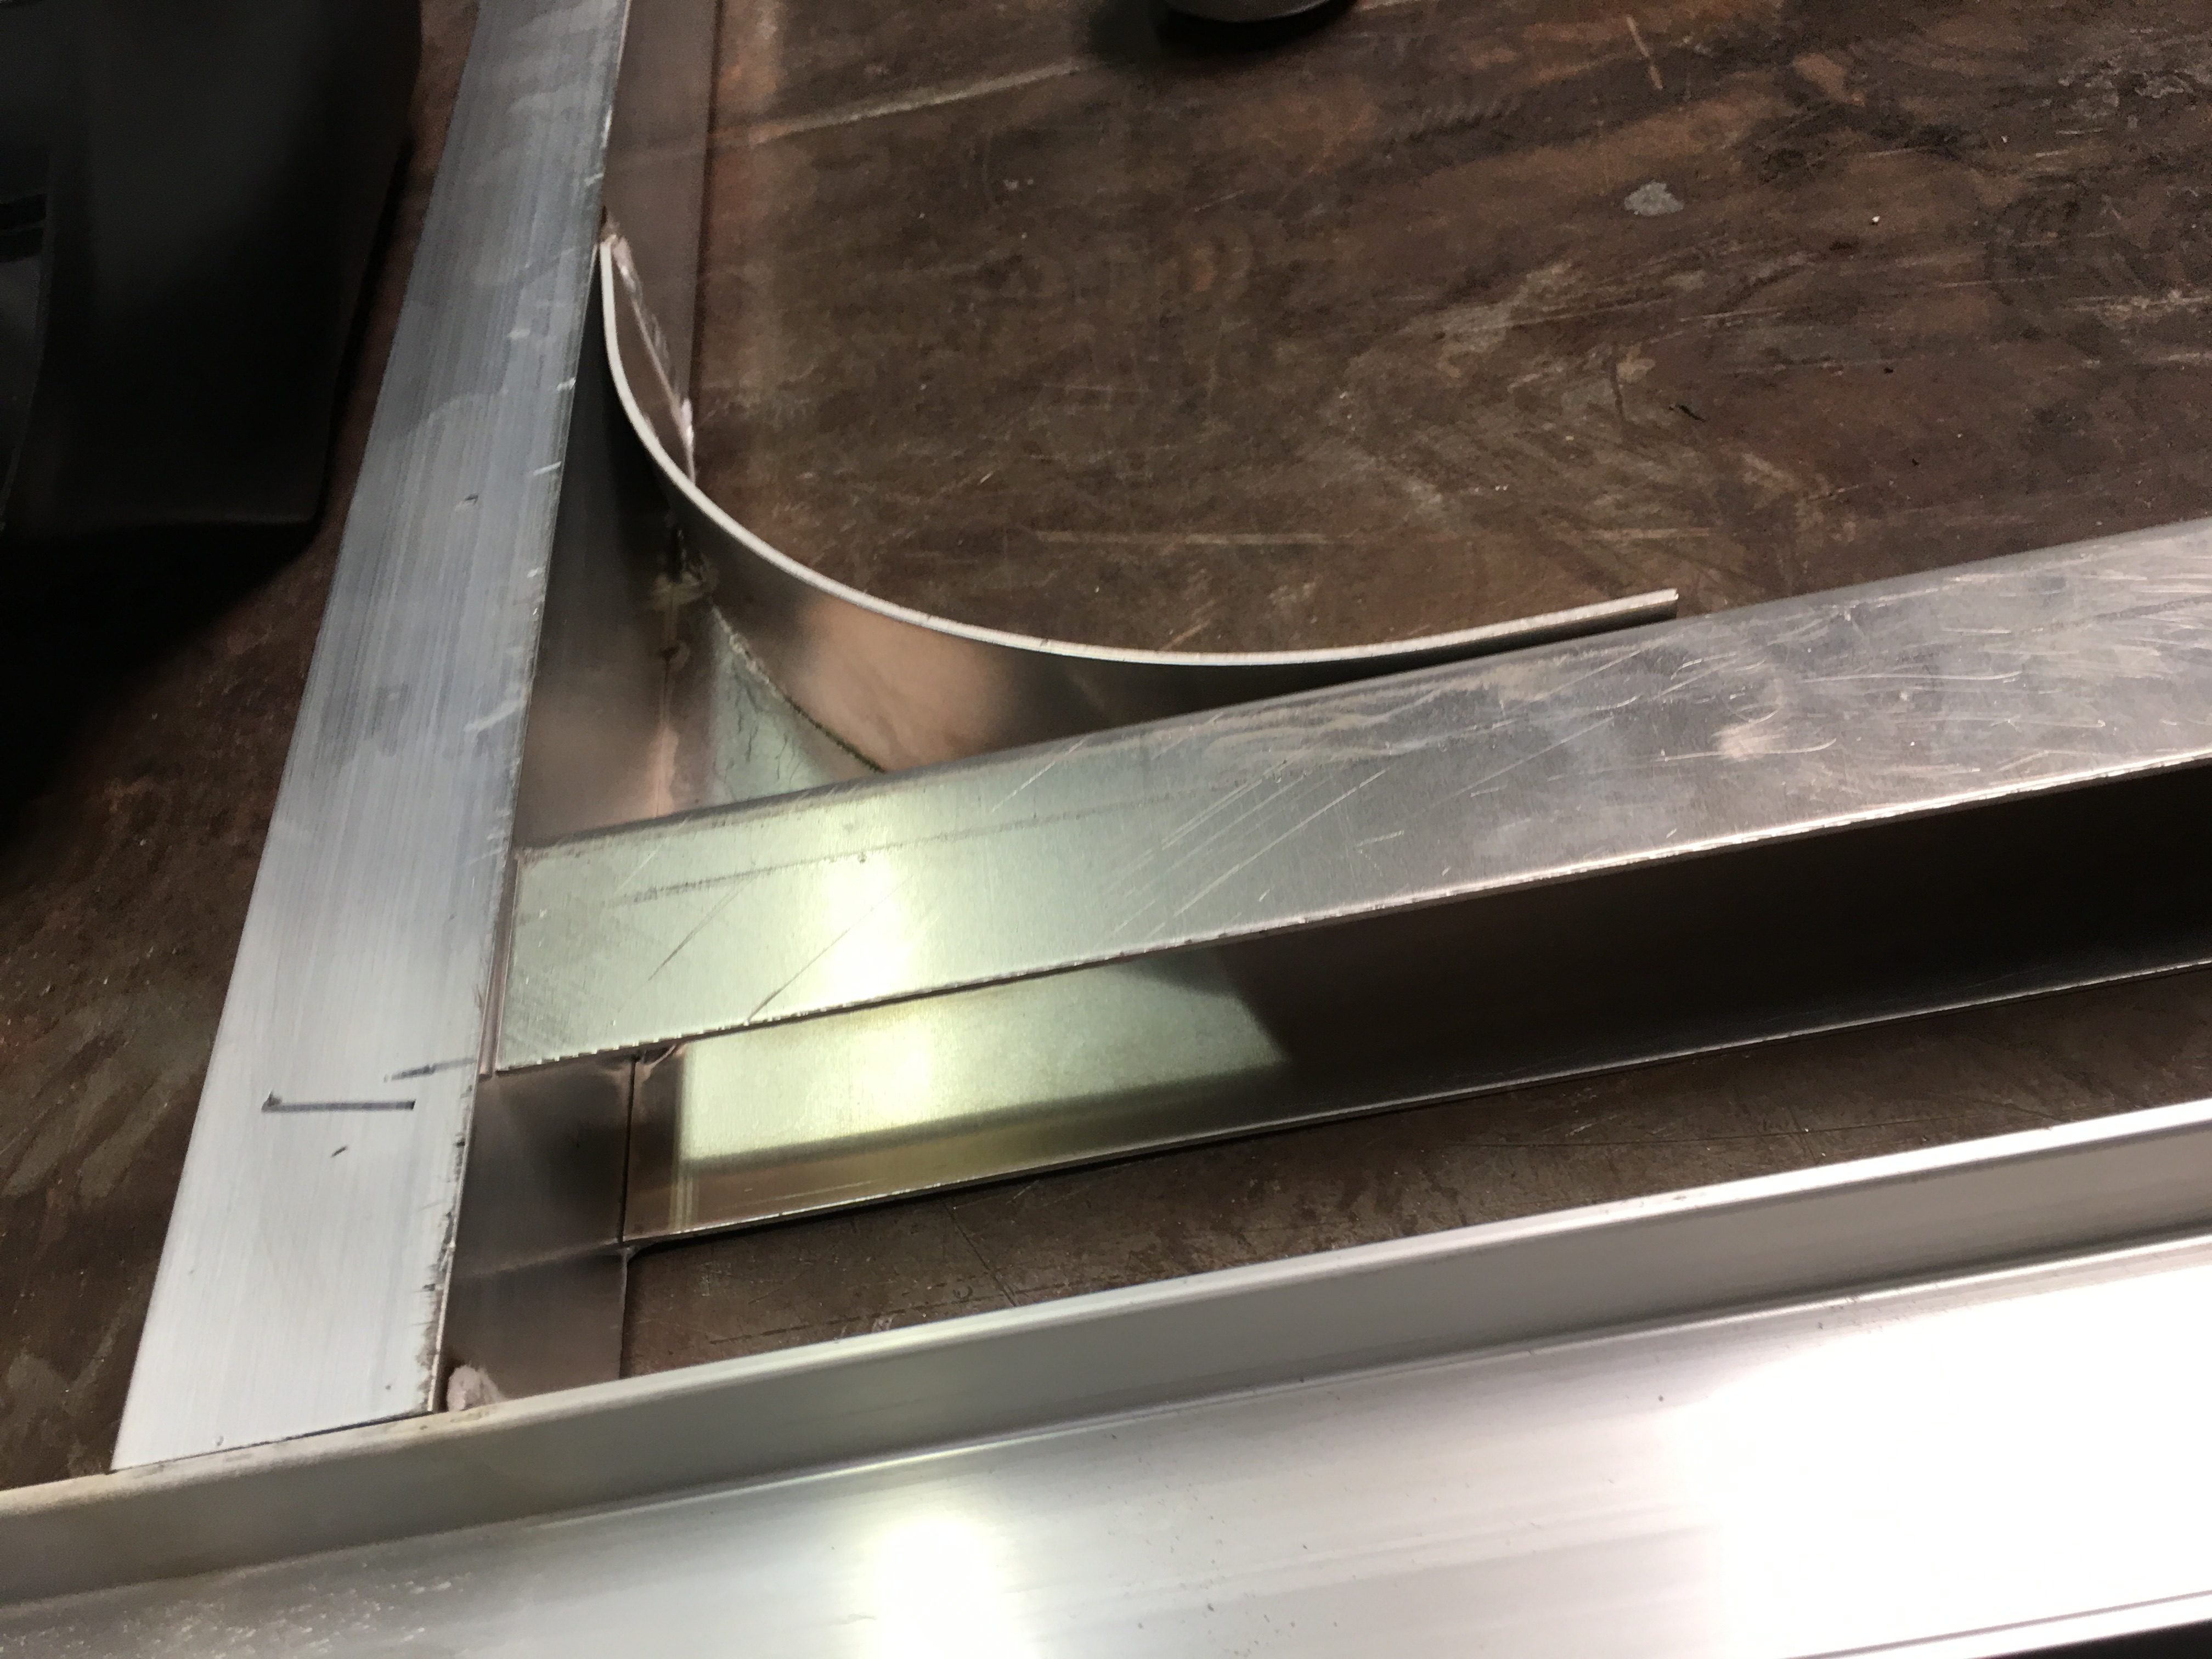
I gave a lot of thought to the windows and priced out buying some rv windows, even used they were expensive. I intend to move back to Colorado once this is done and winter is my favorite time of year to be outside so I wanted to design a window that would have an insolating value. I decided to use 1/4″ thick Plexiglas and mount an inner and outer pane with an airgap in-between. I build the window frame into the camper in such a way I could use spray foam and get all the way back into the gaps. I still get some temperature transference through the aluminum but it is pretty well insulated.
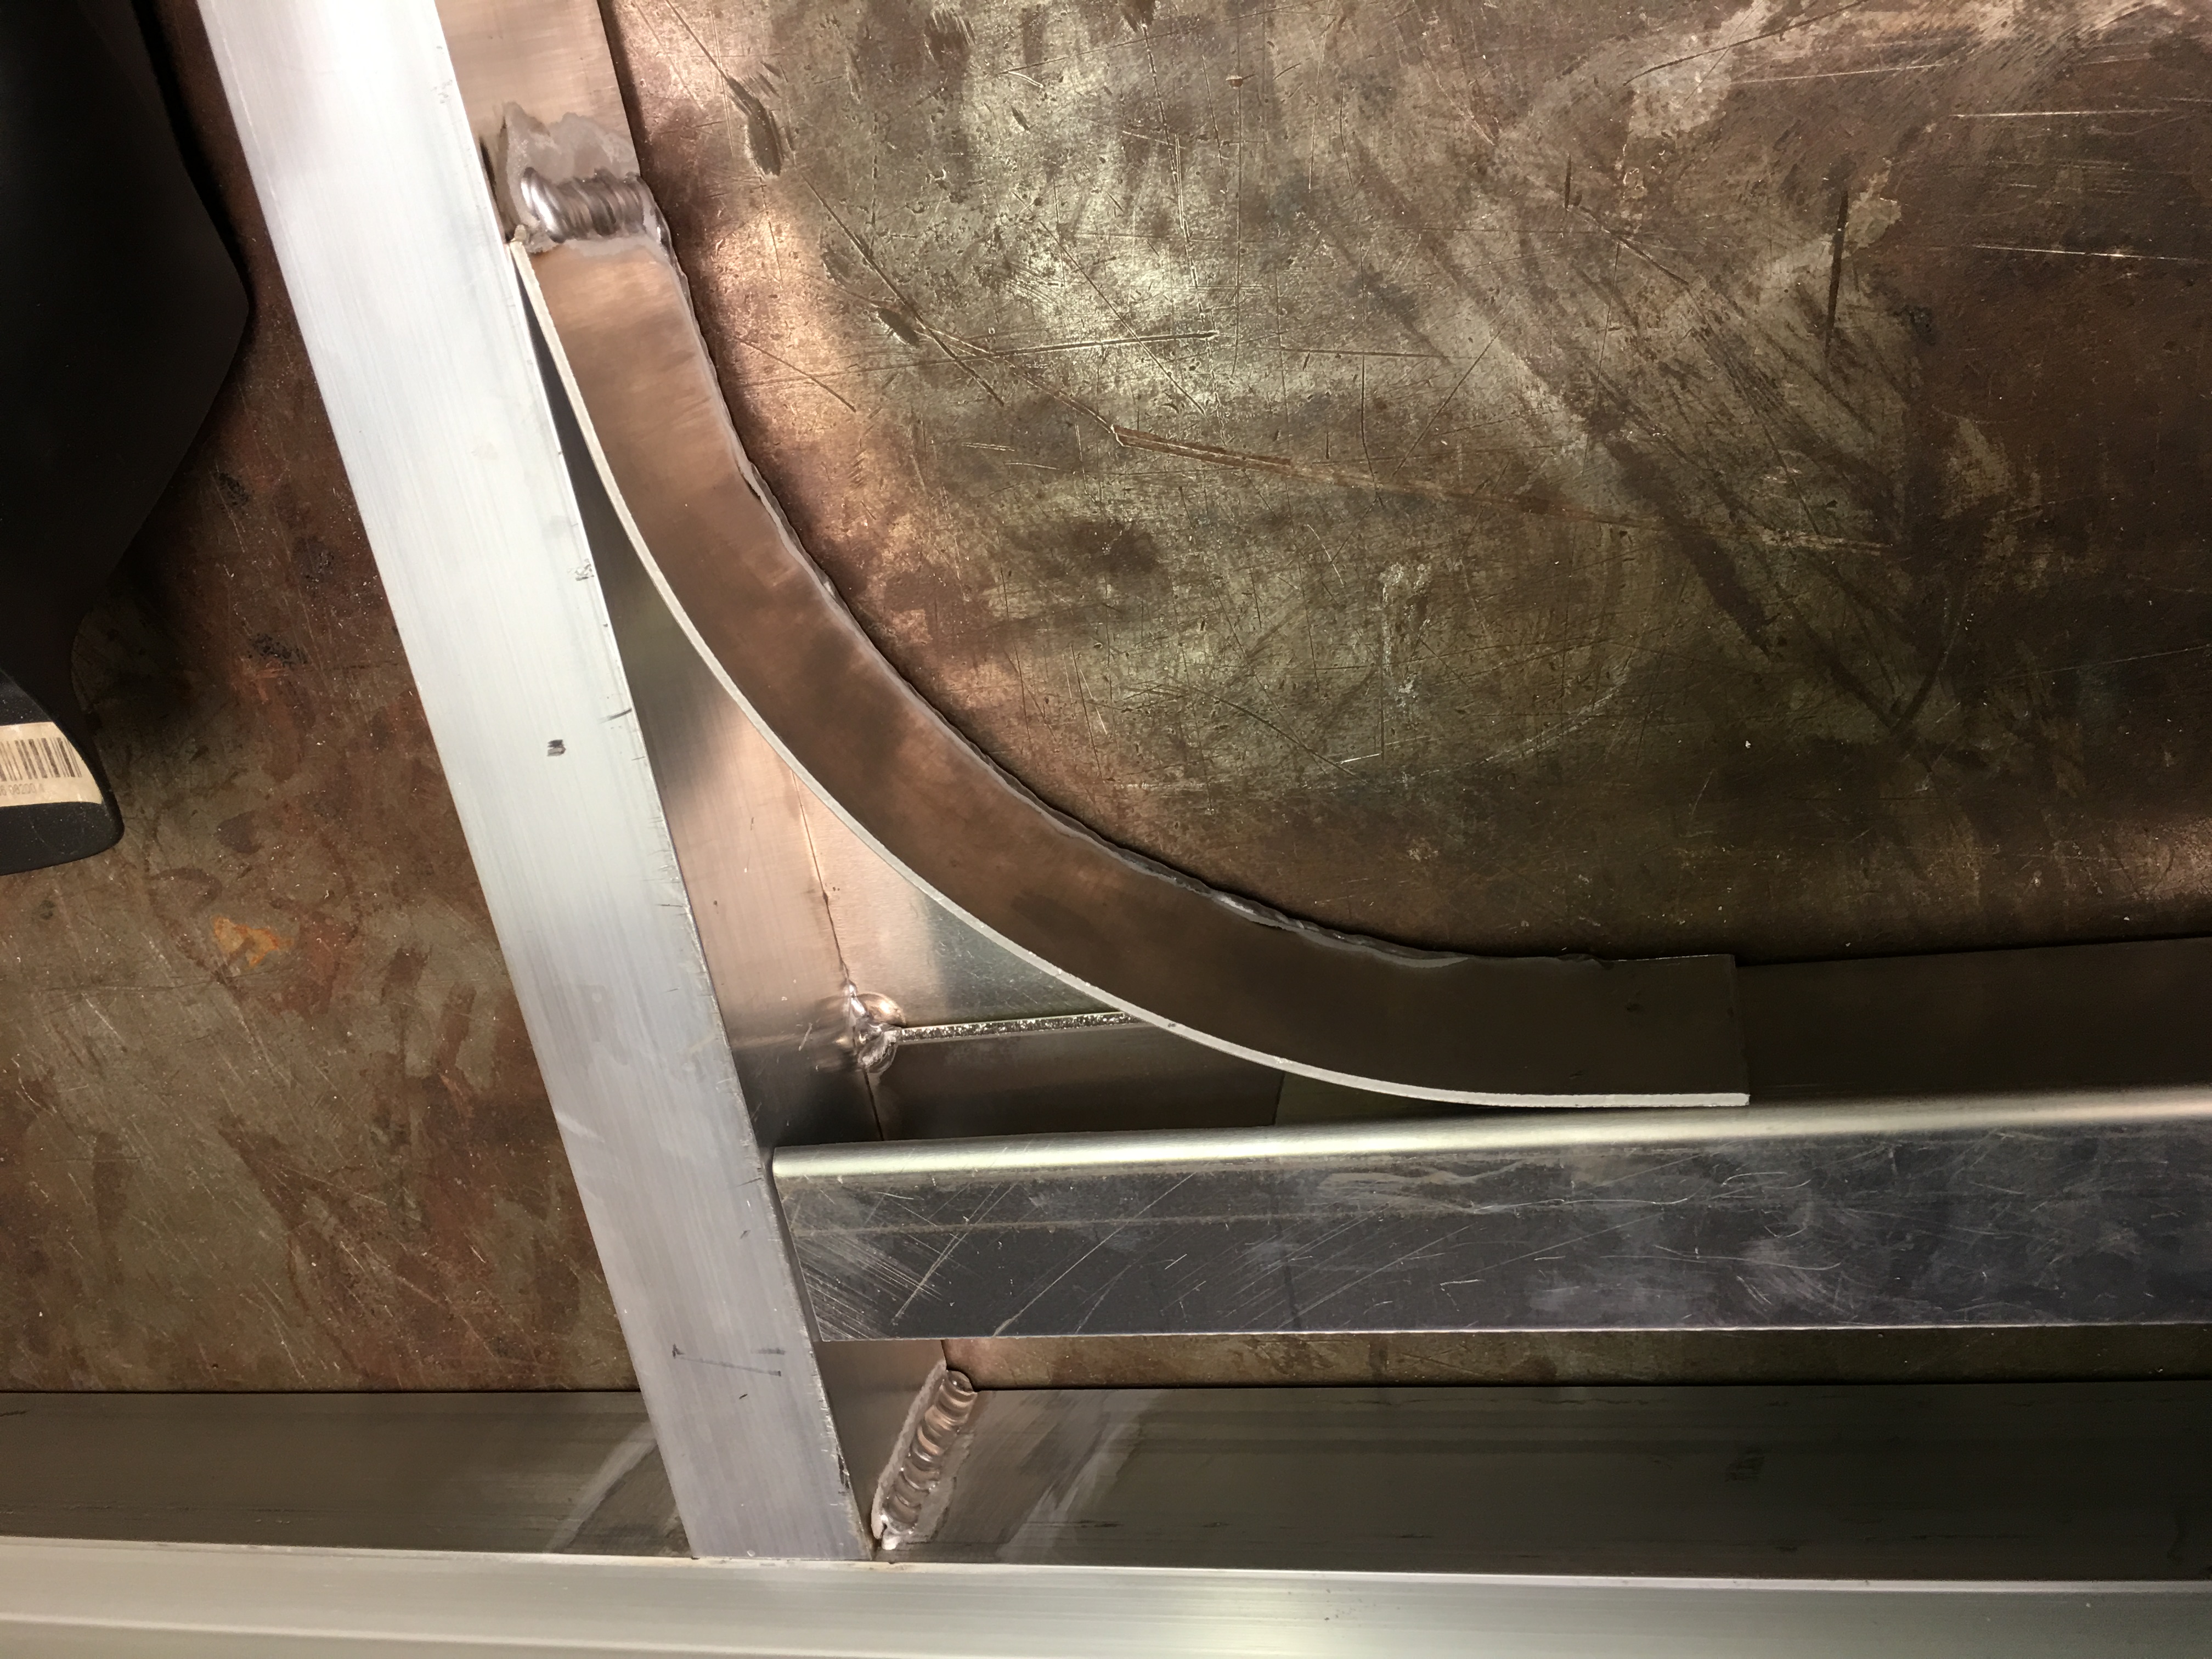
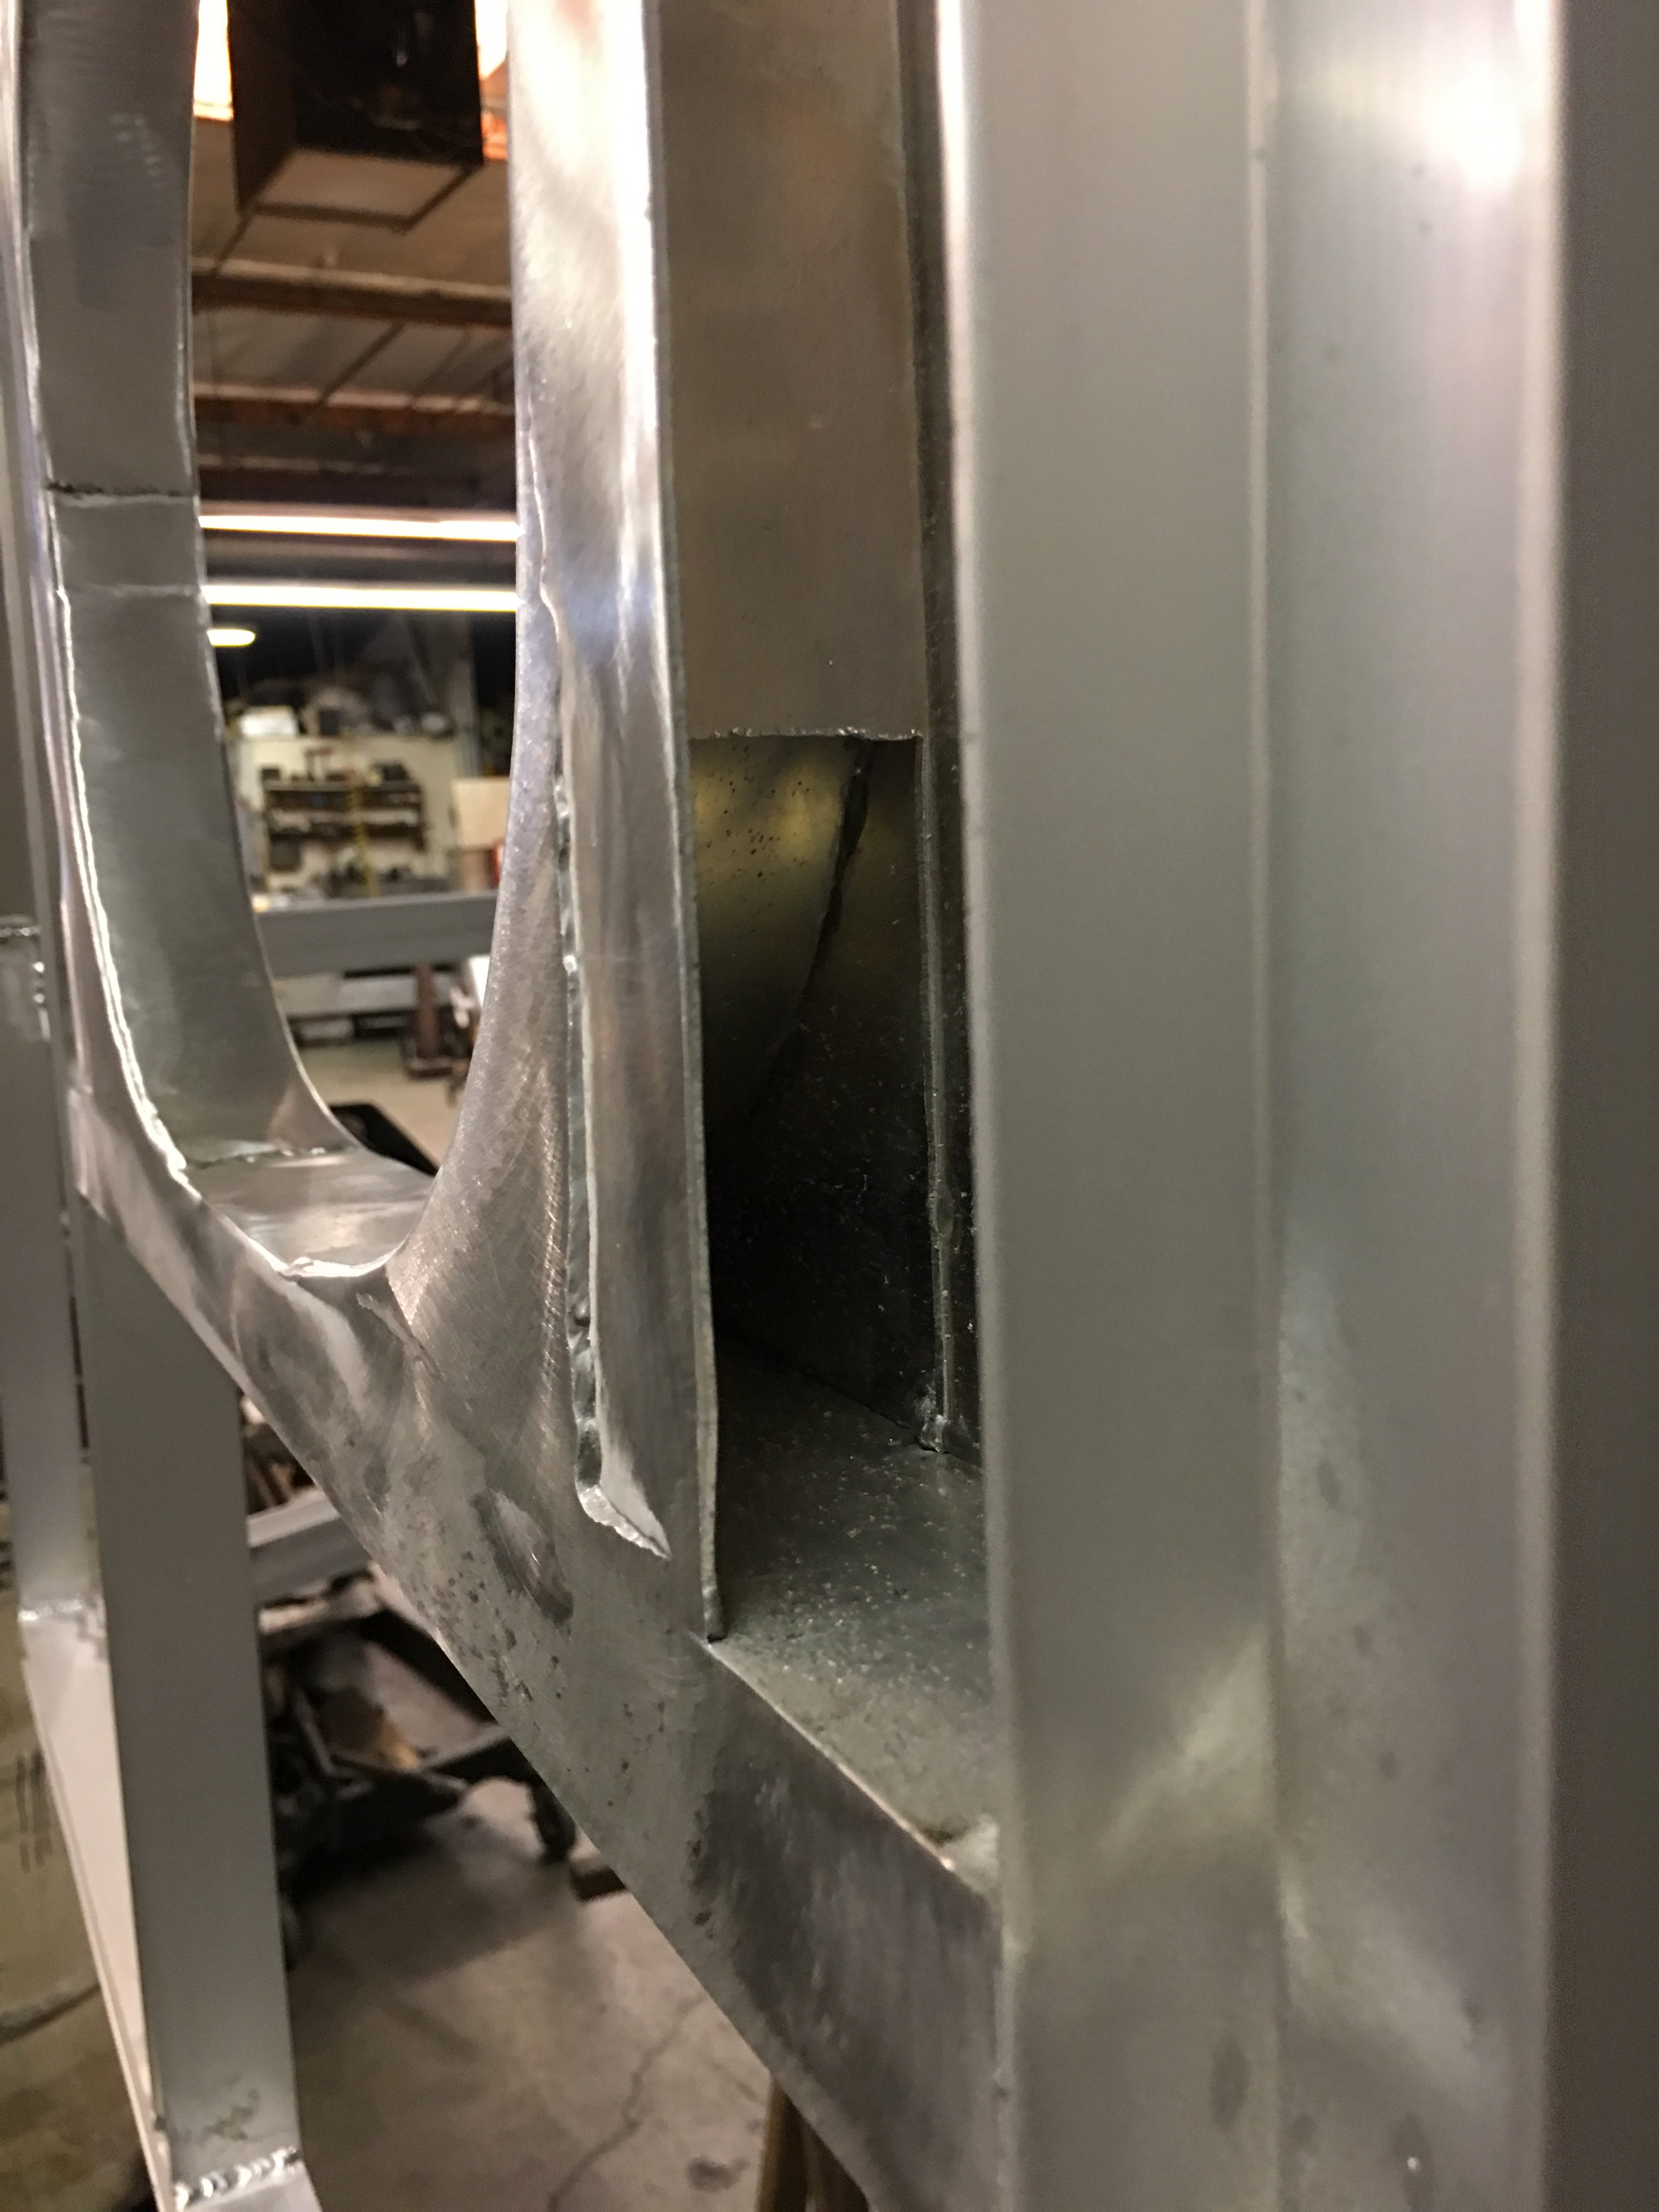
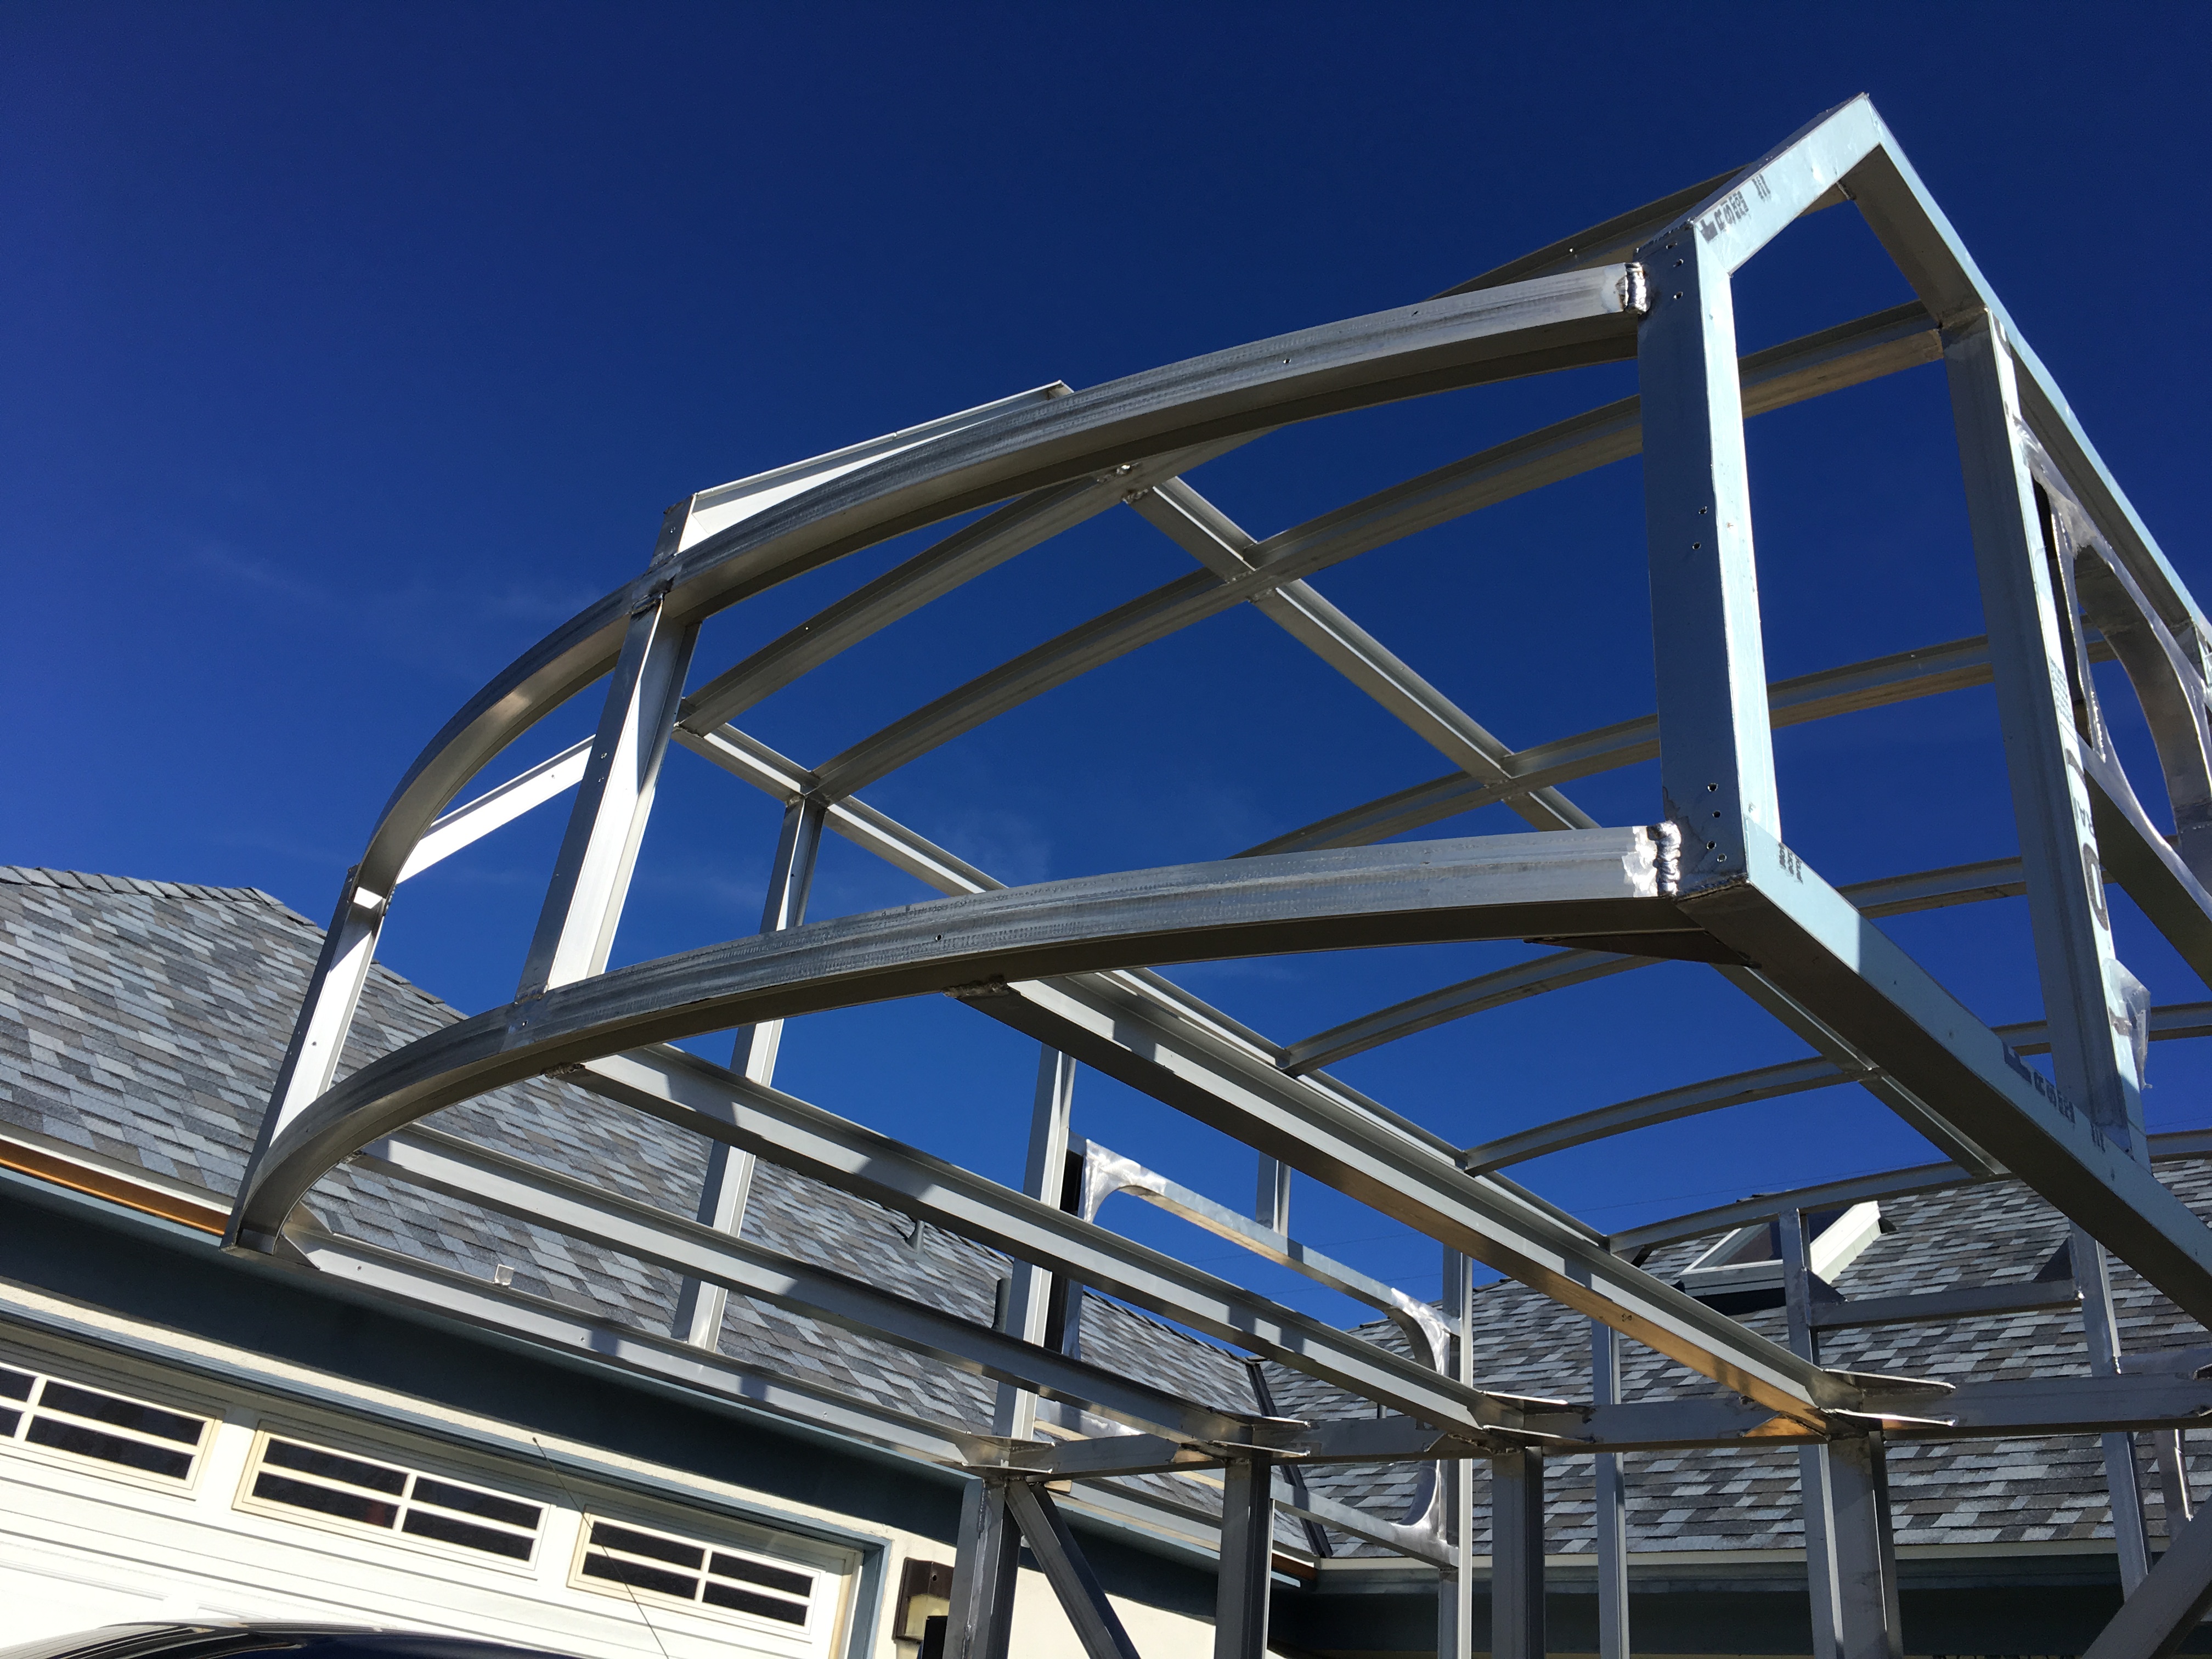
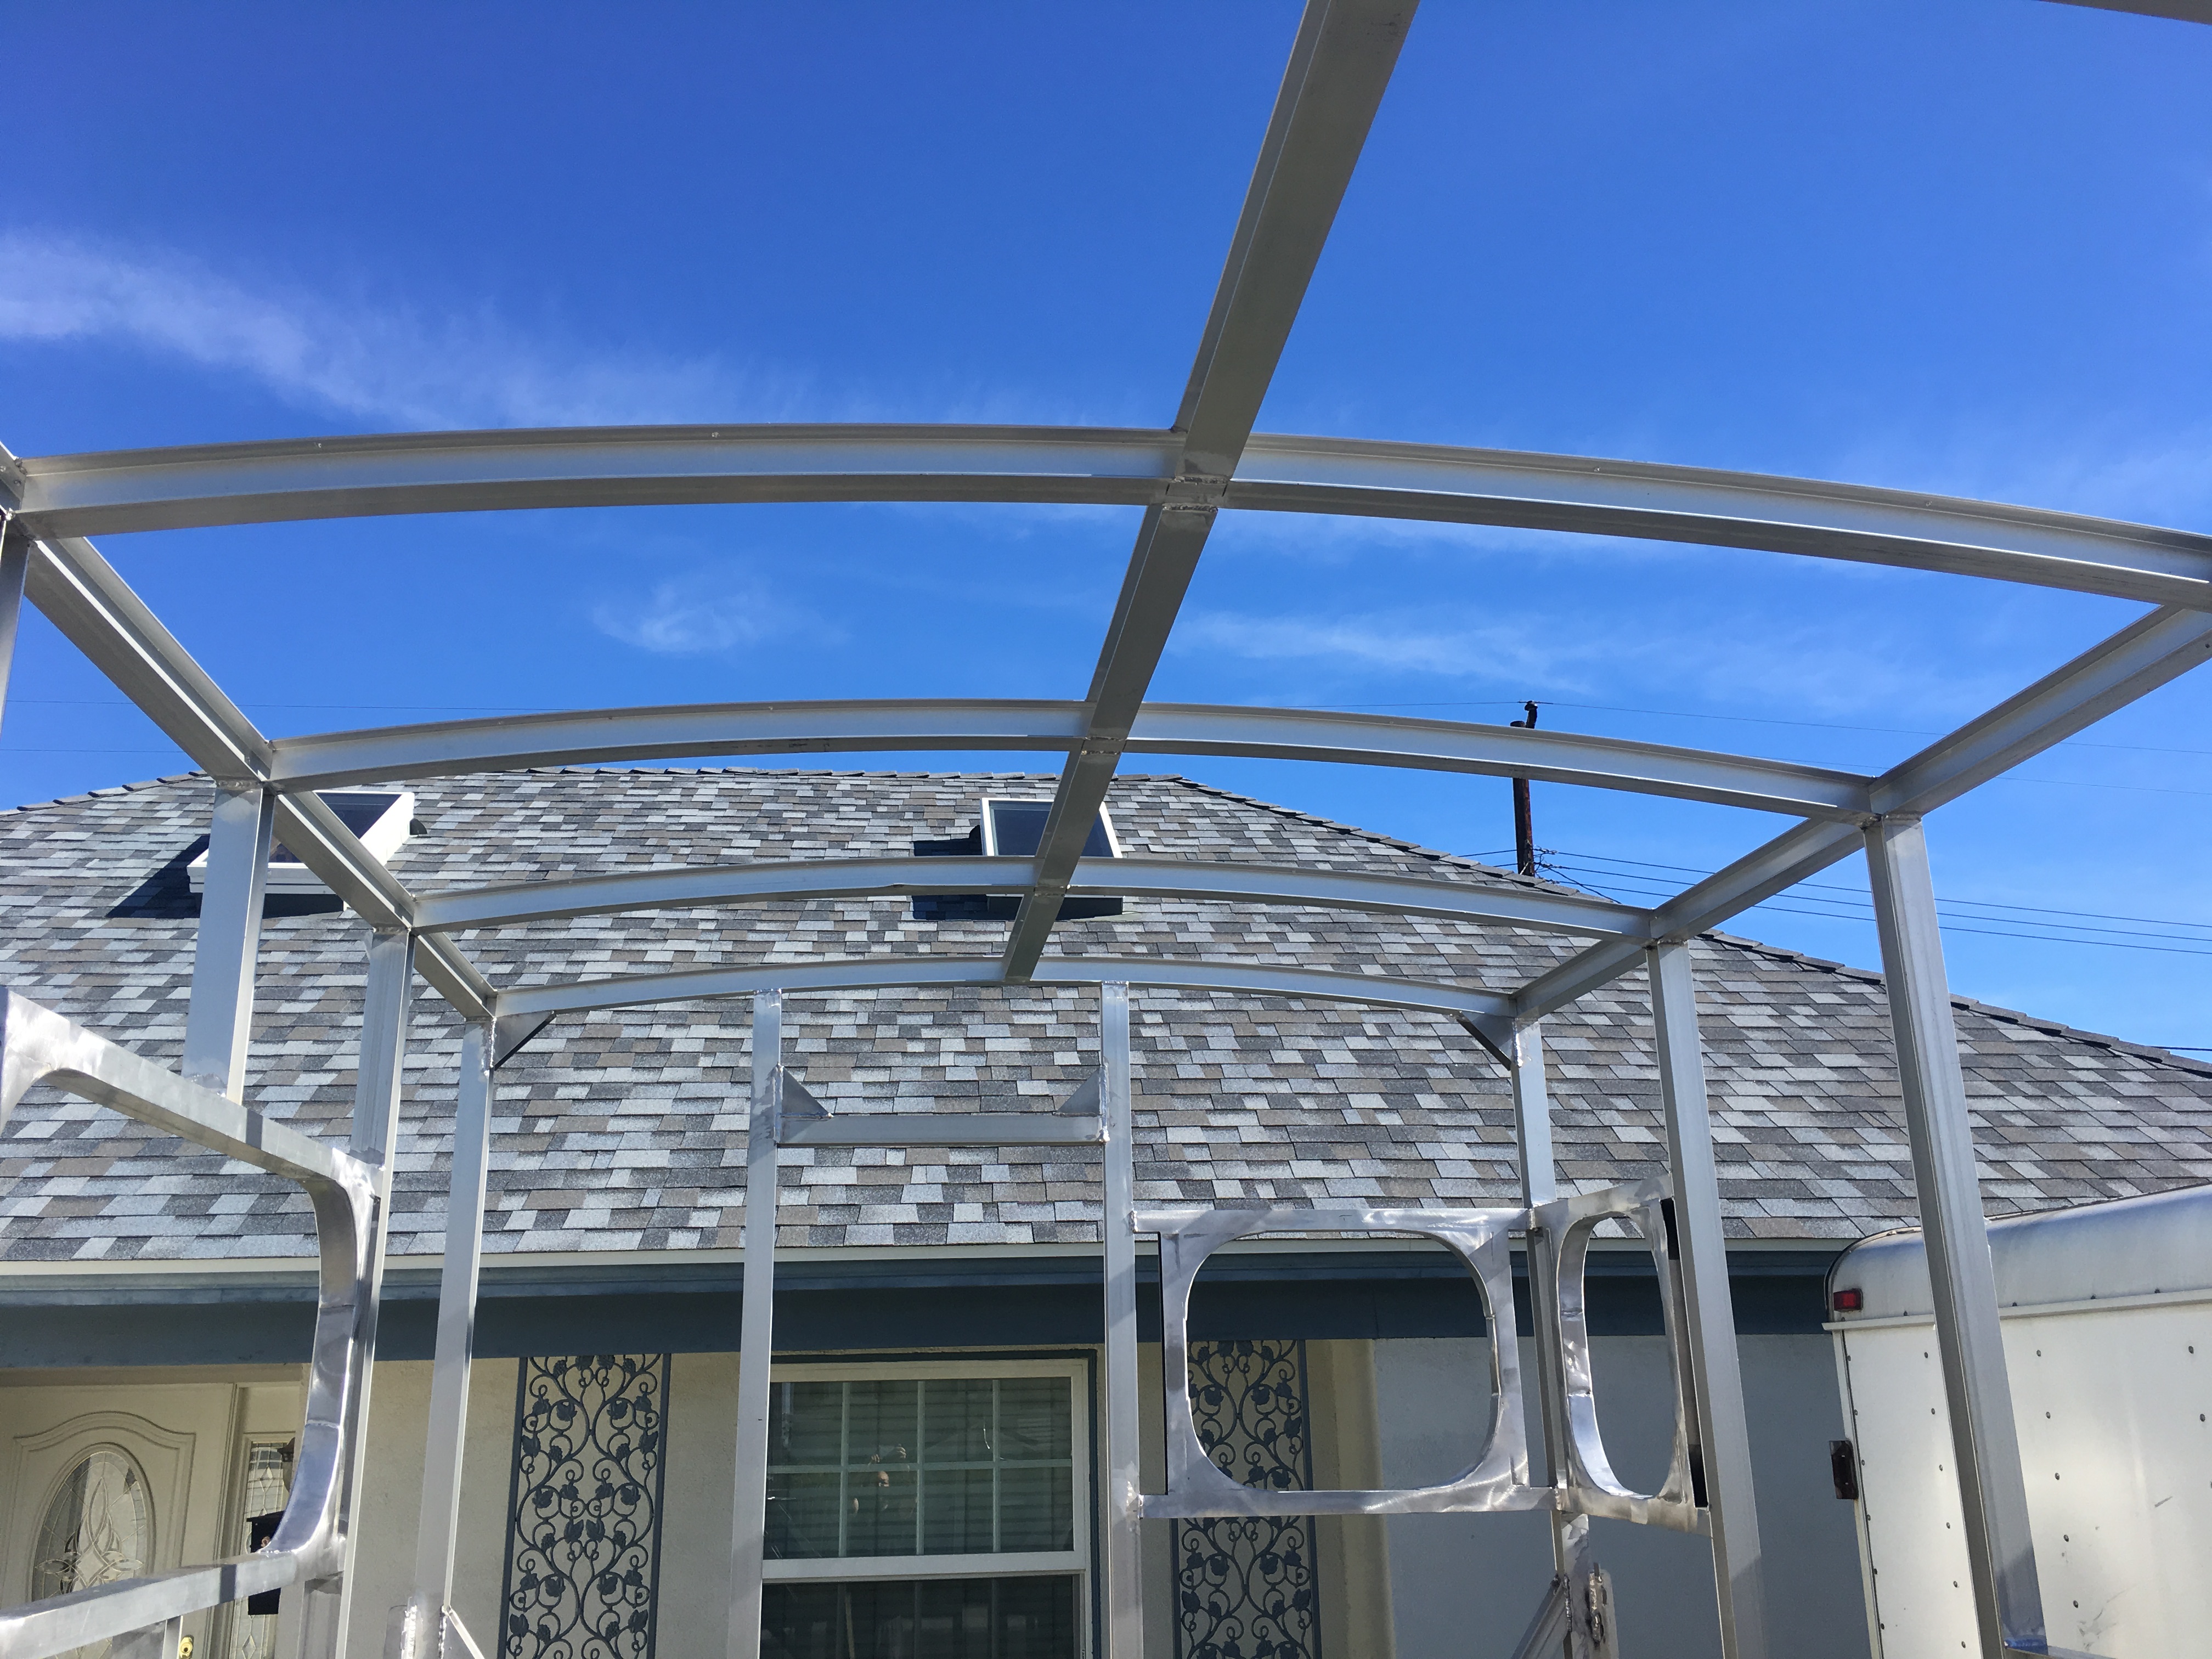
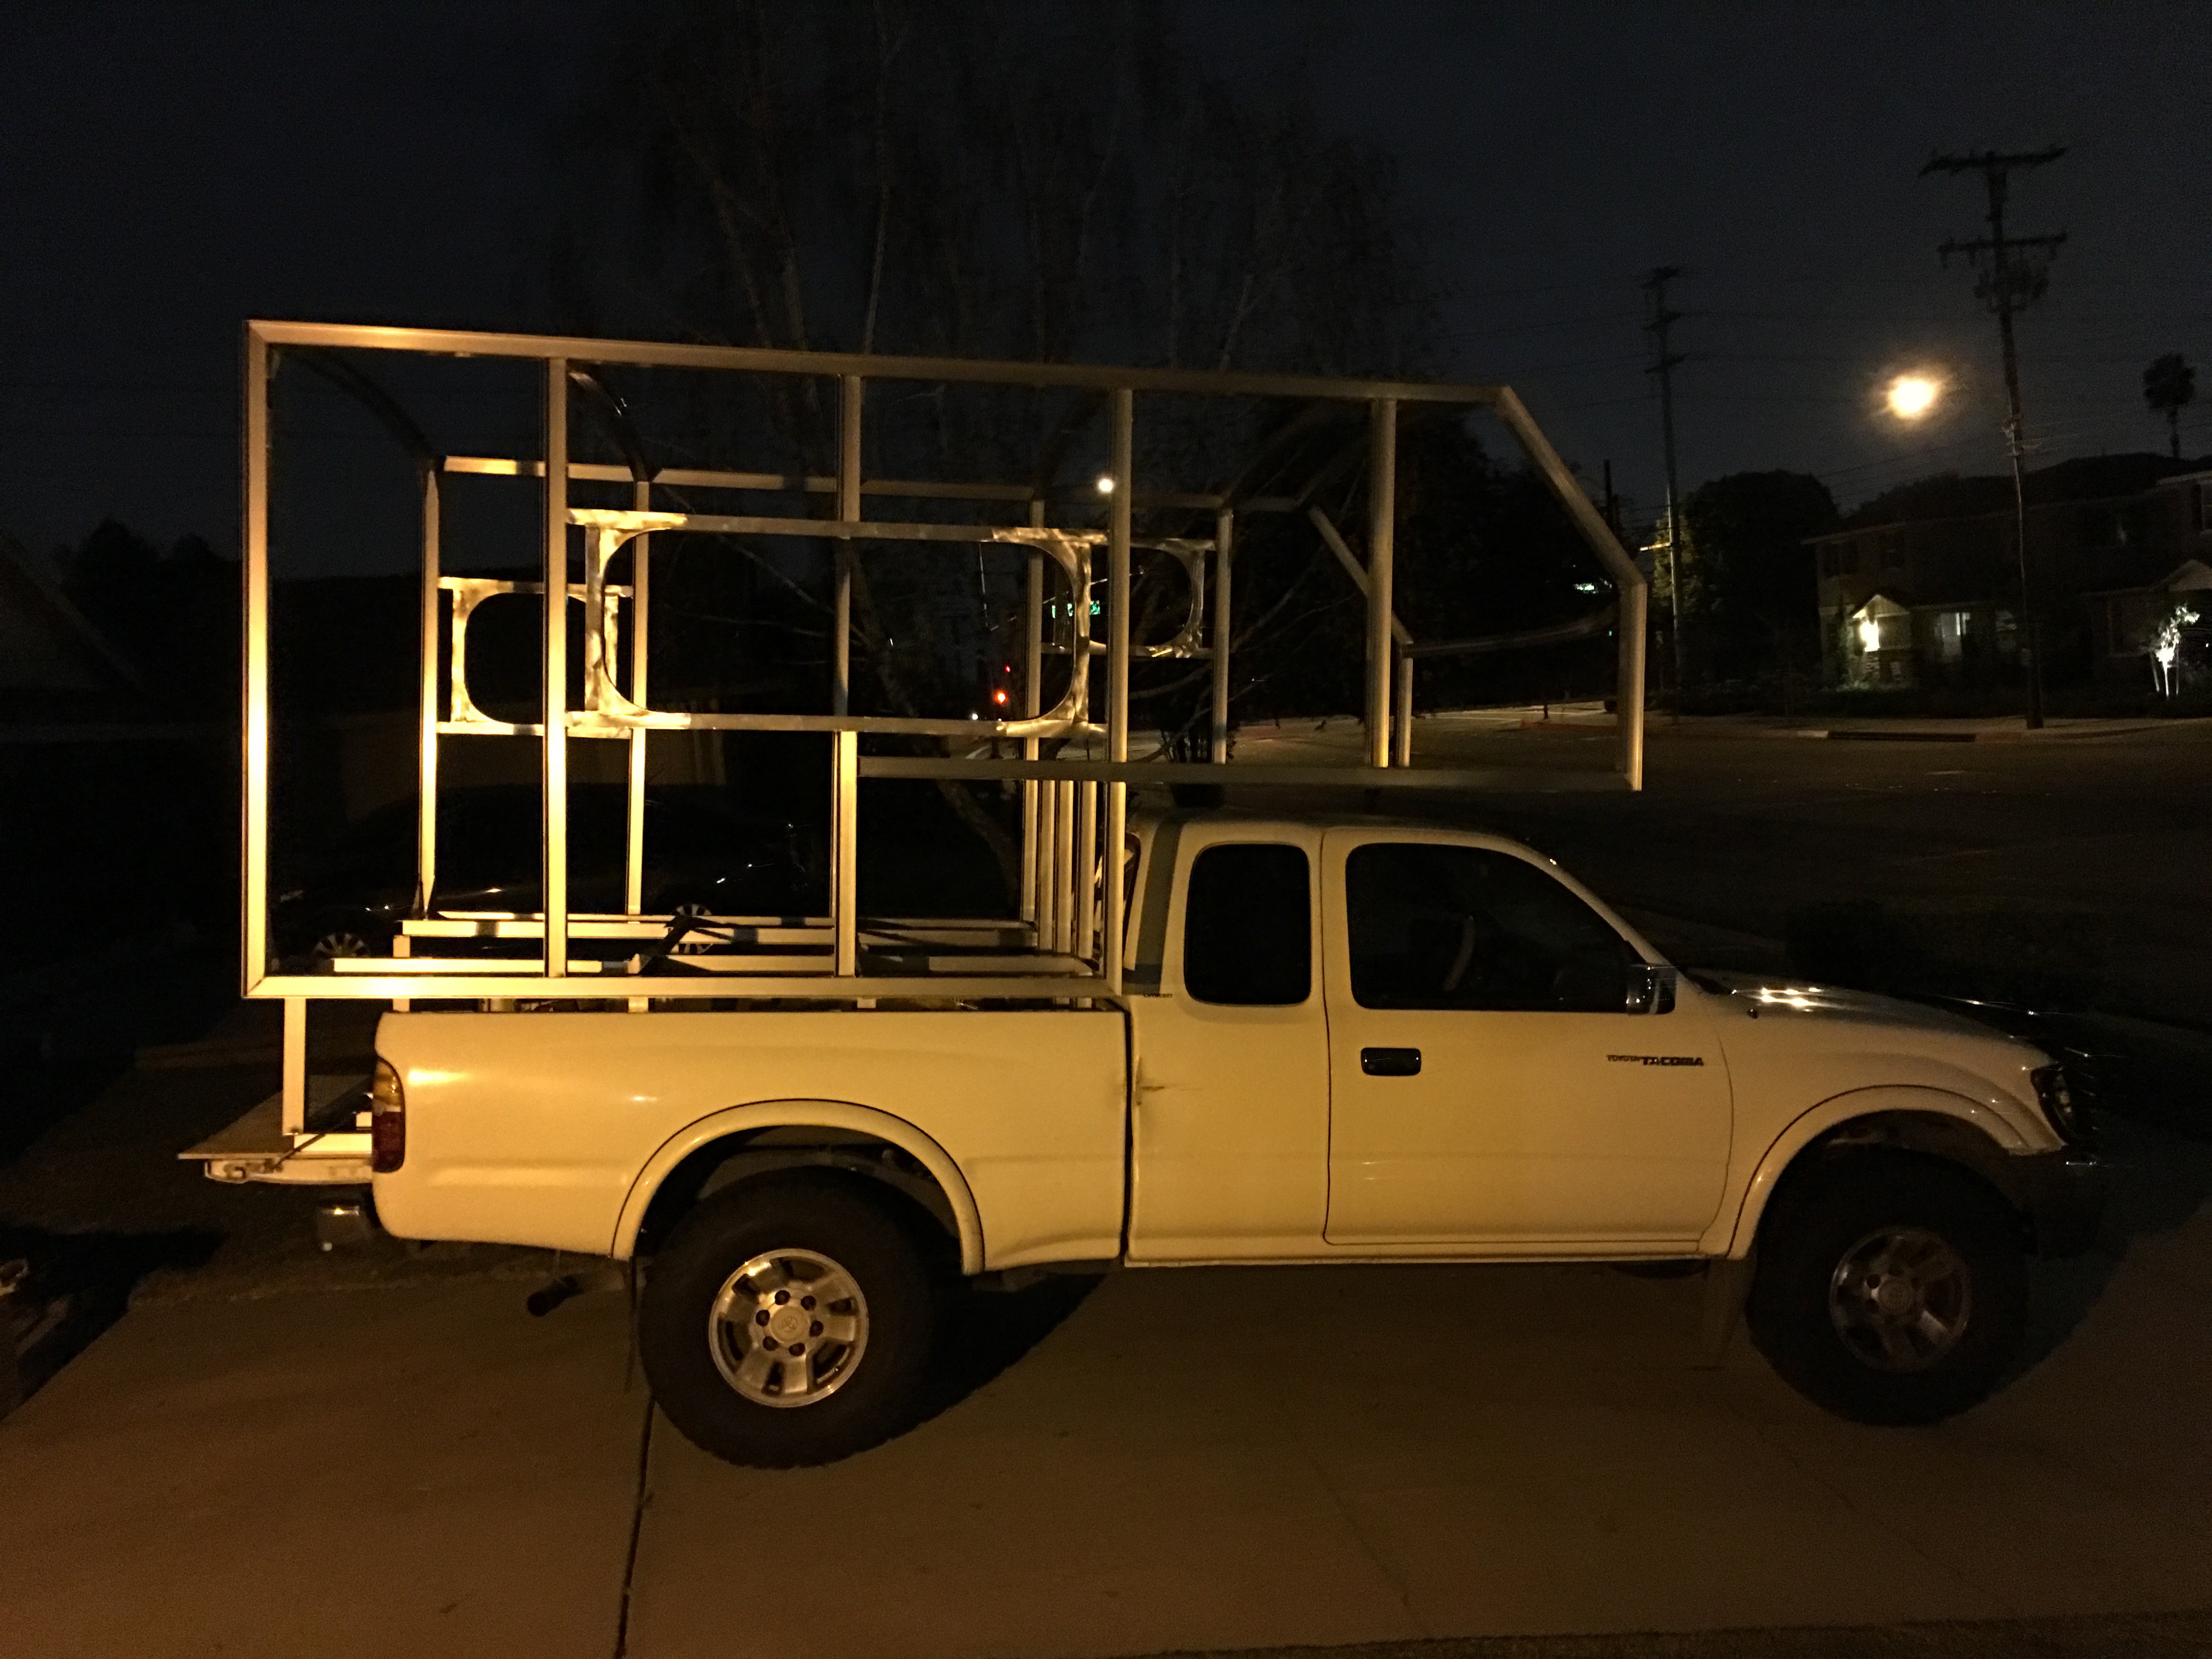
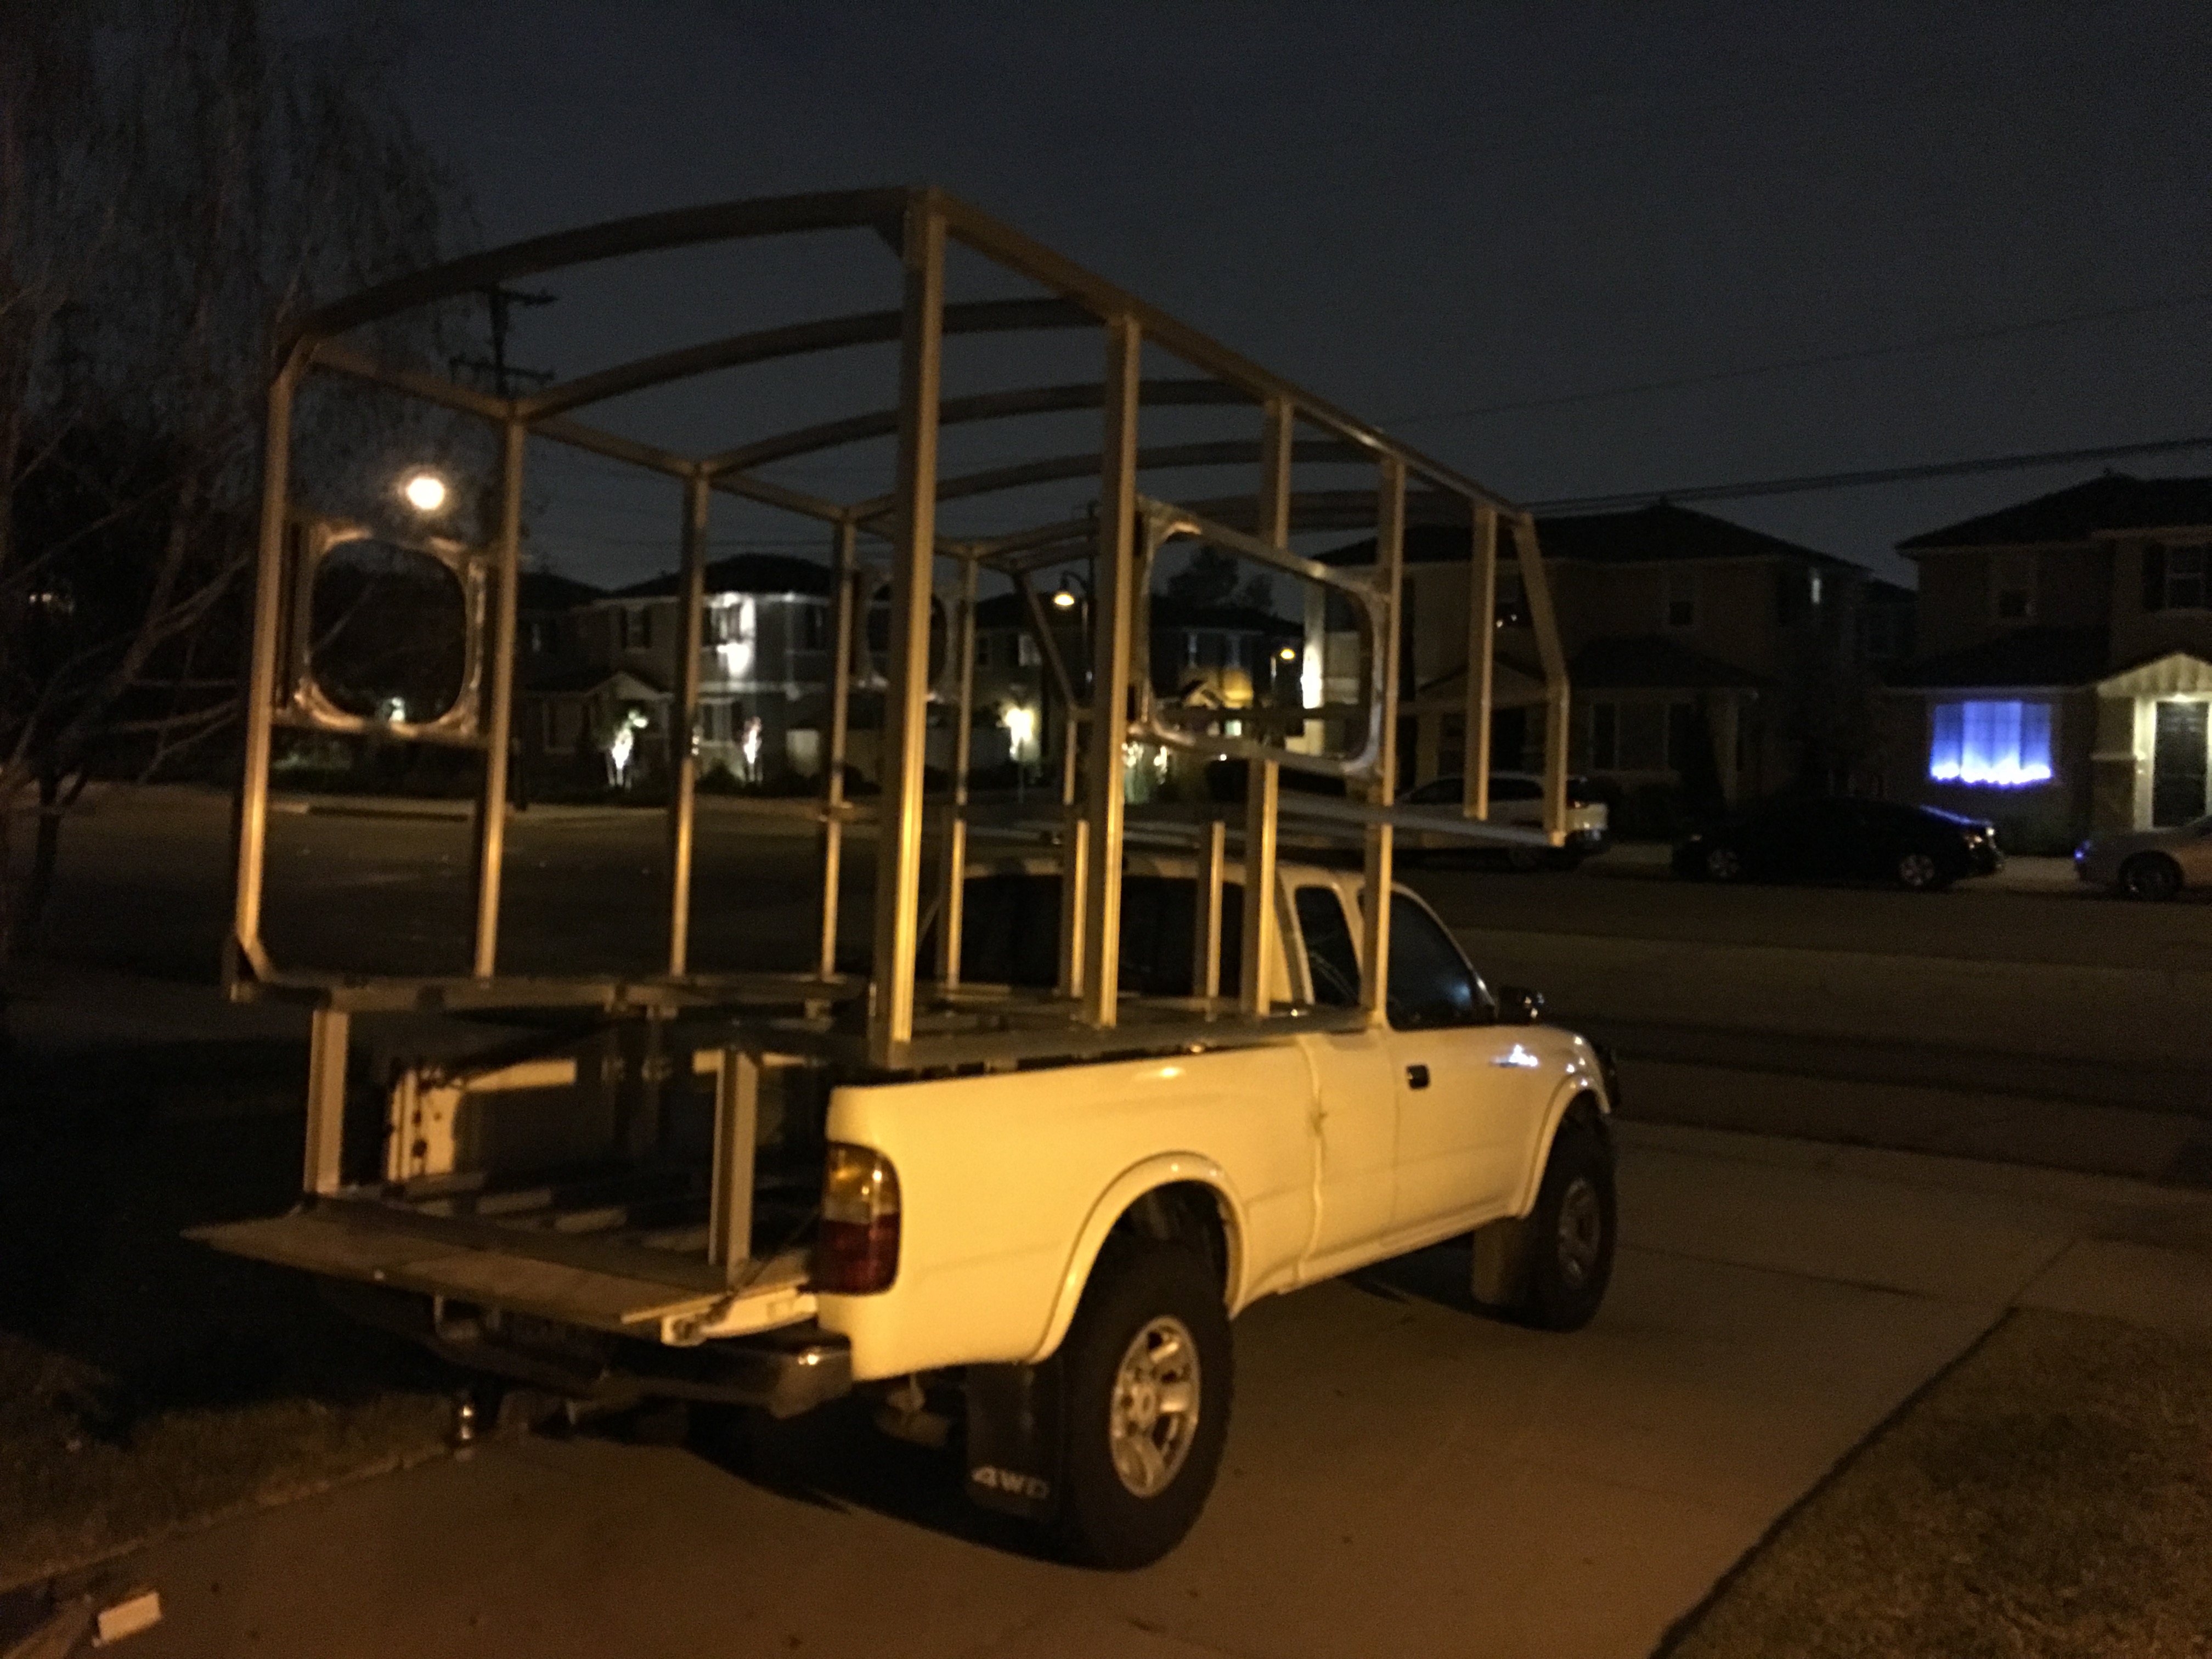
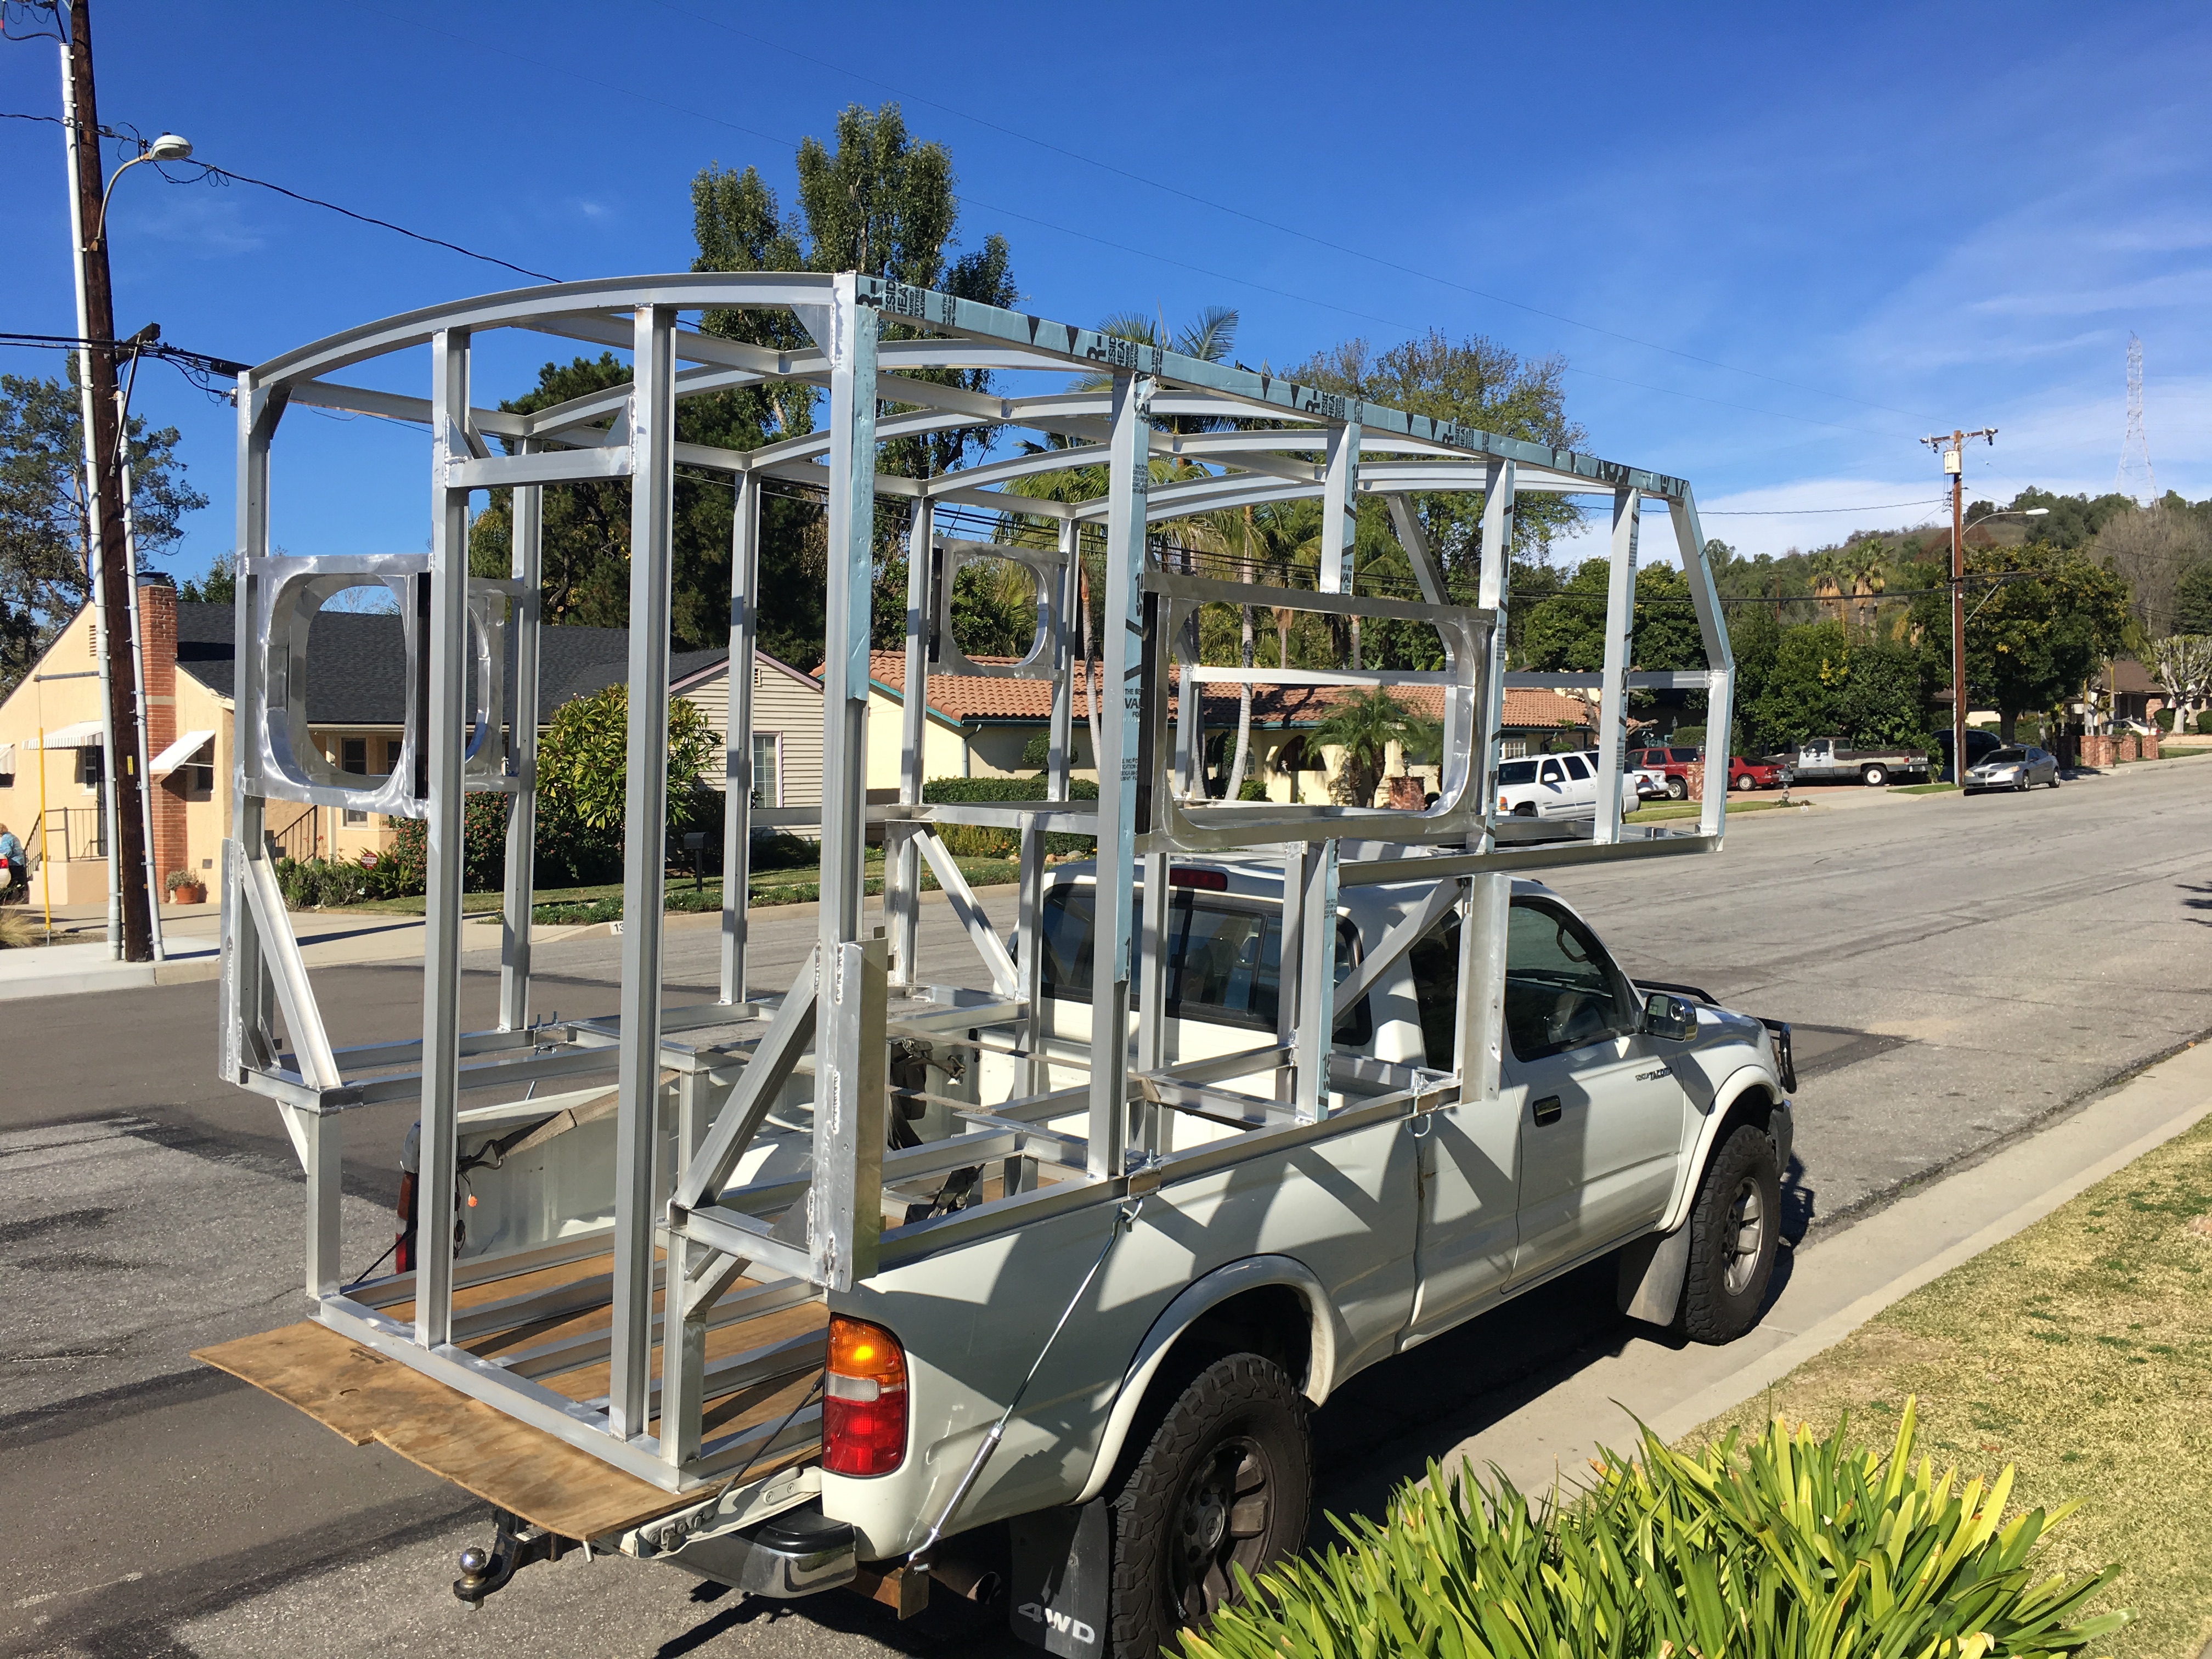
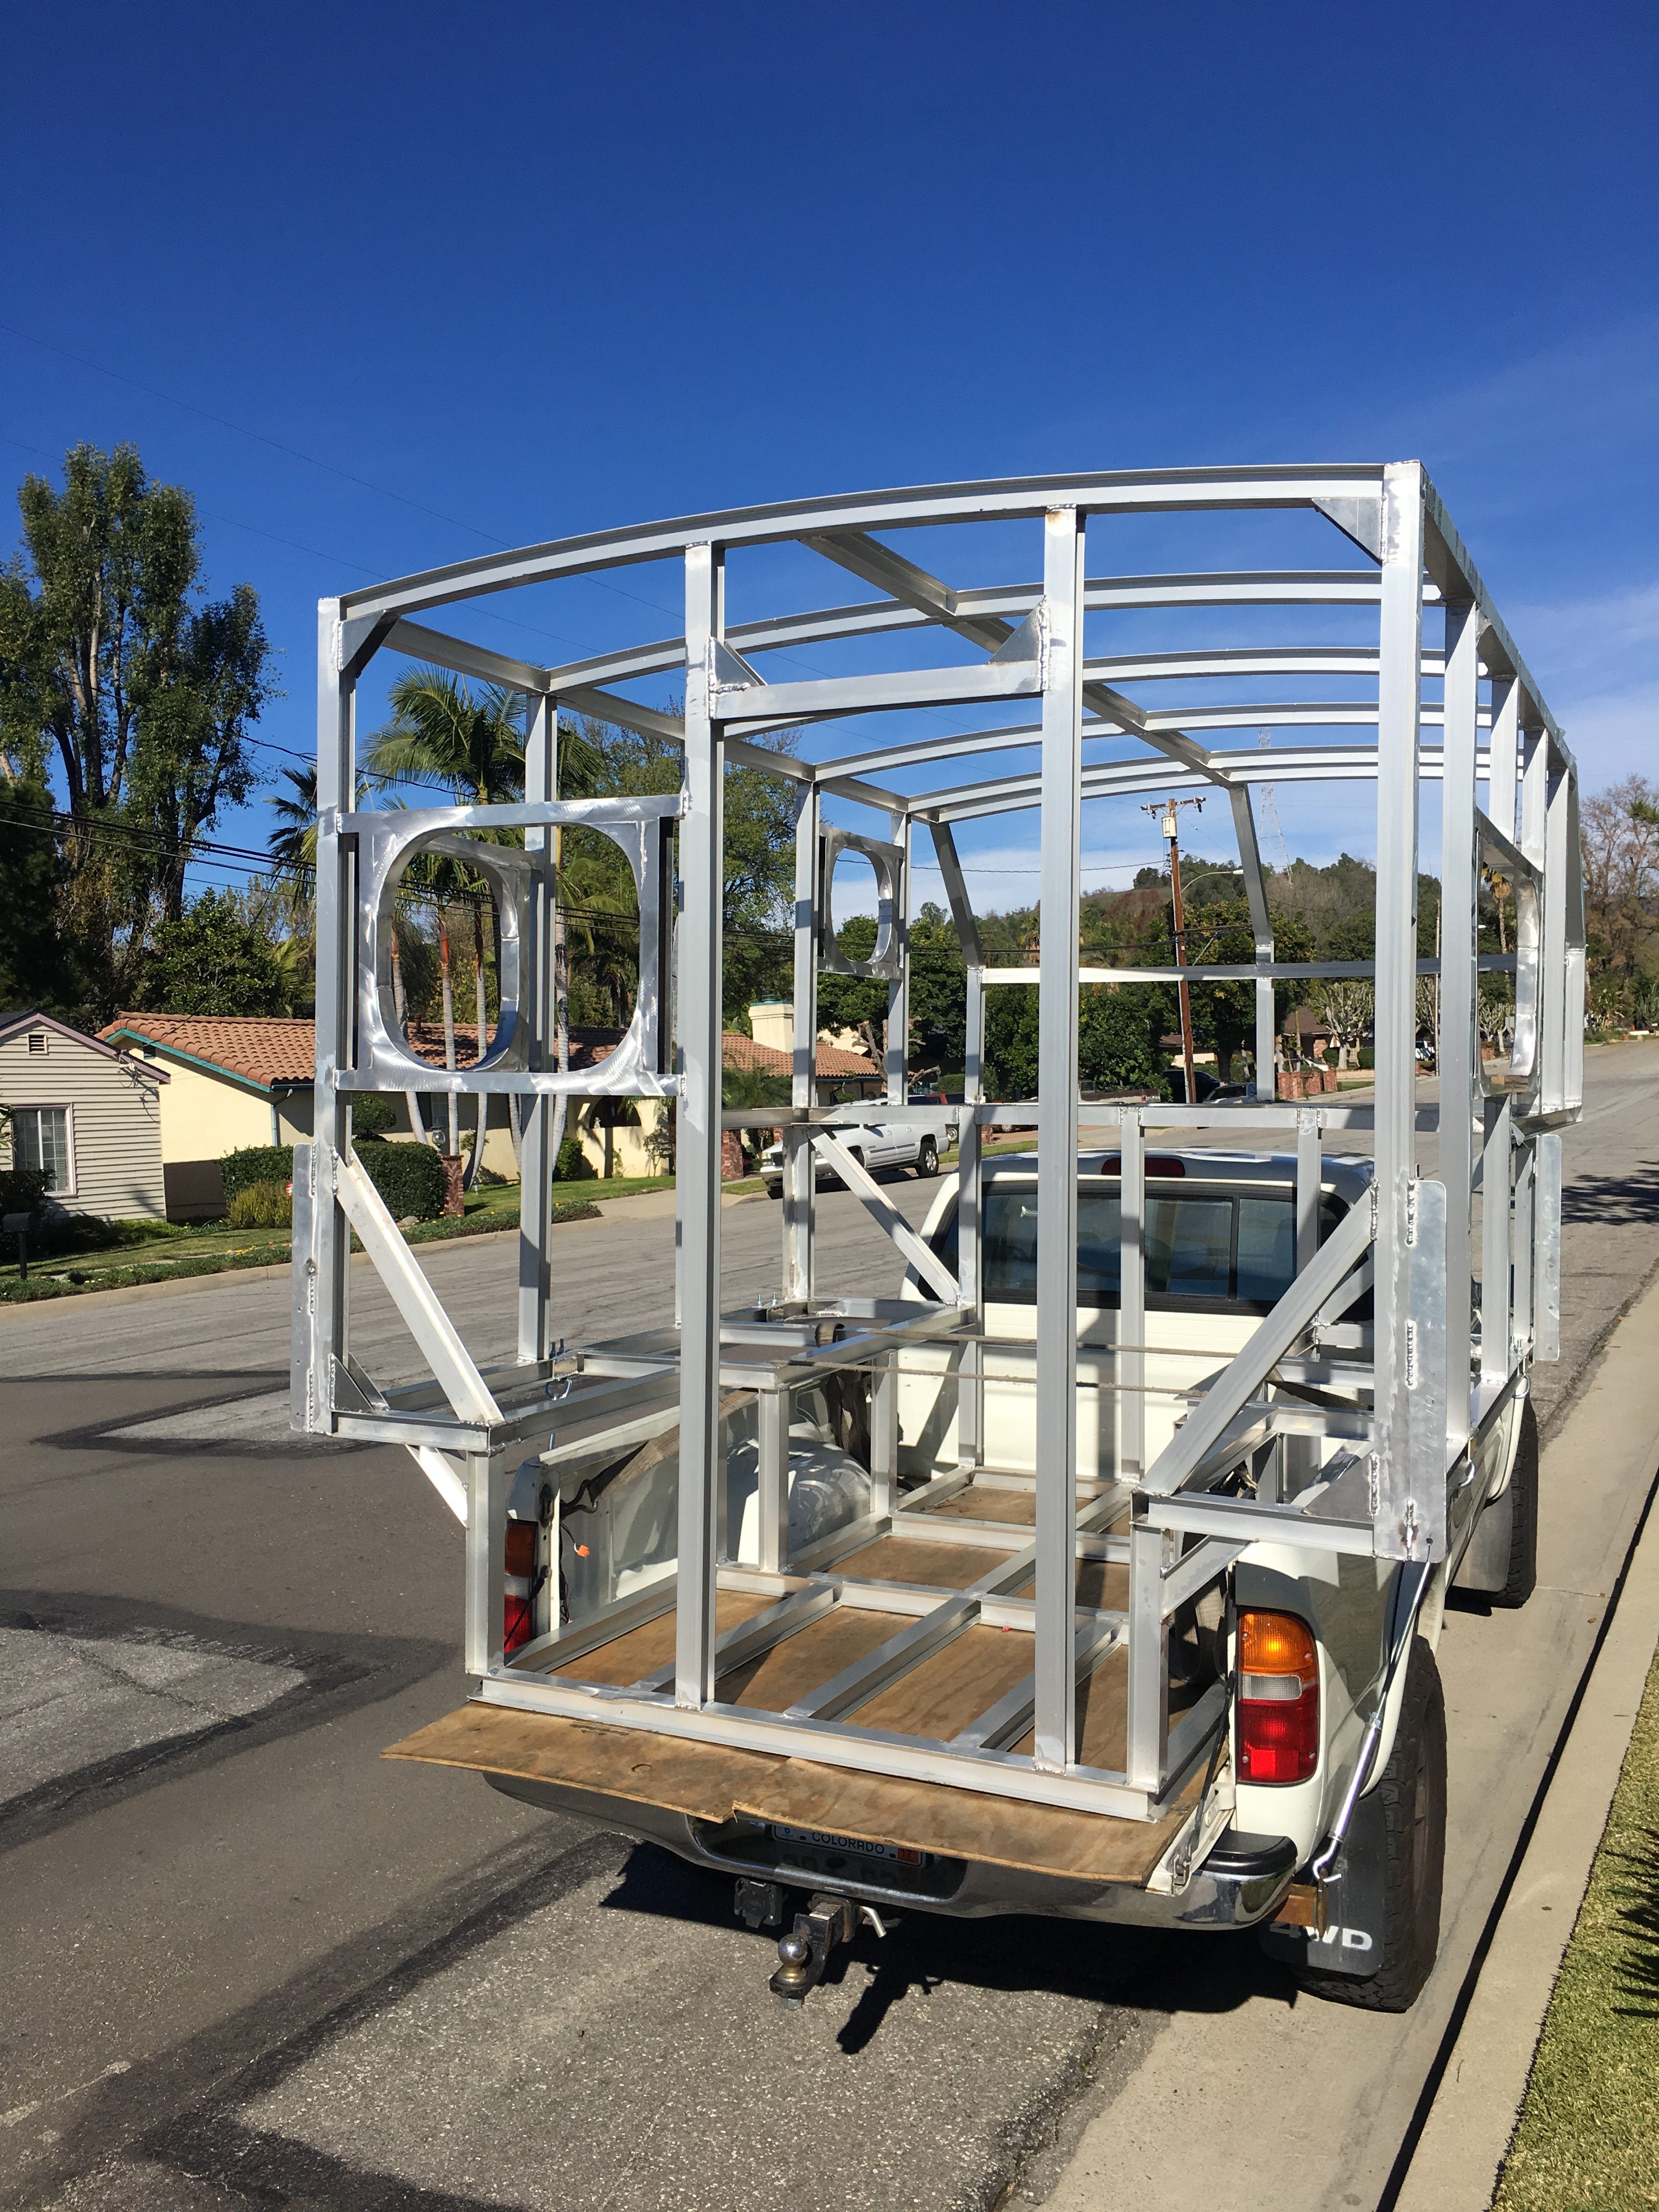
I made this thing tall, I’m 6’3″ 220lbs and I wanted to be comfortable when I was inside. I knew the wind resistance would be bad and I wanted to do what I could to make it a little more aerodynamic. I used the tube roller to roll a 7’6″ radius into the nose beam and built a slant above that to the roof to help shed wind. I also used the roller to put a a 25′ radius into the roof beams to prevent standing water on the roof. From here I started tying everything together adding cross beams where needed. I welded in the beams to support the bed. I also added gussets in most of the corners.
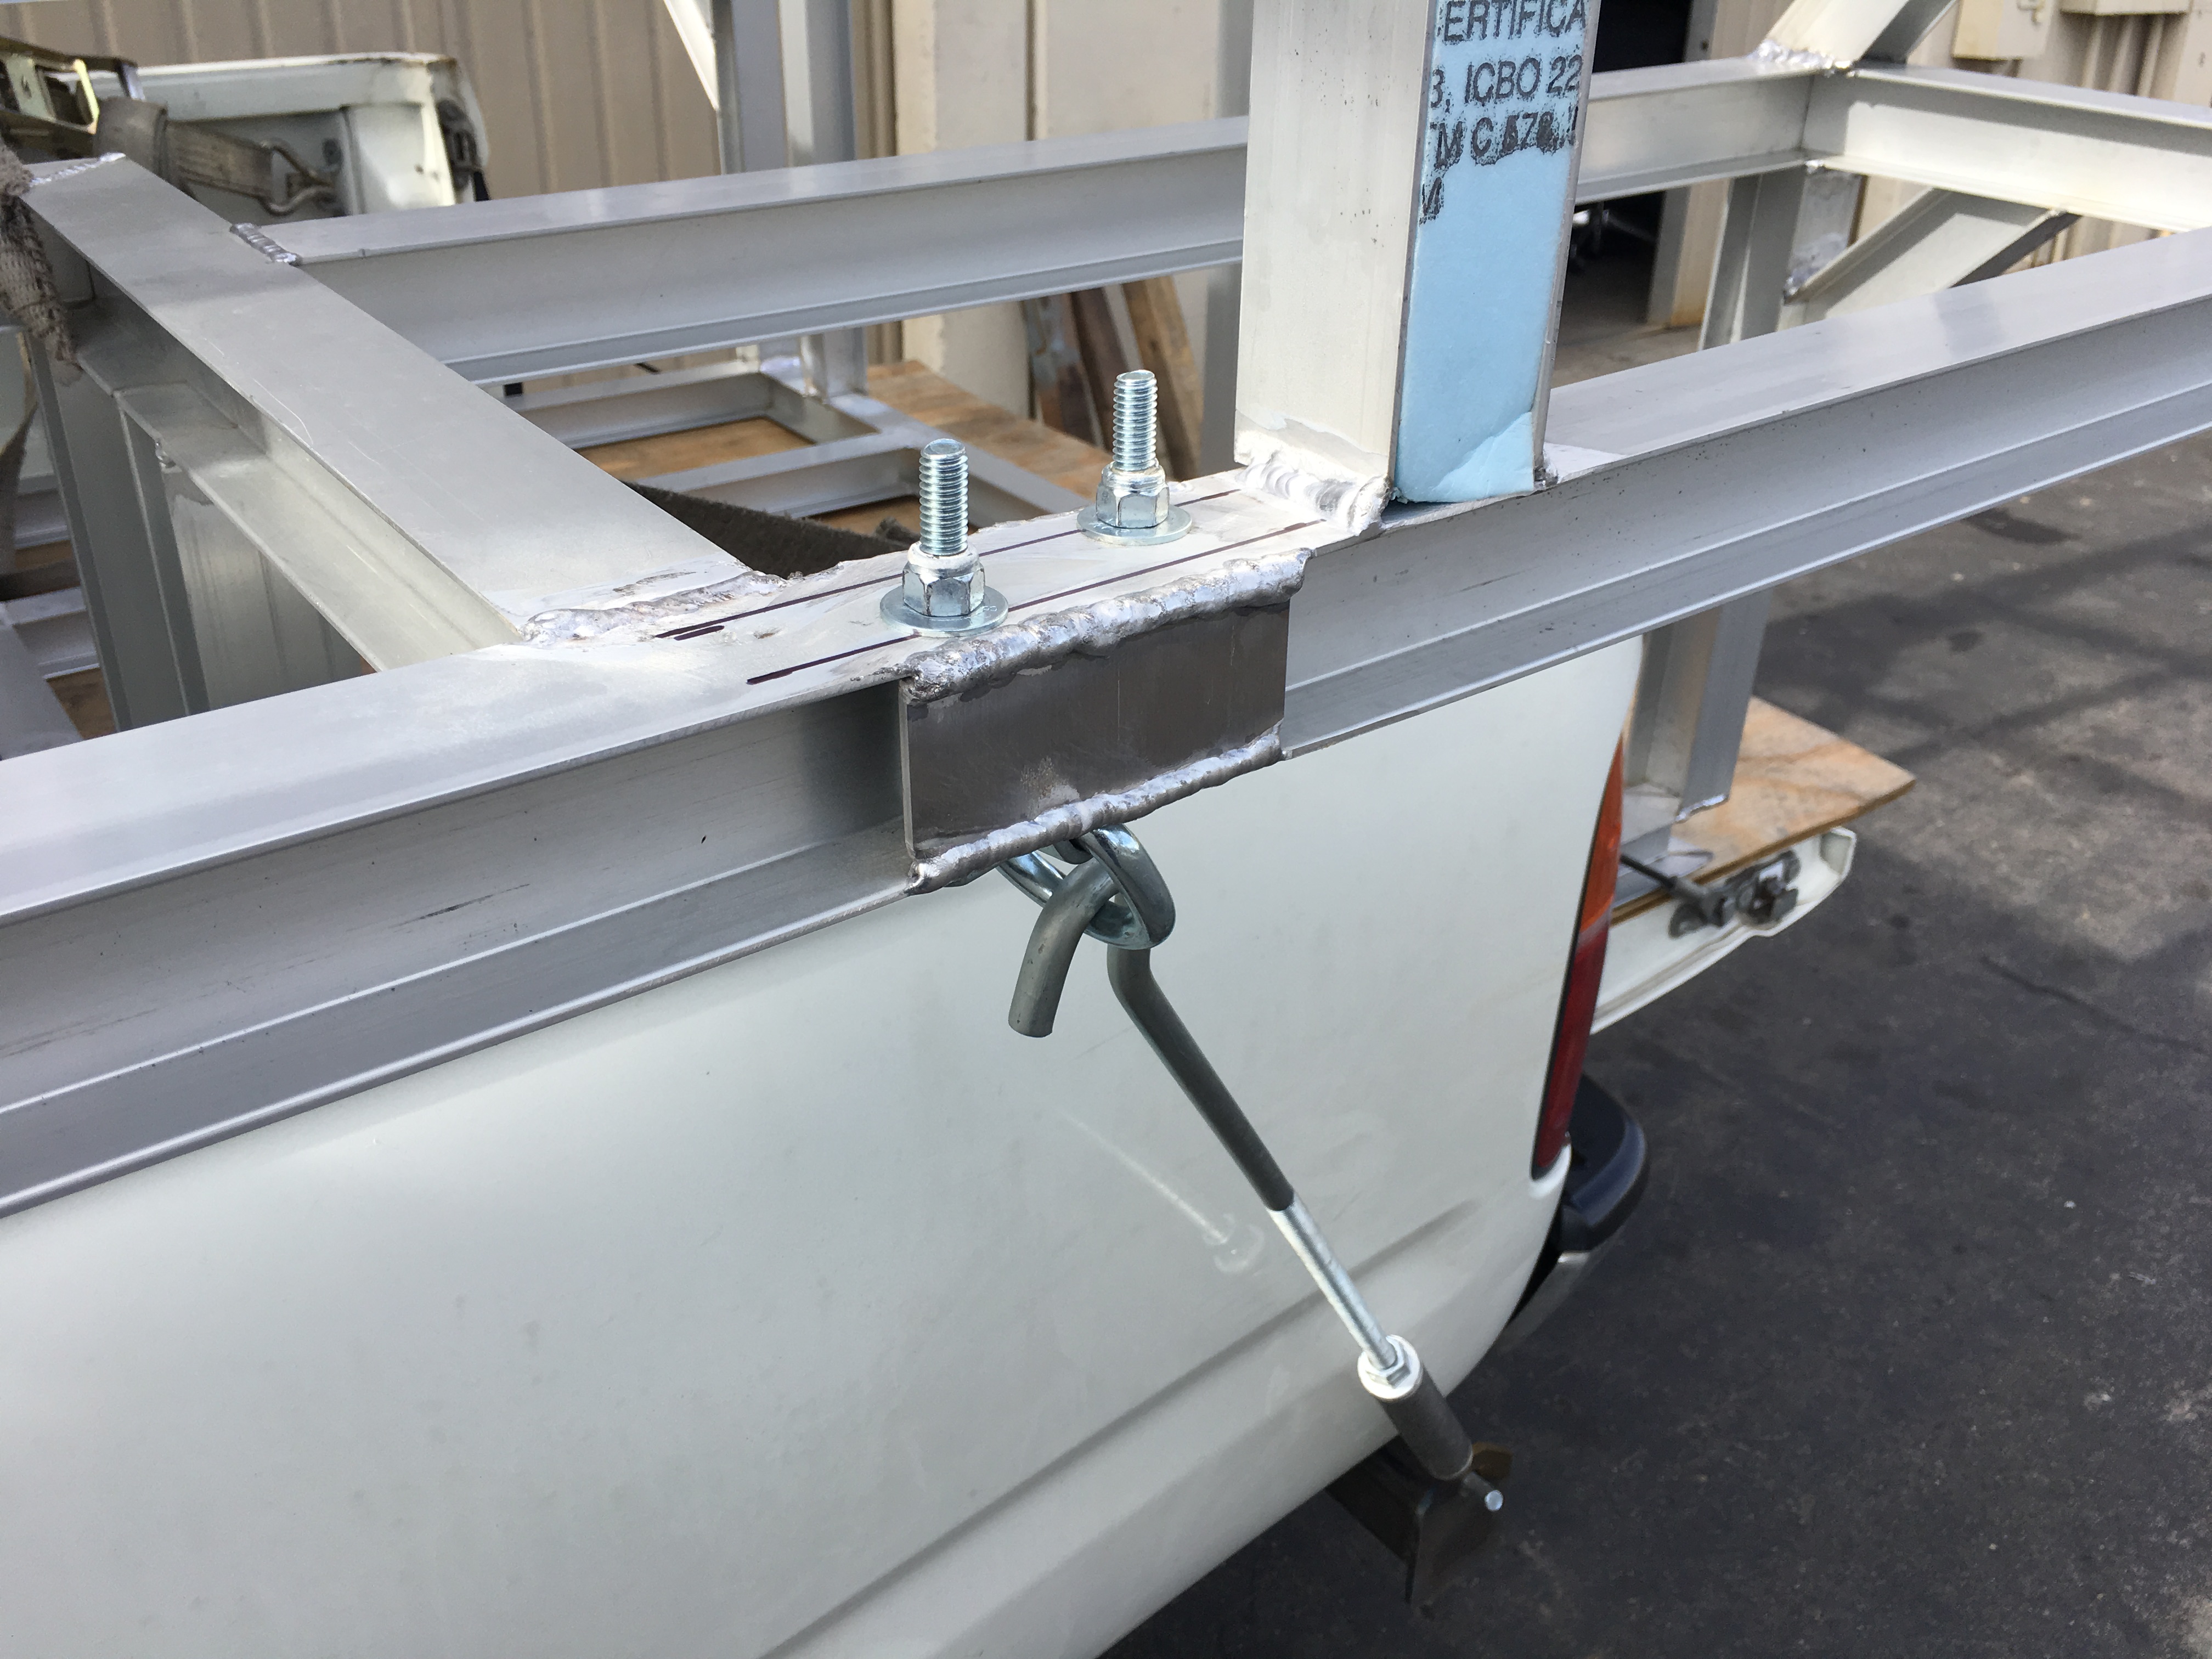
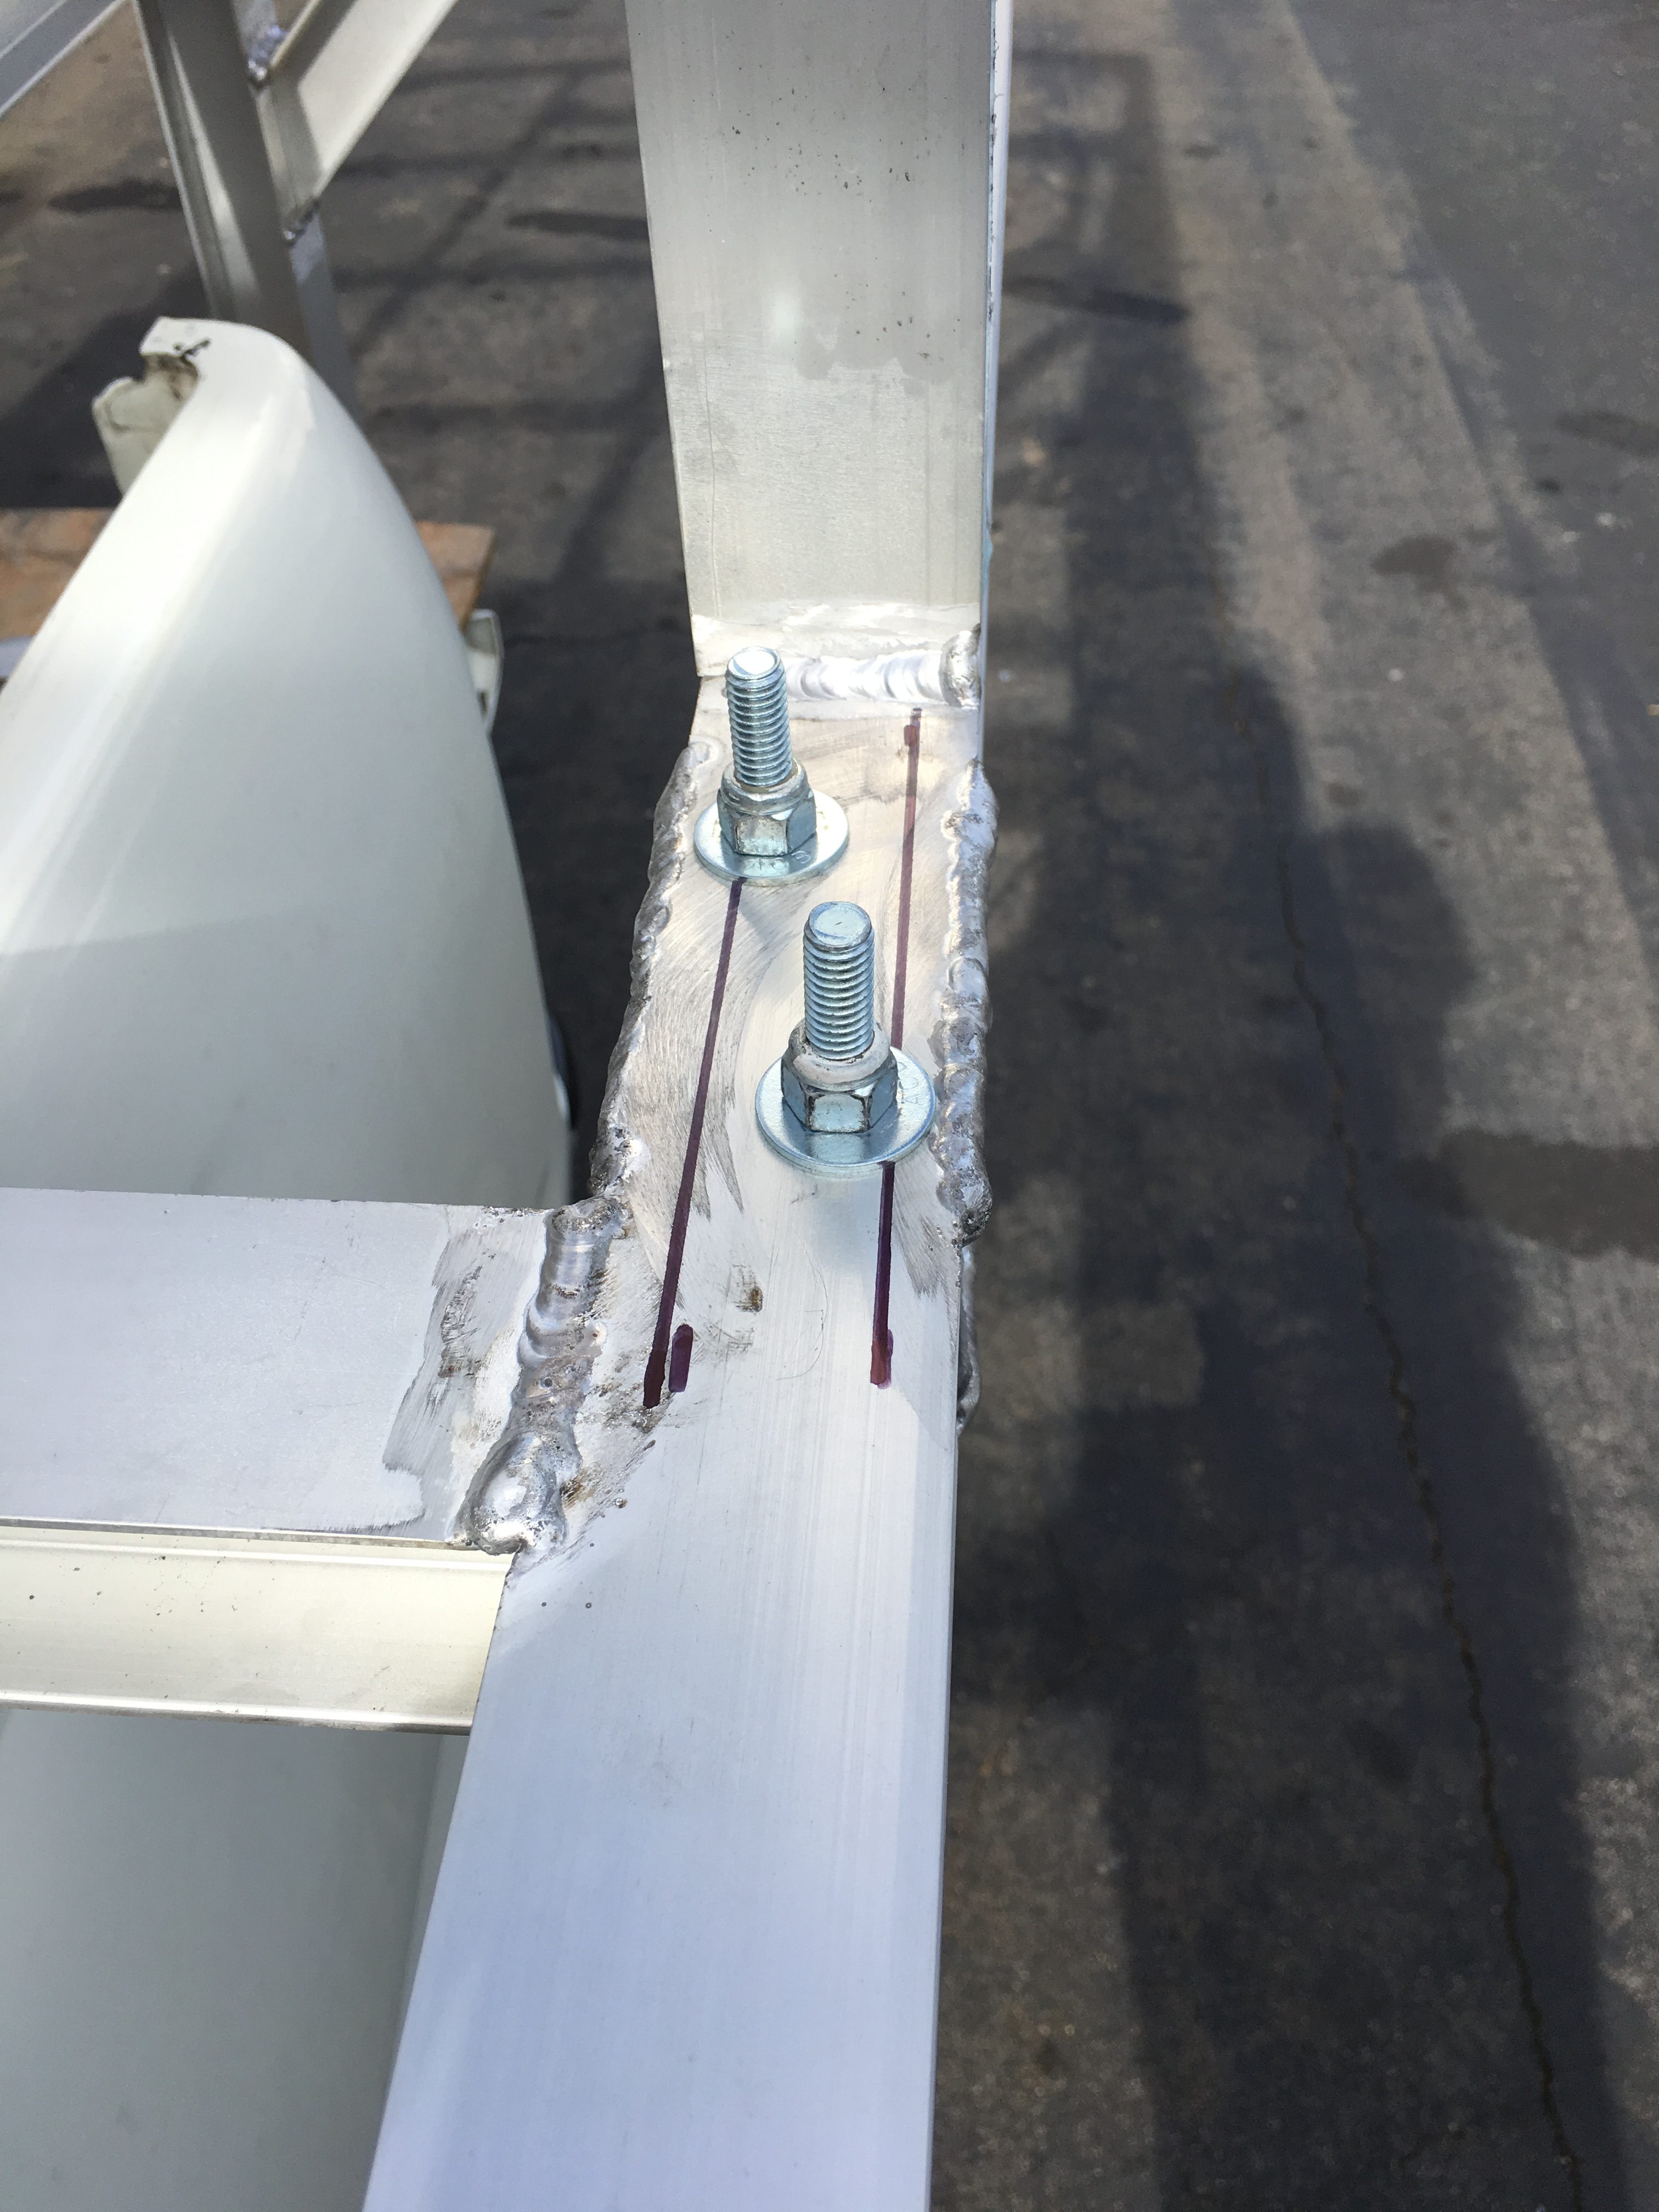
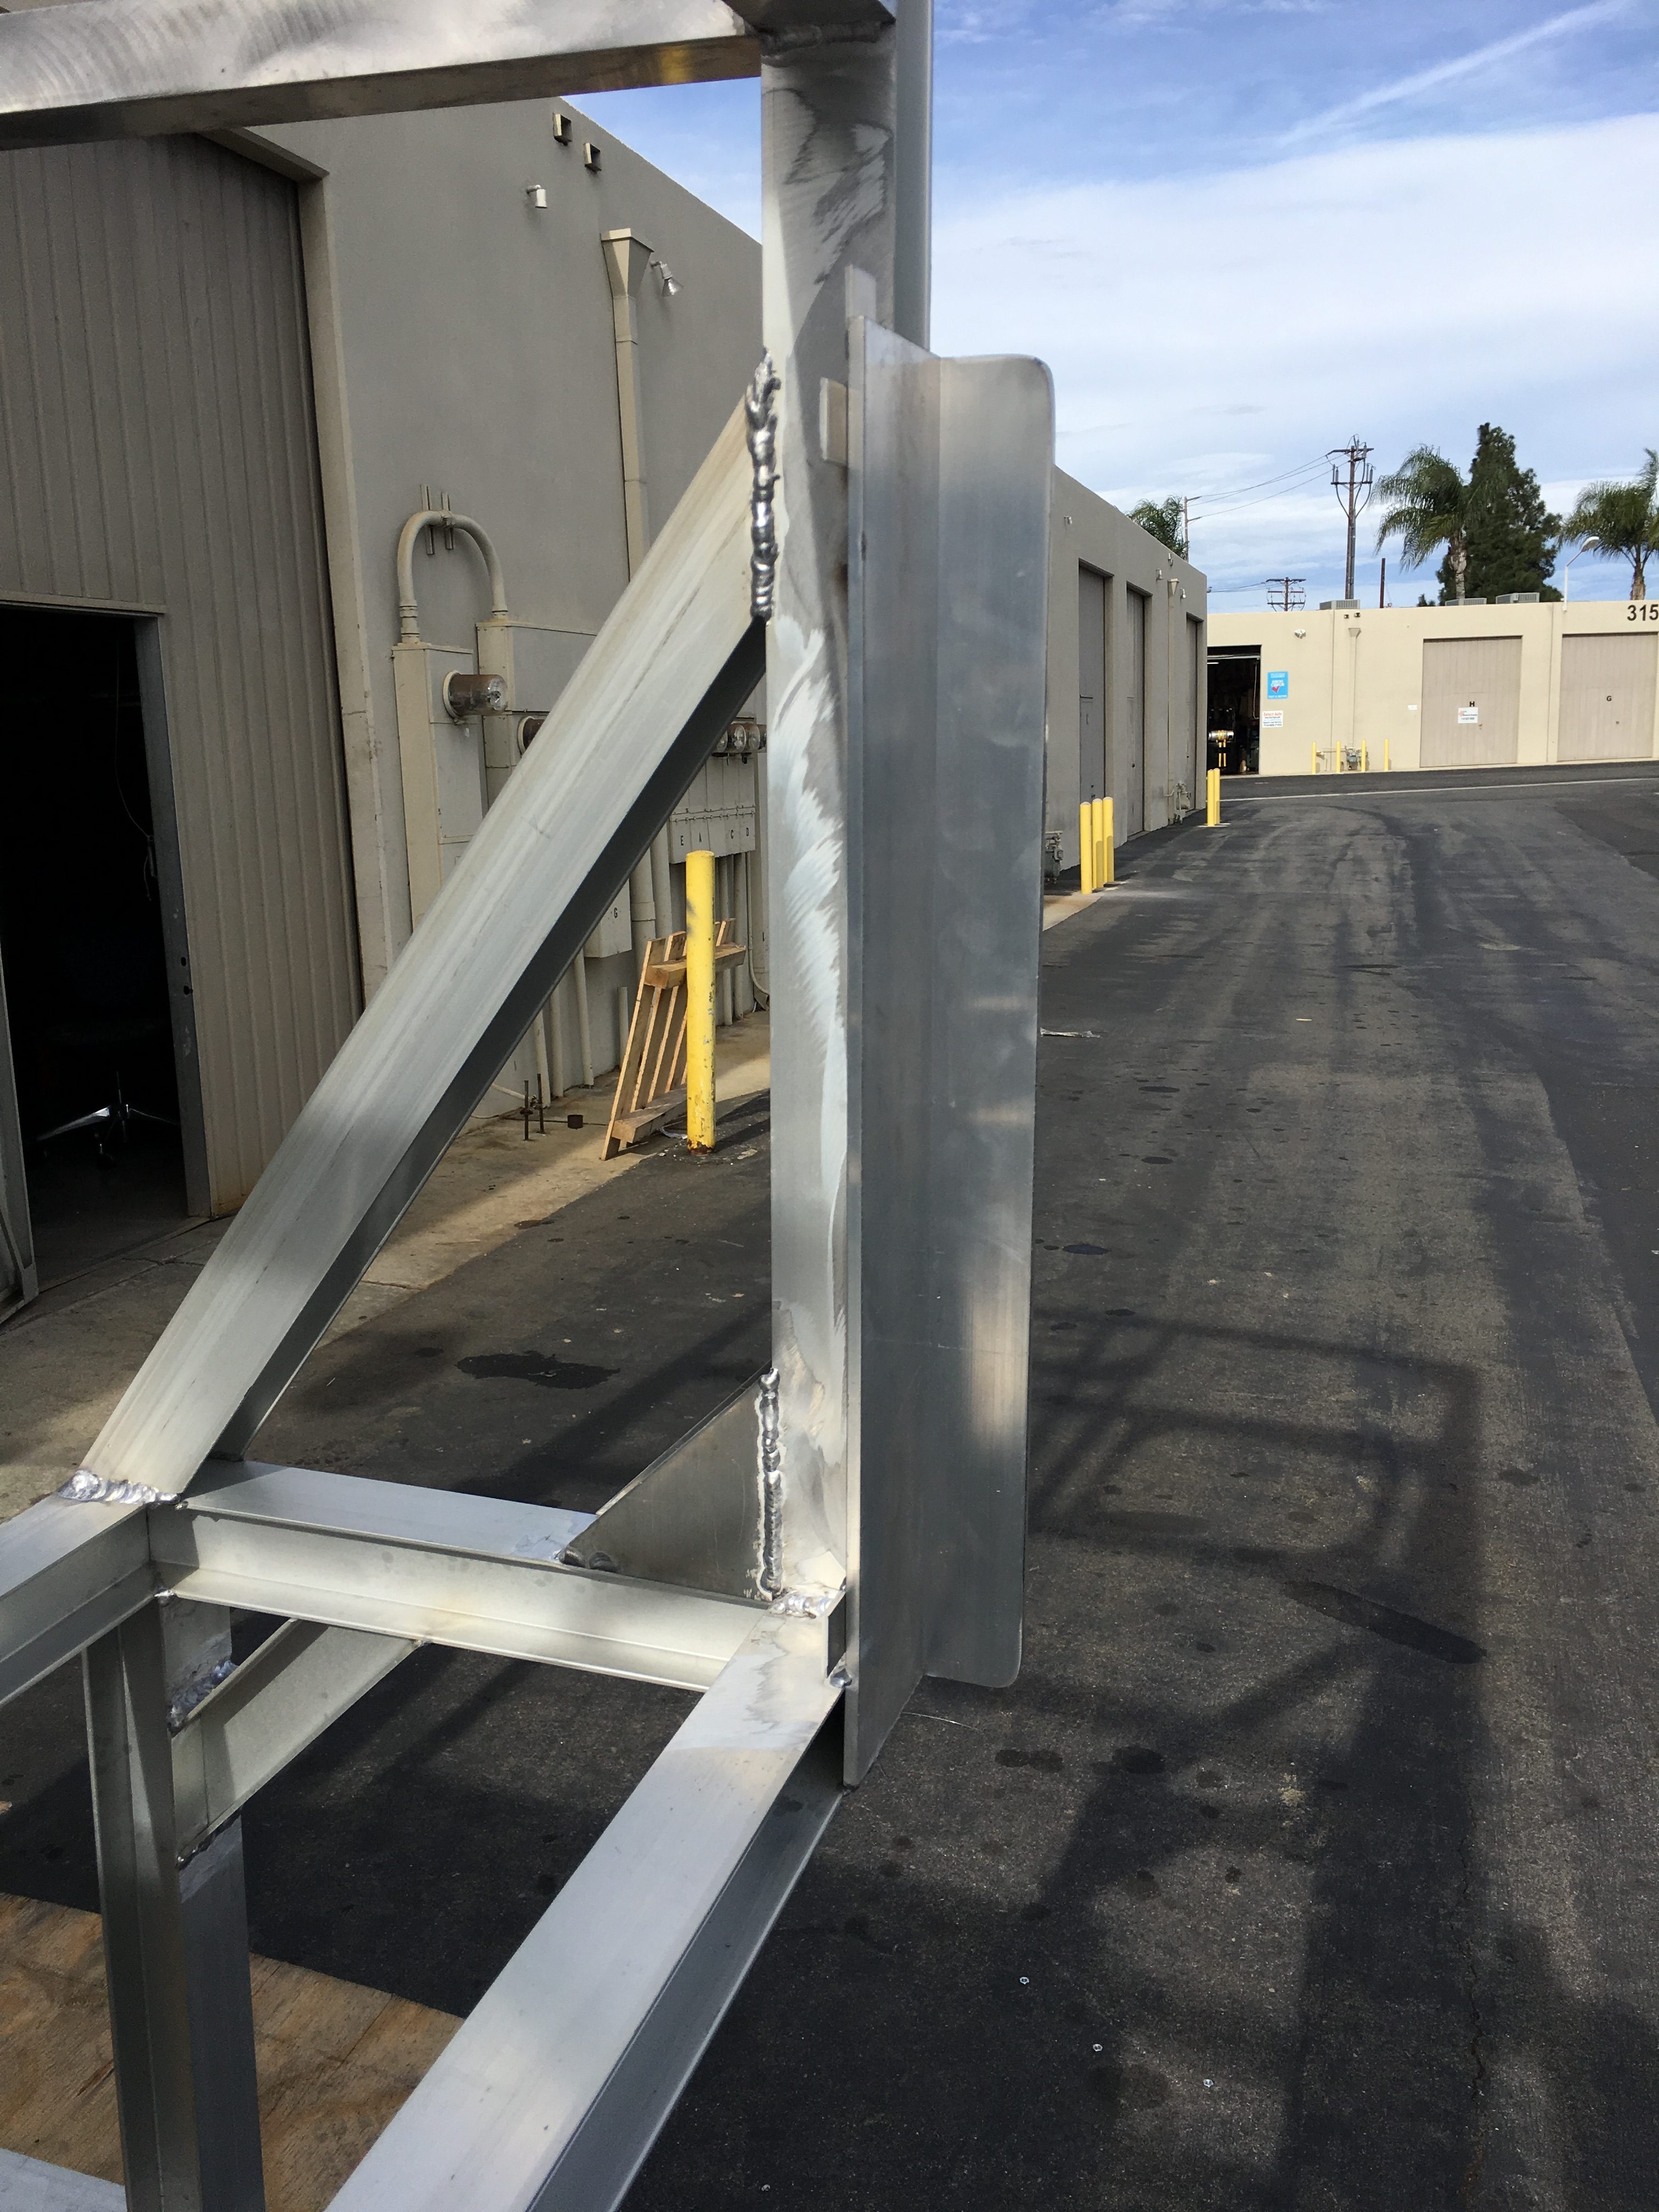
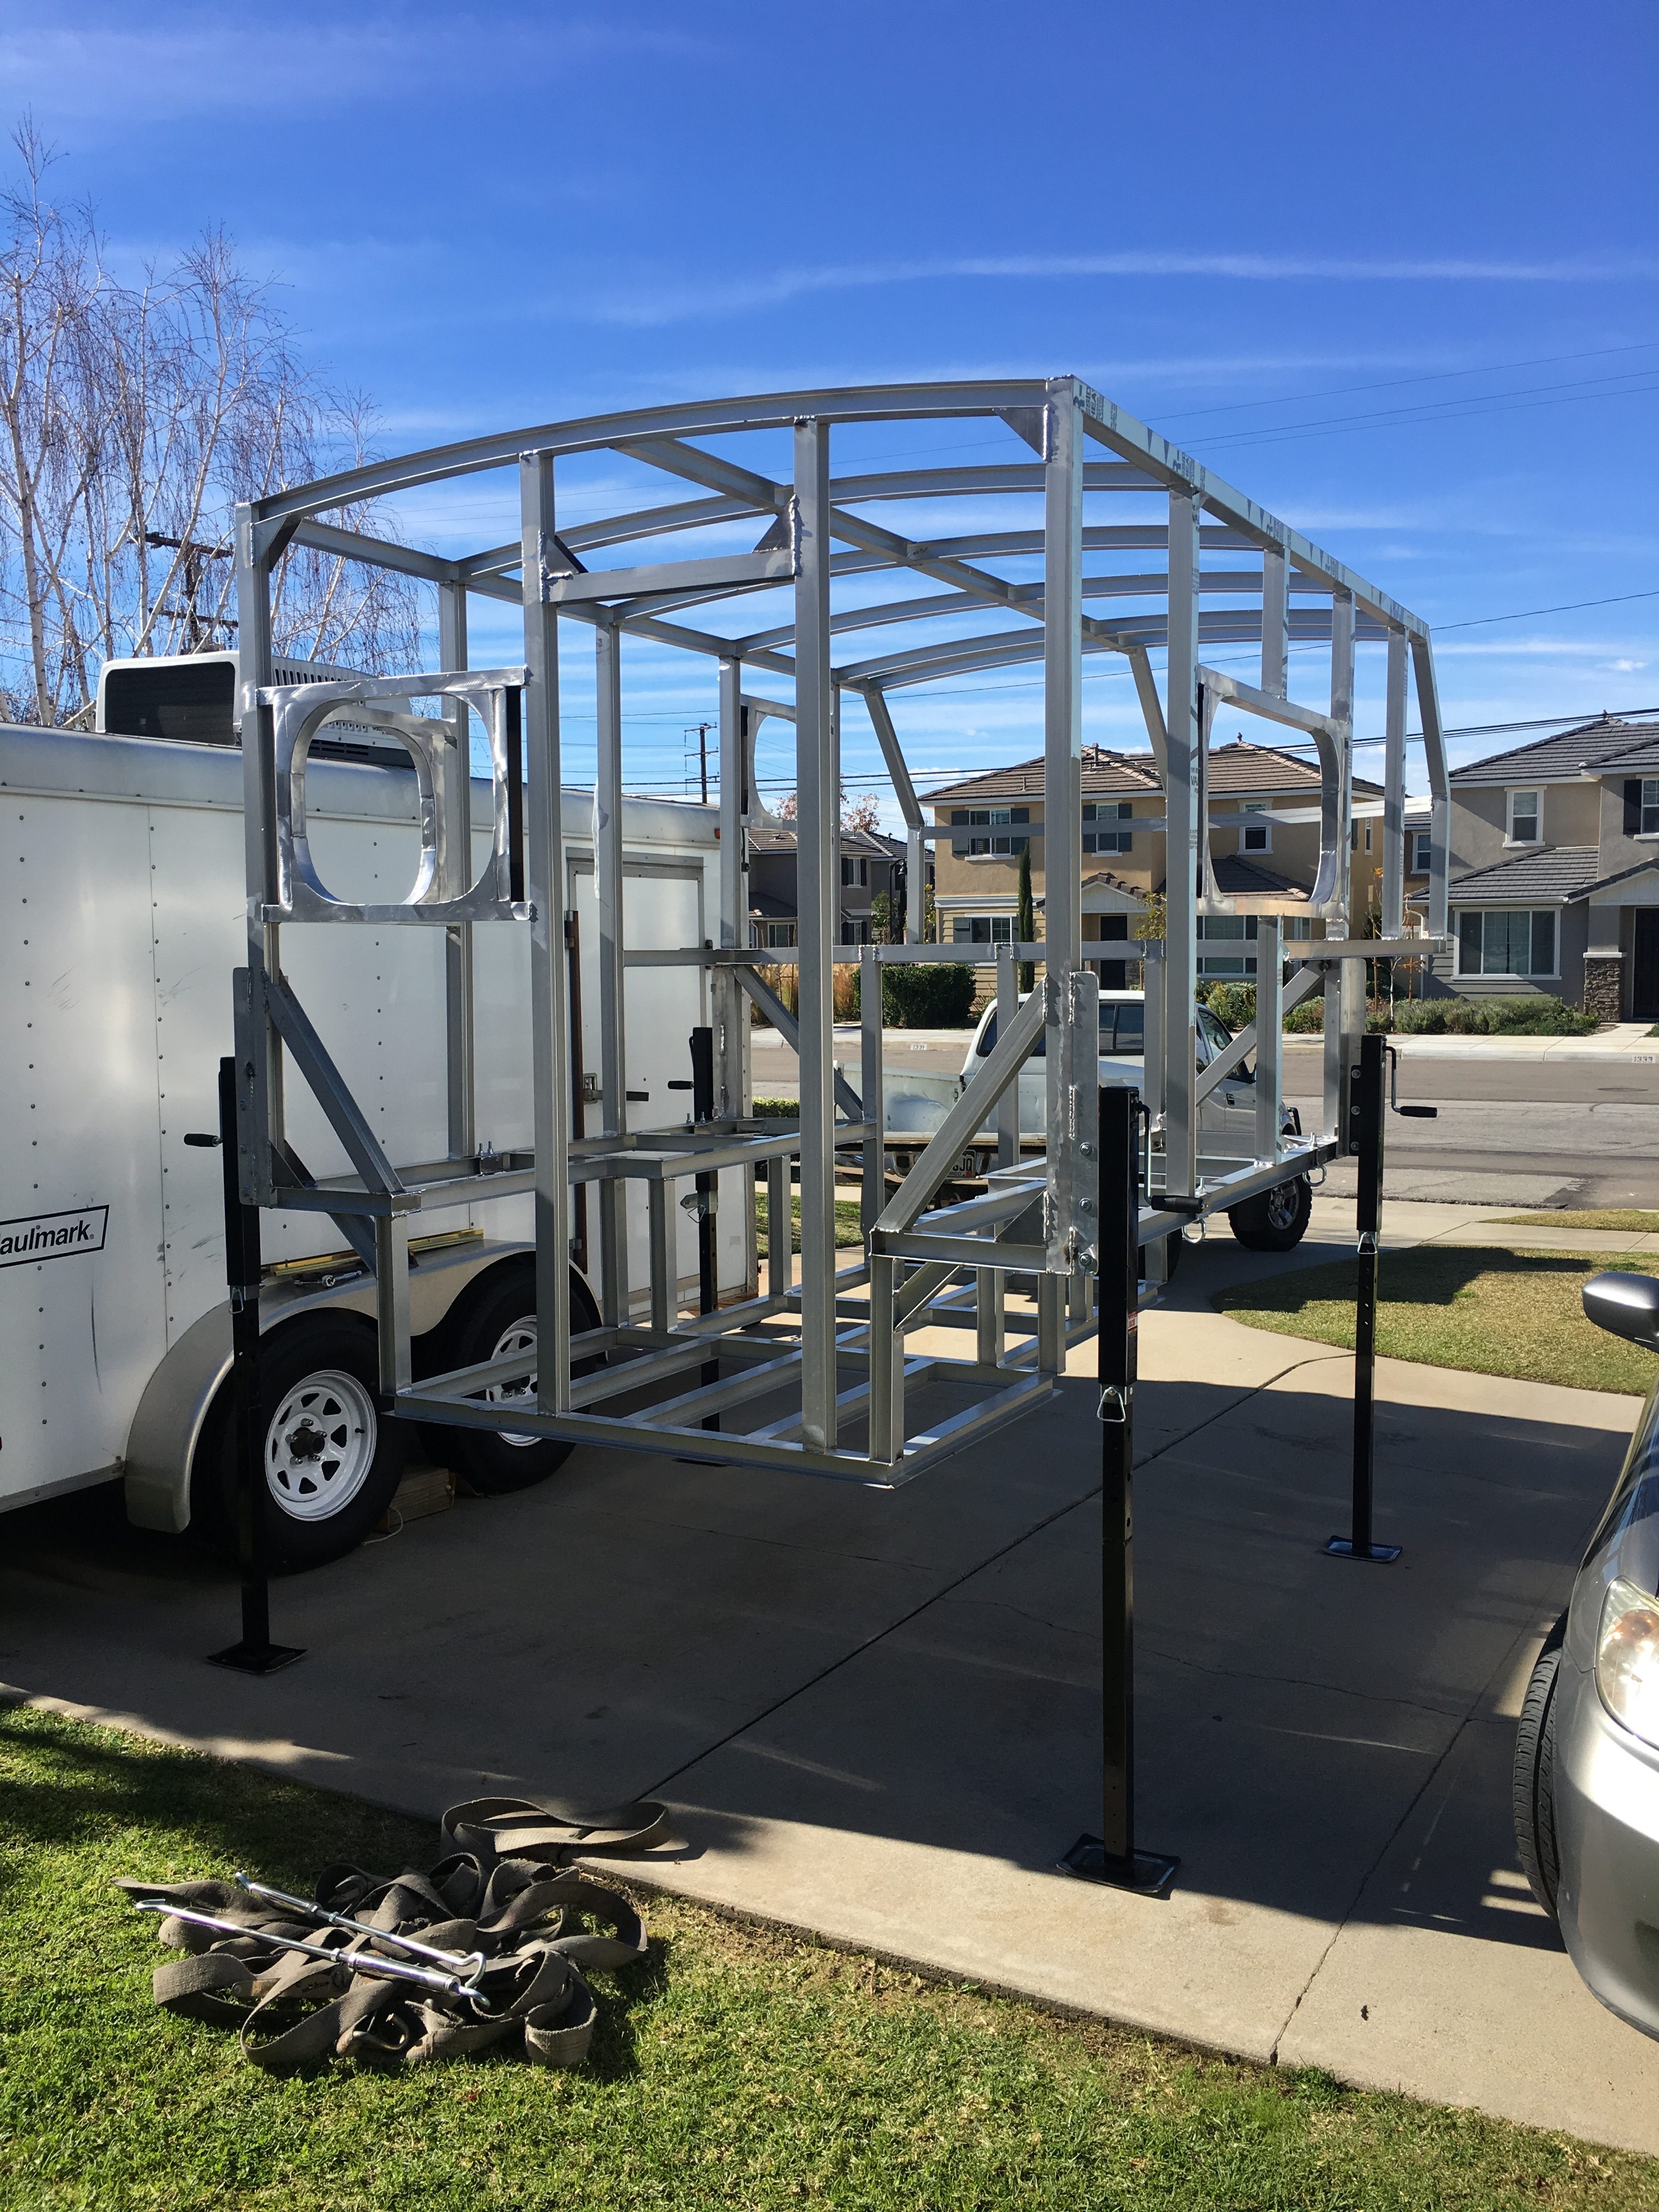
After the main part of the frame was assembled I was able to frame in the back. I wanted to make sure this thing was secured in the truck so I bolted tiedowns through the frame and welded in plates to box it in for strength. For the jack mounts I used 2″X4″X1/4″ angle, and welded it to the frame. I priced out jacks and those things are expensive, for now I bought four trailer jacks from Harbor Freight and made leg extensions that are removable. These only have 24″ of travel so I have to remove the extensions while driving which is a pain but it works for now. It’s wabbly as all hell too, I’ll find a used set of proper jacks eventually.
With the frame complete it’s time to start skinning.

0 Comments